|
|
Post by stitchdup on Feb 14, 2016 9:27:59 GMT -7
I'm going to go with this. There will be be one or two changes here and there but I'm sure you expected that, lol.  I've had this kit for a while so there are loads of parts missing, but I have that pos linberg 48 lincoln for parts and a amt 42 and a revell rag top so finding other parts wont be a problem. 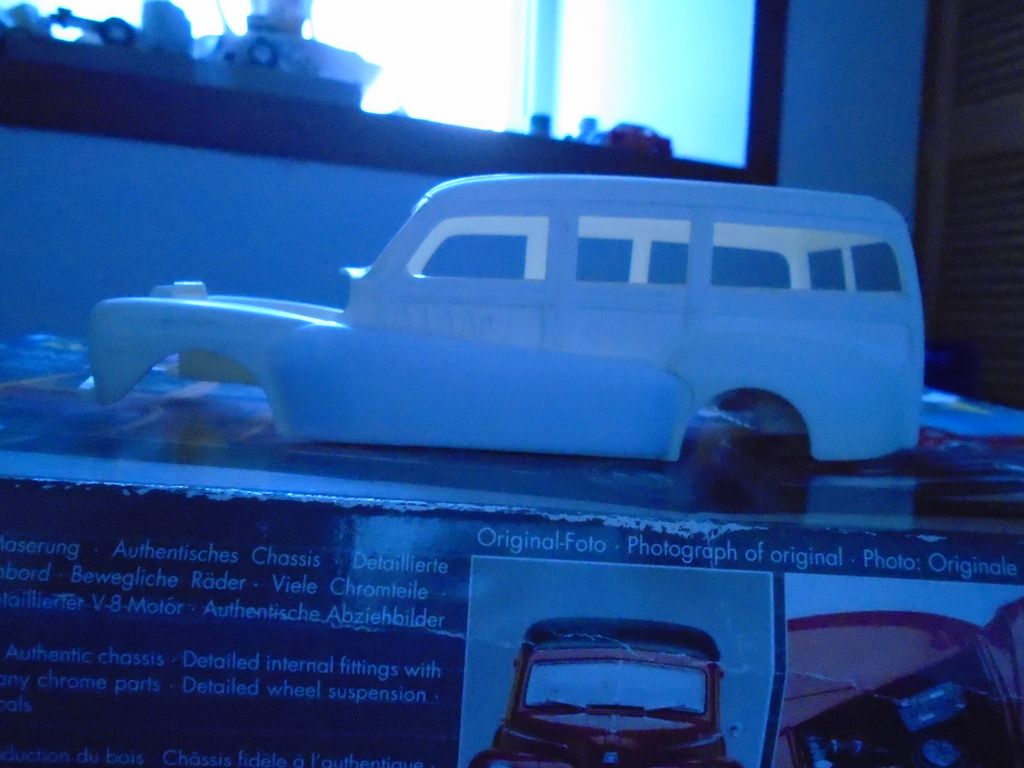 |
|
|
|
Post by CoyoteCrunch on Feb 14, 2016 9:34:52 GMT -7
Dude - all the blue wash in that last picture amkes it look like a spooky build!!
|
|
|
|
Post by jmccann630 on Feb 14, 2016 10:16:44 GMT -7
Cool choice Stitch..Can't wait to see what you do with it!
|
|
|
|
Post by sharp on Feb 14, 2016 12:00:12 GMT -7
Nice Choice Stitch,I'm also building the 48 woody,been working on it all weekend, can't wait to see what you do with yours!
|
|
|
|
Post by stitchdup on Feb 14, 2016 12:39:16 GMT -7
I'll be going custom, fadeaways, chopped, sectioned and maybe extended rear fenders. Got to finish the truck before I start on this one though. I'll be looking forward to seeing your too
|
|
Deleted
Registered: Nov 27, 2024 13:18:02 GMT -7
Posts: 0
|
Post by Deleted on Feb 14, 2016 13:15:19 GMT -7
Great choice mate, and i really look forward to seeing what you come up with custom wise...
|
|
|
|
Post by stitchdup on Feb 16, 2016 5:03:12 GMT -7
While waiting for glue to dry on on the truck windows I had a little play with this. I have decided on a 5mm chop and a 1mm section as anything larger wouldn't work with the fadeaways. The section shouldn't be too bad to do as I plan to just remove the bottom edge of the top moulding and it has a nice defined edge for cutting along. I dont intend to do any cutting to the roof itself, instead I am ging to remove the entire rear panel along the join lines before reshaping the top edge of it and a slight sanding to the back of the main body to refit it. With it being a 1mm section this should leave the lower part the right size and mean only the window area will need cutting. The pencil lines on the pic might help you see where I will be cutting. 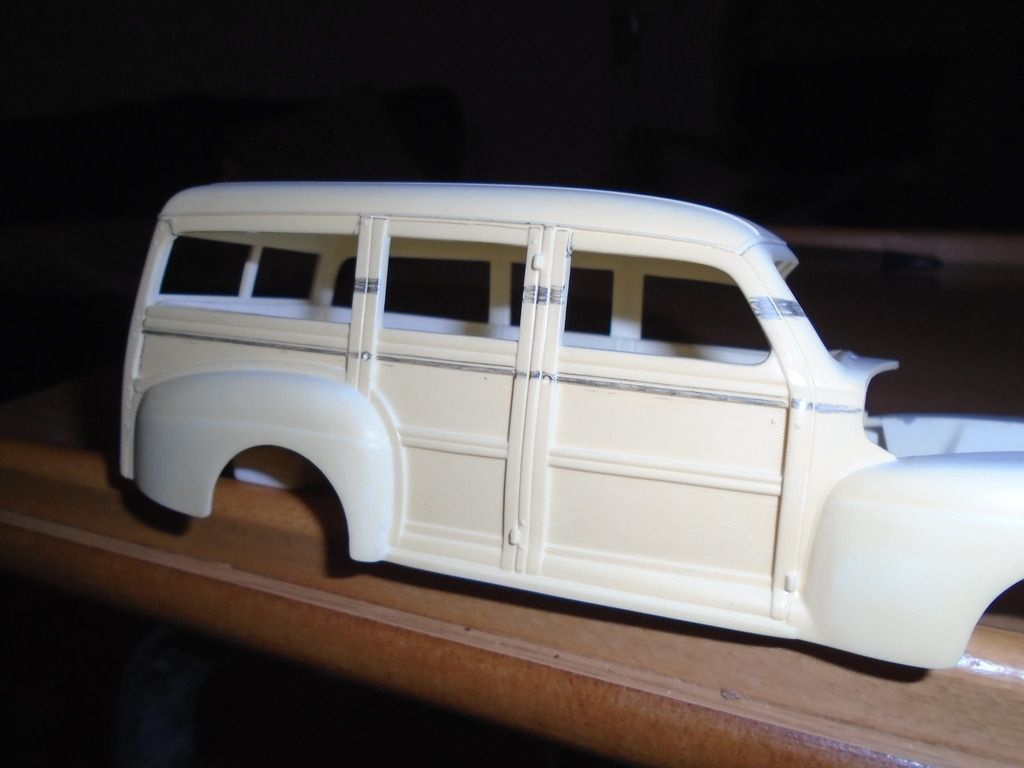 The first cutting might even happen tonight (after a little brush painting on some truck bits) as I'm just itching to get this started |
|
Deleted
Registered: Nov 27, 2024 13:18:02 GMT -7
Posts: 0
|
Post by Deleted on Feb 16, 2016 14:01:31 GMT -7
An itchy Stitch...with a saw in hand, now that will be interesting..... smileyCACETROO_zps365bb43e
|
|
|
|
Post by stitchdup on Feb 16, 2016 14:16:47 GMT -7
An itchy Stitch...with a saw in hand, now that will be interesting..... smileyCACETROO_zps365bb43e It's a beer in hand just now..... could go two ways, lol |
|
|
|
Post by CoyoteCrunch on Feb 16, 2016 14:42:33 GMT -7
Itchy Stitch - drinking beer - goes 2 ways
NOW THAT SOUNDED NAUGHTY!!! |
|
|
|
Post by stitchdup on Feb 16, 2016 15:06:15 GMT -7
Itchy Stitch - drinking beer - goes 2 ways
NOW THAT SOUNDED NAUGHTY!!! Ya can always rely on CC to take an "innocent" comment and twist it, lol. A little like the shoutbox comment you deleted about a lazy weekend, so I looked like a masochist, lmao, I thought that was an awesome bit off trolling my friend |
|
|
|
Post by CoyoteCrunch on Feb 16, 2016 15:23:36 GMT -7
Ha! You seen that one huh? I thought I may be pushing the boundary a touch much with that one, the reason why I deleted it, LOL
The way I figure it, if I can make someone laugh / giggle / smile - then I have done everything I can do. Humor soothes the soul my friend!  |
|
|
|
Post by sharp on Feb 16, 2016 15:32:31 GMT -7
|
|
|
|
Post by stitchdup on Feb 16, 2016 15:52:44 GMT -7
Humor is ALWAYS worth it
|
|
|
|
Post by stitchdup on Feb 17, 2016 16:27:06 GMT -7
Made the first few cuts today. I started by removing the entire back using the lines already there for the wood, where the joins are. I then cut using the edges of the door tops as this will be staying a 4 door and removed the roof. Currently I'm cutting the sides for the section which will only be 1mm but there is are convenient lines on the top moulding of the doors of which I am removing only the lowest part. Hopefully I'll get the rest of the sides cut and put back together tomorrow, then when it has set I will be doing the small amount of filler on that part before chopping the roof pillars. The first cut - no going back now 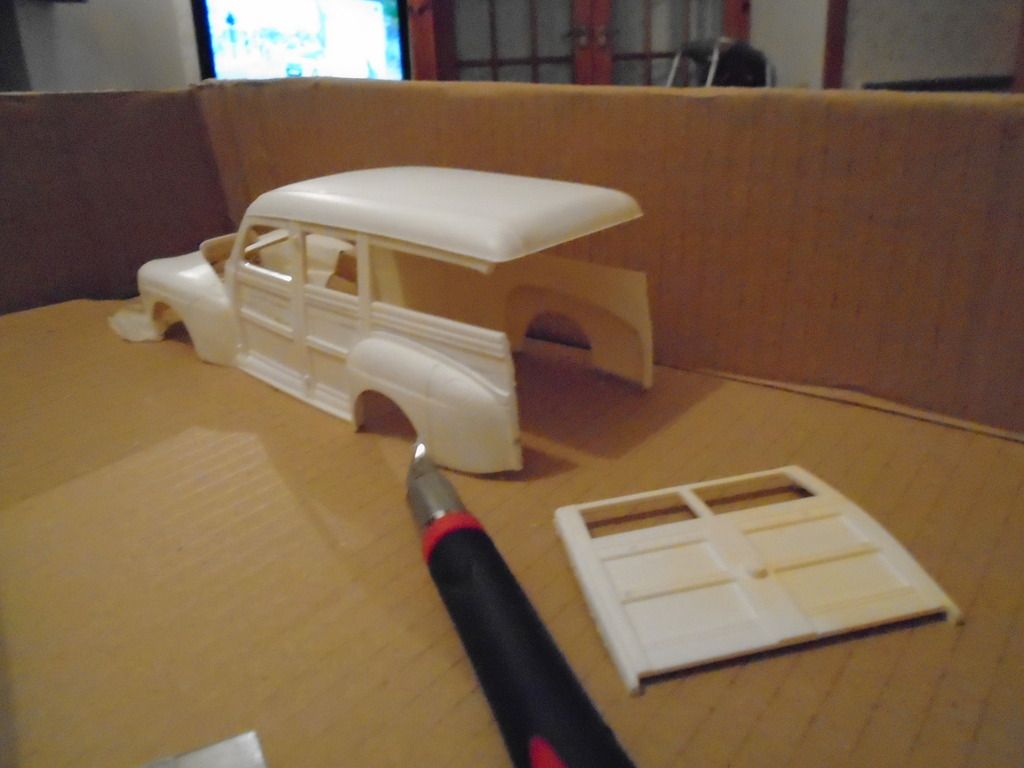 and the second cut 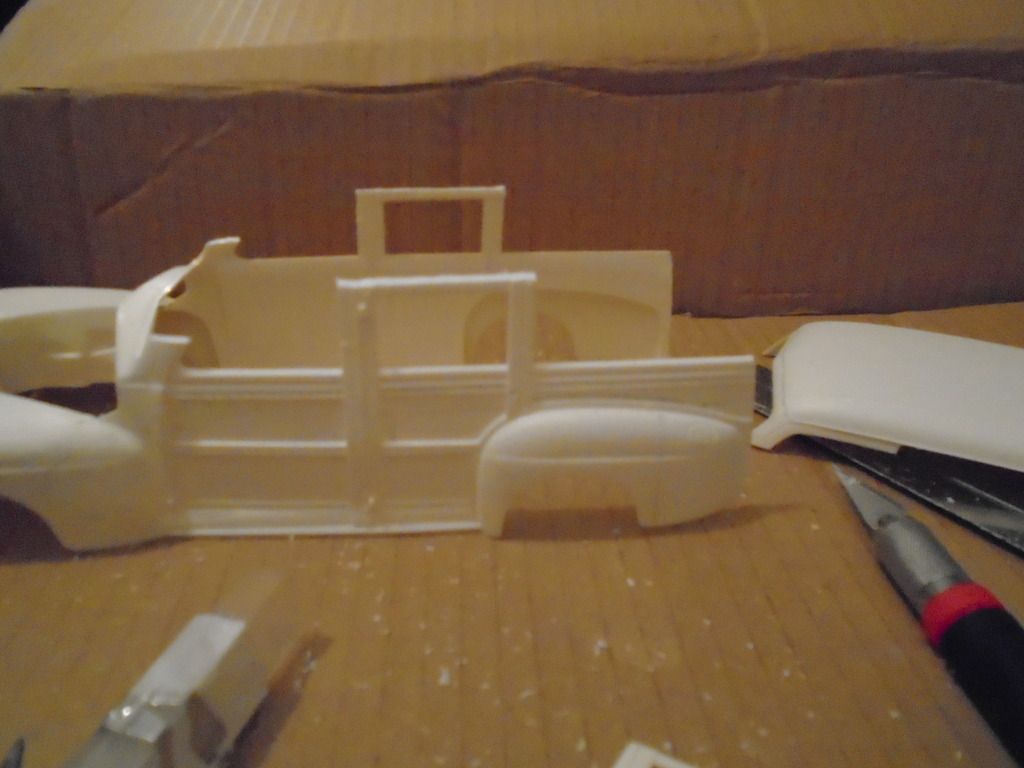 If I'm lucky the part I'm removing for the section will be the correct size to make the fadeawys fit, and be sized for the middle bit of the door which will be getting moved to line up with the fadeaways |
|
|
|
Post by jmccann630 on Feb 17, 2016 18:20:30 GMT -7
Great start stitch, can't wait to see more!
|
|
|
|
Post by stitchdup on Feb 17, 2016 18:22:02 GMT -7
Well I couldn't get to sleep so I've finished cutting the section. Those strips on the worktop are how much has been removed. The upper part is just placed on for the pic, now I have to clean up the edges for gluing, and hopefully I wont have to do any filler on the wood panels if I do a good job of the clean up. 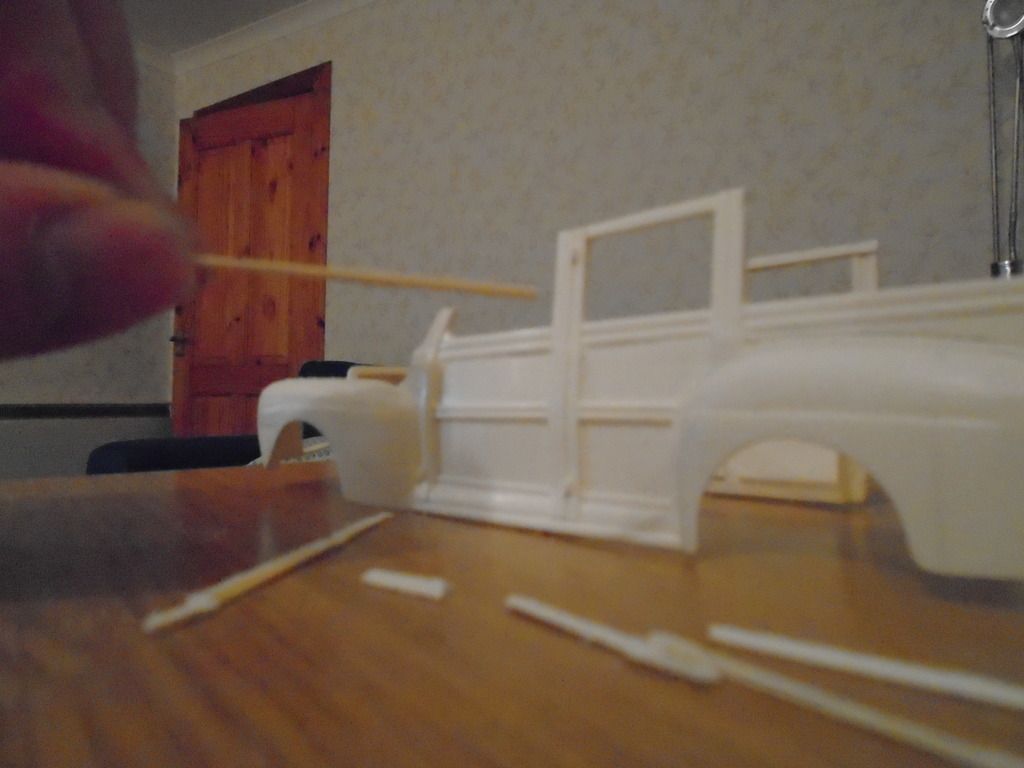 |
|
Deleted
Registered: Nov 27, 2024 13:18:02 GMT -7
Posts: 0
|
Post by Deleted on Feb 18, 2016 1:31:41 GMT -7
Nice work mate. smileyCA9464IN_zpsd9ee499f
|
|
|
|
Post by CoyoteCrunch on Feb 18, 2016 6:29:00 GMT -7
Wowzers man - superior work Les - awesome!!
|
|
|
|
Post by stitchdup on Feb 18, 2016 11:07:37 GMT -7
I cant take the credit guys, I'm learning from all of you folks
|
|
|
|
Post by Grandpabeast on Feb 18, 2016 12:29:54 GMT -7
That is some great work going on. I ve never seen plastic that didnt look better cut !!!
|
|
|
|
Post by stitchdup on Feb 18, 2016 13:00:41 GMT -7
Thanks Beast, Just getting my moneys worth outta my saw and scalpel, lol.
|
|
|
|
Post by stitchdup on Feb 18, 2016 15:47:39 GMT -7
Sat down at the bench tonight and immediately had a problem. I had to get both edges flat for gluing the section back together but the dremel would have been too fast/aggressive to use. After staring blankly into space for ten mins the idea arrived and couldn't have been simpler. I taped a bit of 240 grit to the flat part of bench (after clearing a load of crap outta the way, lol) and then using even pressure sanded the edges a little to get both flat. It worked better than I could have hoped for and now the top edge is glued on. 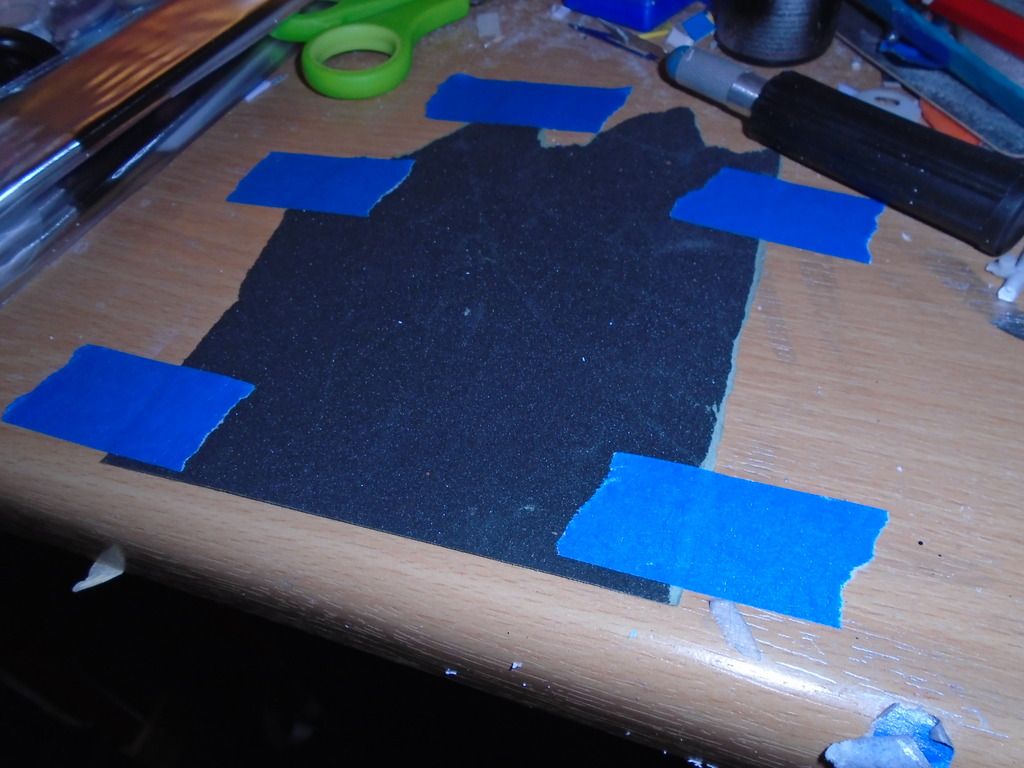 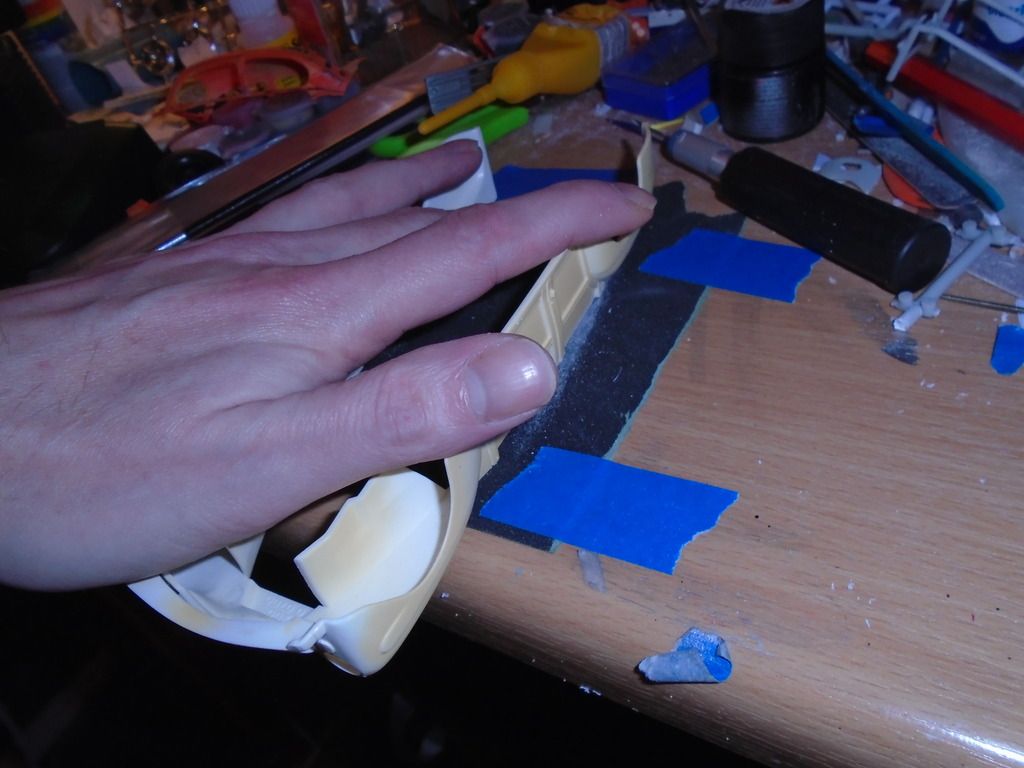 Next I had to choose an engine so remembering I stole the suspension from a mustang cobra, I chose the engine/rear axle from it which led to my next issue. There is no way it will fit under the stock floor. So I went back to the mustang and quickly chopped out it's trans tunnel from the interior with the dremel. Now I have to trim it and the stock floor (thickest plastic I've seen on a kit yet) to fit together, which led to the next problem. I've lost the instructions for the engine so have posted in help for a pic of the engine part. Other than the trans tunnel I think it should fit with just small mods to the oil pan and making some new mounts. 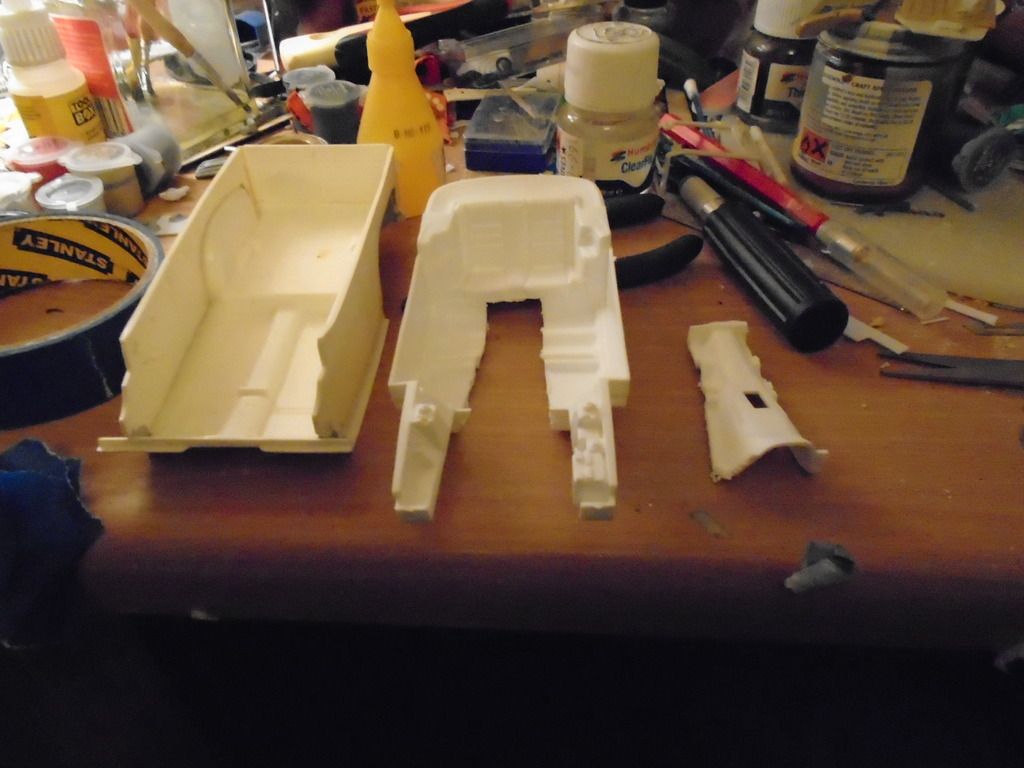 |
|
|
|
Post by jmccann630 on Feb 18, 2016 15:57:08 GMT -7
Coming along nicely Stitch..Can't wait to see more!
|
|
|
|
Post by stitchdup on Feb 18, 2016 16:18:44 GMT -7
Thanks, I think I've found a grille and bumper for the front now too, and I have a plan for the rear to use up some parts out of the scrap box
|
|
|
|
Post by sharp on Feb 18, 2016 18:50:03 GMT -7
Looking good buddy!!
|
|
Deleted
Registered: Nov 27, 2024 13:18:02 GMT -7
Posts: 0
|
Post by Deleted on Feb 19, 2016 0:31:07 GMT -7
Good work mate, i use that sanding trick quite a lot, especially on some small stuff, it's a lot more accurate than a file.
|
|
|
|
Post by stitchdup on Feb 19, 2016 2:05:44 GMT -7
Thanks guys
|
|
|
|
Post by CoyoteCrunch on Feb 19, 2016 6:04:13 GMT -7
Krazy Kuttin man - Krazy!!
Love it though... two-thumbs-up-smiley-emoticon |
|
tubbs
Loyal Member
   Registered: Jul 24, 2013 5:02:43 GMT -7
Posts: 1,017
|
Post by tubbs on Feb 19, 2016 8:20:40 GMT -7
coming along nicely... just watch them fingers when cutting.
|
|