Deleted
Registered: Nov 24, 2024 5:15:31 GMT -7
Posts: 0
|
Post by Deleted on Oct 22, 2013 20:03:05 GMT -7
Finally narrowed it down to this one. It's a Jimmy Flintstone resin piece. I had heard that JF bodies were very think and they weren't kidding. After the 32 Vicky I just finished, I'm hoping I can do this one justice. The more I look at the body, the more I think, "oh crap!" 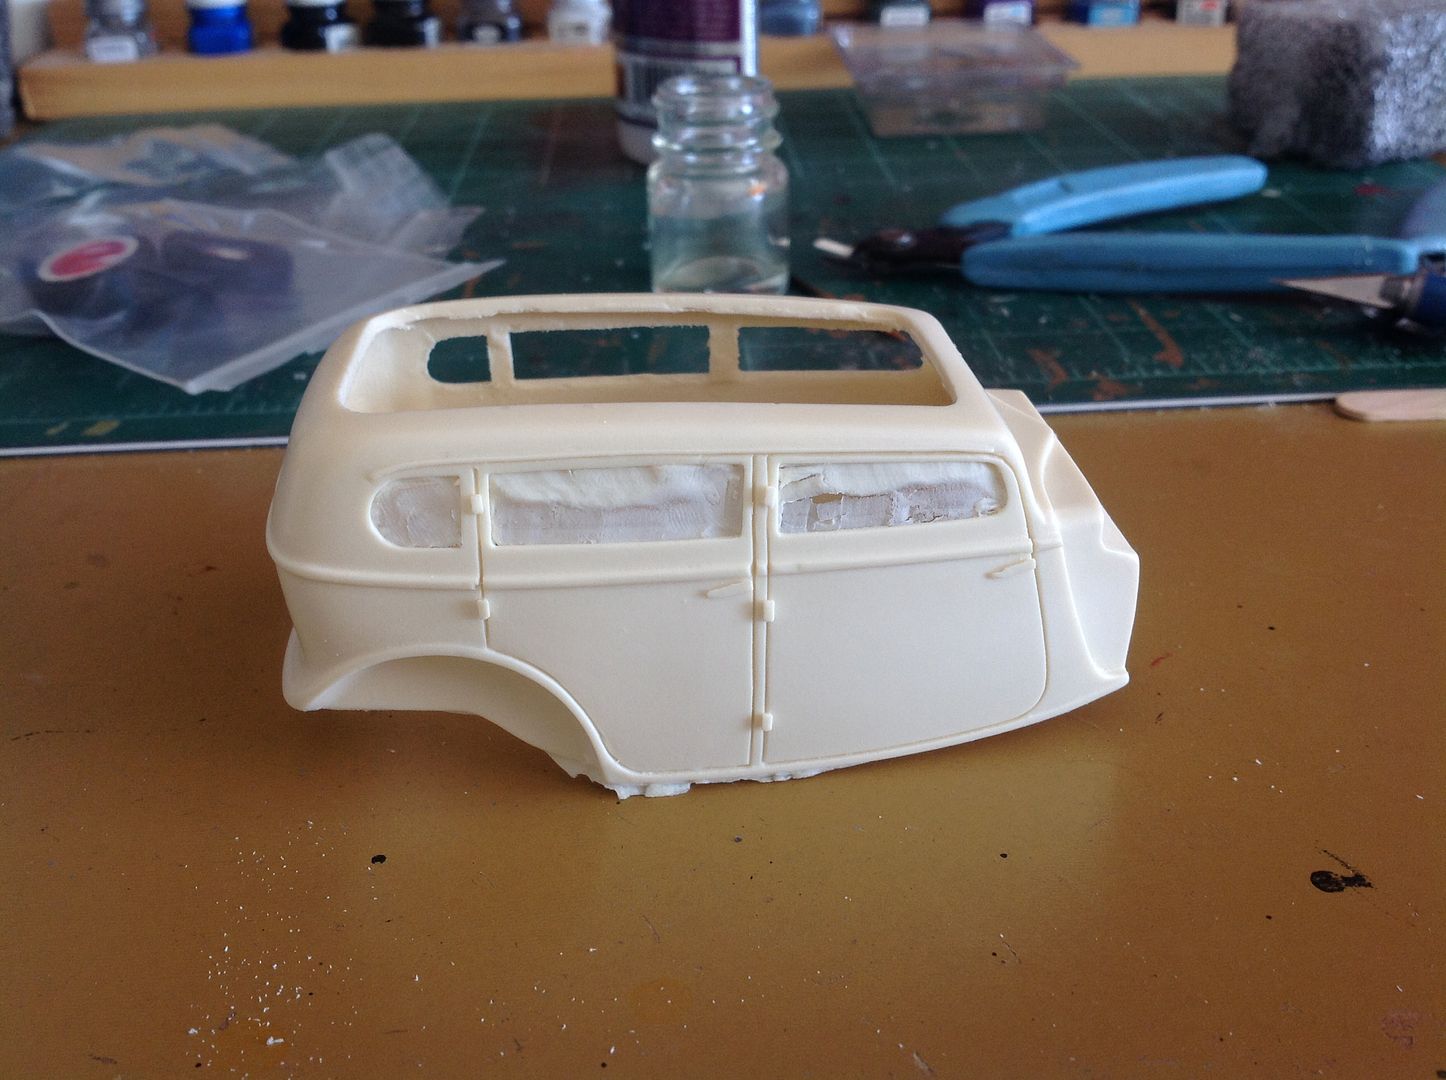 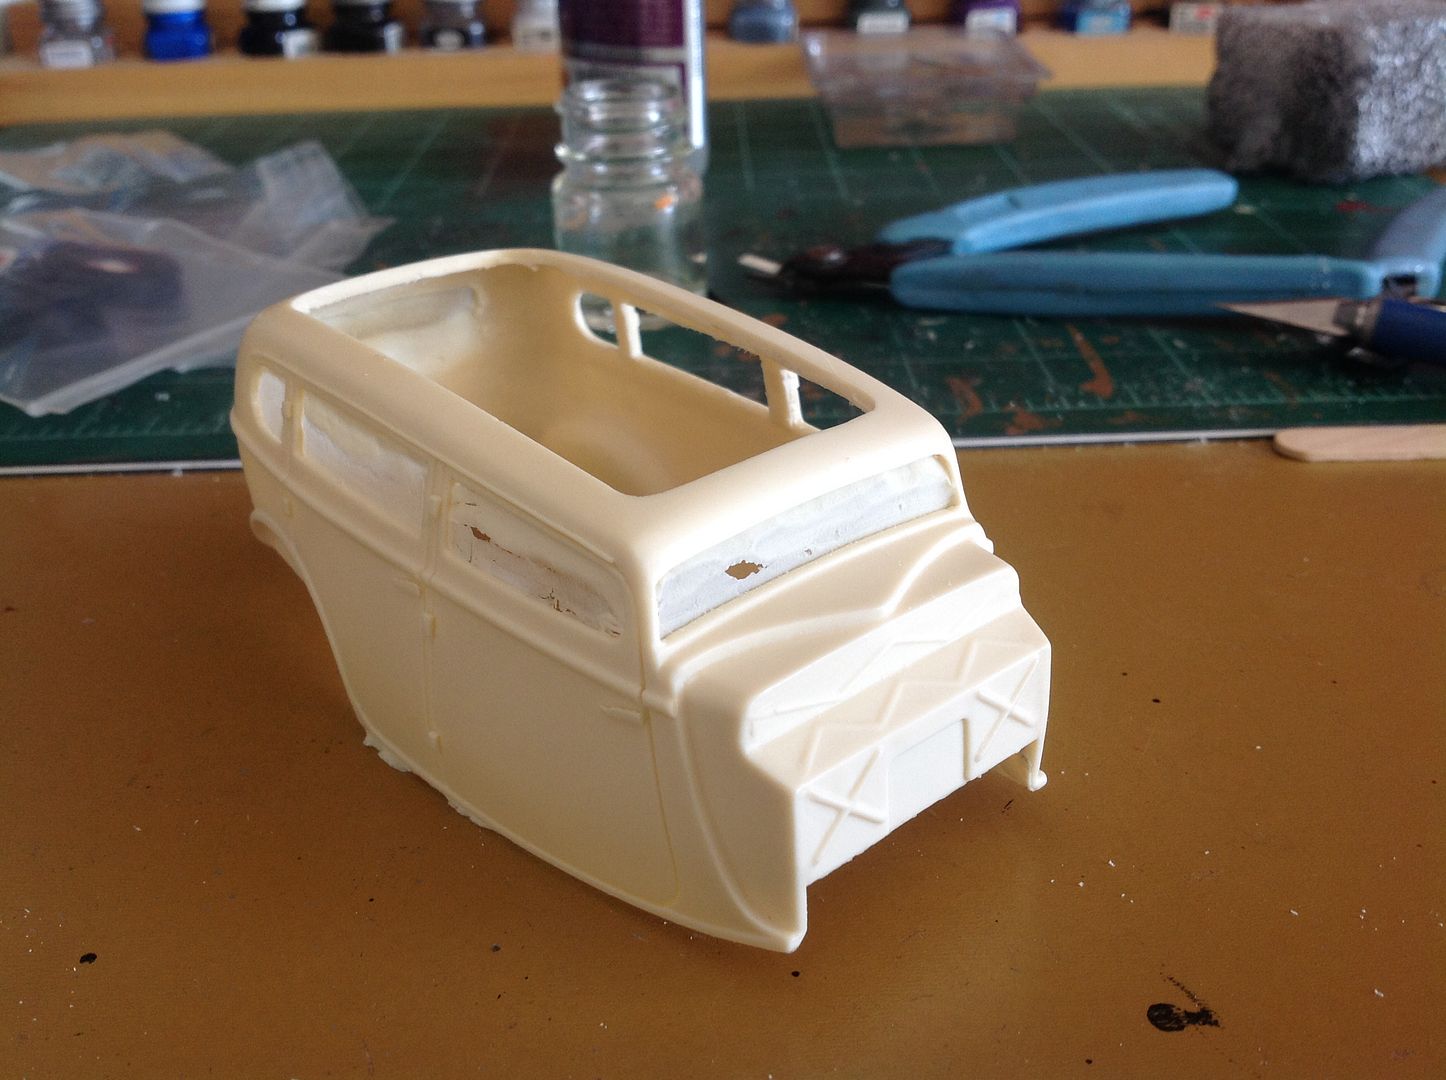 |
|
|
|
Post by Skip-O-Matic on Oct 22, 2013 20:18:35 GMT -7
I'm sure you will do this justice. This will be cool.
The two Flintstone bodies I just got do seem a bit thick, especially the Corvette station wagon. I haven't found any pinholes or air bubbles that I can see, but there will definitely be quite a bit of blocking them out.
|
|
|
|
Post by CustomMuscle on Oct 23, 2013 16:05:42 GMT -7
My resin body is a JF also but man already had to do a lot of cleaning and I ain't done yet. These resin builds are gunna be challenging foe sure. Not to mention painting issues. zzzzeeeessssseeeehhhhhhh !!
|
|
Deleted
Registered: Nov 24, 2024 5:15:31 GMT -7
Posts: 0
|
Post by Deleted on Oct 23, 2013 16:25:00 GMT -7
Yup. I think we should be able to learn quite a bit with this build. At least some patience. Lol
|
|
Deleted
Registered: Nov 24, 2024 5:15:31 GMT -7
Posts: 0
|
Post by Deleted on Oct 29, 2013 16:23:10 GMT -7
I don't think you'll have too much problem, that 32 was sweet, you'll nail this one as well.
|
|
Deleted
Registered: Nov 24, 2024 5:15:31 GMT -7
Posts: 0
|
Post by Deleted on Nov 2, 2013 21:34:21 GMT -7
|
|
|
|
Post by gardnerpag44 on Nov 2, 2013 21:51:07 GMT -7
Looking good Iceman hay isn't that the car Bonnie & Clyde got killed in ? No wait there's had fenders and wasn't chopped unless you count chopped full of bullet holes that is HE HE  |
|
Deleted
Registered: Nov 24, 2024 5:15:31 GMT -7
Posts: 0
|
Post by Deleted on Nov 2, 2013 21:54:20 GMT -7
Bullet holes!? Hmmm. I'll have to keep that in mind. Looks like this might be leaning towards a rat or because of so many donor parts I'm going to need.
|
|
|
|
Post by gardnerpag44 on Nov 2, 2013 22:00:15 GMT -7
Kool I got a machine gun !!
|
|
Deleted
Registered: Nov 24, 2024 5:15:31 GMT -7
Posts: 0
|
Post by Deleted on Nov 3, 2013 6:45:37 GMT -7
Kool I got a machine gun !! if it's to scale, how do you get all the little bullets in it  ice, looks like you're on your way to another killer build, looking great so far. |
|
|
|
Post by Grandpabeast on Nov 3, 2013 12:38:40 GMT -7
Very cool , like the stance !
|
|
Deleted
Registered: Nov 24, 2024 5:15:31 GMT -7
Posts: 0
|
Post by Deleted on Nov 17, 2013 16:31:29 GMT -7
|
|
|
|
Post by gardnerpag44 on Nov 17, 2013 17:50:48 GMT -7
That looks goo a lot of thought there Nice !
|
|
|
|
Post by Skip-O-Matic on Nov 17, 2013 20:42:47 GMT -7
This is coming along nicely Ice.
The mocked up stance is great and the Cadillac engine is a most excellent choice for this.
|
|
Deleted
Registered: Nov 24, 2024 5:15:31 GMT -7
Posts: 0
|
Post by Deleted on Nov 19, 2013 19:25:18 GMT -7
Thanks guys. Here's a quick update. Worked a little bit on the chassis. Since the exhaust, rear axle, and leaf spring are all molded on as one piece, I had to create the appearance of depth with a little bit of magic...oh and some paint.  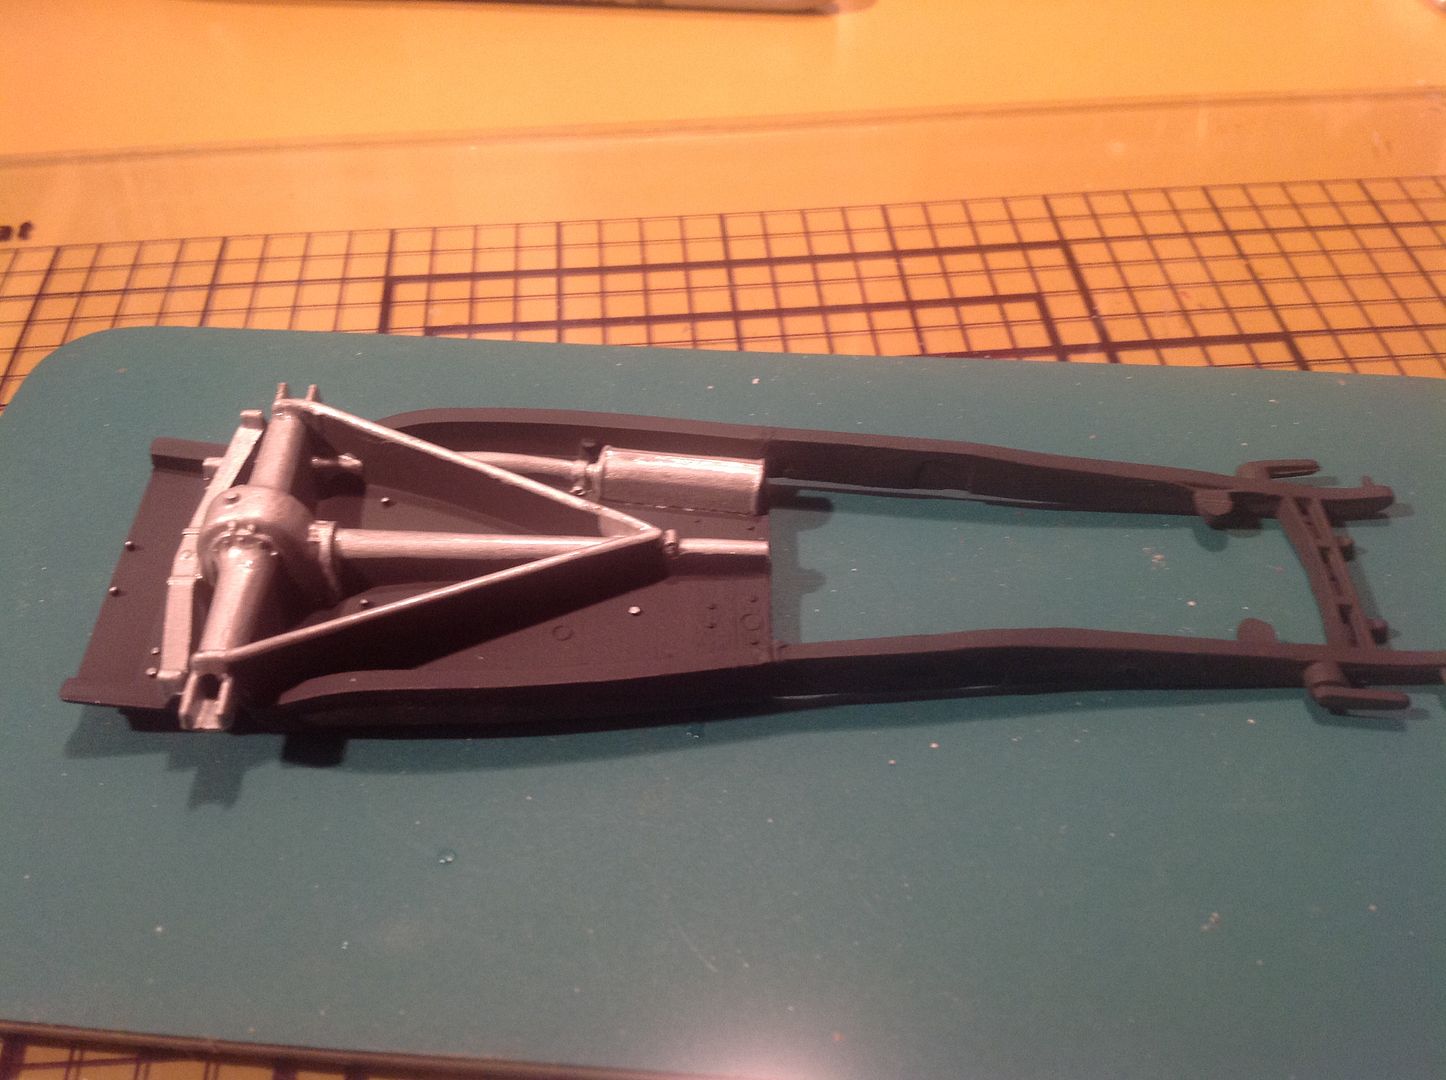 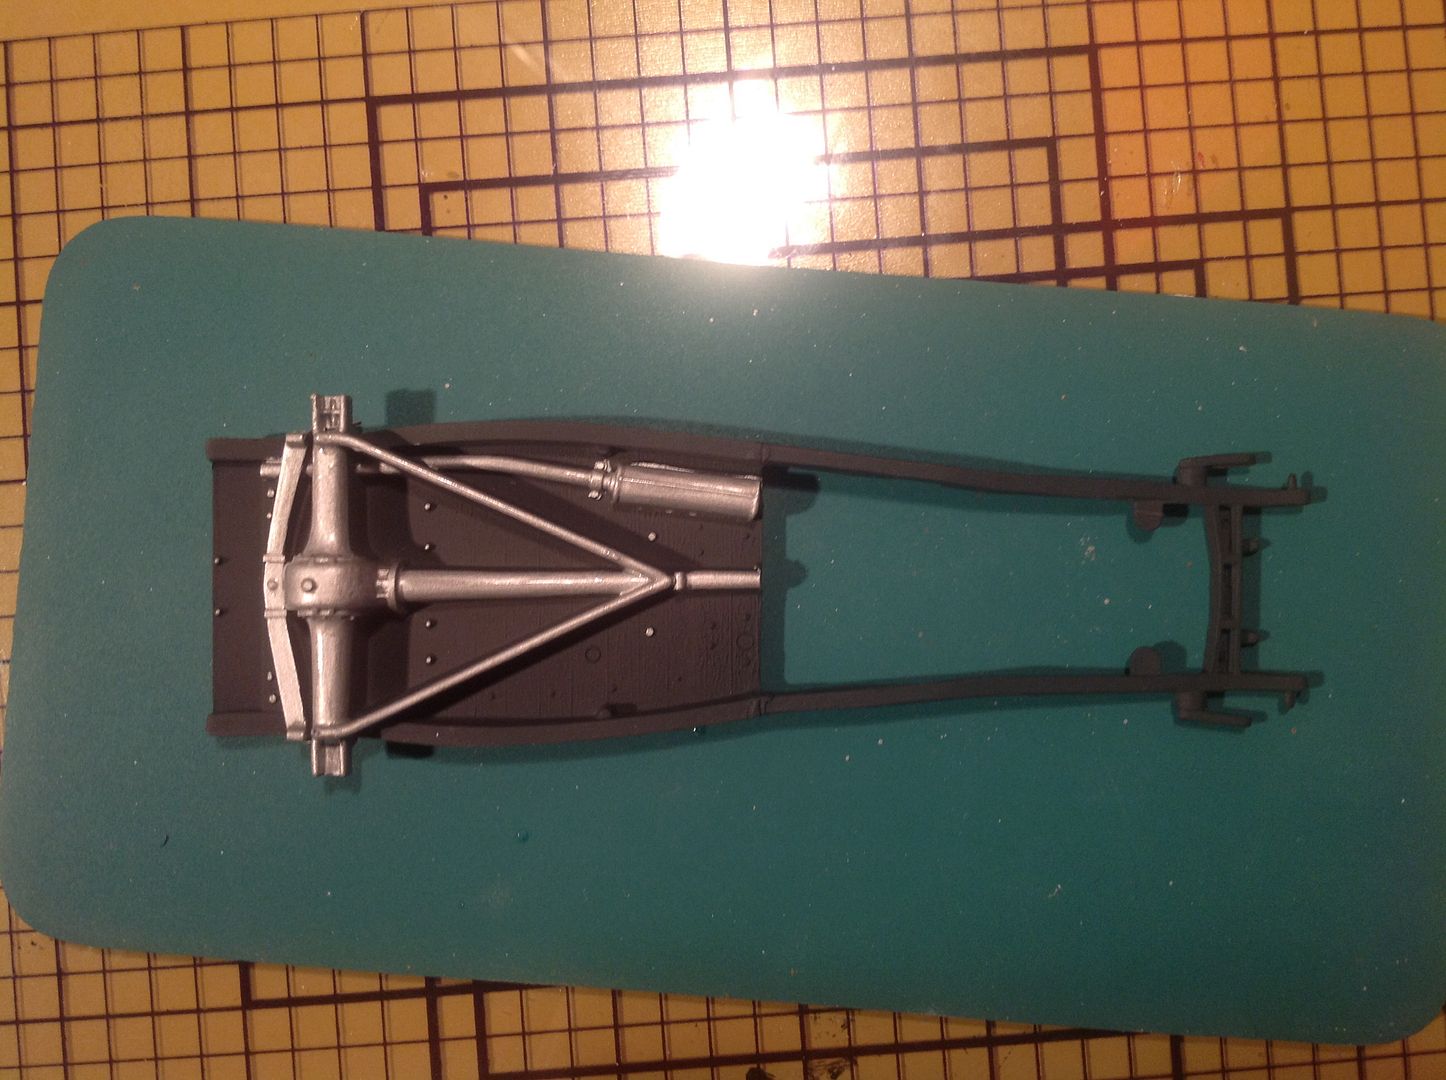 |
|
Deleted
Registered: Nov 24, 2024 5:15:31 GMT -7
Posts: 0
|
Post by Deleted on Nov 19, 2013 19:33:24 GMT -7
Someone had also asked for a tutorial on putting the Detail Master distributors together. I think it was Tim. Sorry I can remember exactly who but here's the one I'm using for this build. Now remember that this is how I out it together. Others might do it differently but this works for me. Here is everything that comes in the package. 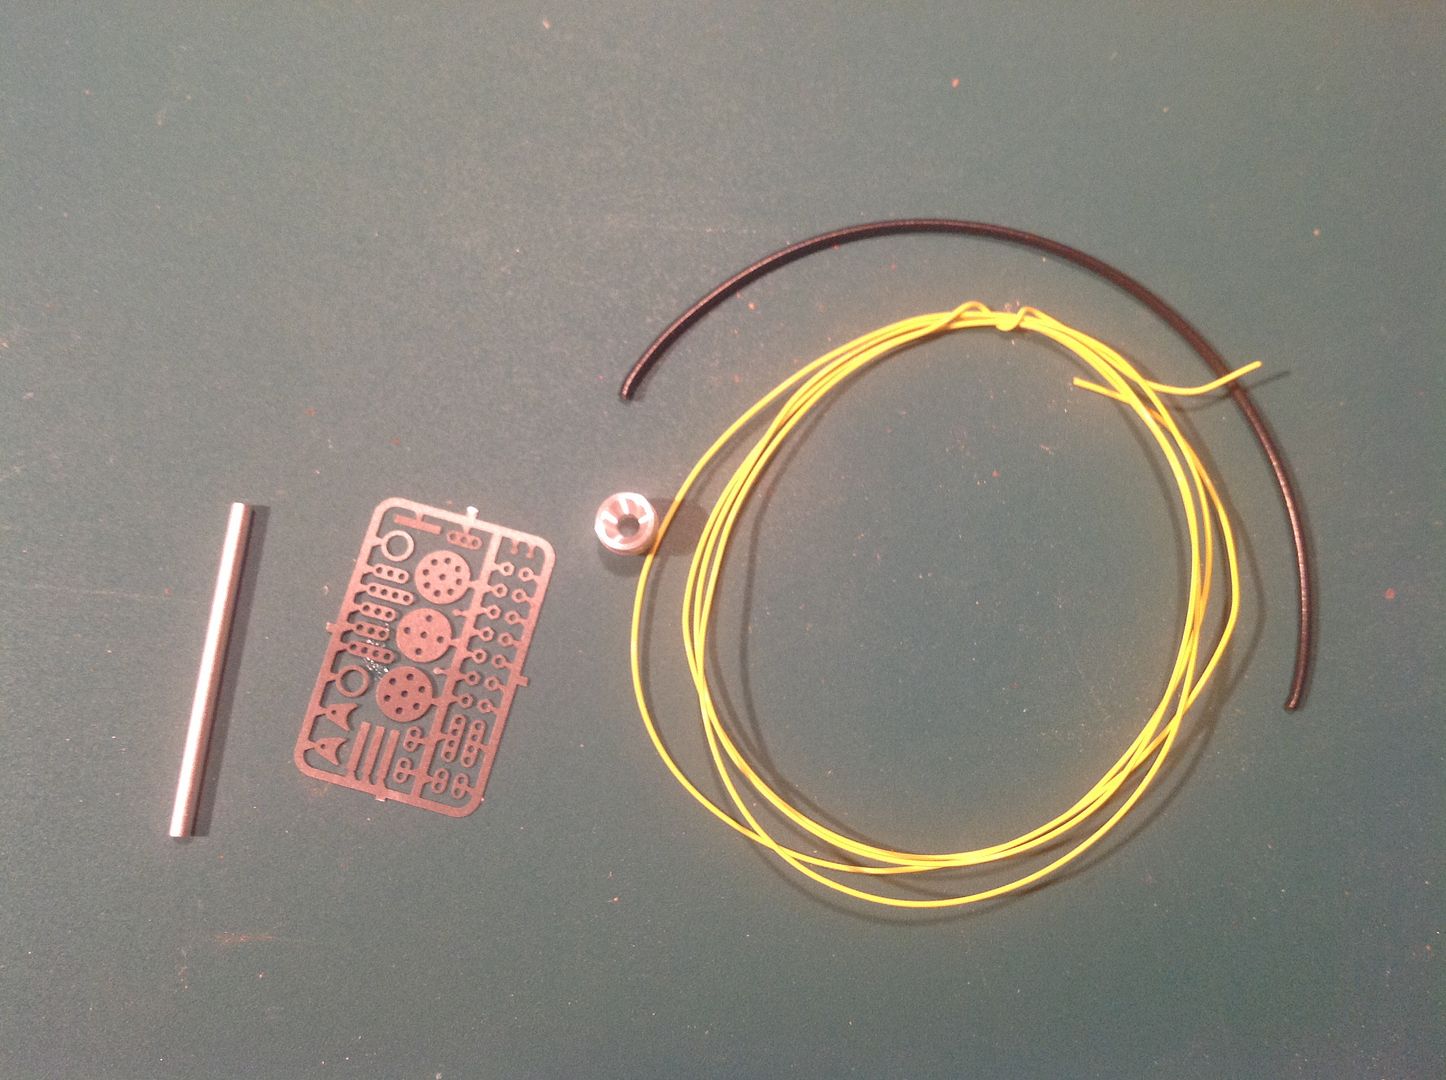 Ok first I put the rod in the ...ahem!...the distributor cap and add the cover. 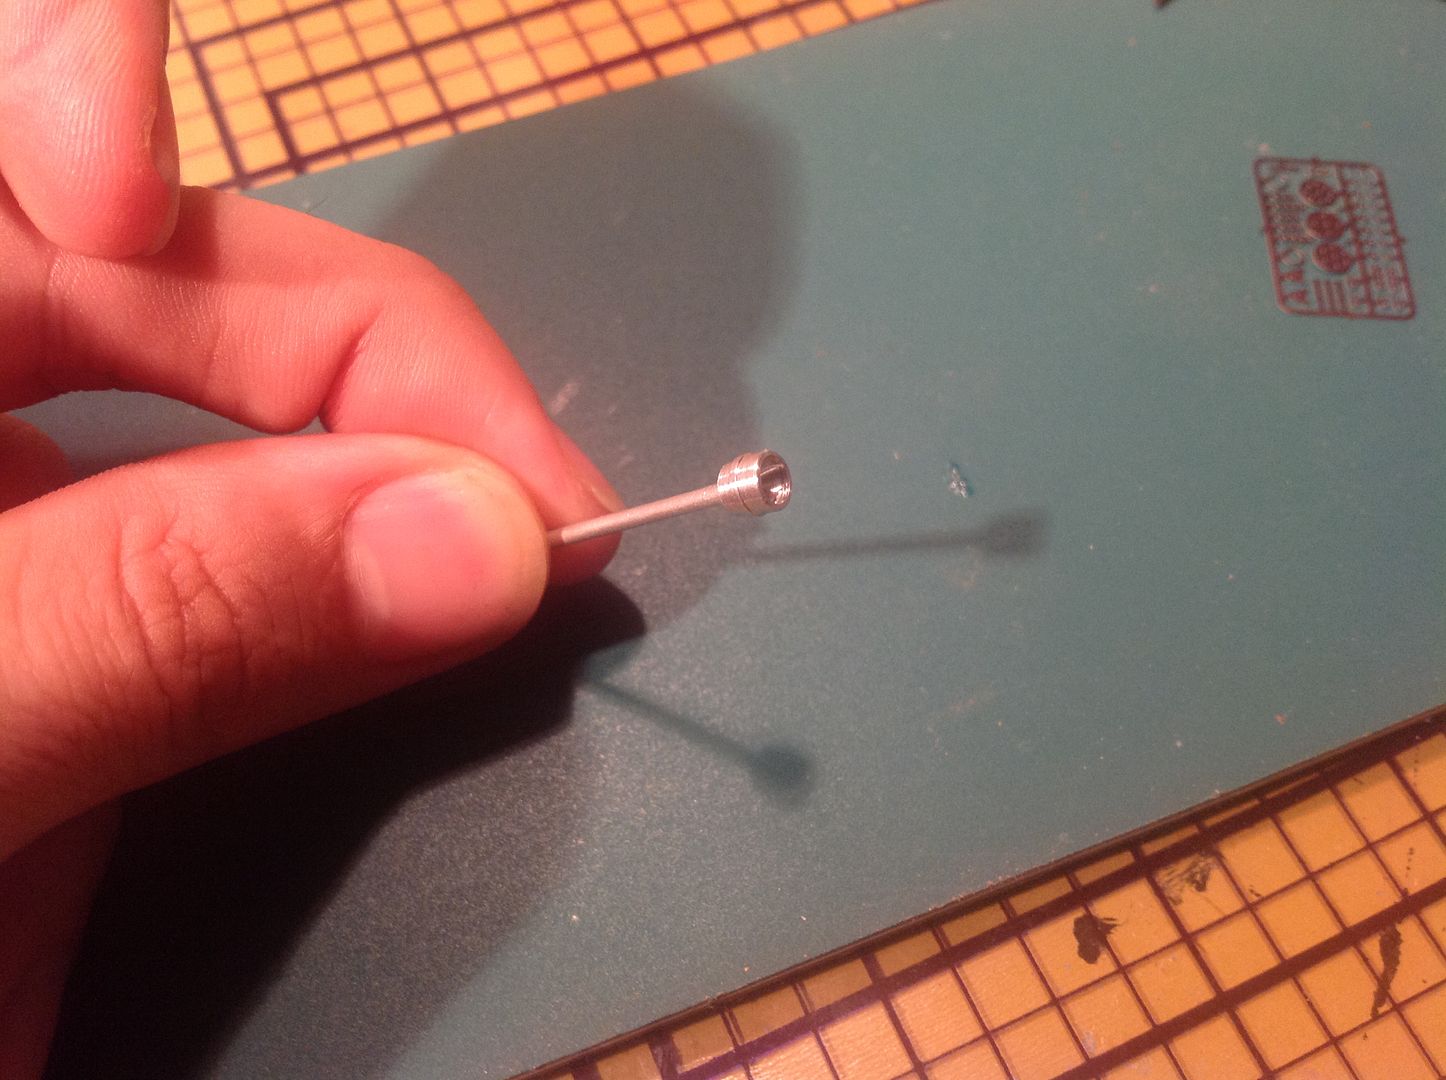 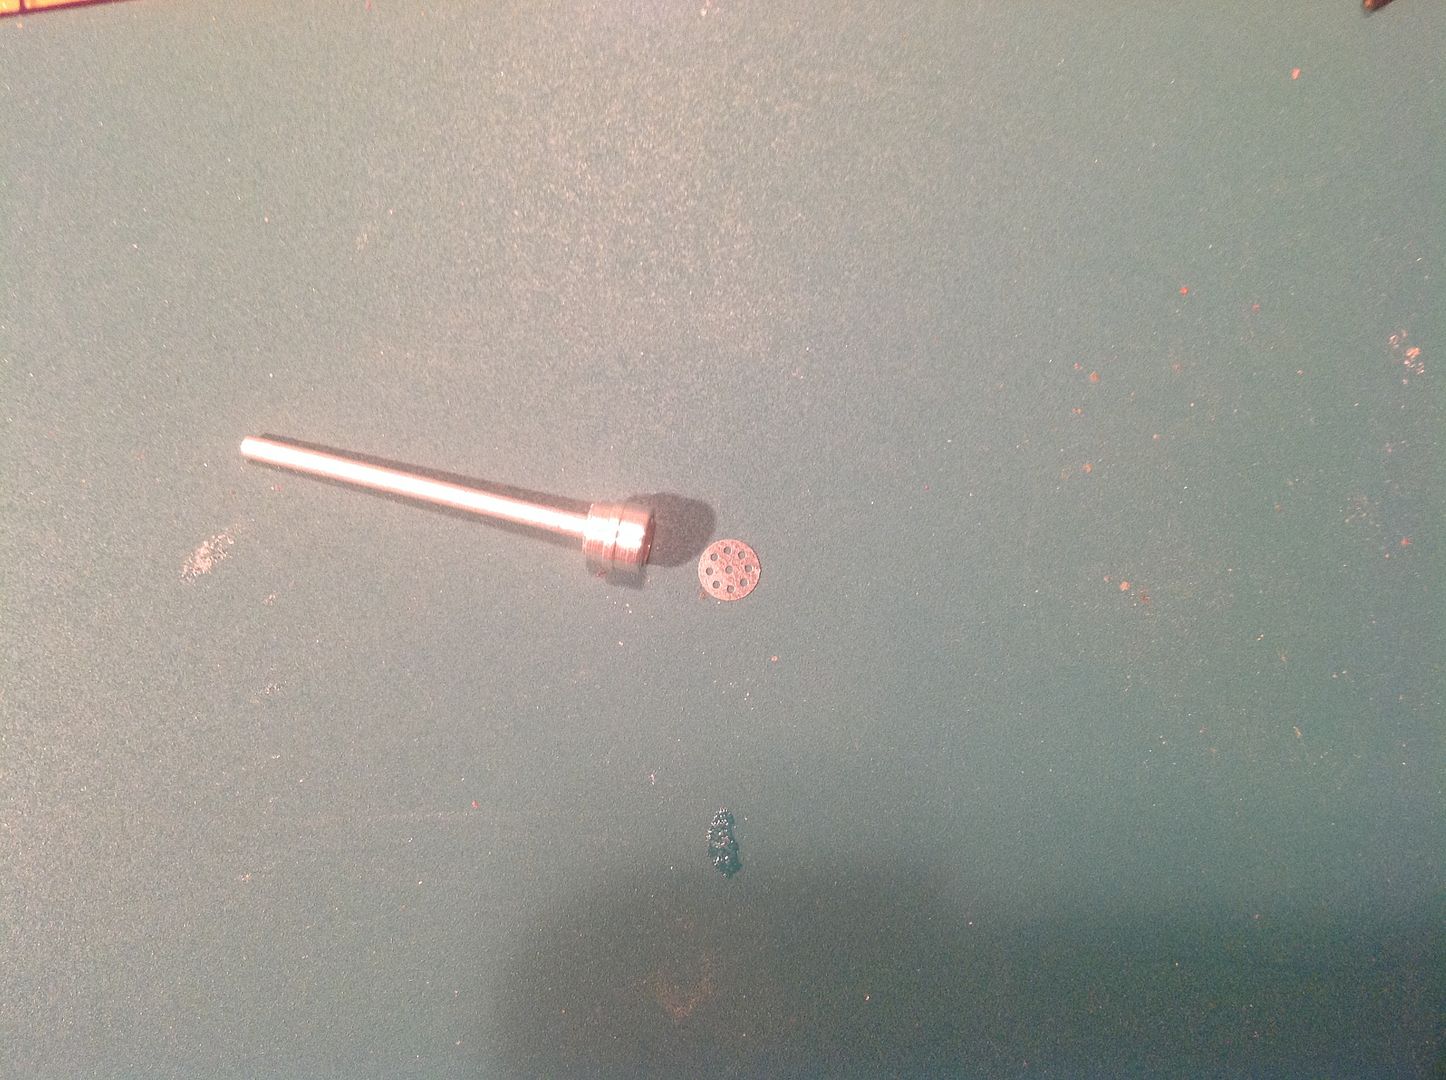 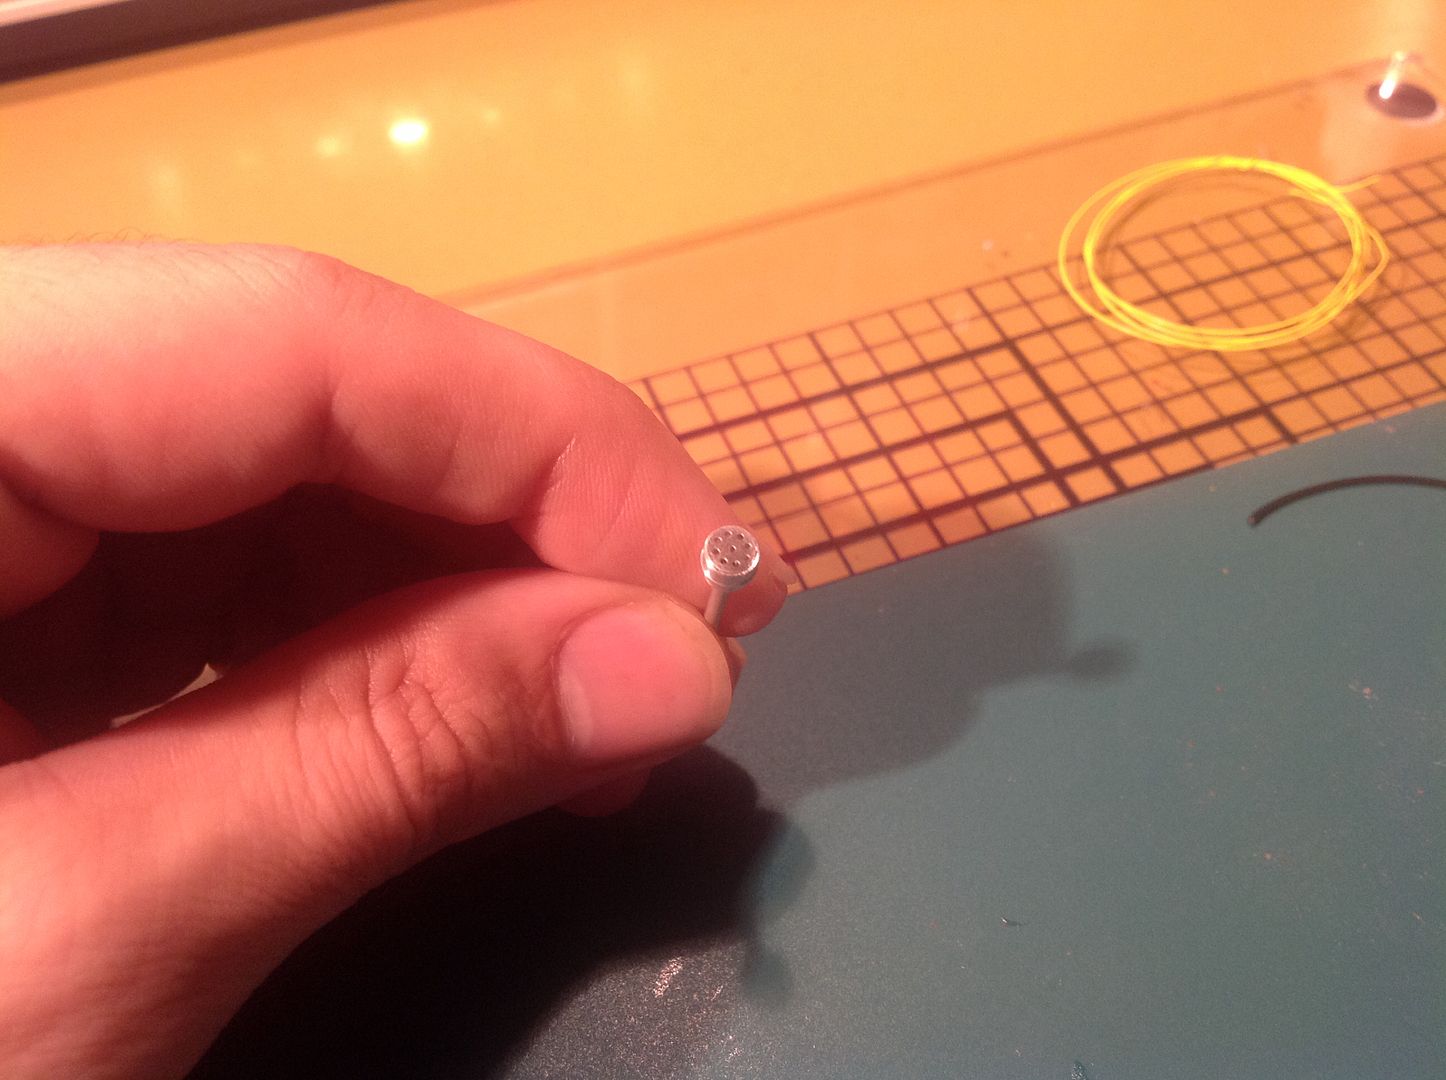 The brackets are folded into shape. And glued to the side with very little glue. Sometimes I do this at the end to avoid my fingers pushing them off. 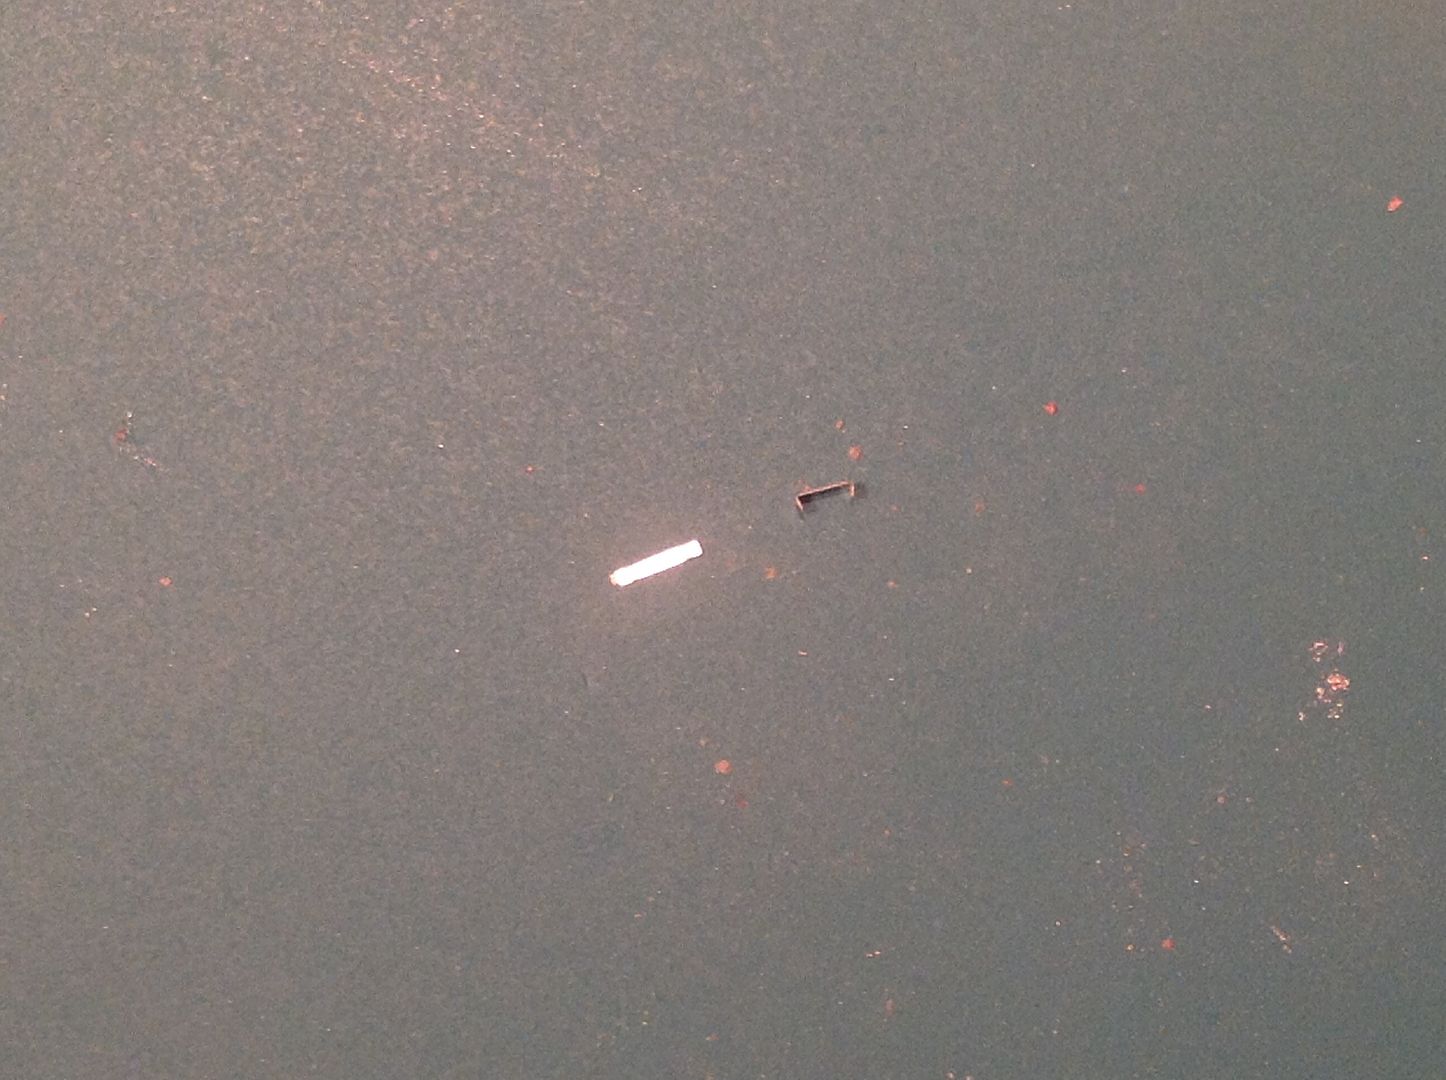 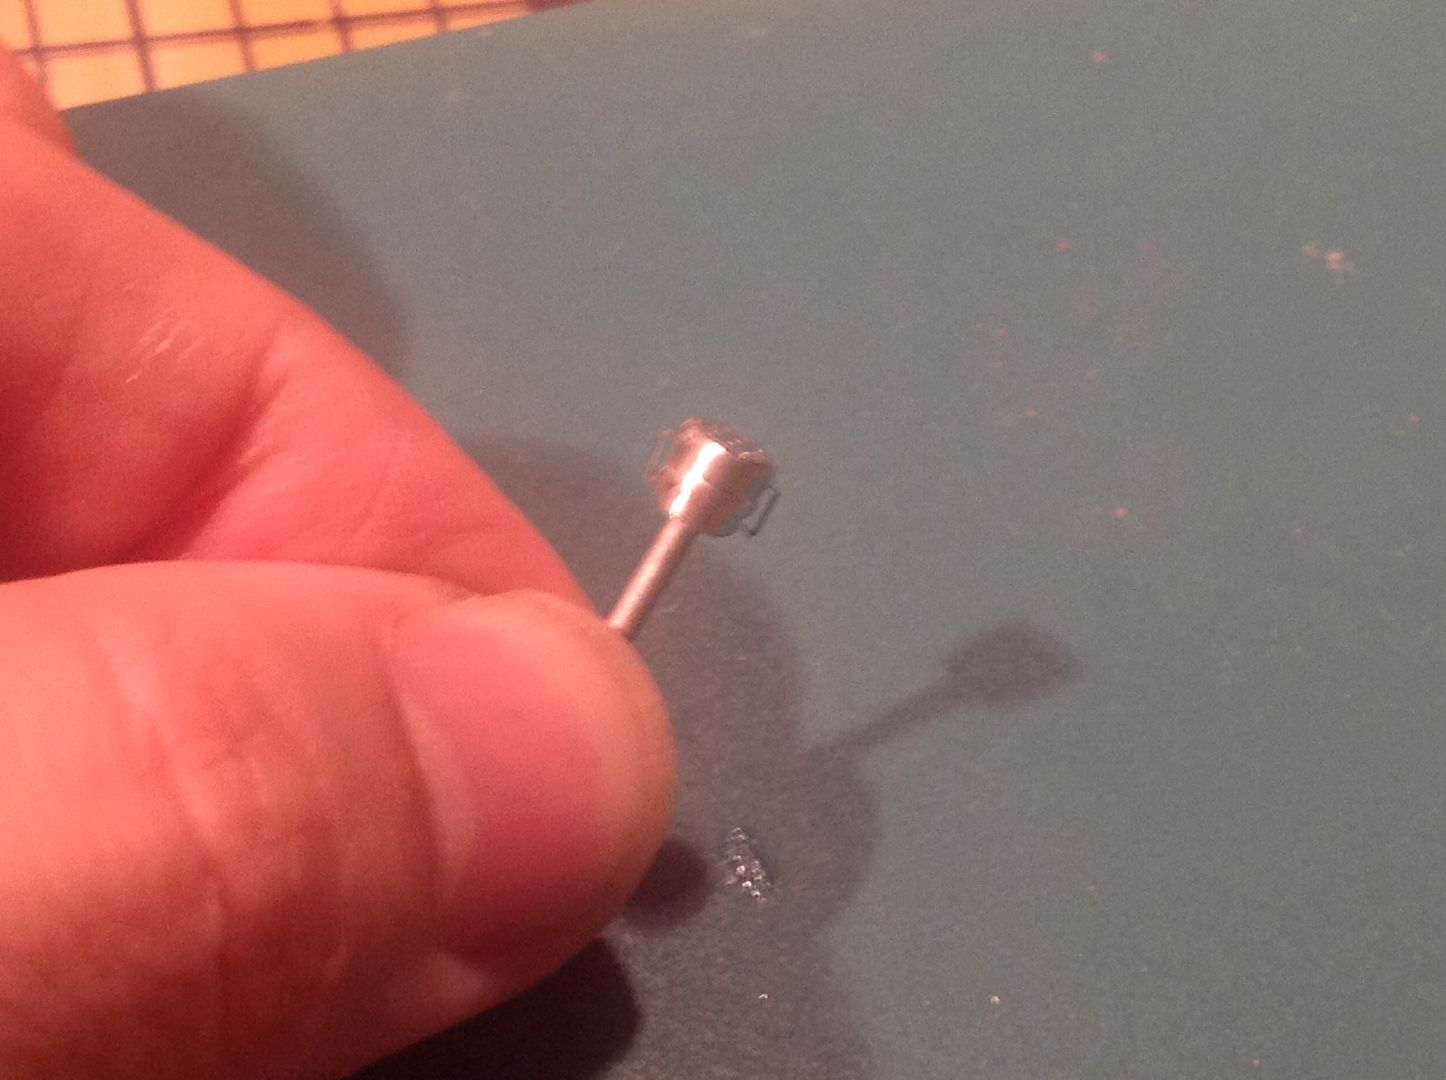 Next I take the colored wire and I cut it into 2.5 in pieces. 8 in this case for the V8. I dab the tip in glue and insert one in every hole of the cap. 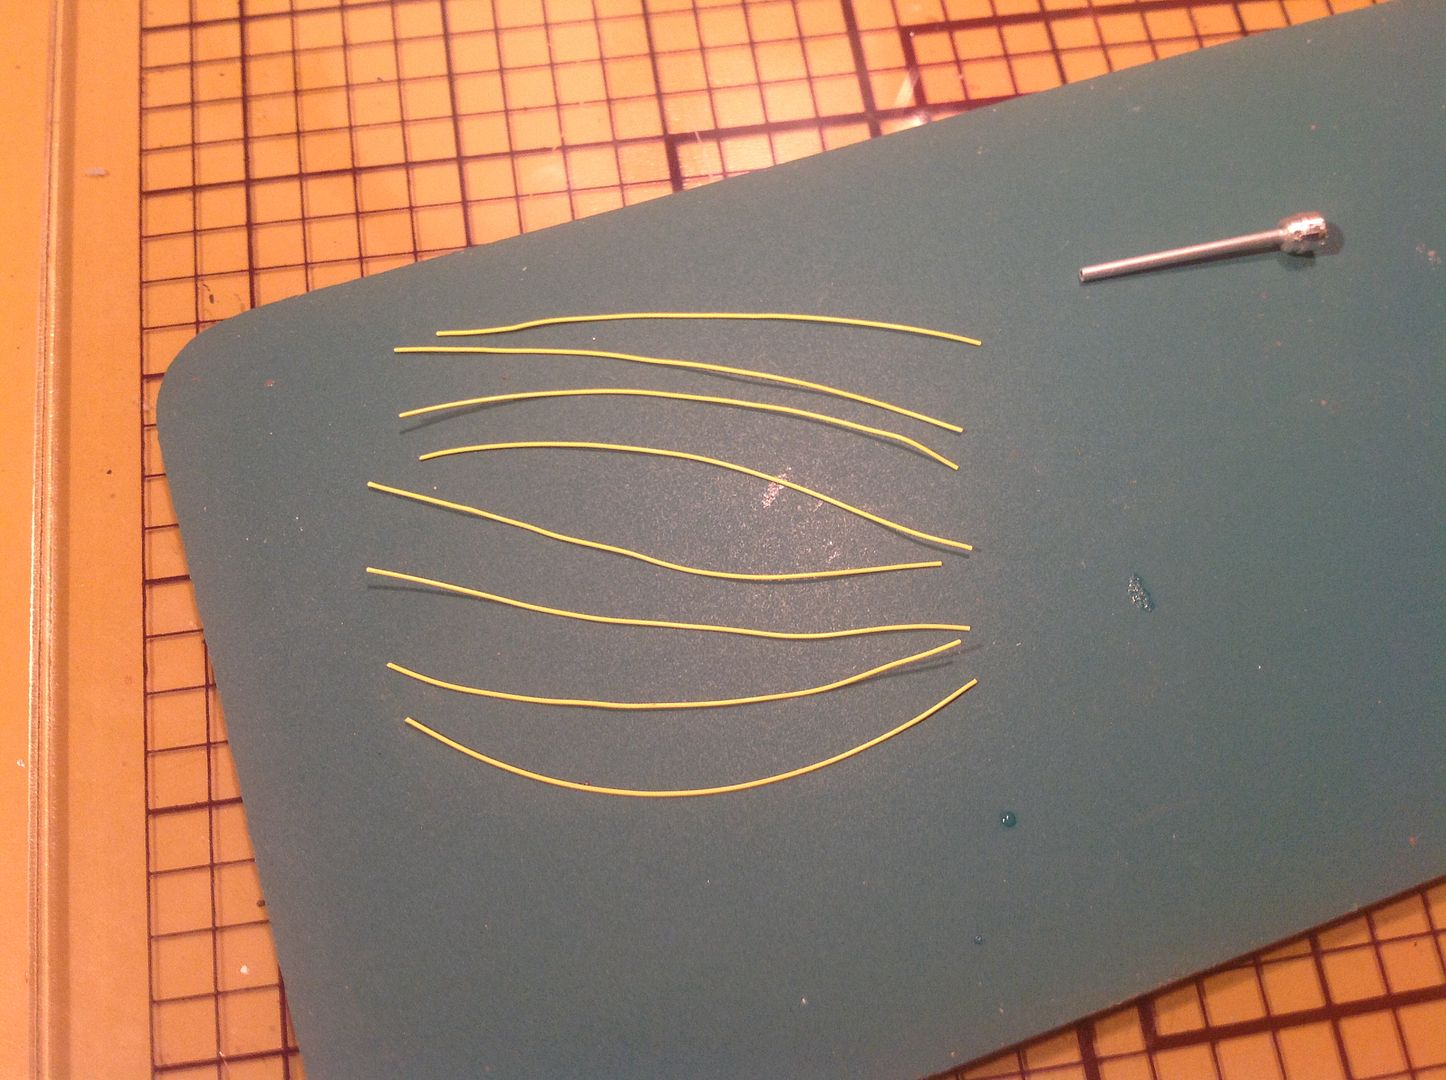 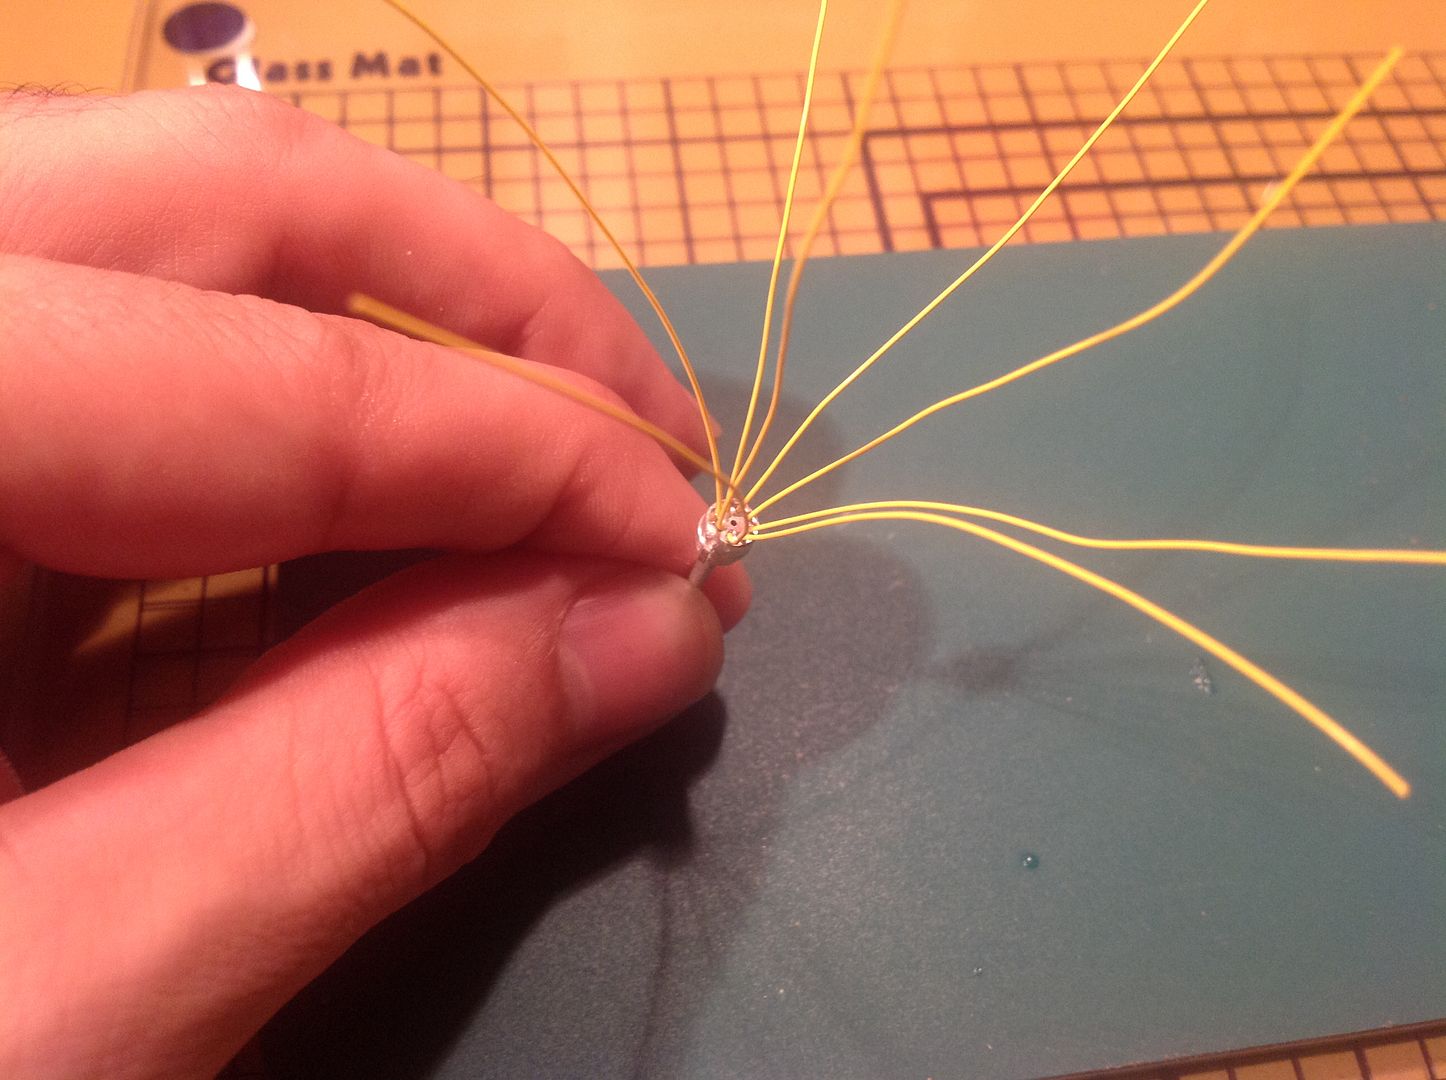 The center hole is for the distributor cable which I added and forgot to take pics of. You'll see it when I wire the engine and show the rest of the steps. I also forgot to paint it before adding the brackets so I removed them, painted the cap, and added them on again. I hope this helps and ask questions if you have them. |
|
|
|
Post by wheaton79chris on Nov 19, 2013 21:51:07 GMT -7
Hey guys not to hijack the thread but the bullet holes mentioned earlier I took a straight pin like in a new shirt heated it and stuck it through the plastic and then a toothpick dipped in silver paint and barely rich the holes for a bare metal look and it worked very well  once again sorry for hijacking the thread |
|
Deleted
Registered: Nov 24, 2024 5:15:31 GMT -7
Posts: 0
|
Post by Deleted on Nov 21, 2013 19:12:44 GMT -7
So continuing with the tutorial for the distributor. (I know it's more details than some of you want to see but I was asked to do this), Drilled holes for the boots 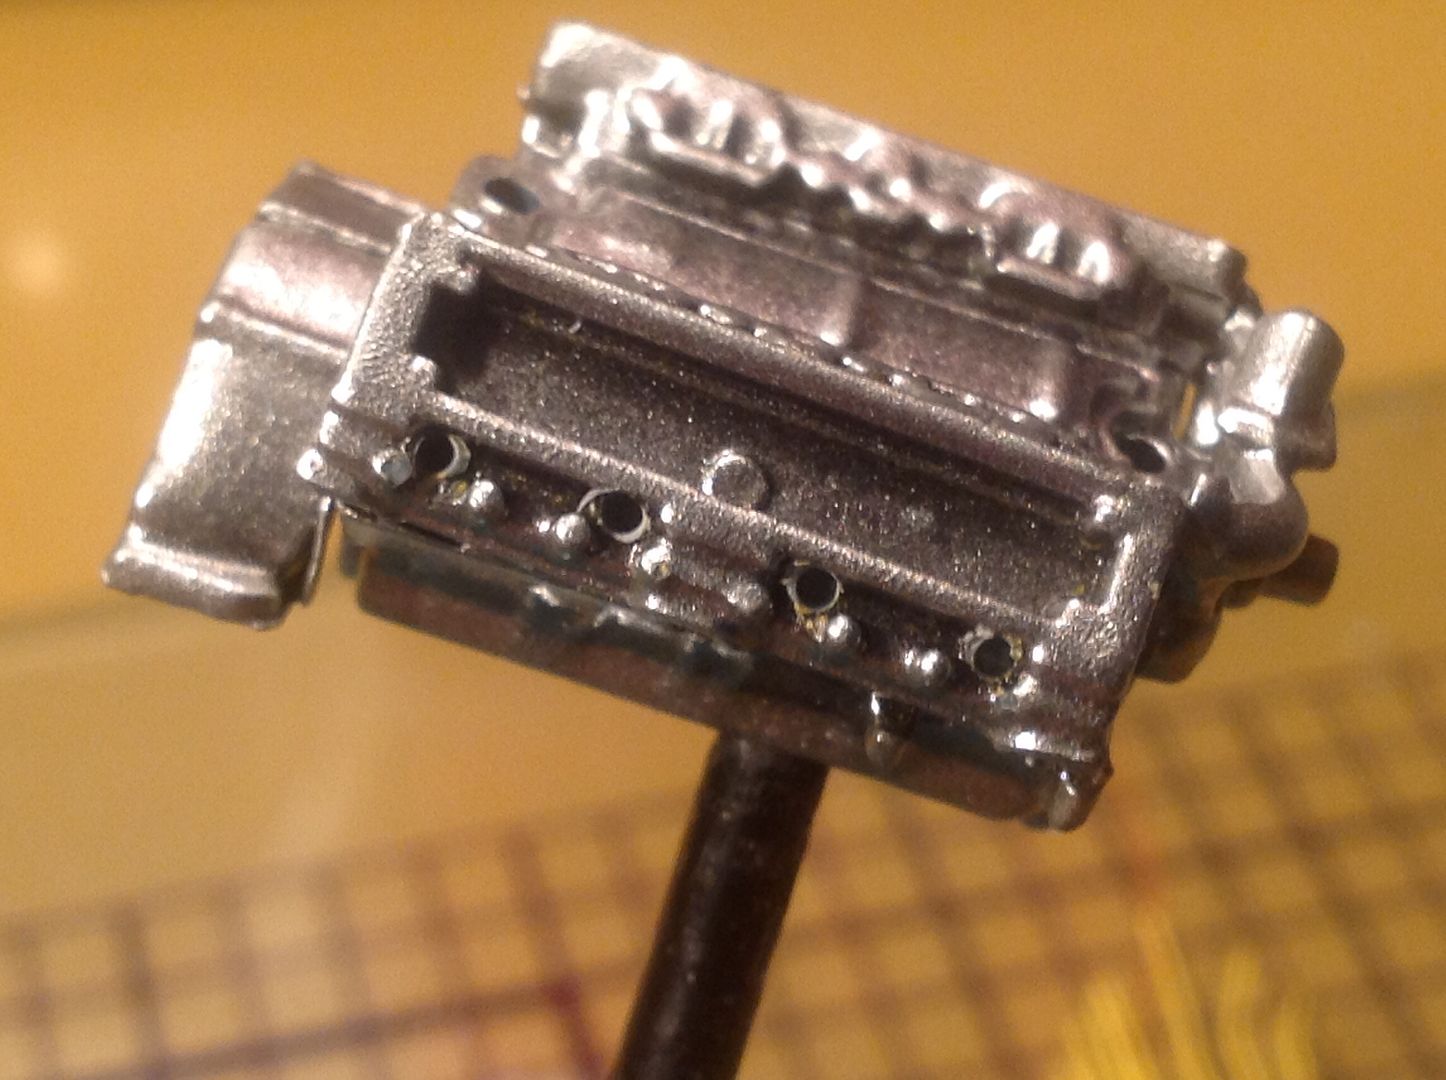 Cut them to side. 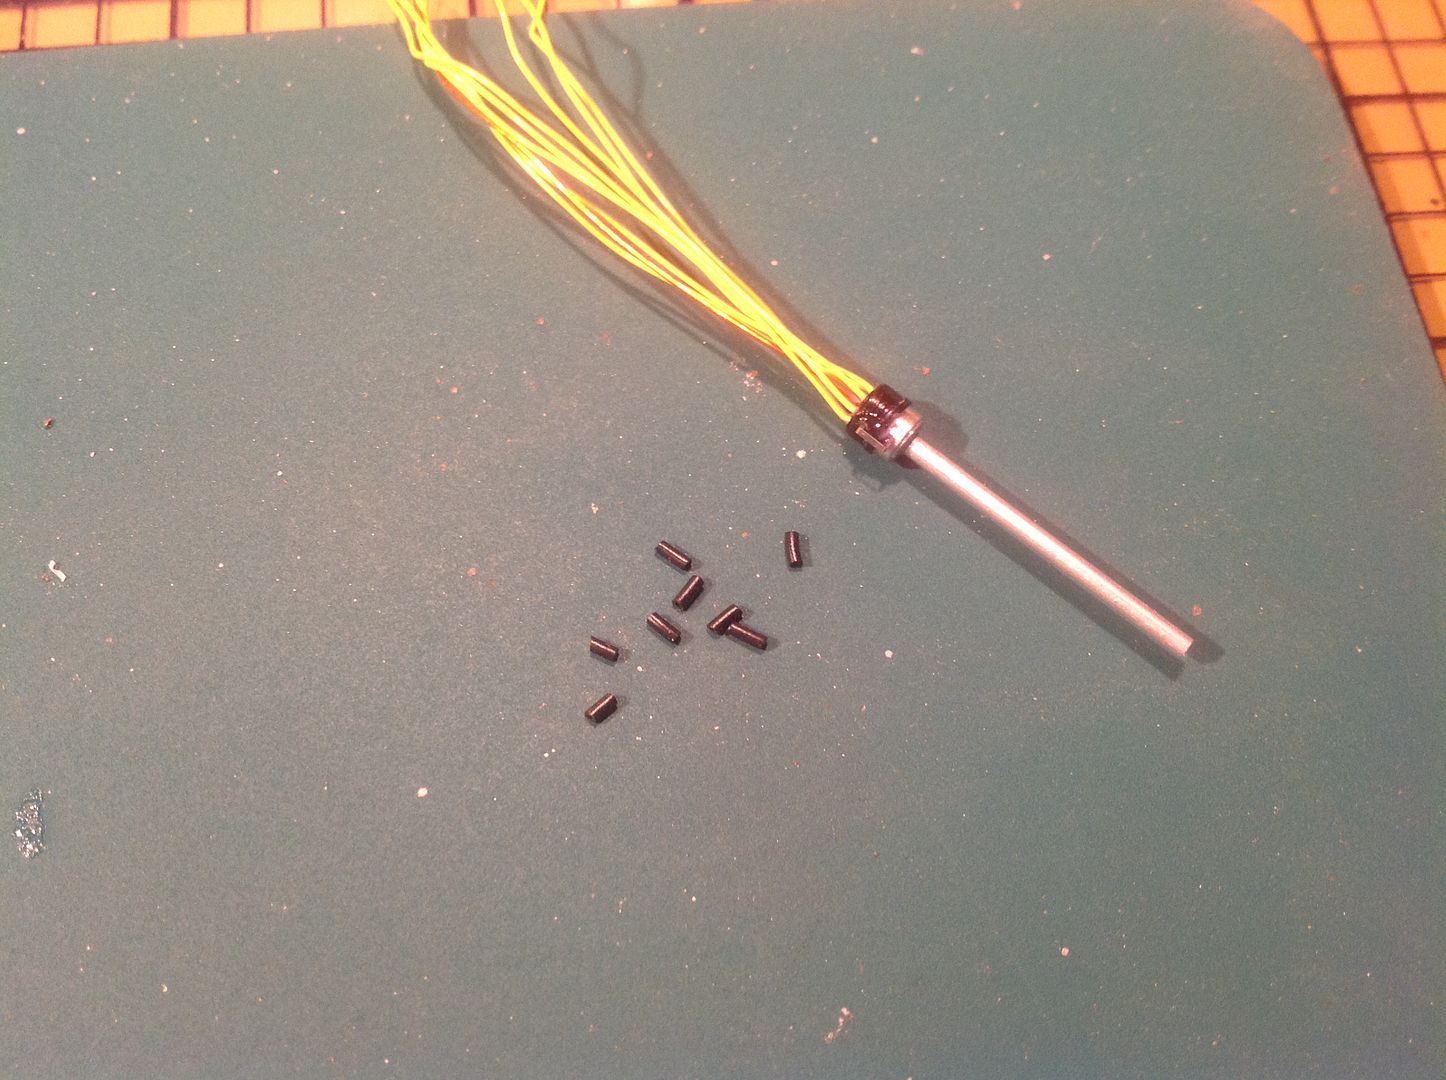 Put them into place. 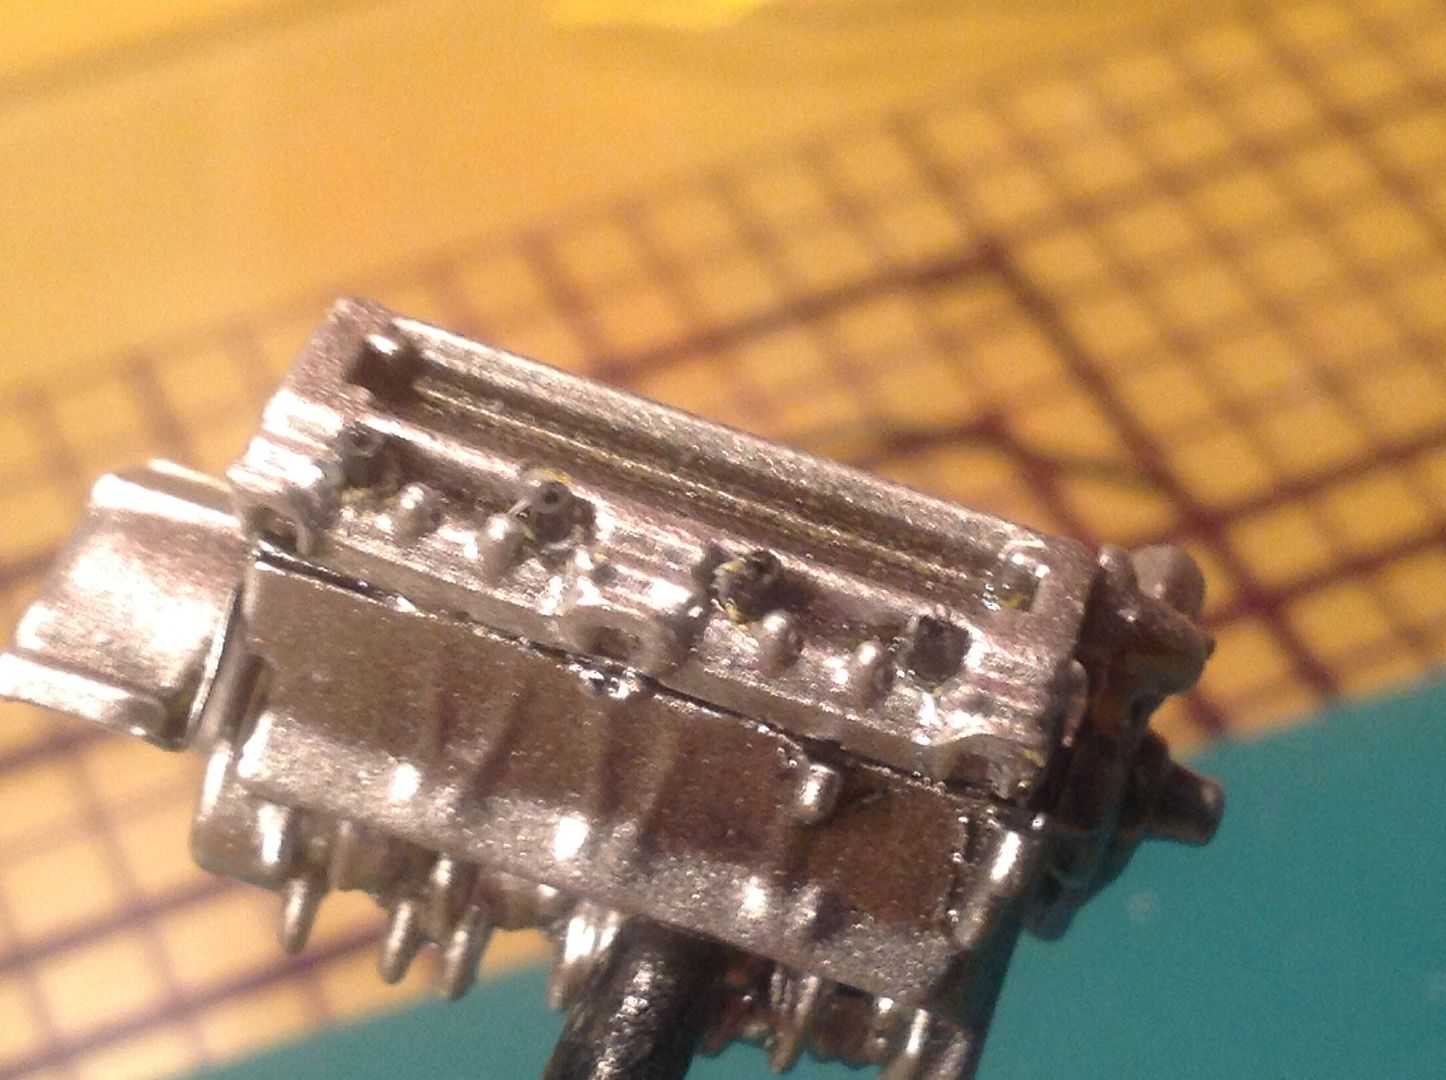 Here's it is from afar. Will wire the distributor in the next few days. |
|
Deleted
Registered: Nov 24, 2024 5:15:31 GMT -7
Posts: 0
|
Post by Deleted on Nov 21, 2013 19:14:26 GMT -7
|
|
|
|
Post by gardnerpag44 on Nov 21, 2013 19:43:25 GMT -7
This is coming along great Ice. Also great tutorial on the distributor  |
|
Deleted
Registered: Nov 24, 2024 5:15:31 GMT -7
Posts: 0
|
Post by Deleted on Nov 24, 2013 1:58:41 GMT -7
Pulleys and belts added. 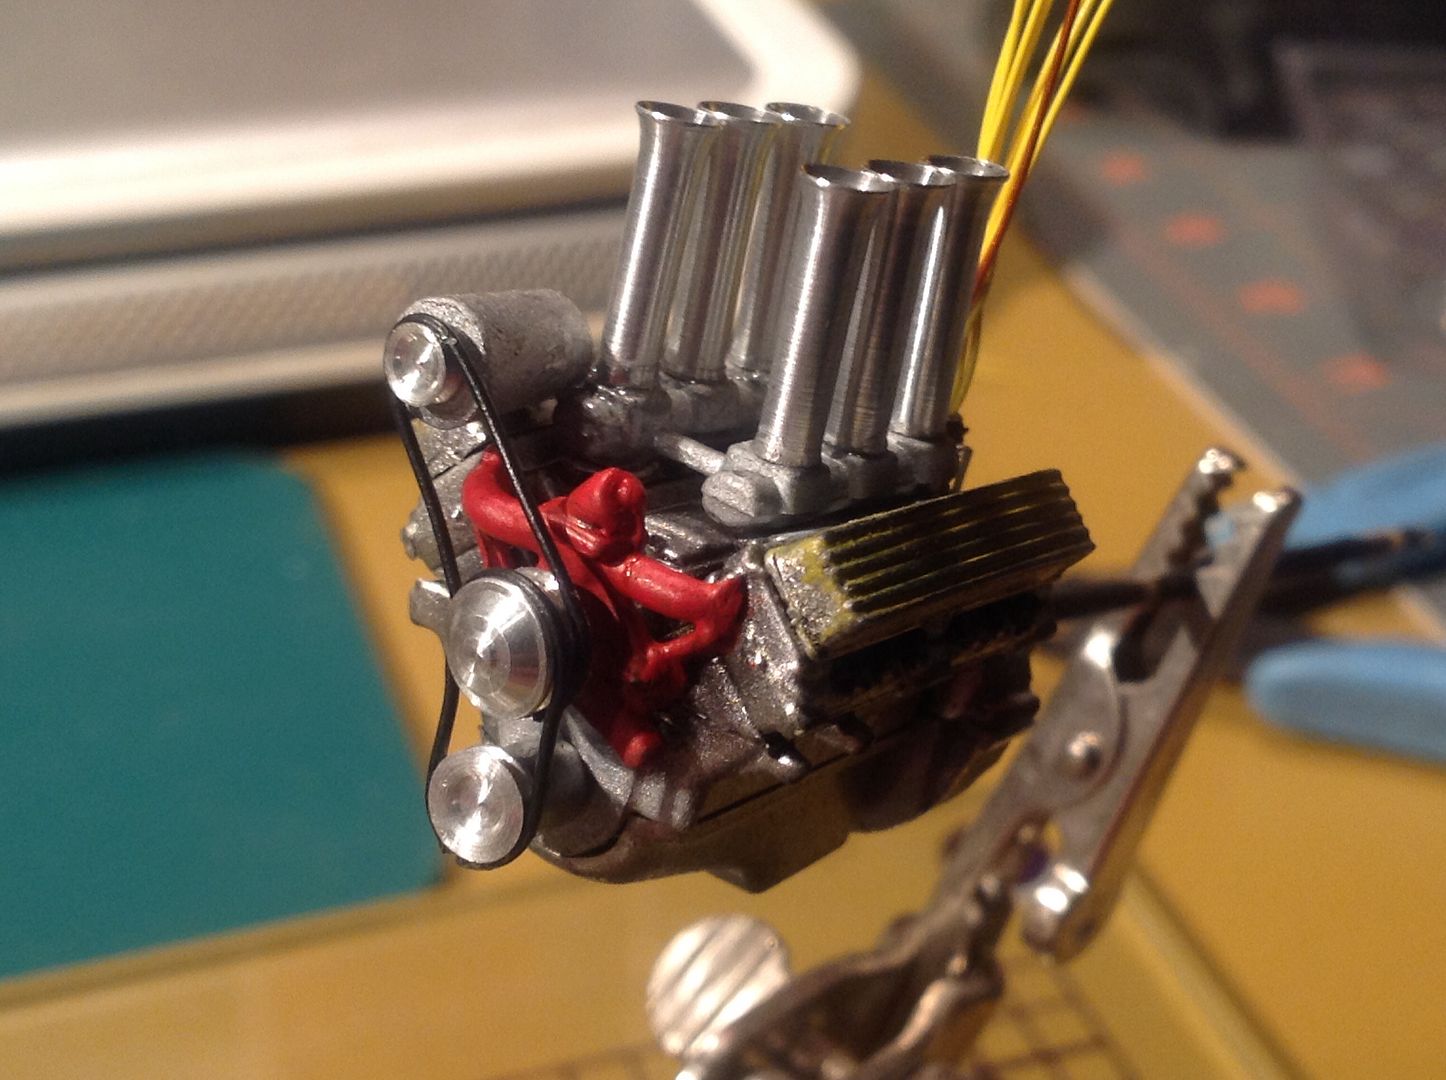 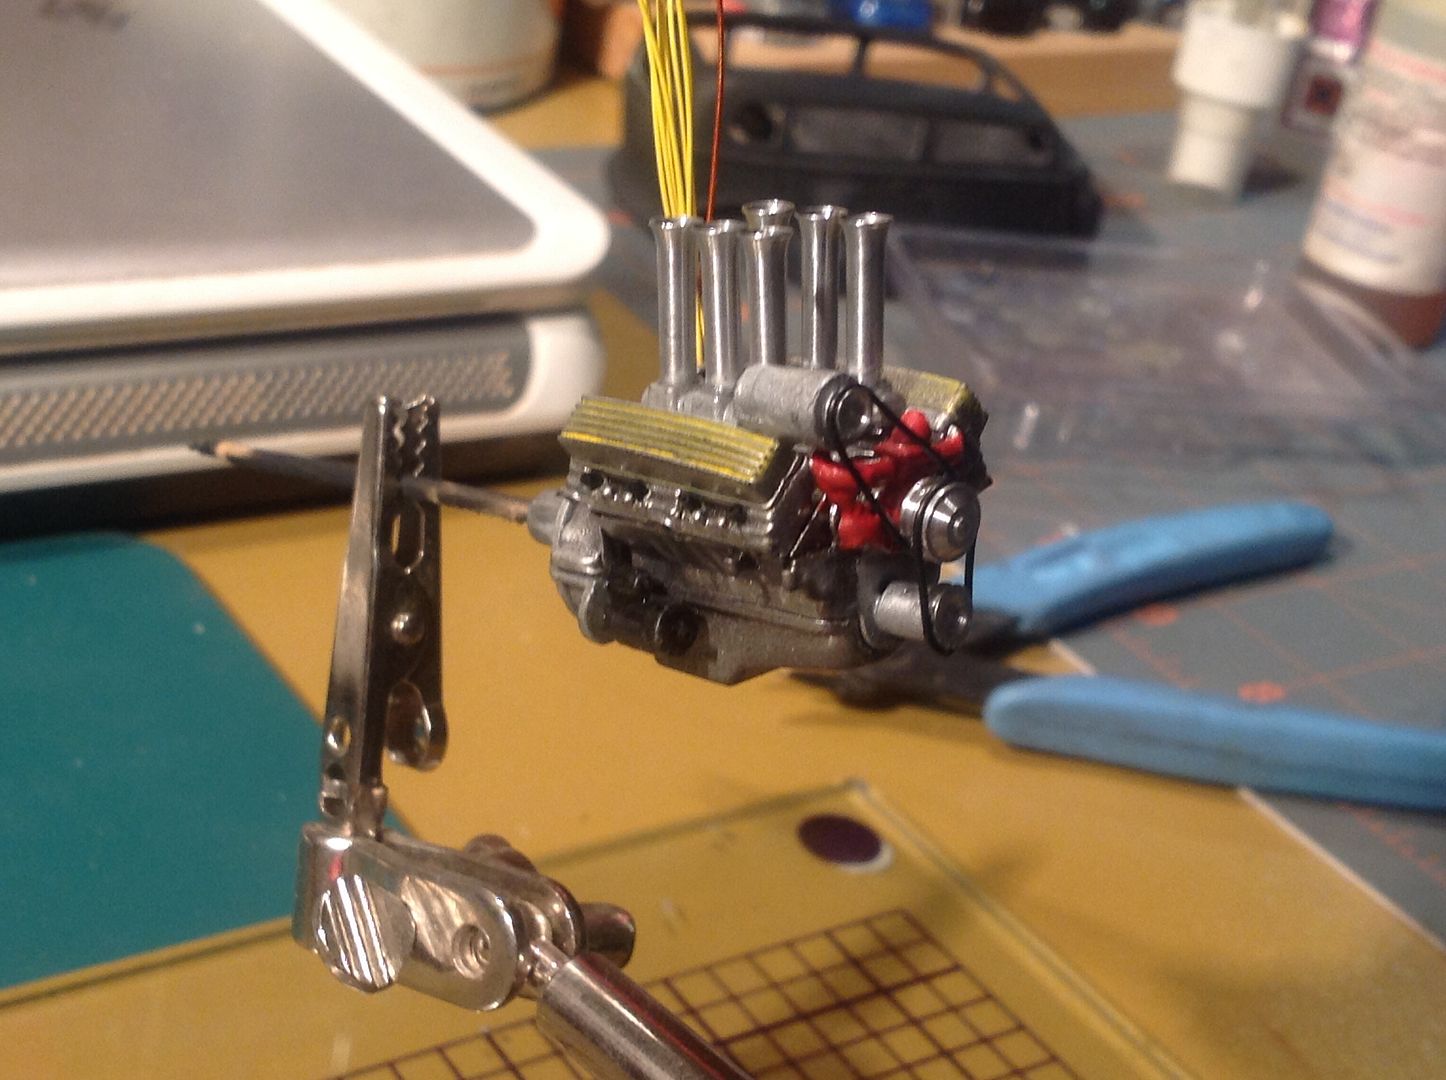 |
|
|
|
Post by wheaton79chris on Nov 24, 2013 3:18:40 GMT -7
Lovin this build
|
|
Deleted
Registered: Nov 24, 2024 5:15:31 GMT -7
Posts: 0
|
Post by Deleted on Nov 24, 2013 22:31:21 GMT -7
|
|
Deleted
Registered: Nov 24, 2024 5:15:31 GMT -7
Posts: 0
|
Post by Deleted on Nov 25, 2013 19:41:38 GMT -7
nice lookin engine iceman:)
|
|
Deleted
Registered: Nov 24, 2024 5:15:31 GMT -7
Posts: 0
|
Post by Deleted on Nov 25, 2013 19:59:59 GMT -7
Thanks guys.
|
|
Deleted
Registered: Nov 24, 2024 5:15:31 GMT -7
Posts: 0
|
Post by Deleted on Nov 25, 2013 23:29:11 GMT -7
Moving on to the interior. A little bit of tuck n roll on the door panel. Second one came out better. I'm thinking they'll look better once I flock the bottom panel and paint the top part. 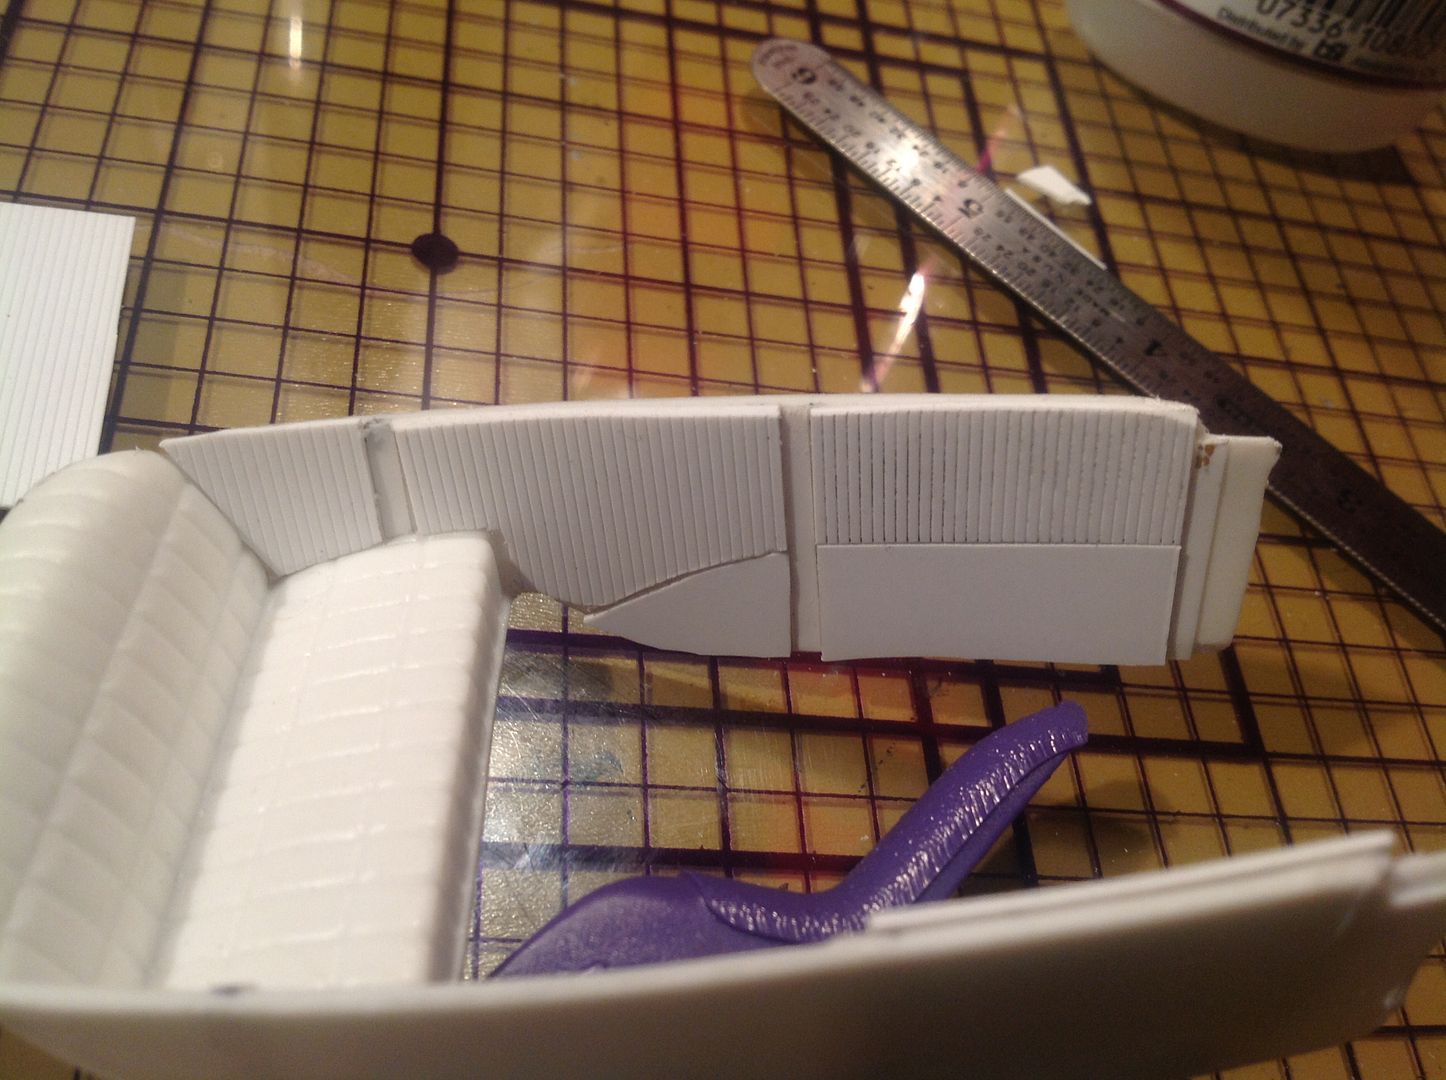 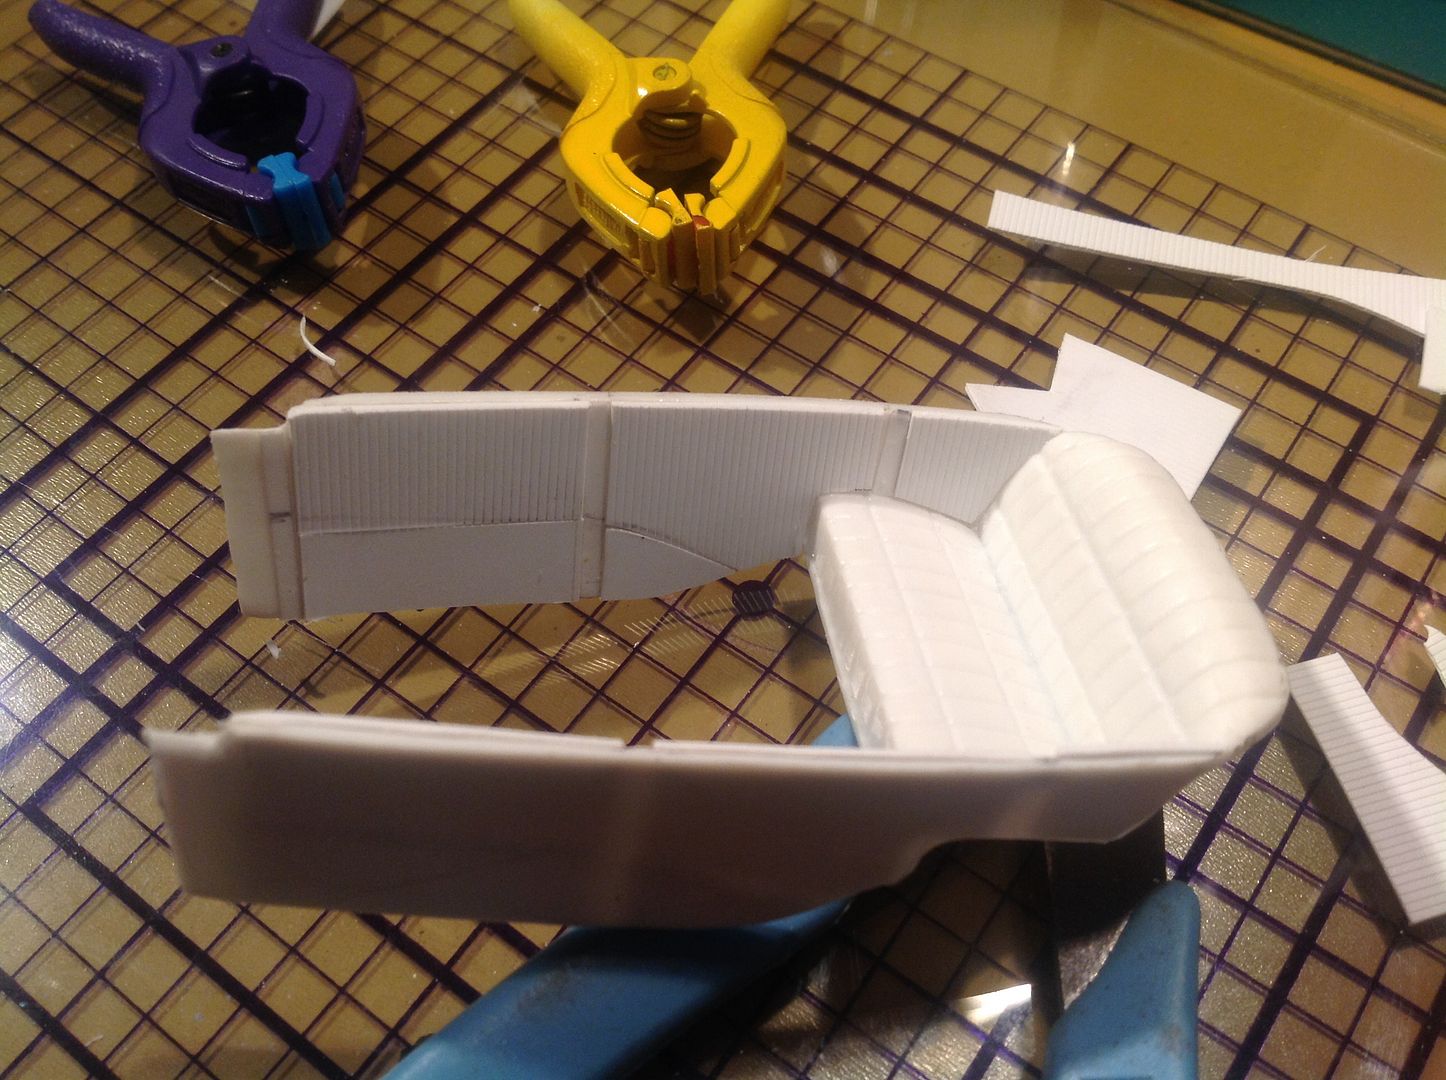 |
|
Deleted
Registered: Nov 24, 2024 5:15:31 GMT -7
Posts: 0
|
Post by Deleted on Nov 26, 2013 6:53:28 GMT -7
Love the engine IceMan, and also its cool to see wire looms in place. Nowhere near that yet myself, but these examples help me understand it better.
|
|
Deleted
Registered: Nov 24, 2024 5:15:31 GMT -7
Posts: 0
|
Post by Deleted on Dec 21, 2013 15:32:35 GMT -7
|
|
|
|
Post by Skip-O-Matic on Dec 21, 2013 20:58:57 GMT -7
Looking really good Ice. I'm liking this a lot.
I guess I better get cracking on my "resin mayhem". I am getting so far behind on my builds. I hope I don't have to drop one for the sake of finishing the others. My Graffiti build may be in jeopardy.
|
|
spacecowboy
Senior Member
   Registered: Jun 1, 2013 9:14:15 GMT -7
Posts: 630
|
Post by spacecowboy on Dec 21, 2013 21:10:22 GMT -7
Fantastic job so far. Great detail...
|
|