|
|
Post by mustang1989 on Jun 15, 2016 20:00:50 GMT -7
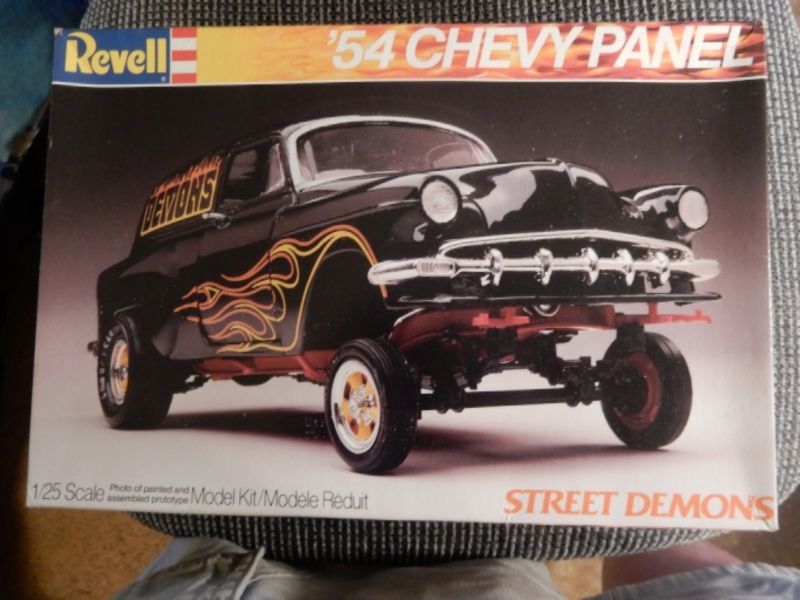
I'm not sure just where to put this one. I thought about putting it in Show Cars but then again it has a Street Machine idea to it so I guess I'll put it here. I've been building on this one for the last 6 months and have got quite a bit done on it. Instead of posting every little thing I've done to it I'll try to stick with the highlights of the build. I first built this kit 33 years ago when it came out in 1983 just like the box top shows. I purchased all six "Street Demons" kits last year and am going making my way through this series of kits and while I pay a lot of tribute to the original Street Demon theme I'm adding my own twist to them this time around.
Here's where I started. The 1983 release of Revell's 1954 Chevy in the Street Demons theme:
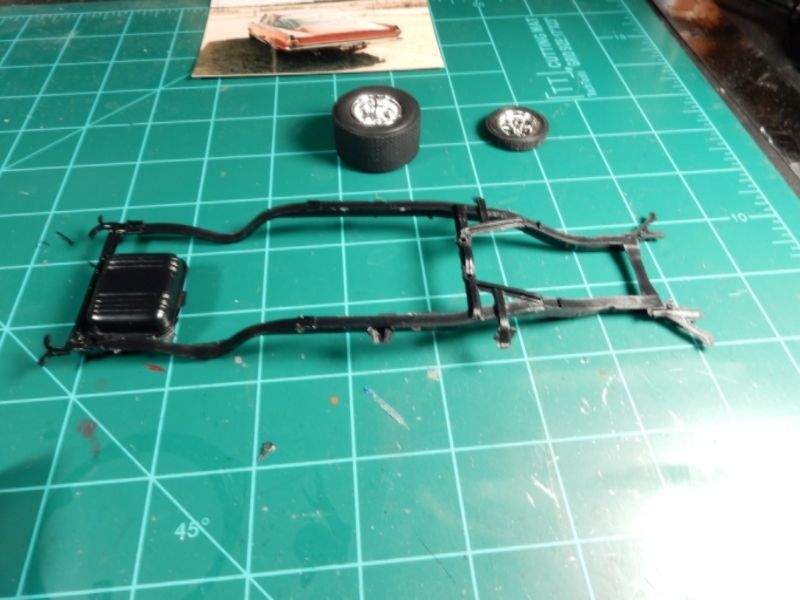
I robbed some wheels from the Revell Motorcraft Thunderbird Pro Stock kit, Pre-printed rear tires from AMT's 1967 Chevelle Pro Street and the front tires from AMT's Drag Pak tire set. The chassis from the firewall back came from AMT's 66 Nova Pro Street kit and I graphed the front part of the frame from the firewall forward from the OOB Street Demons kit here.
The idea is to end up with something that looks like this test fit of tire/ wheels to the bare body here.
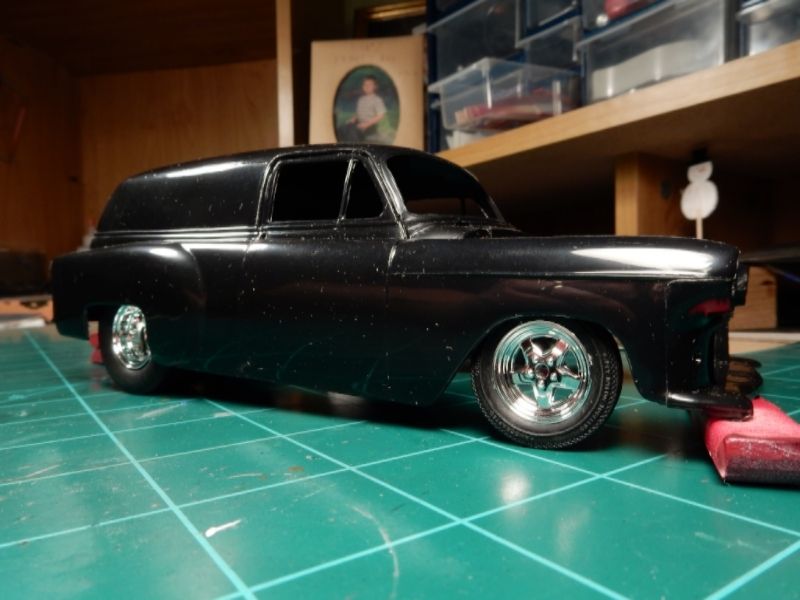
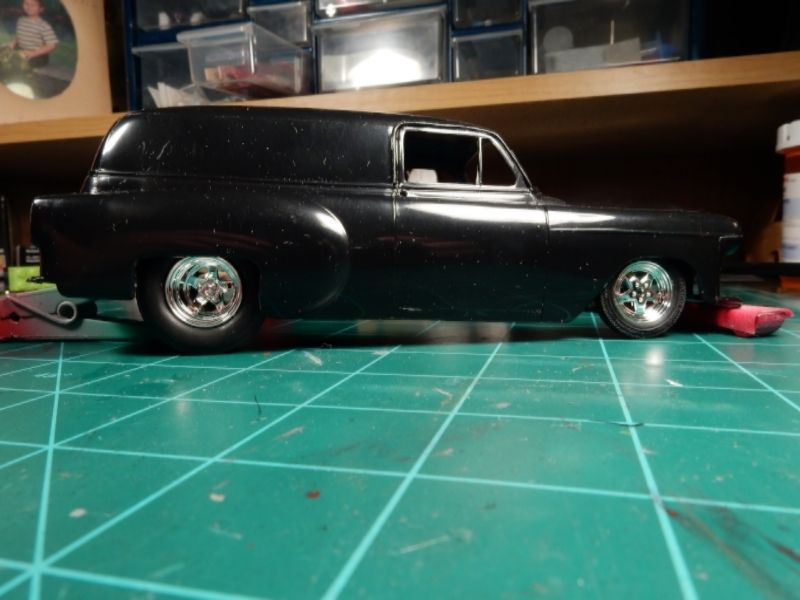
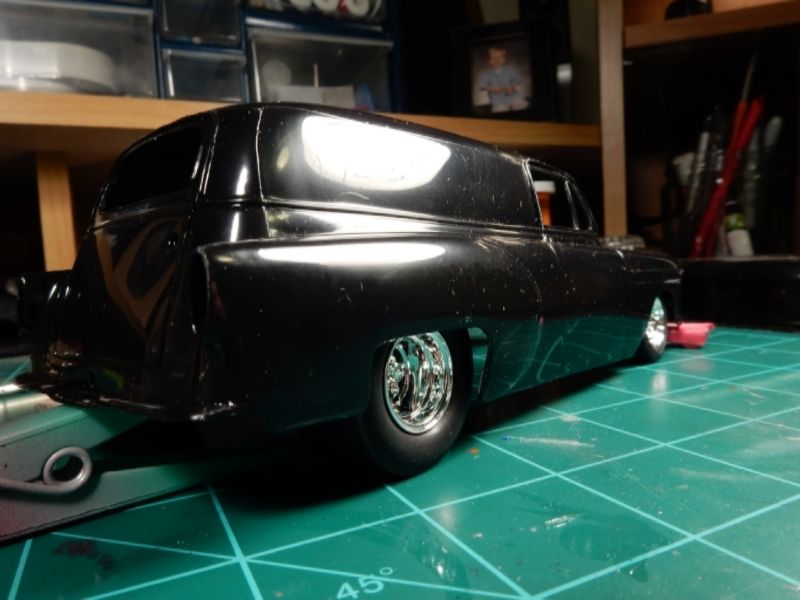
and the rear view:
Again I'll try to stick to just the highlights of the build to catch up to where I'm at now. Lot's of cool ideas came to mind with this build and I still am having a hard time believing that it's all going together somewhat easy. Stay tuned................. |
|
|
|
Post by stitchdup on Jun 16, 2016 0:34:07 GMT -7
Sweet, the stance is awesome
|
|
Deleted
Registered: Nov 21, 2024 13:42:34 GMT -7
Posts: 0
|
Post by Deleted on Jun 16, 2016 3:10:03 GMT -7
These have a beautiful shape, and with that stance..... egyptian
|
|
|
|
Post by mustang1989 on Jun 16, 2016 3:20:16 GMT -7
Thanks stitchdup and Dale! Will try to work through the progress fairly quick to get to where I'm at currently with it.
|
|
|
|
Post by CoyoteCrunch on Jun 16, 2016 5:21:18 GMT -7
I agree with Les and Dale - that stance is smokin!!
|
|
|
|
Post by mustang1989 on Jun 16, 2016 6:05:03 GMT -7
Thanks Dale!
This............had to go if I wanted the stance I was after..
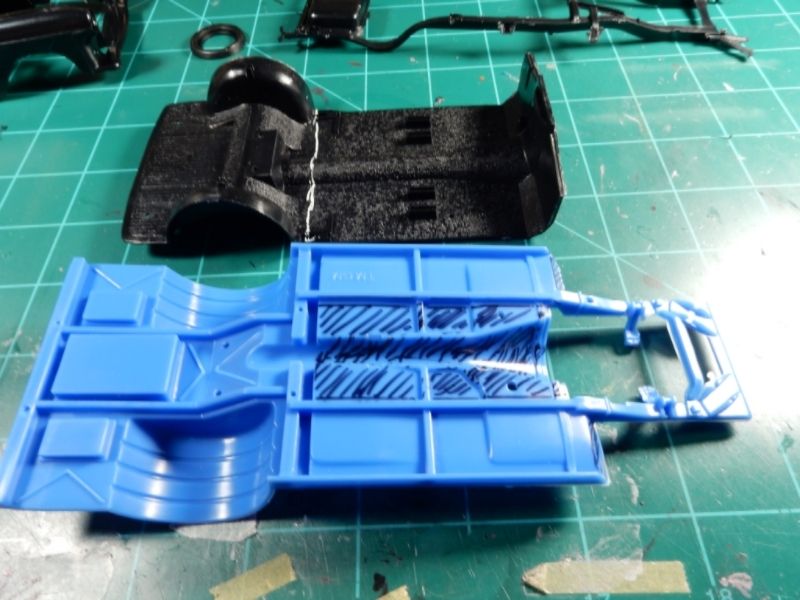
So I used this from the AMT 66 Nova kit. I cut the front subframe from the chassis assy and the shaded area shown in the picture. I also cut the original flooring to work with this frame/ chassis...
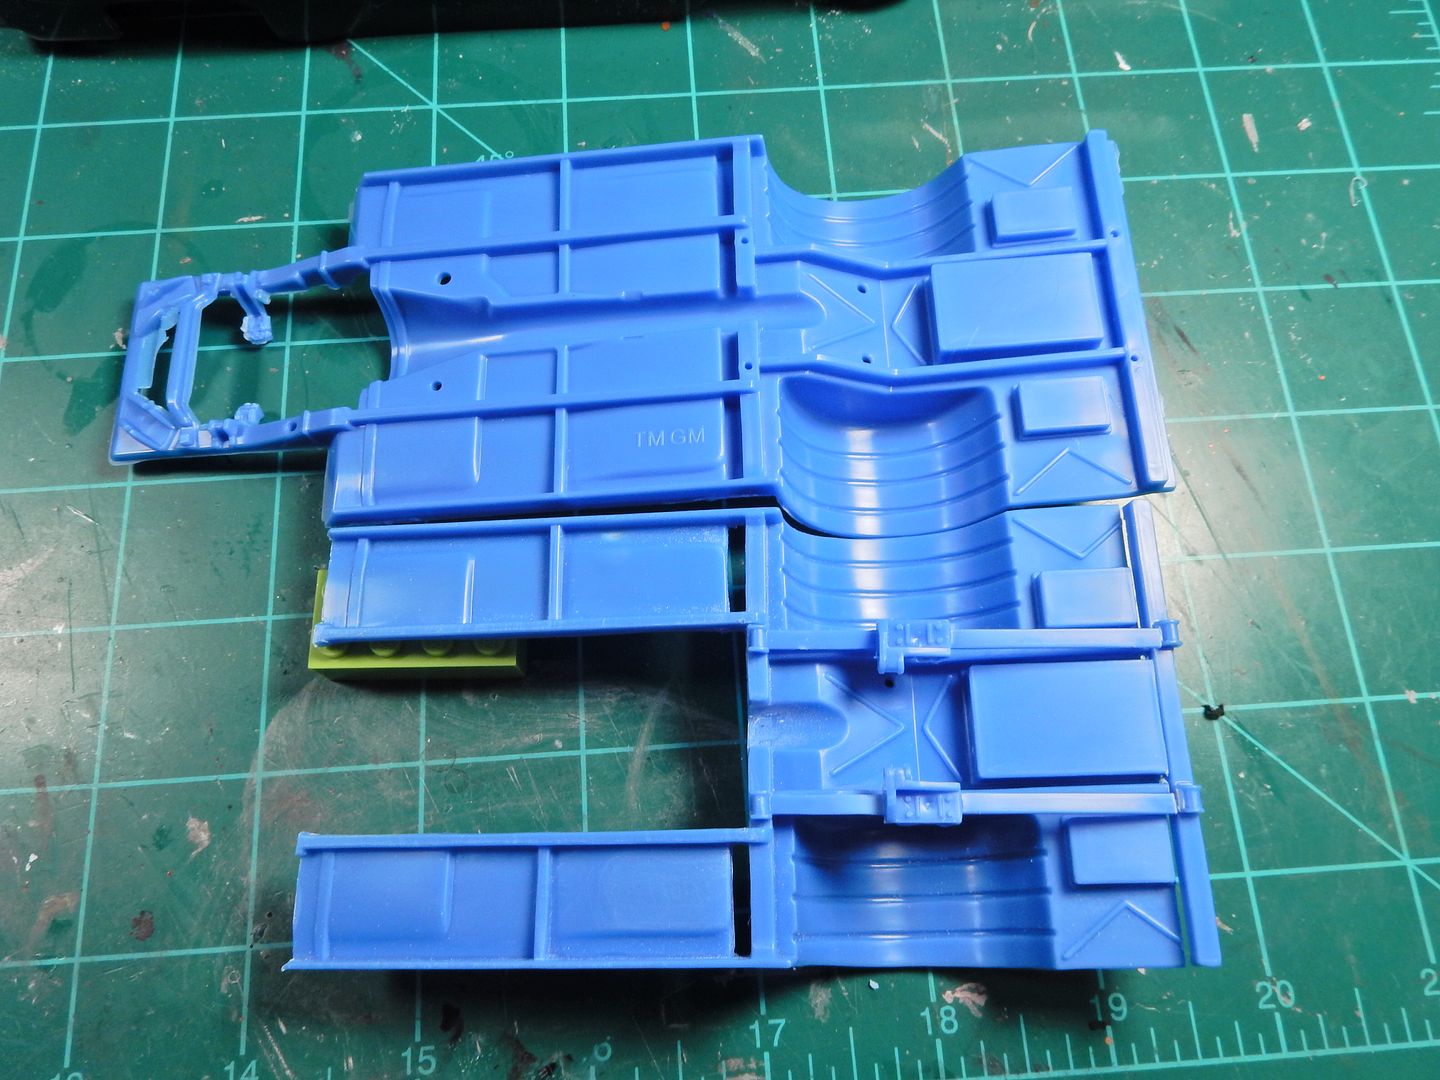
I ended up with this:( I had to shorten the rear part of the chassis to get it to fit correctly into the body, re-adhere the spring mount rail back to the chassis and shorten the rear springs to get it all to work right.
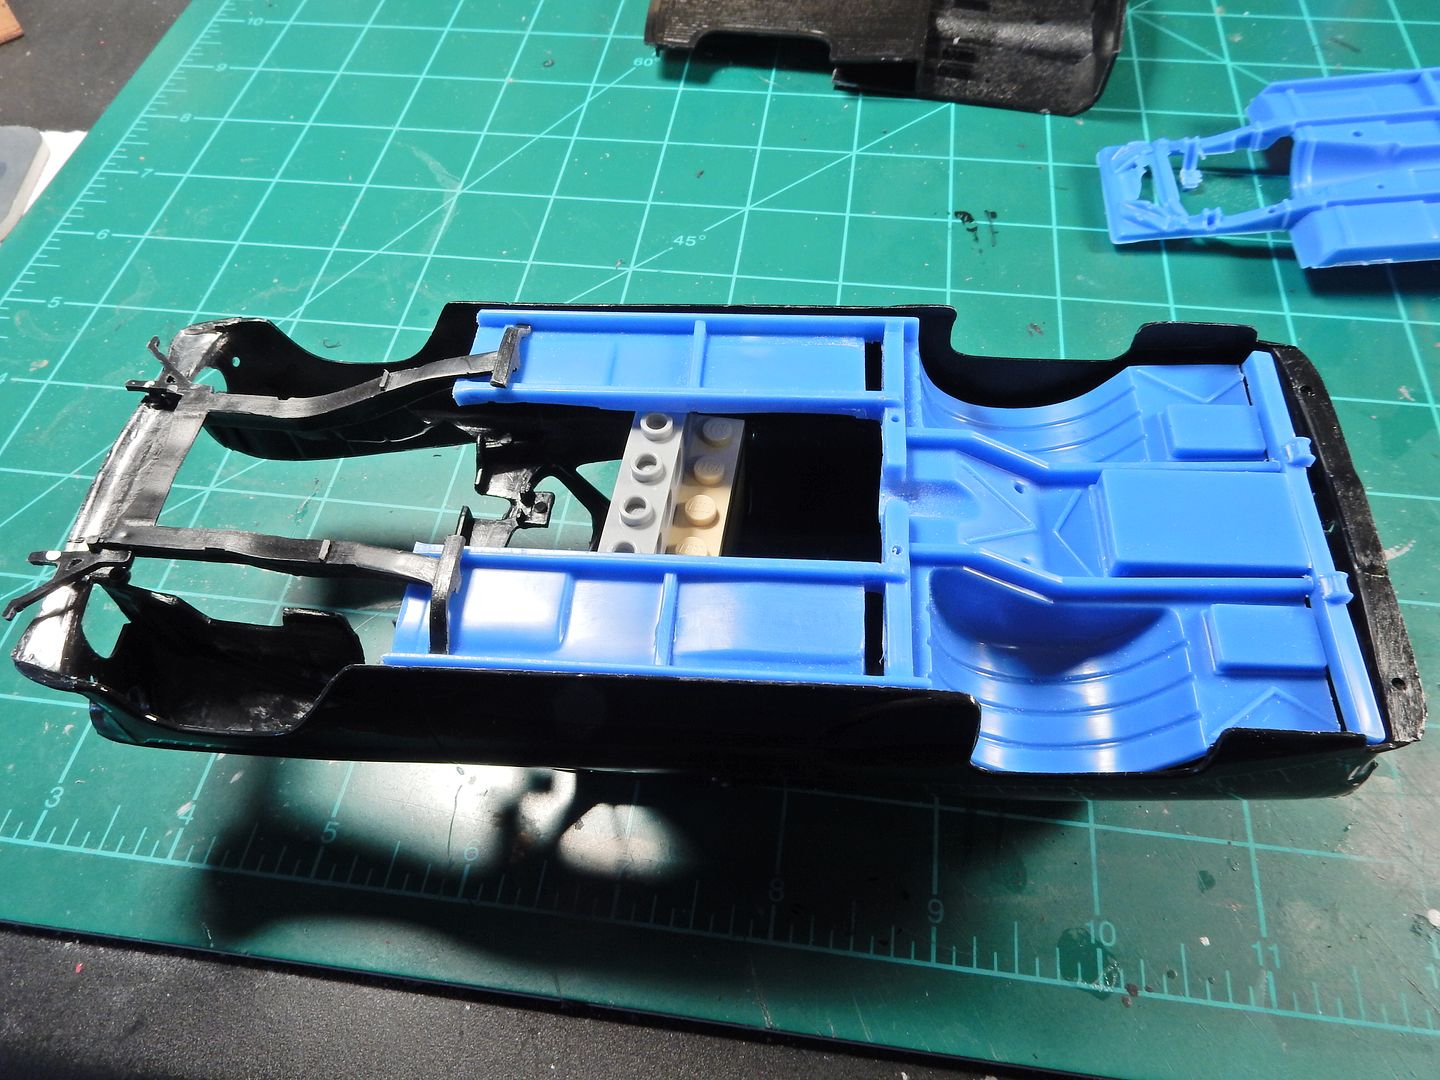
Front half of original frame graphed onto the Nova chassis and fit up into the body.
|
|
|
|
Post by sharp on Jun 16, 2016 6:25:01 GMT -7
Great job the chassis fits real nice.
|
|
|
|
Post by CoyoteCrunch on Jun 16, 2016 7:29:56 GMT -7
Very understandable pictures - great eye man - superior work - simply awesome!!!
|
|
|
|
Post by mustang1989 on Jun 16, 2016 12:06:29 GMT -7
Thanks sharp and CC!
Suspension setup with brake and fuel lines:
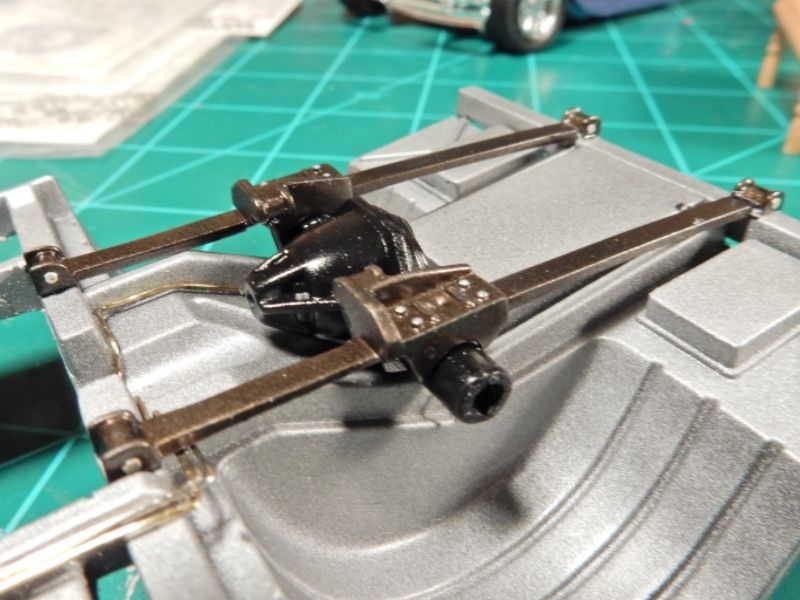
Front suspension with home made springs from copper wire:(notice that I had to notch out the frame to get the whole suspension to go up thus lowering the front end by about 3/16"
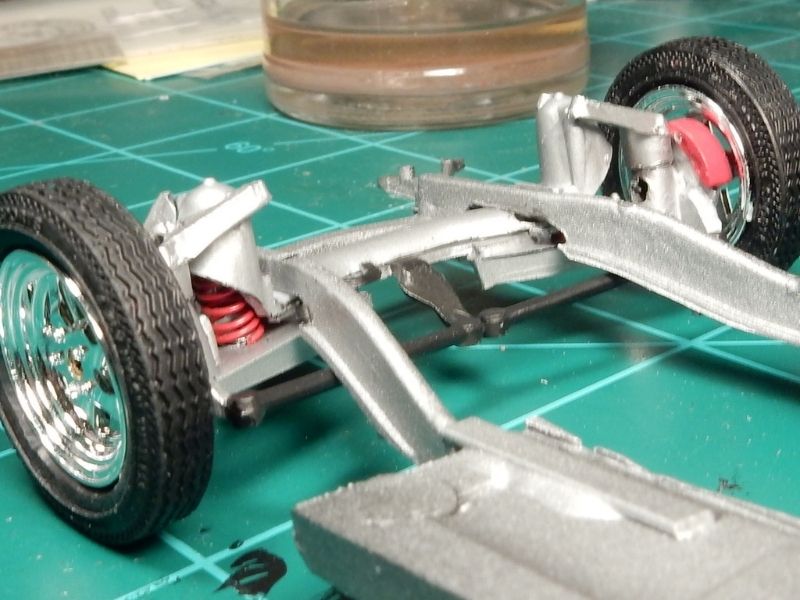
and the actual stance after the front and rear suspensions were completed. I ended up breaking a small Lego in half and gluing one in each of the rear corners of the body so the body would rest on the chassis in exactly the right spot.
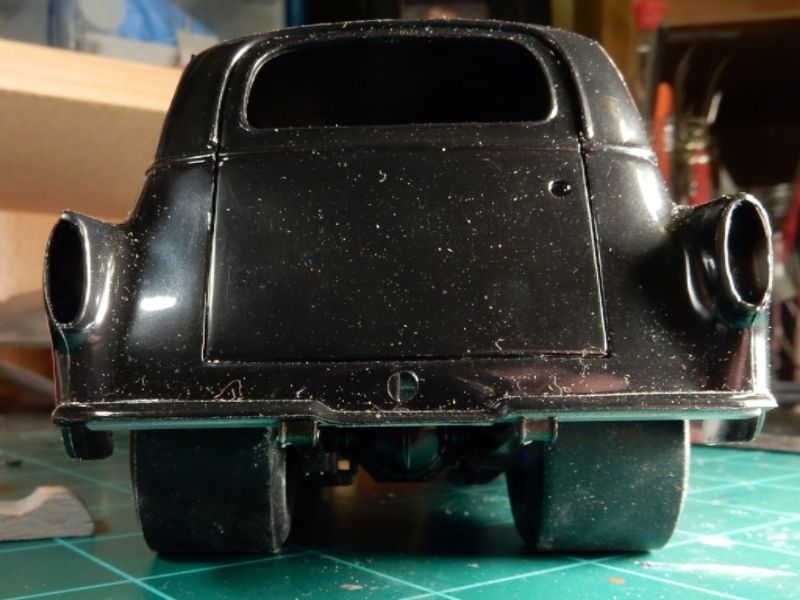
Second set of stance pictures with the tires all on the axles. After some tweeking it turned out dang near perfect!
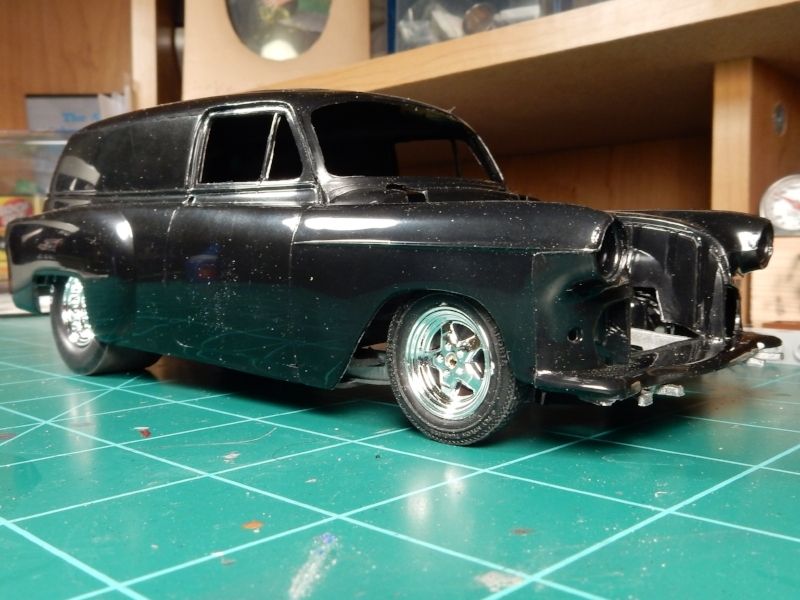
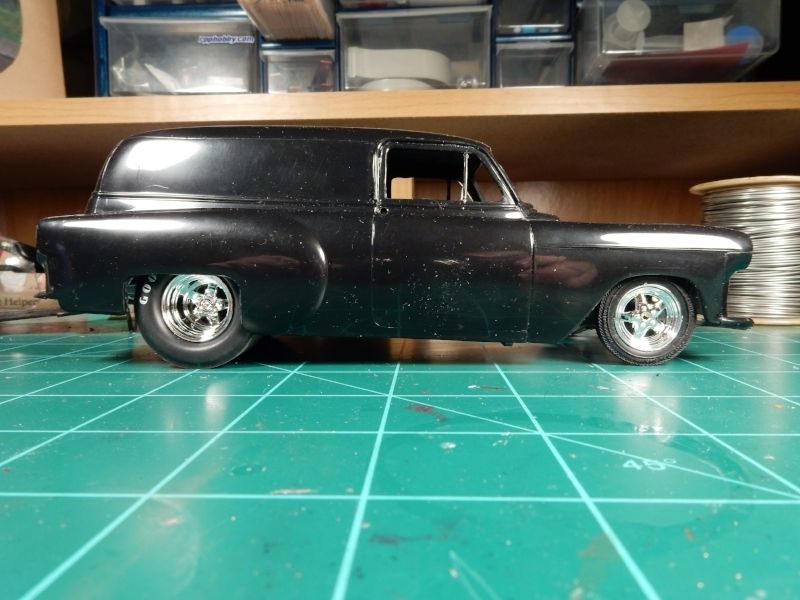
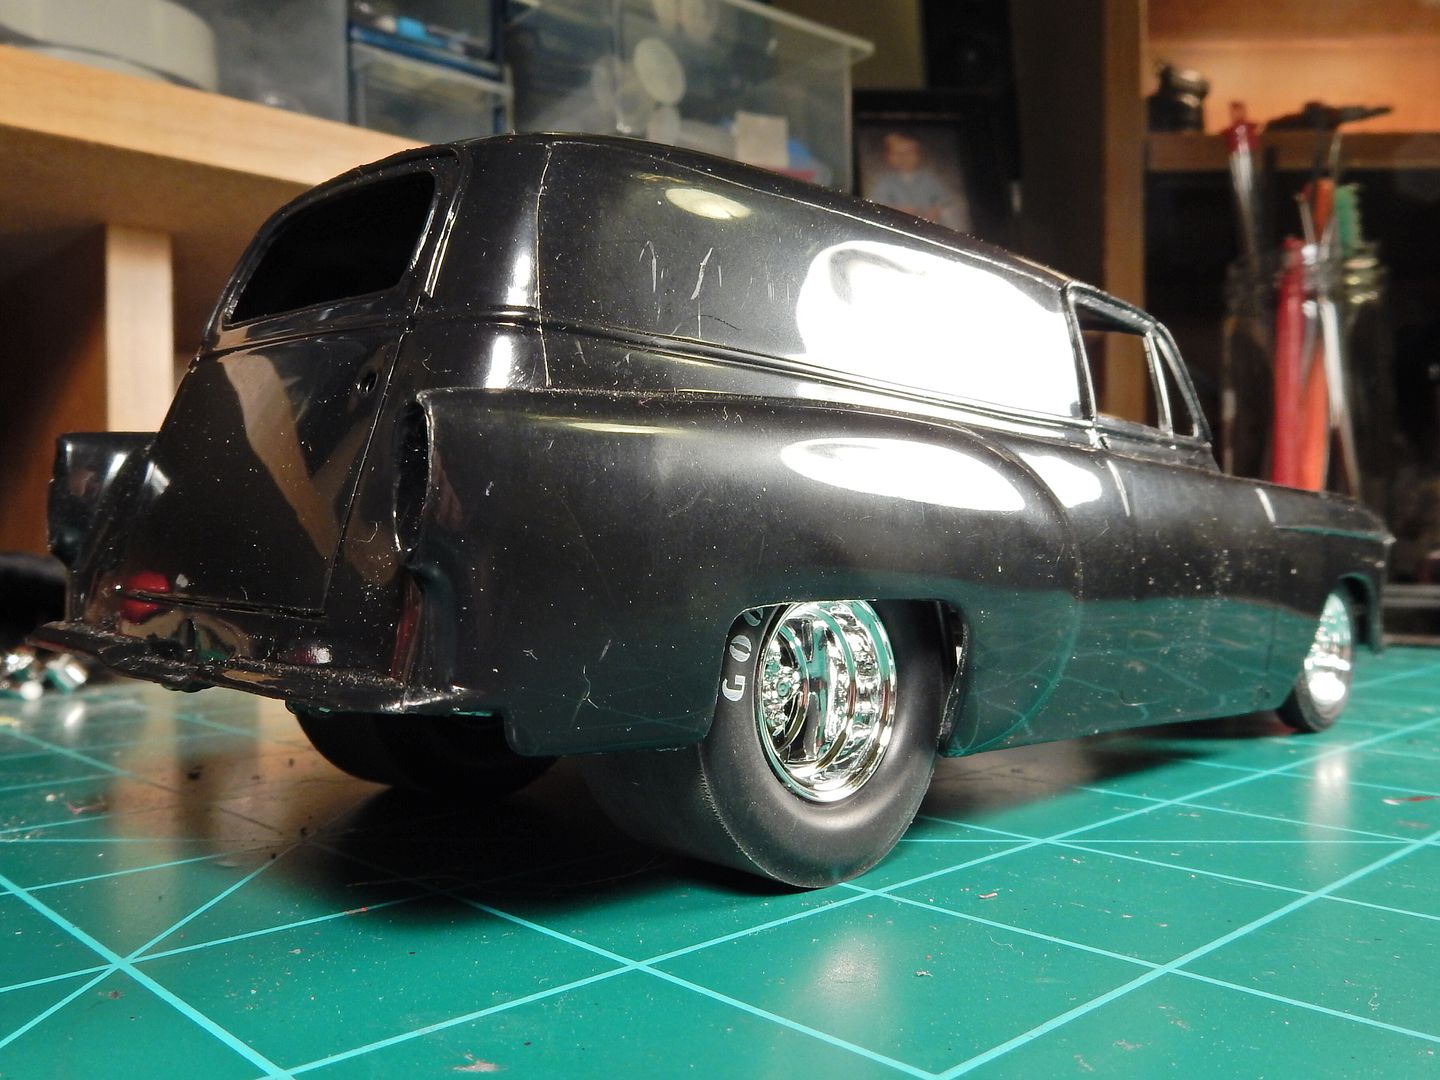
and the rear view look. Those "meats" look right at home under there.
|
|
|
|
Post by mustang1989 on Jun 17, 2016 5:01:33 GMT -7
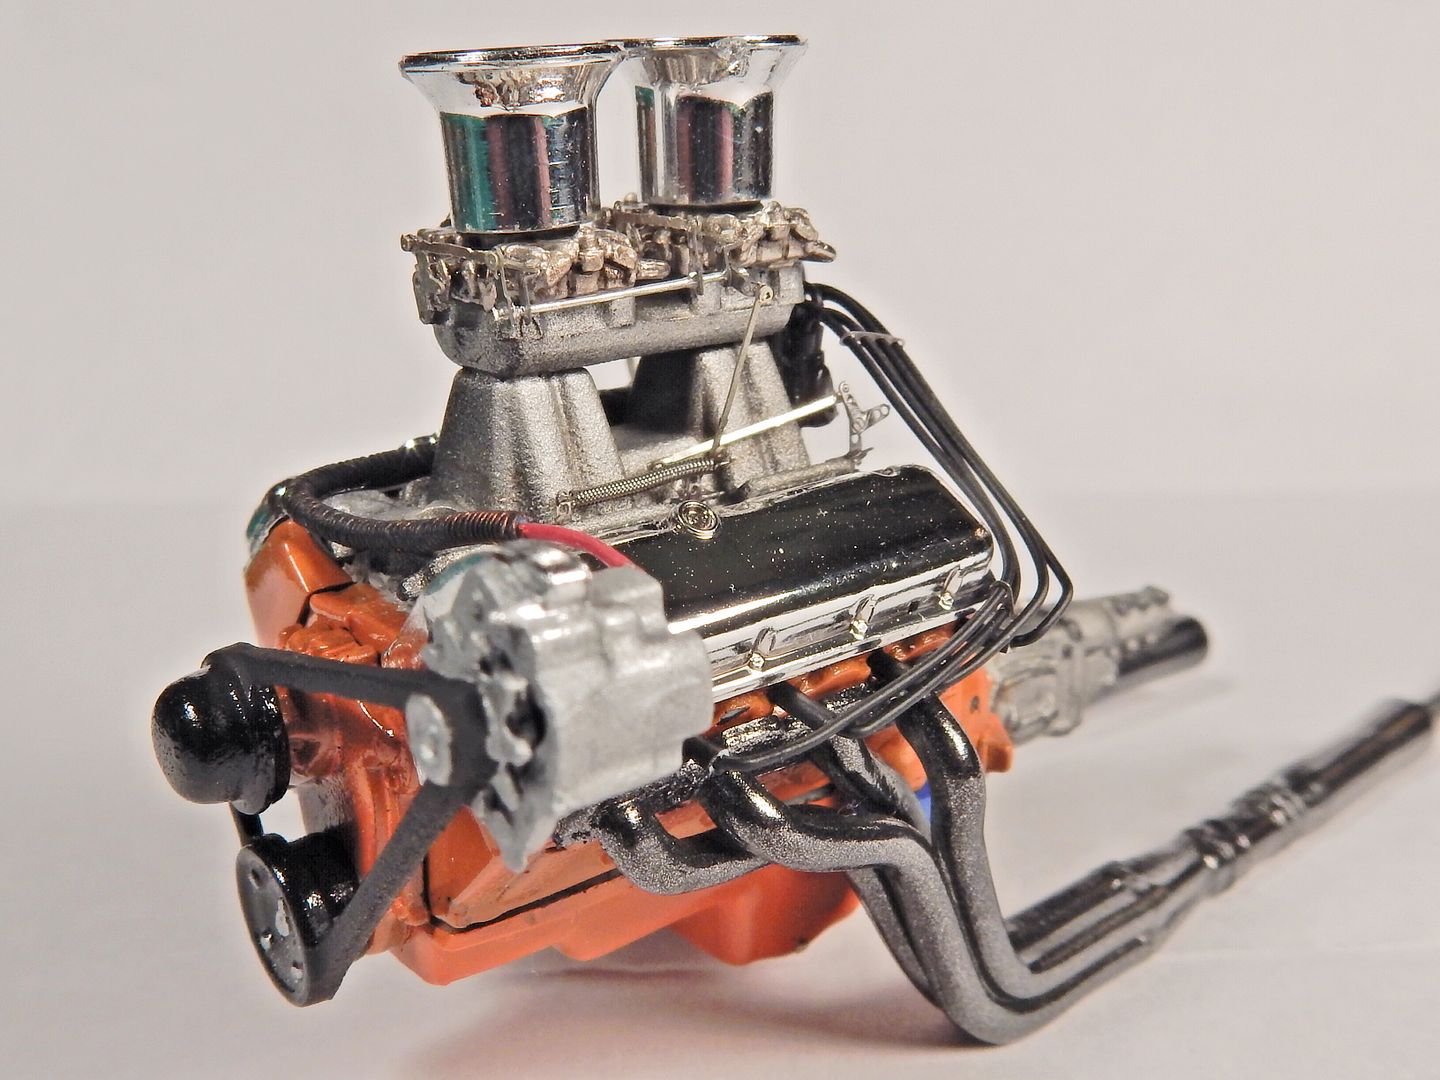
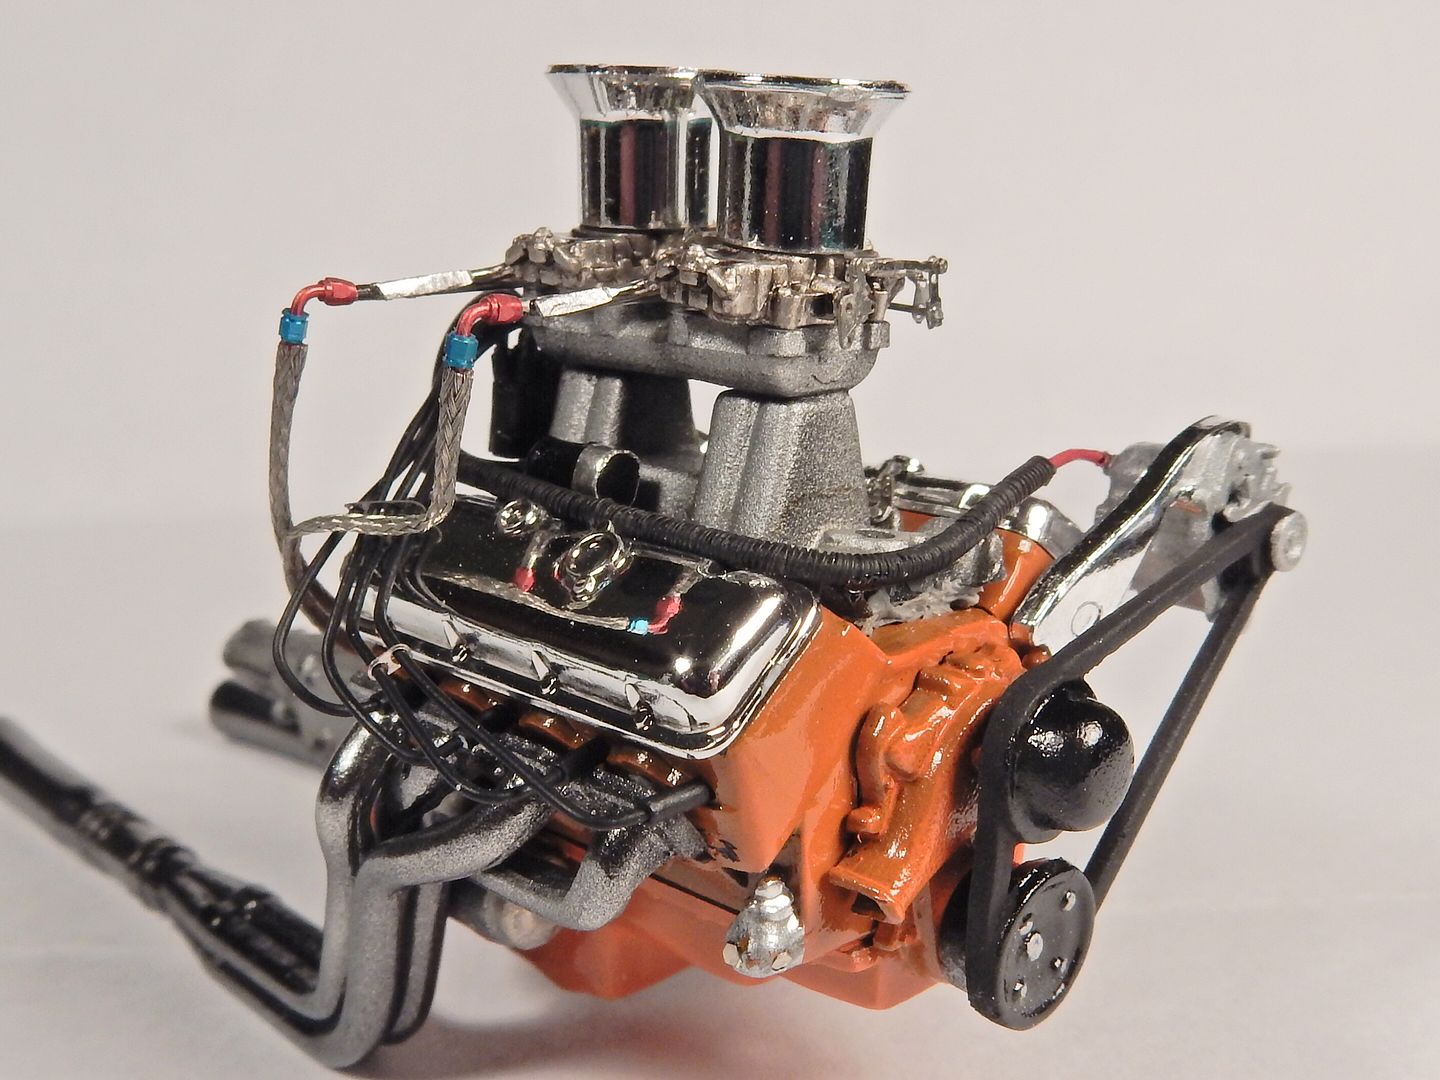
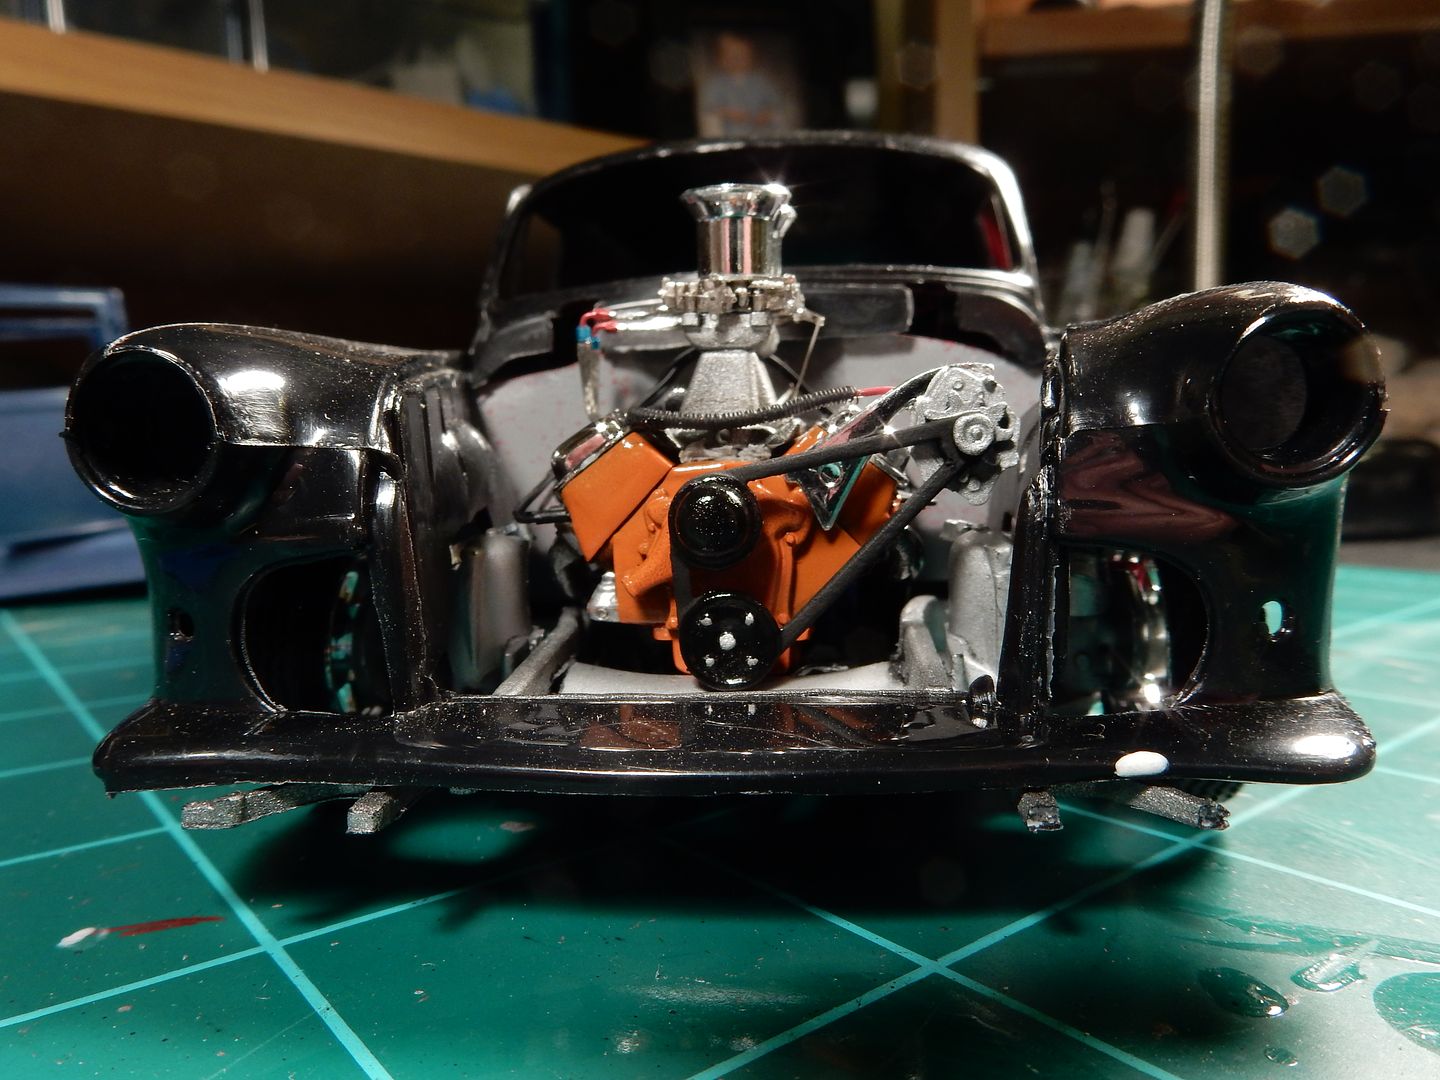
Next came my very favorite part of automotive building. It took me two months alone just to build the engine. I start with black basing the whole engine and paint in coats working from a darker shade to lighter so as to add a pre-shade effect to the base paint. All chrome parts get a coat of Tamiya Smoke to give the chrome some depth as well as a true metal look to take away from the "toy chrome" effect. I picked up a PE throttle linkage set and built the linkage from a reference I got from Jegs High Performance. The throttle return spring is light bulb filament from a 1:1 scale 3157 turn signal bulb. Just break the glass and rob the element. Headers were treated to a coat of Alclad. The engine is from AMT's 1967 Pro Street Chevelle and the carburetors are from the Revell 1970 Boss 429 Mustang kit. Braided fuel line and fuel fittings are AM items and the steel fuel lines at the carburetors are made from straight pins.
The Chevrolet Dual Quad Big Block 427
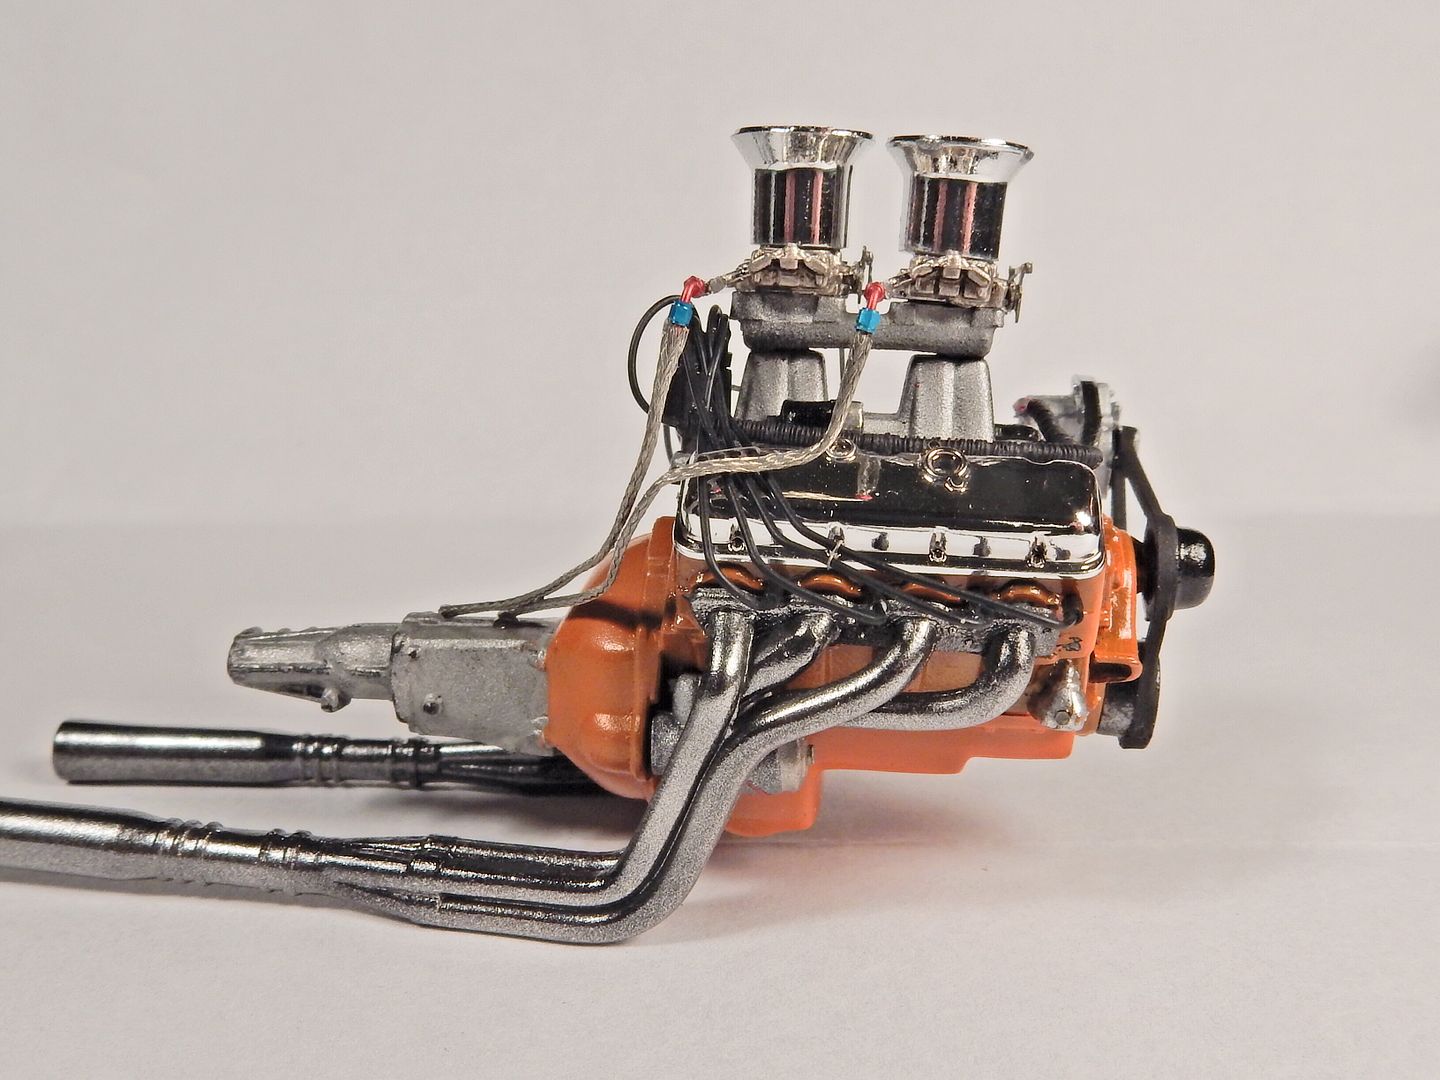
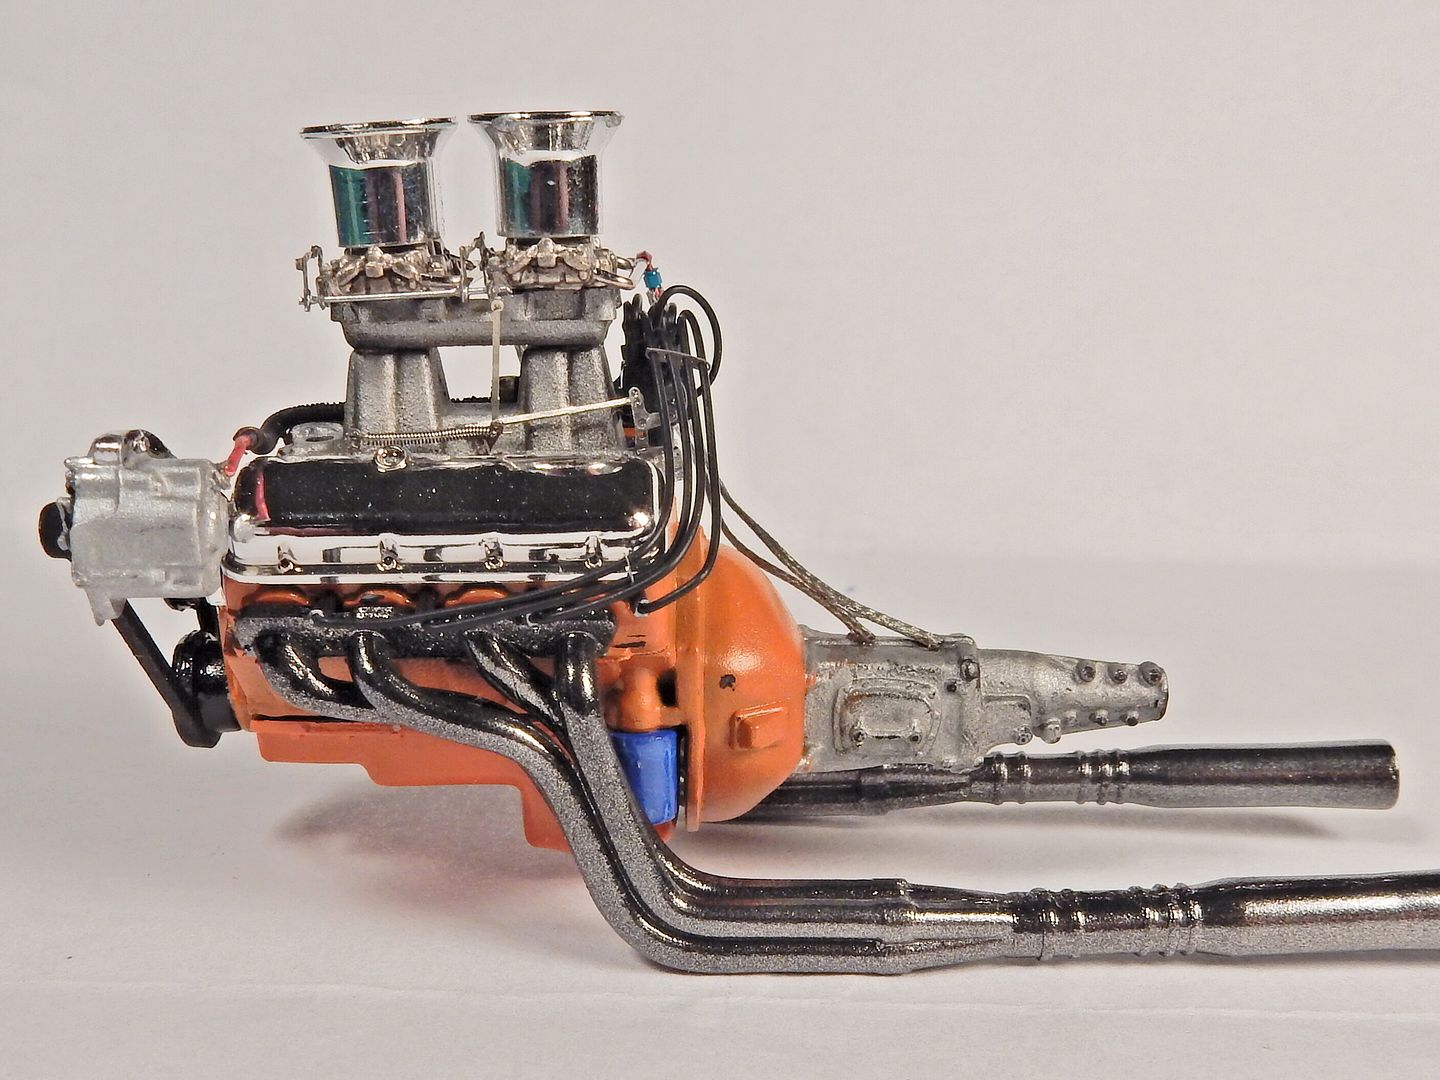
and the rolling chassis with the engine mounted:
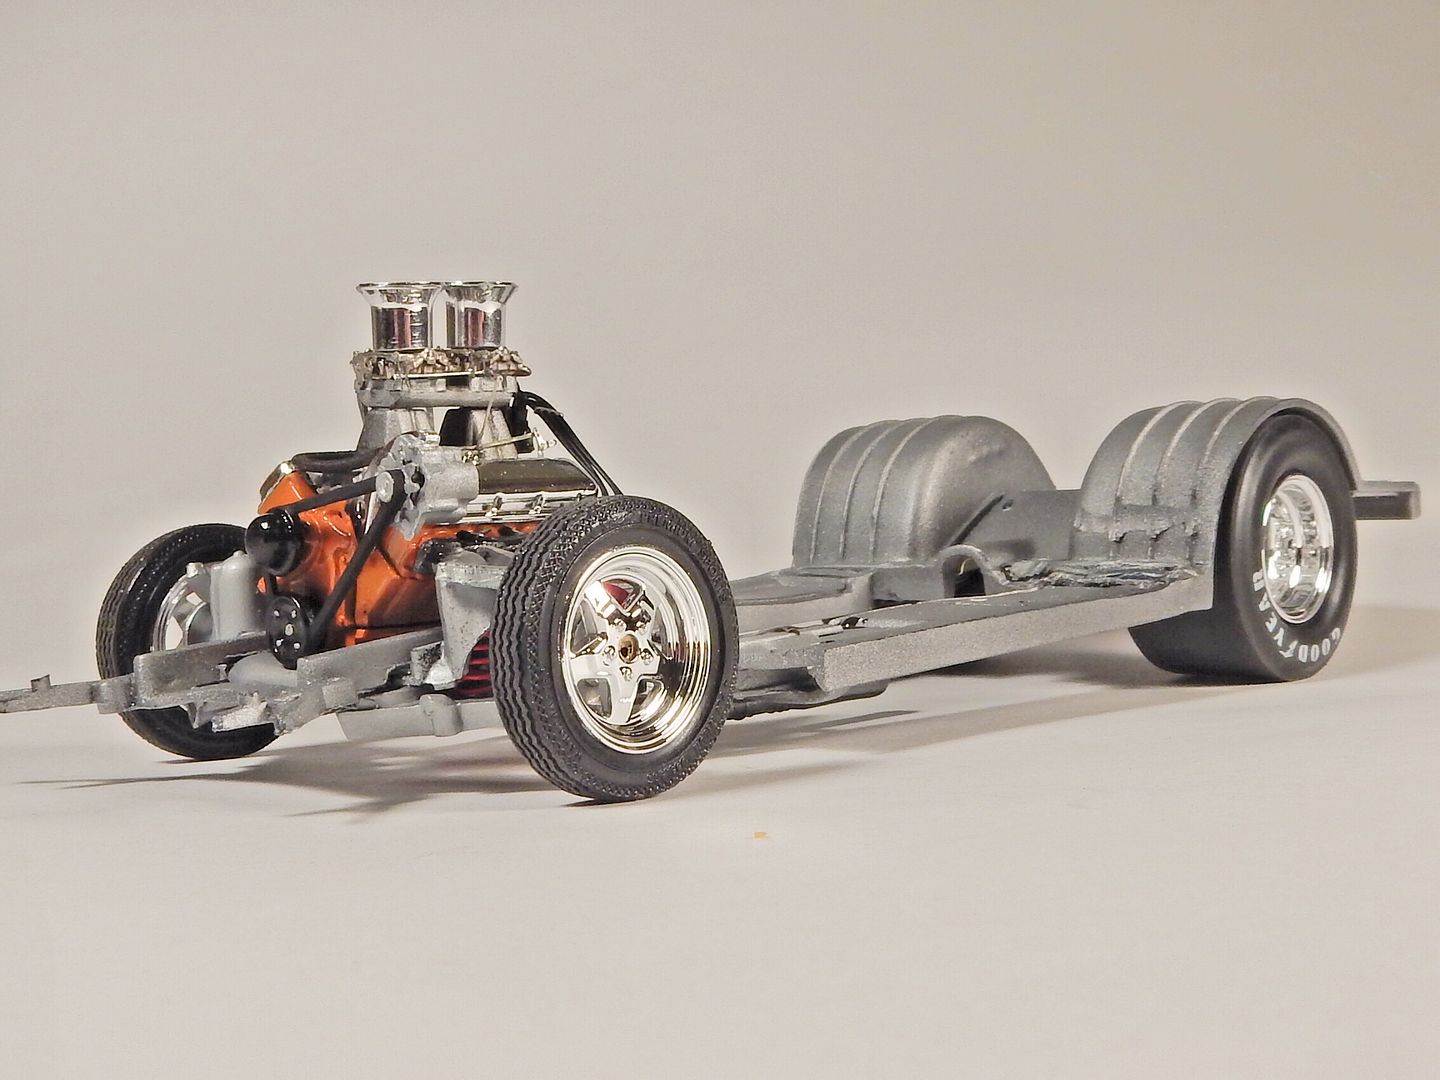
and body test fitted:
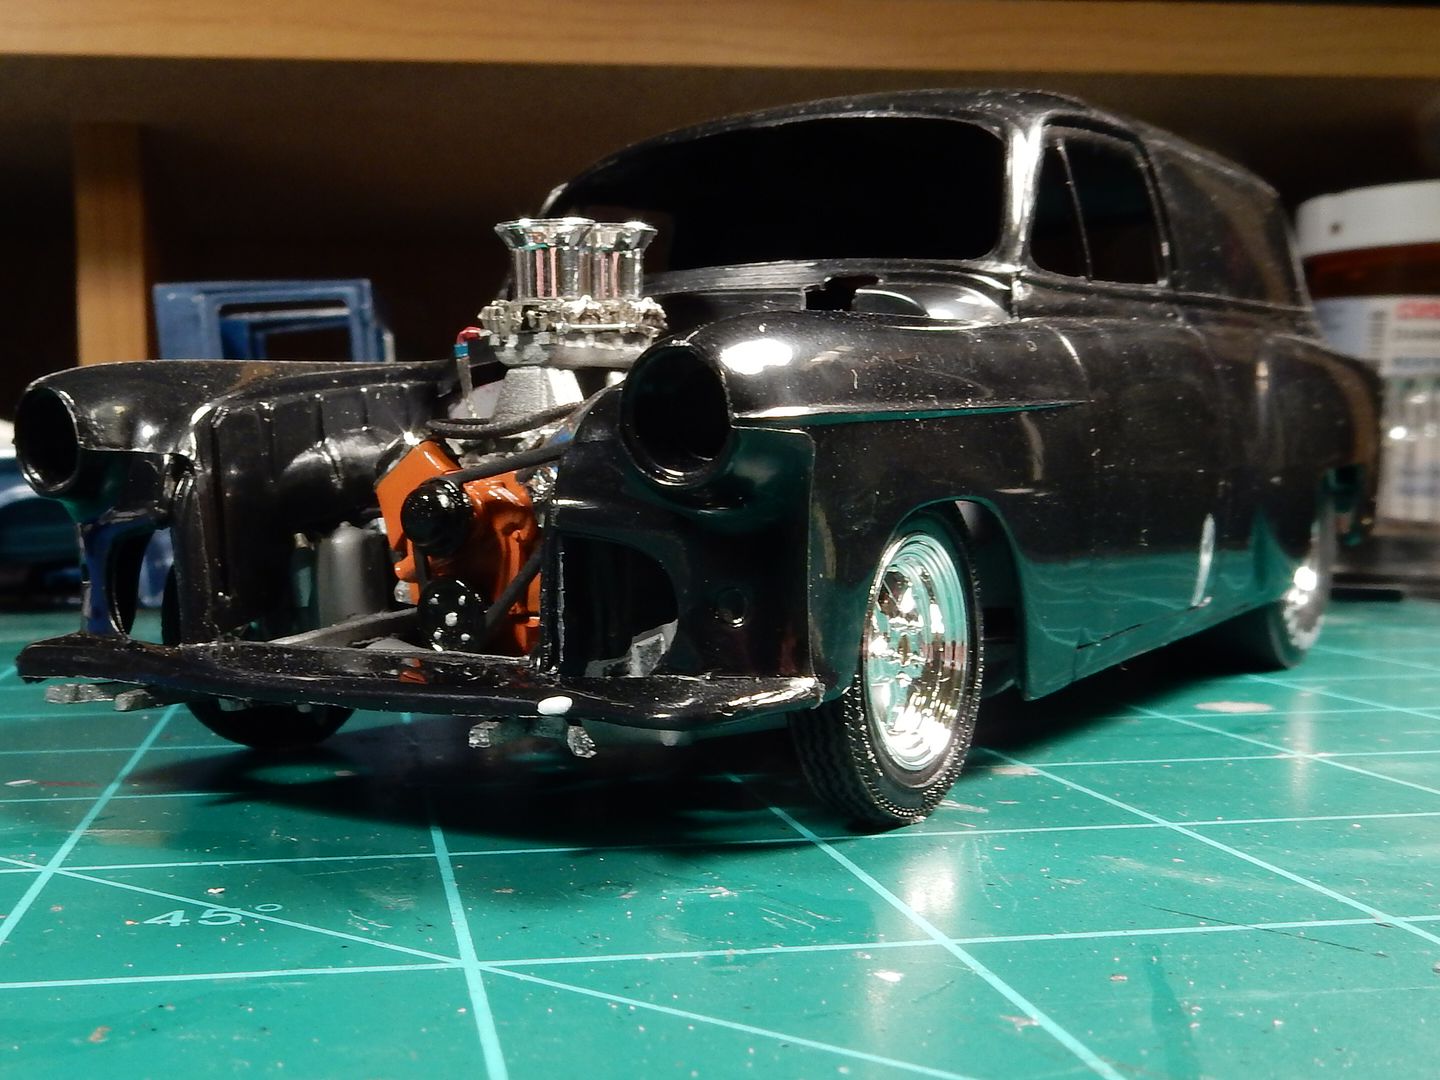
|
|
|
|
Post by CoyoteCrunch on Jun 17, 2016 13:32:11 GMT -7
Very nice work!! That engine is so awesome. Almost cannot believe this is a 1/25 scale motor
jaw-dropping-smiley-emoticon cant-believe-my-eyes-smiley-emoticon jaw-dropping-smiley-emoticon |
|
Deleted
Registered: Nov 21, 2024 13:42:34 GMT -7
Posts: 0
|
Post by Deleted on Jun 17, 2016 15:35:22 GMT -7
Agree with Tom. Nice looking engine.
|
|
|
|
Post by mustang1989 on Jun 17, 2016 19:26:32 GMT -7
I appreciate the good word there Tom and Iceman!
|
|
|
|
Post by mustang1989 on Jun 18, 2016 5:28:34 GMT -7
For the interior I broke it up into two groups. The front half which is a conventional layout with bucket seats and a console. The OOB seats in this kit SUCKED so I used seats from AMT's 1988 Mustang GT as well as the center console from the same kit. For carpet I used Raspberry Red flocking material with a set of Tasmanian Devil floormats to add a little humor to the equation. PE foot pedals are from Detail Master. For the dash I coated it with Tamiya Red X-7 and BMF'd the chrome panels on the passengers side. The speedometer and other gauges were completed by using the decals from Revell's latest release of this kit with a drop of clear over the decals to simulate that glass look.
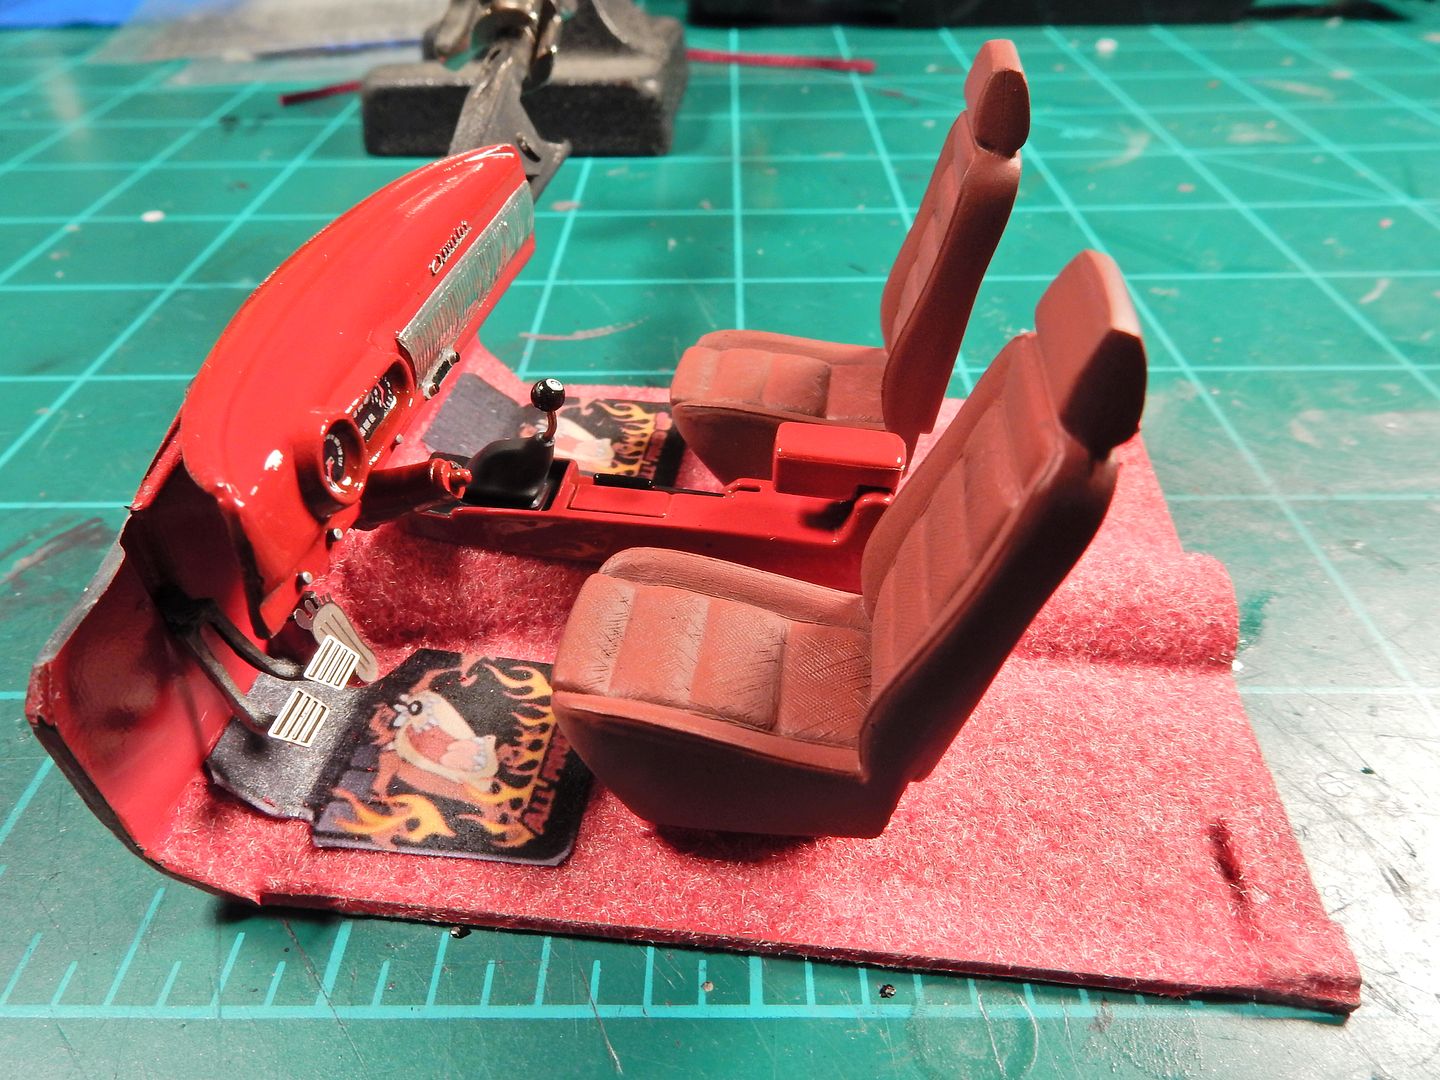
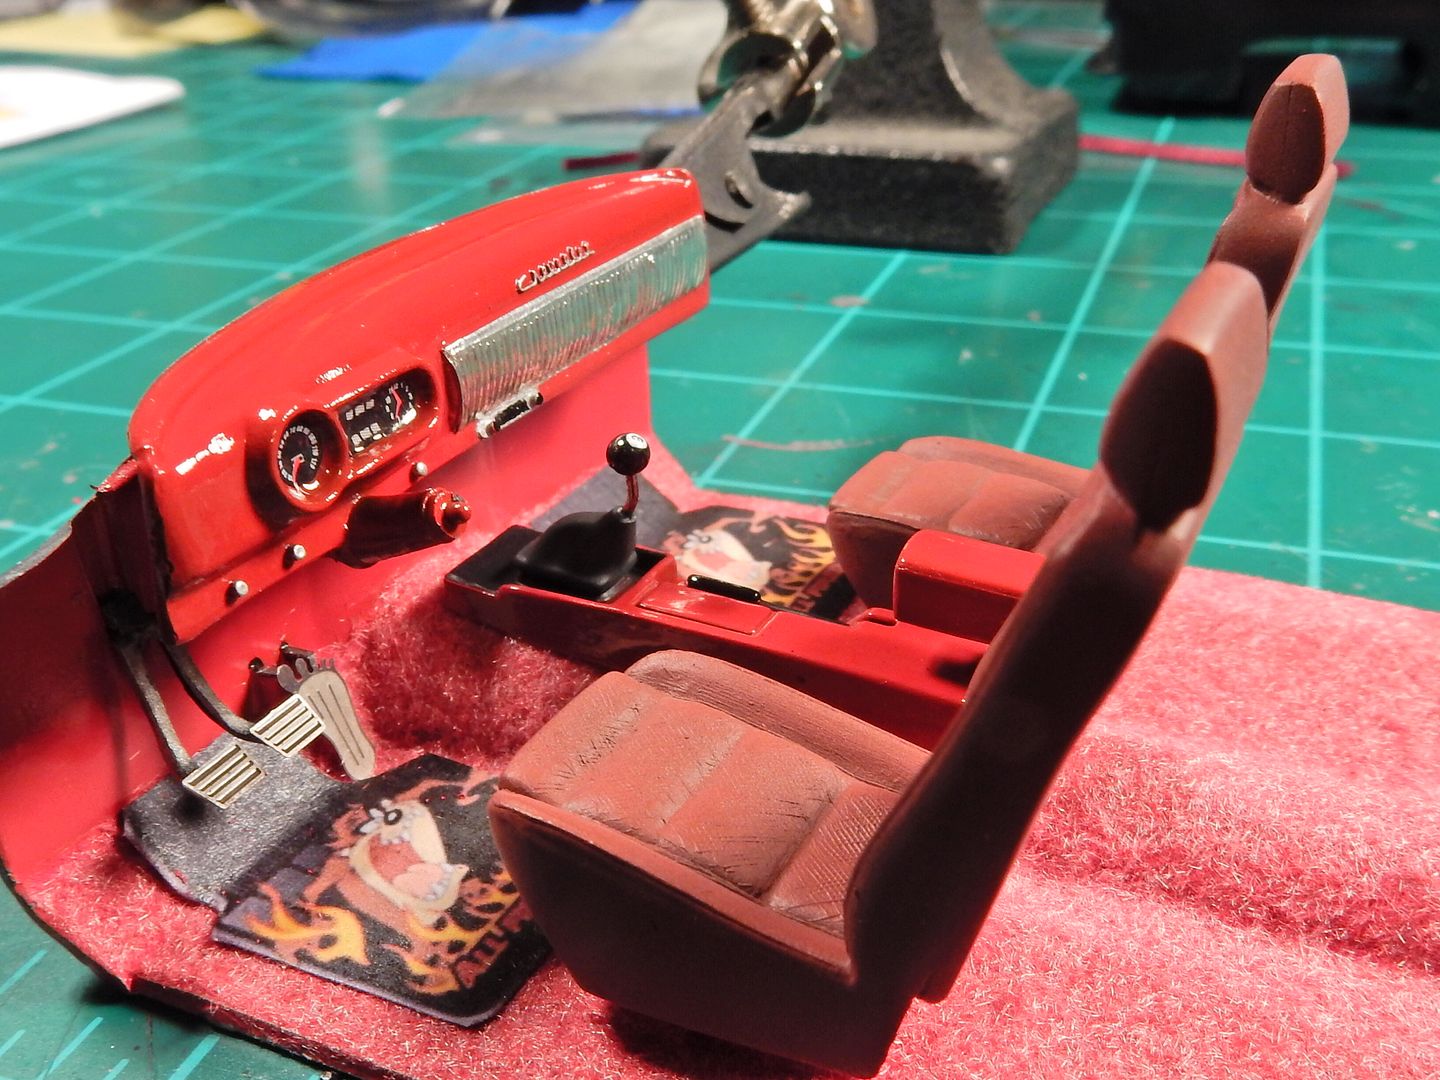
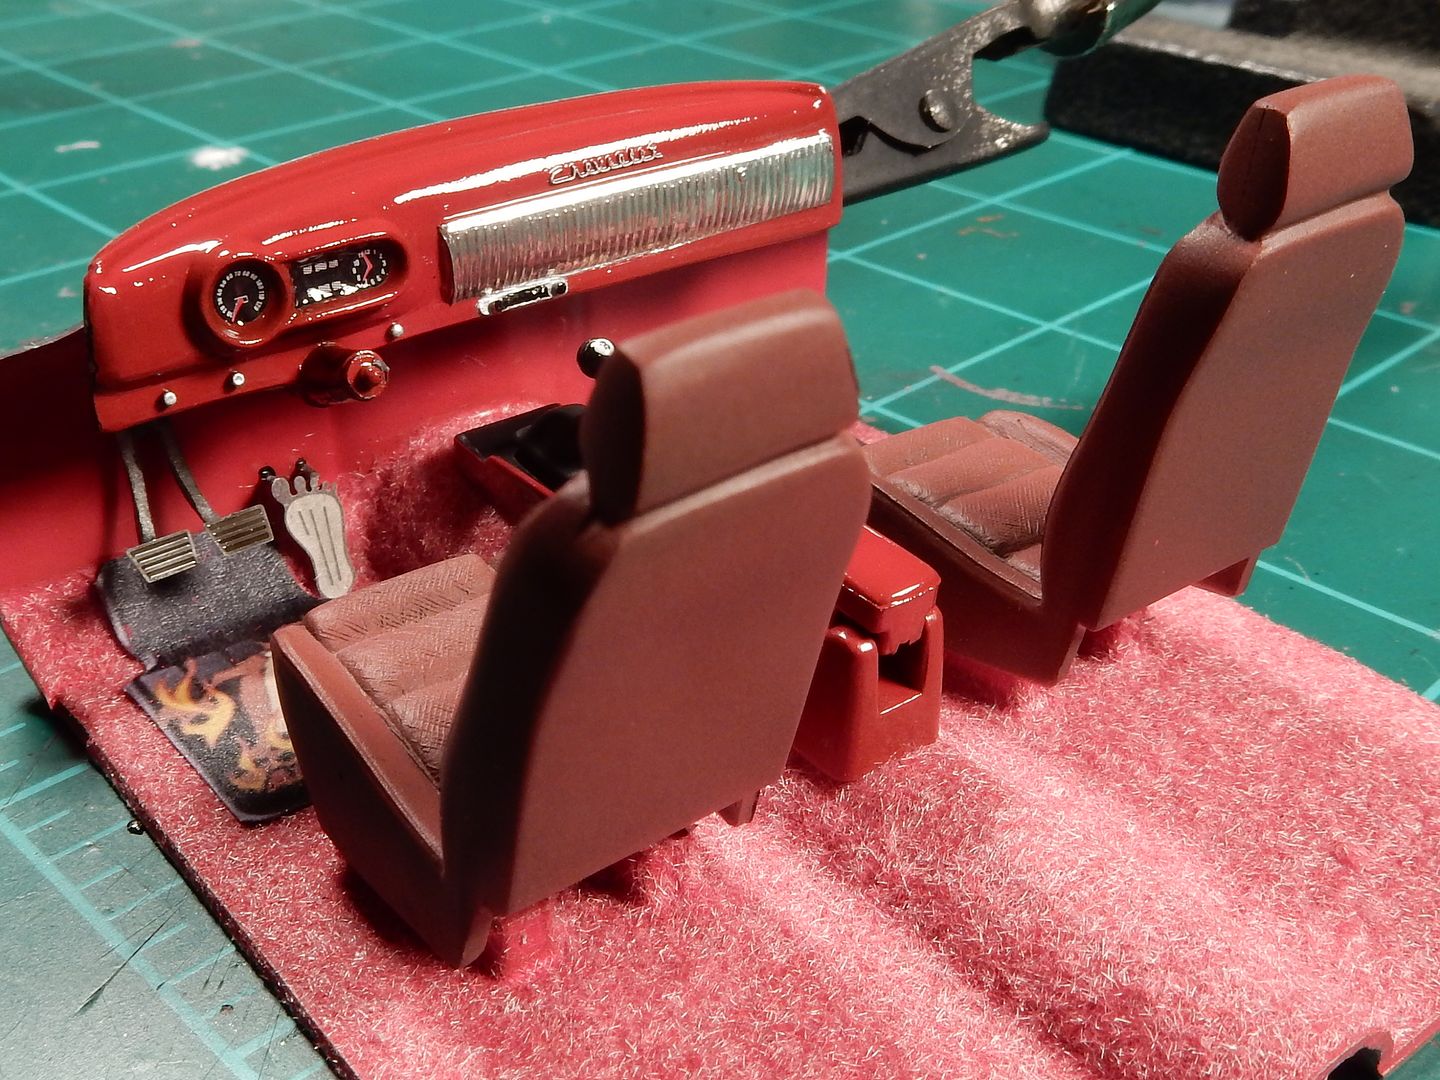
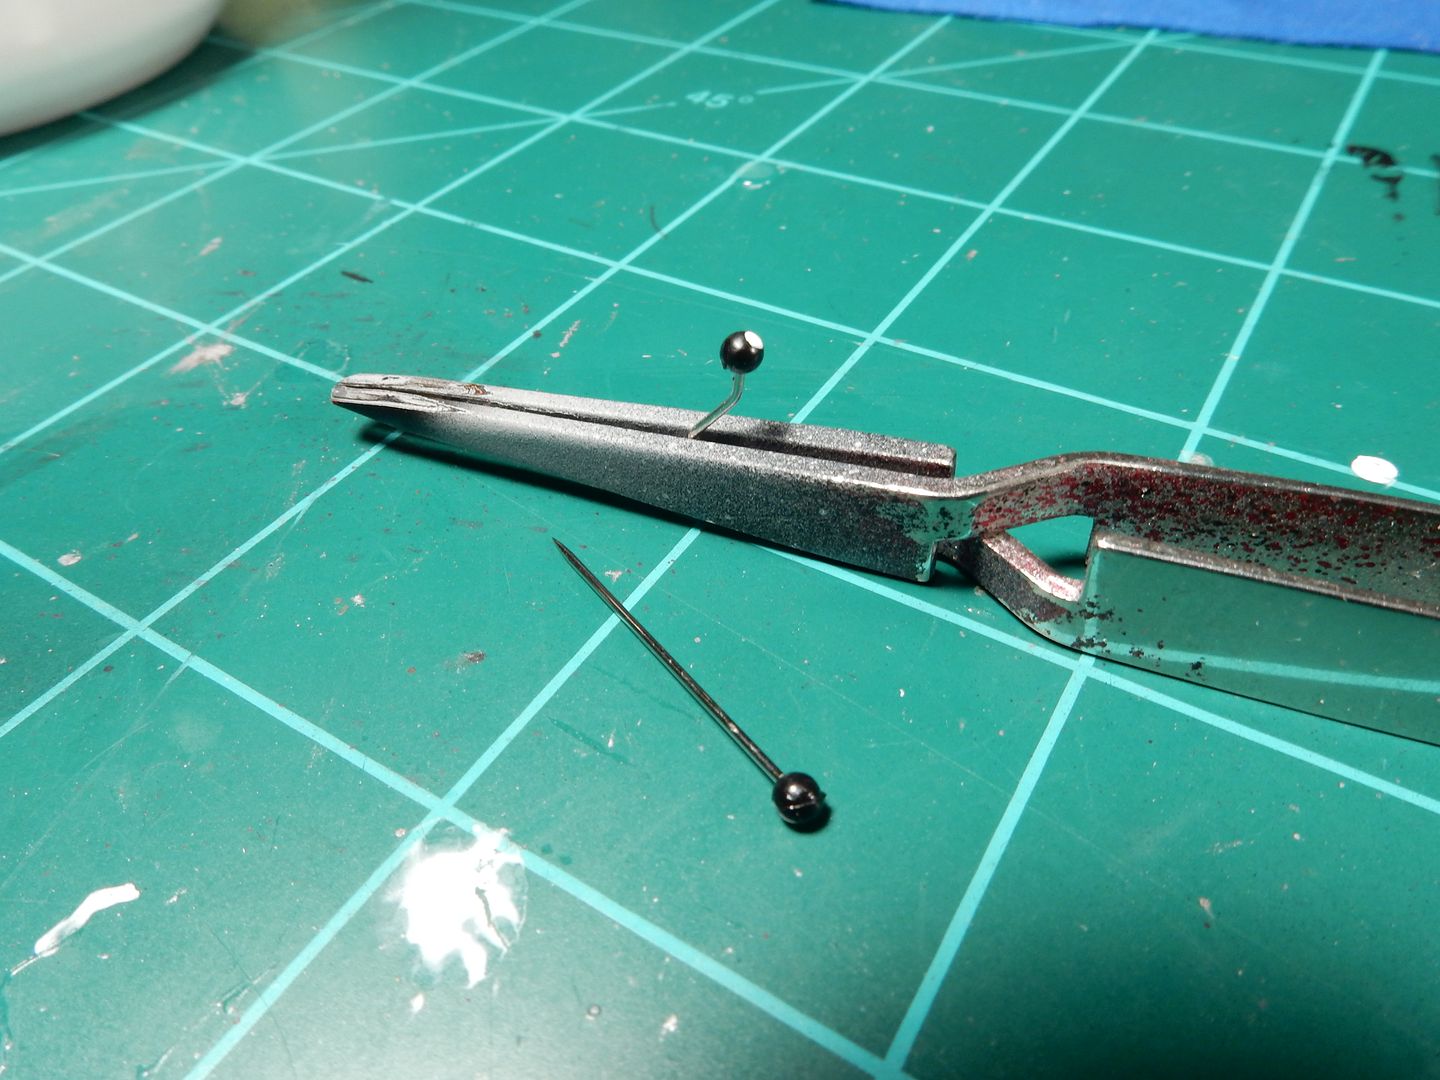
A closer look at the shifter will reveal an "8 Ball" for a shifter knob. This.......was a small model by itself!! I used a straight pin with the little ball on top, sanded the ball to a smooth finish, then bent the shifter rod into an "S" shape and painted a white dot in the middle of the ball:
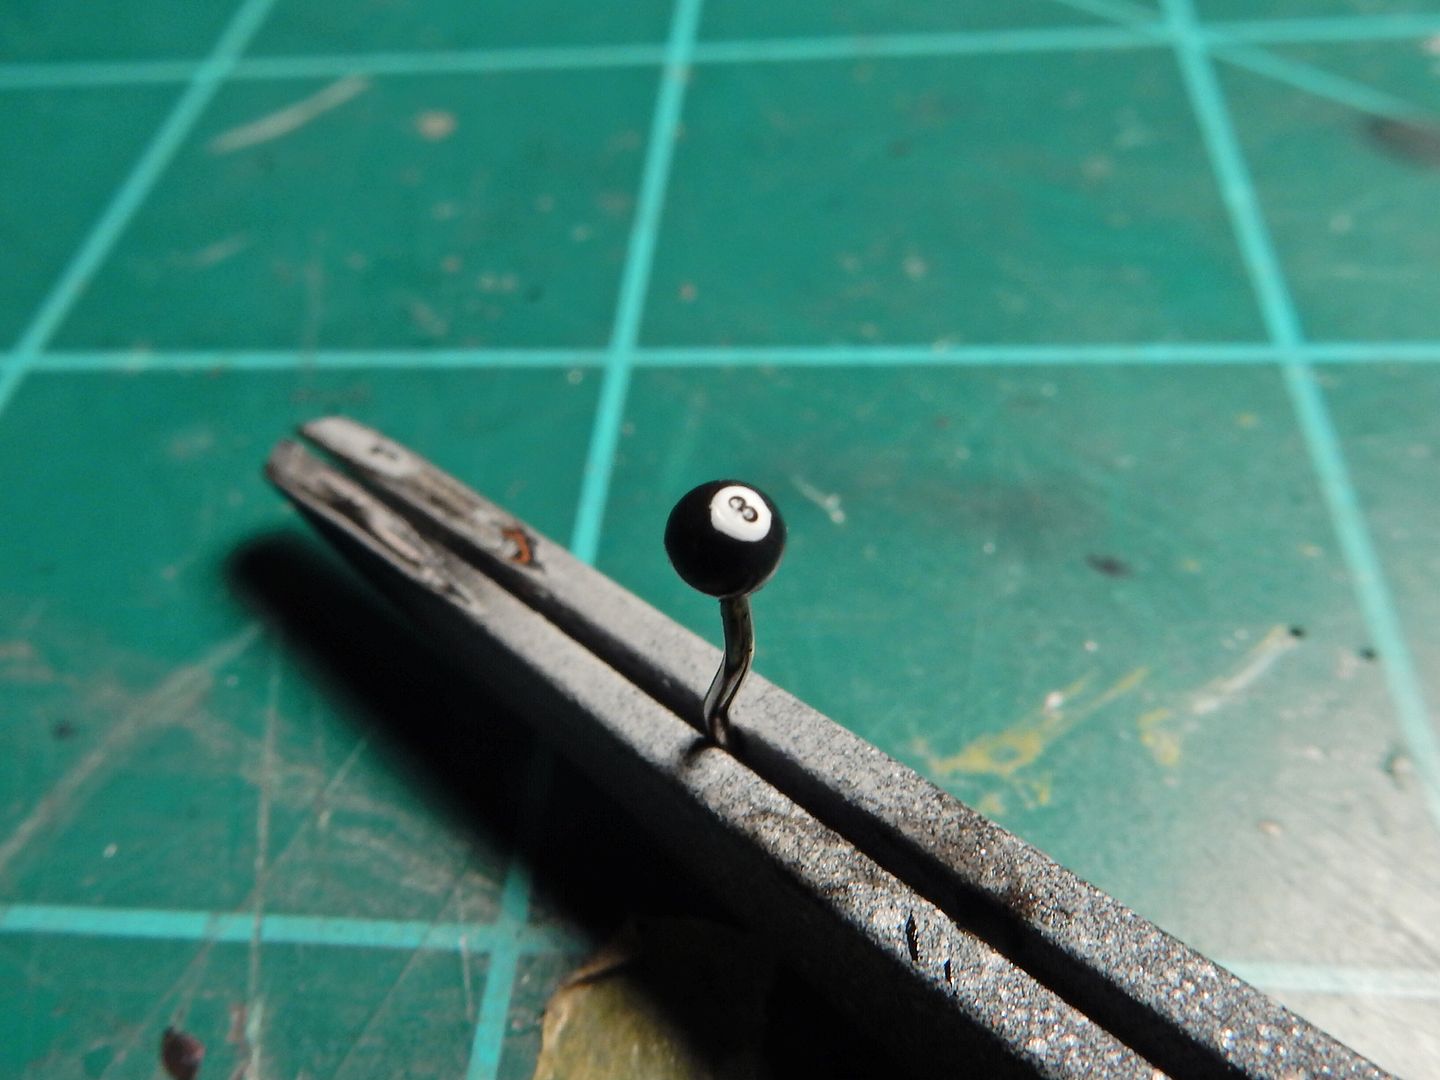
after this I painted on two small black dots stacked one on top of the other and then two smaller white dots in the middle of those black dots to get the "8". Additionally I used a coat of Tamiya Smoke tint on the shifter rod for a little more realism with the chrome look.
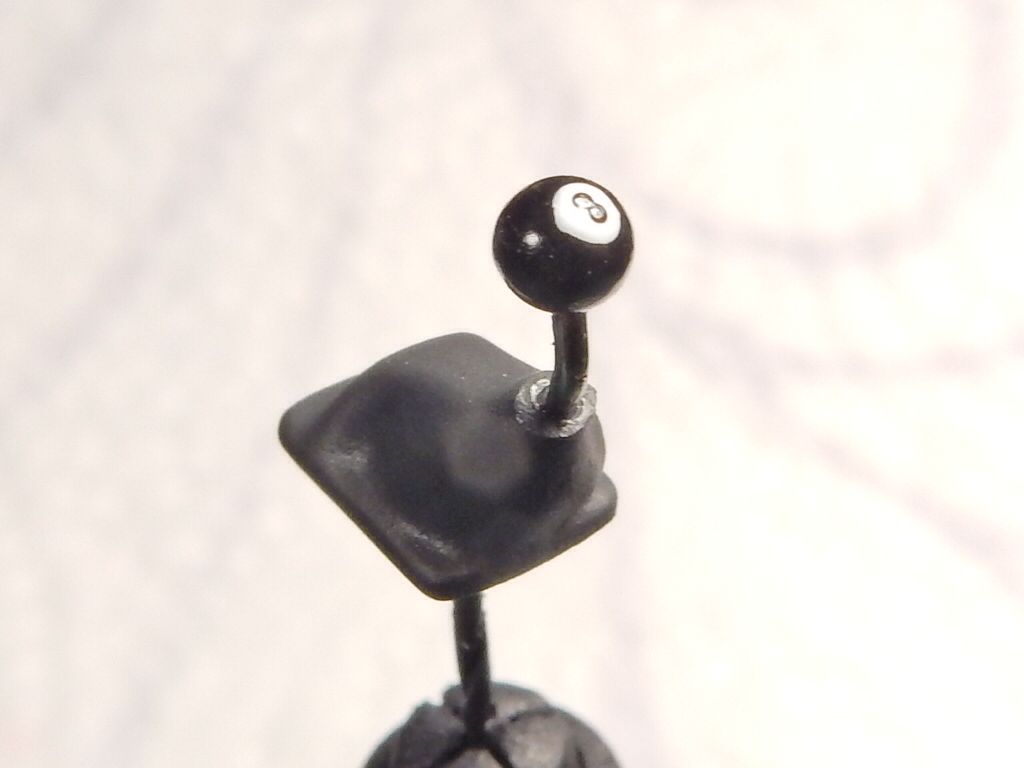
I then cut the shifter rod and knob from the OOB Mustang GT shifter boot, drilled a hole in the boot where the and inserted the completed rod/ ball assy into the boot. I painted the shifter boot a dark gray and dulled/ shadowed it with a dry brushed coat of ground up black pastel.
|
|
Deleted
Registered: Nov 21, 2024 13:42:34 GMT -7
Posts: 0
|
Post by Deleted on Jun 19, 2016 11:58:22 GMT -7
jaw-dropping-smiley-emoticon
|
|
|
|
Post by stitchdup on Jun 19, 2016 15:05:37 GMT -7
Enjoying watching the steps, cheers for the tips too
|
|
|
|
Post by mustang1989 on Jun 20, 2016 13:12:40 GMT -7
Sidney: LOL! Thanks man.
stitchdup: Thank you as well good sir. |
|
|
|
Post by CoyoteCrunch on Jun 21, 2016 7:21:38 GMT -7
If and when I EVER get my butt back to the hobby room, I am so gonna try the pastel thing. I have always thought about using that stuff, my wife has tons of colors. She chalks ceramics, so definitely have the supplies.
That shifter knob is incredible Joe, what do you use for these small touches, a telescope? LOL Man this is serious building!!!
TOTAL AWESOMENESS
two-thumbs-up-smiley-emoticon |
|
|
|
Post by mustang1989 on Jun 22, 2016 10:59:36 GMT -7
LOL. Thanks buddy! I just use a regular ol' visor. Gotta watch how long I'm under that thing though.
I'll be finishing this up with the paint and decals exactly how it is on the box. I was able to fab out the original decals to get a new set printed up with a customized license plate based off of the most recent Texas plate design that reads RUQWKR. lol
Folks this gets more "do-able" by the day. I've got the bulk of it all test fitted here and so far everything is fitting and clearing where it's supposed to. A couple of shots:
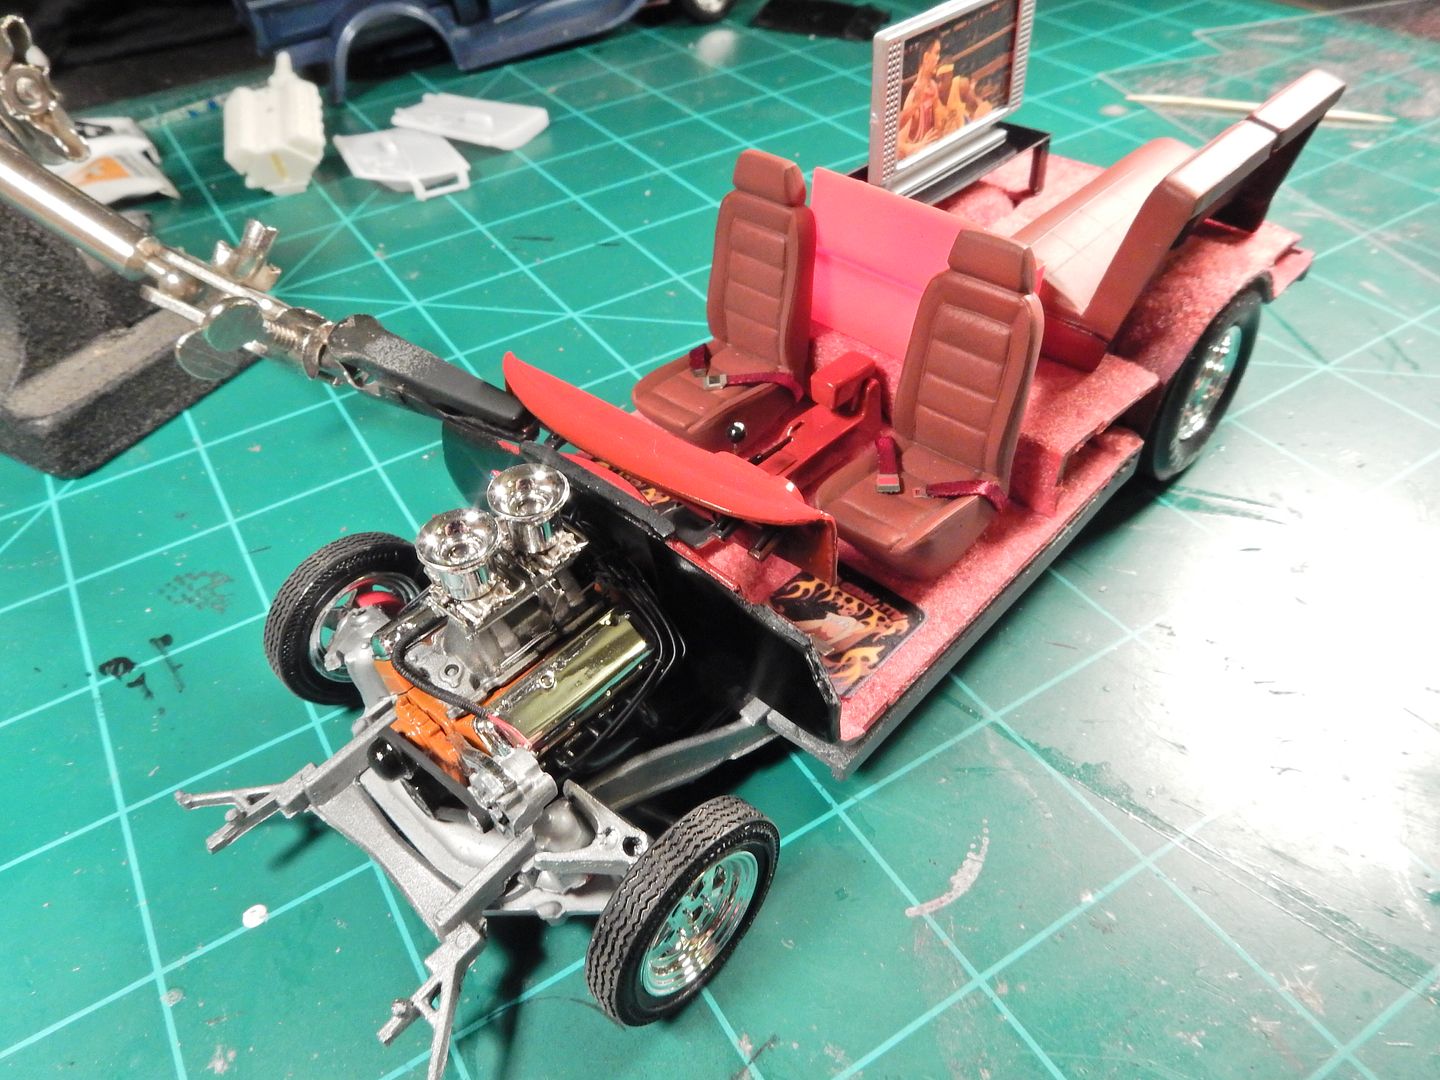
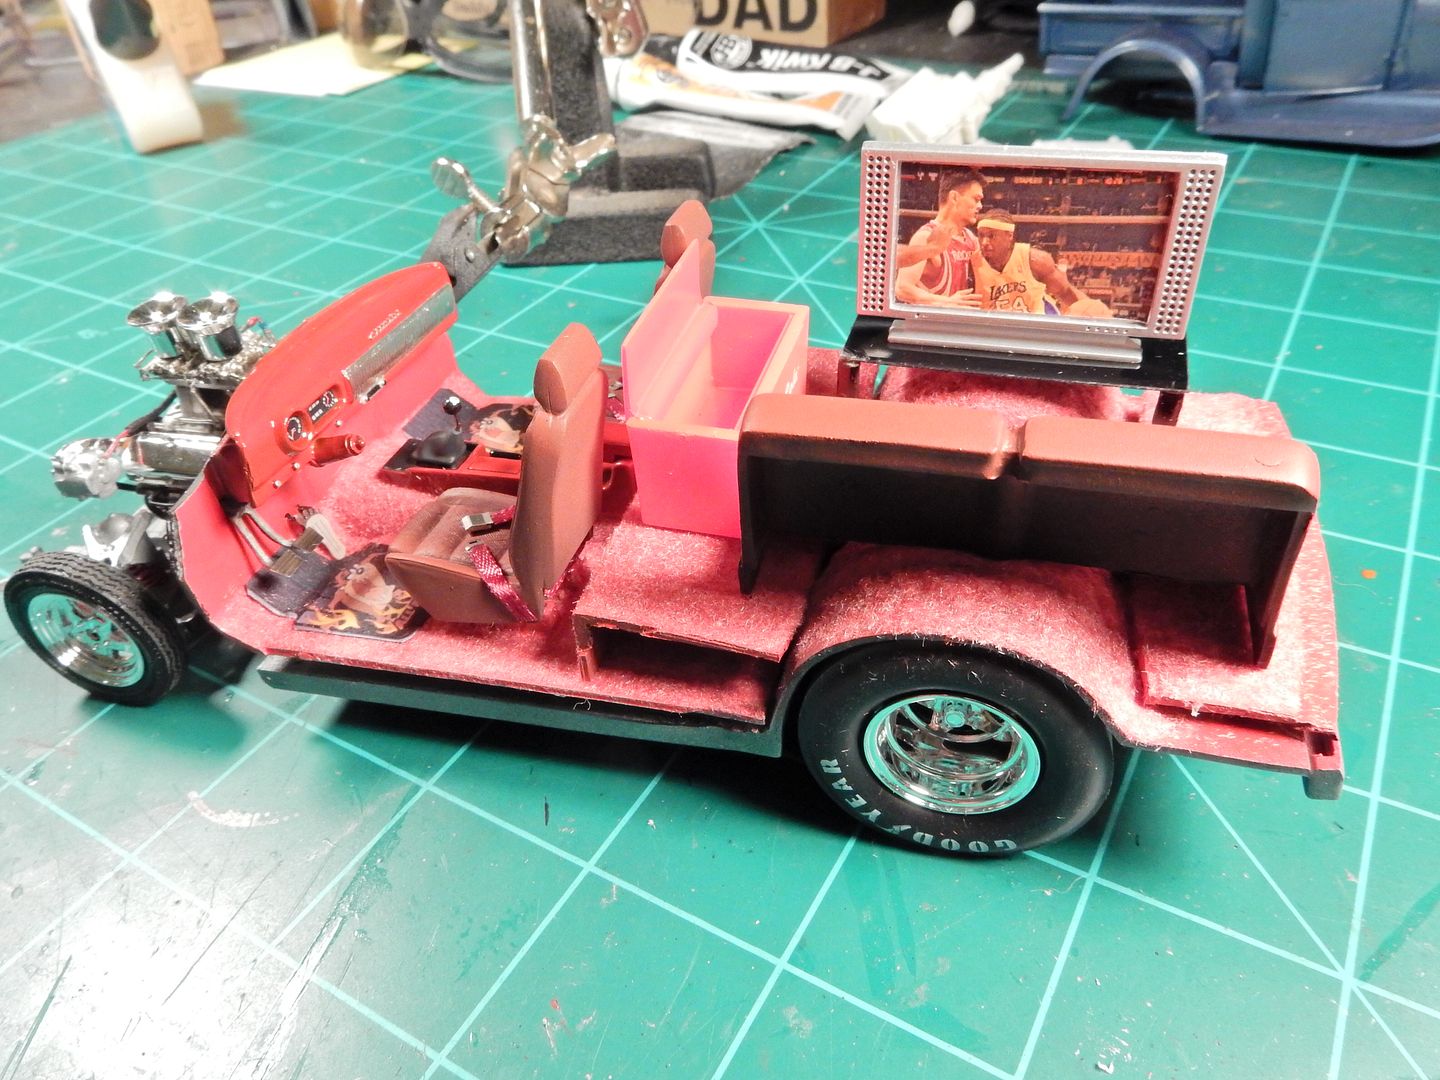
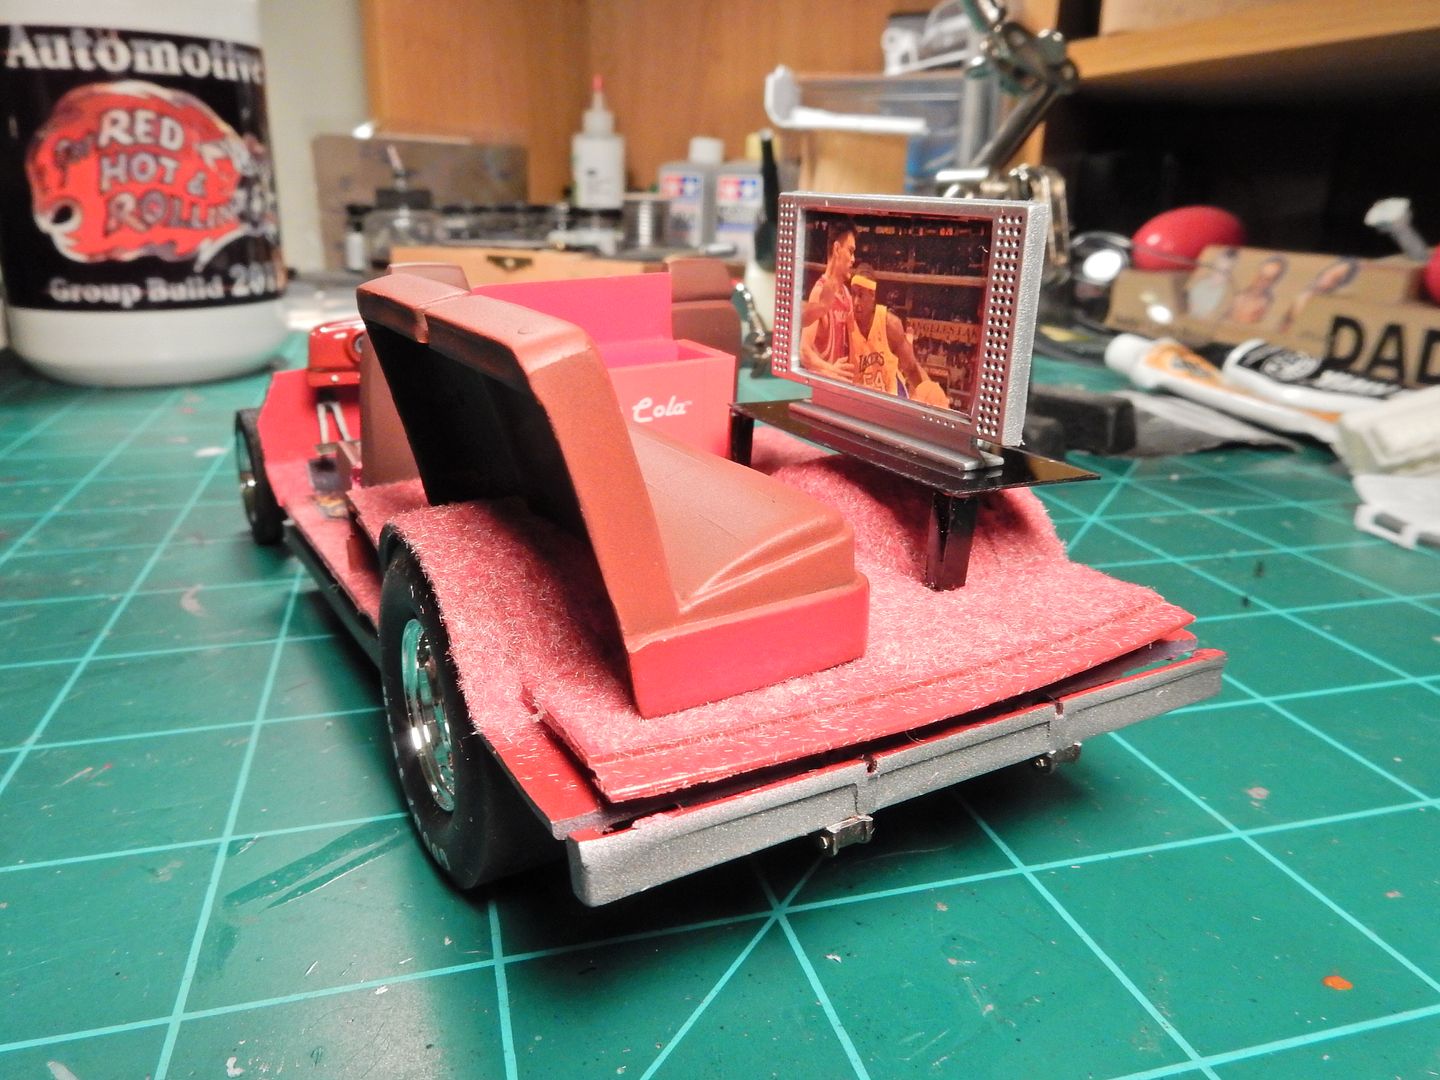
This is where things had to be adjusted a bit. The firewall was sitting to low from the rear of the body line at the rear of the engine bay opening causing a gap between the firewall and the body. I shimmed it up a little to close the gap up. I've already test fitted the body and I'm in good shape so far.
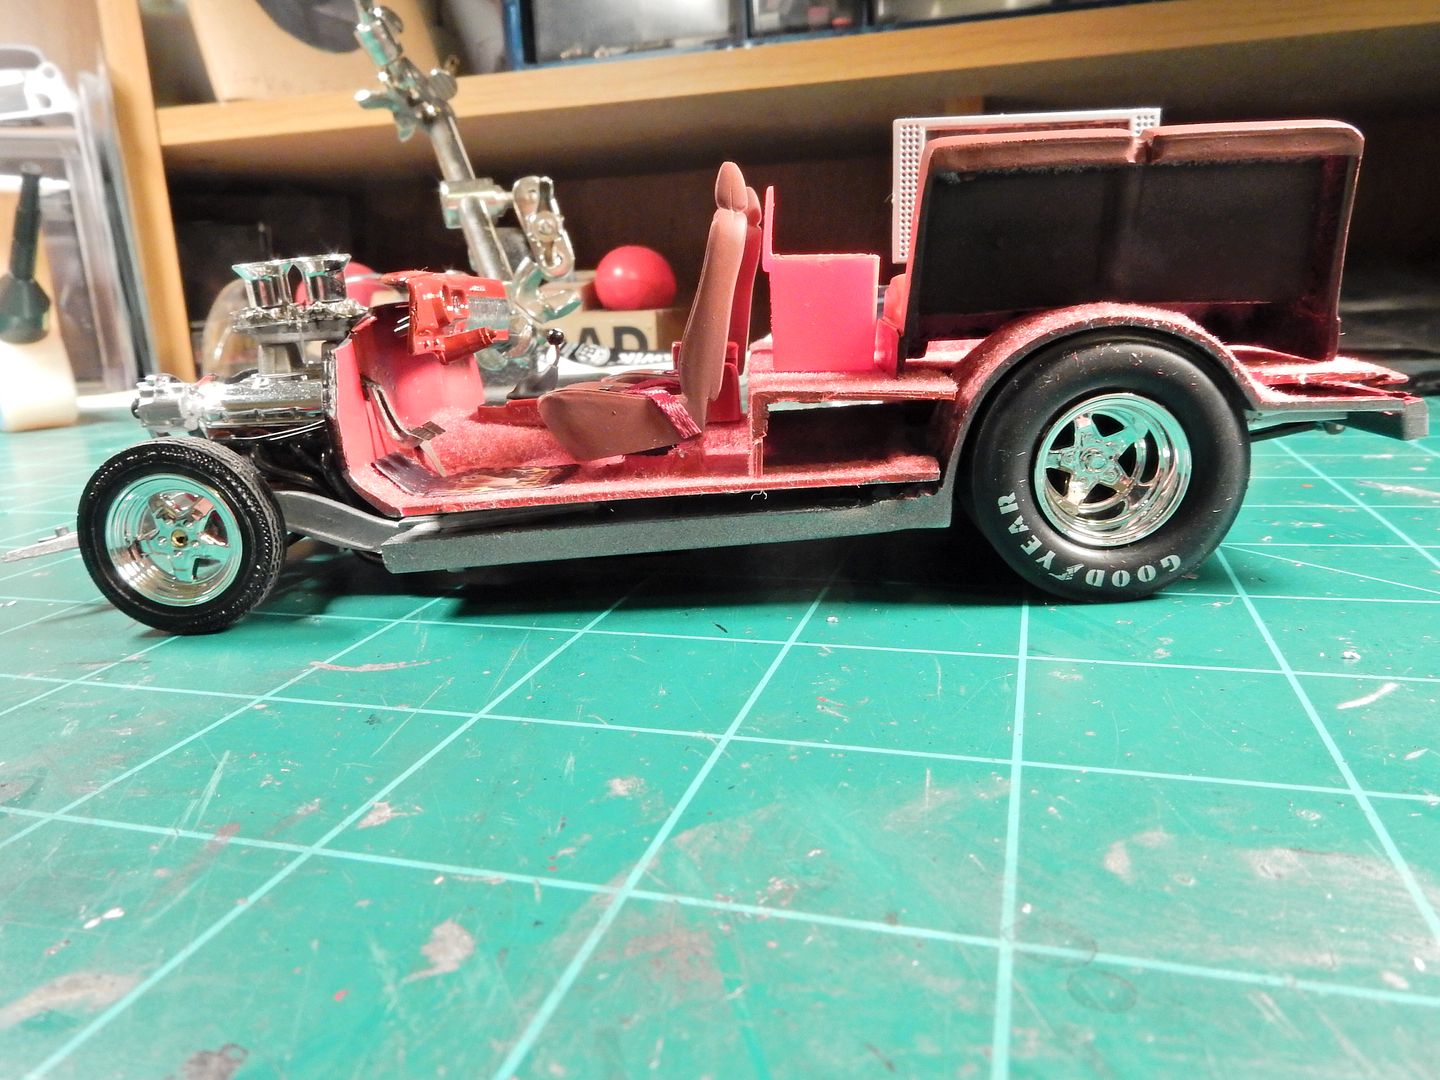
P.S. Just in case anybody spotted it....I am working on the front wheel center caps. There aint no way I'm going to leave those things as is! 
|
|
|
|
Post by CoyoteCrunch on Jun 22, 2016 11:34:57 GMT -7
Very cool man. I was thinking some Corvette style spinners for those front centers. And where in the world did you find that scaled down TV? AWESOME!!!!!!!!
Except for the Lakers being on the screen - Lol  |
|
|
|
Post by mustang1989 on Jun 22, 2016 11:49:55 GMT -7
|
|
|
|
Post by CoyoteCrunch on Jun 22, 2016 12:00:00 GMT -7
Awesome - thanks for the link, I went and saved it. I will have a look at what all else they may have
Really appreciate it! |
|
|
|
Post by mustang1989 on Jun 22, 2016 13:31:56 GMT -7
No problem CC! The imagination untamed is unlimited!!  |
|
|
|
Post by mustang1989 on Jun 23, 2016 4:24:37 GMT -7
I mentioned that I was going to work on the wheel center caps for the front wheels. I just couldn't stand leaving the front wheels the way they were with no cap:
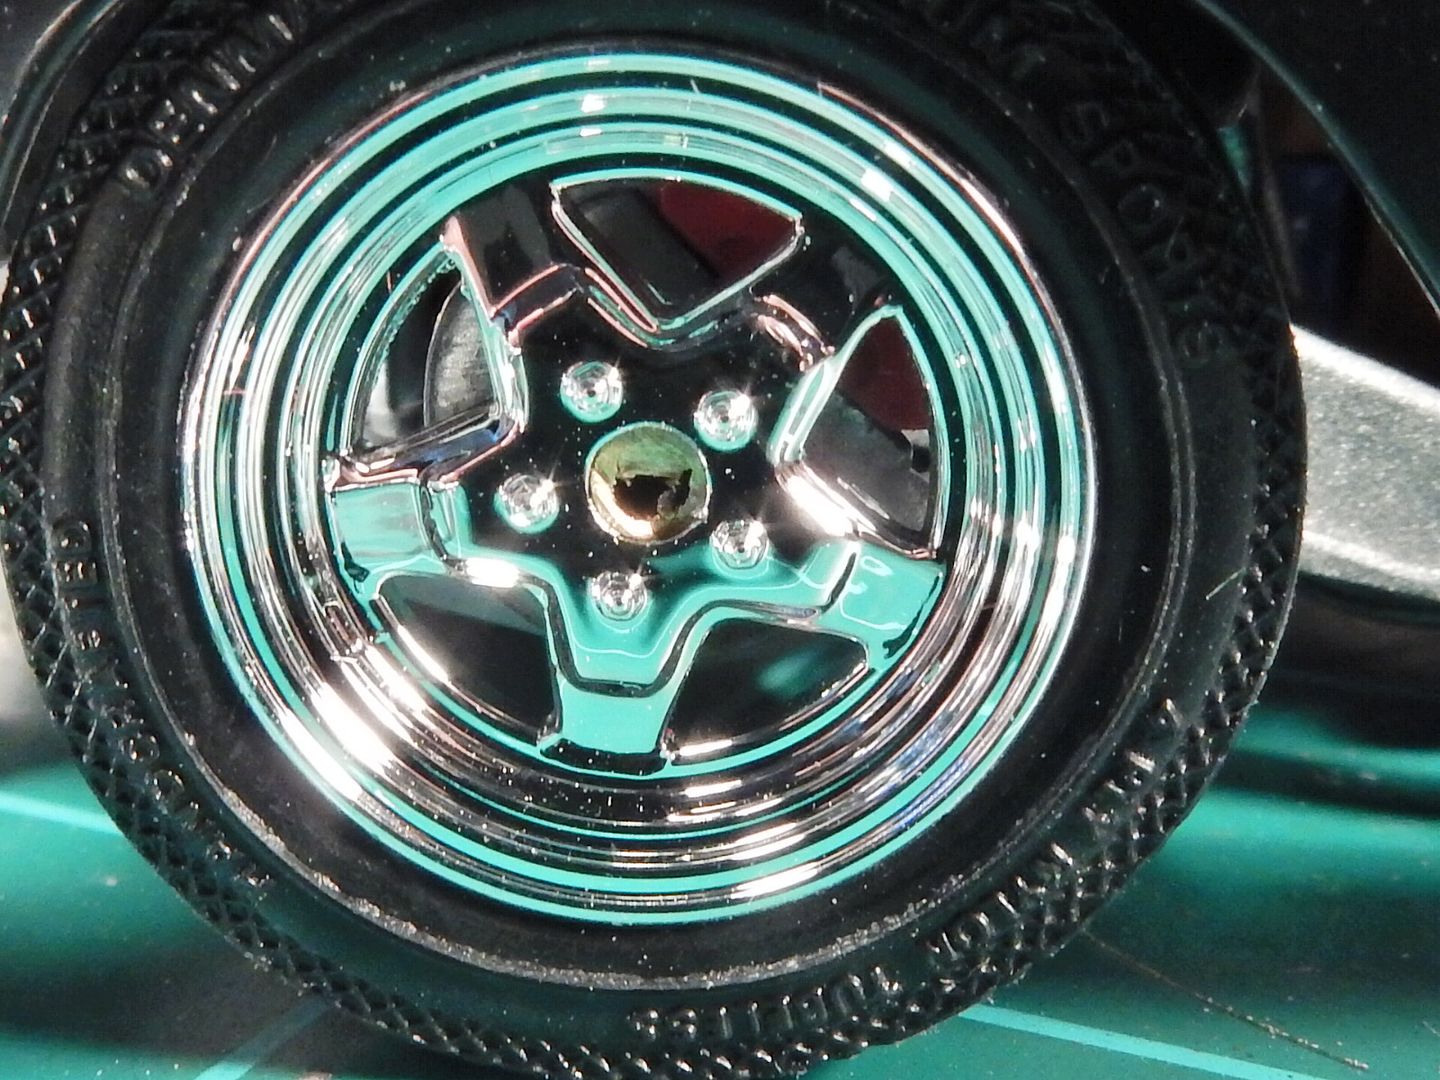
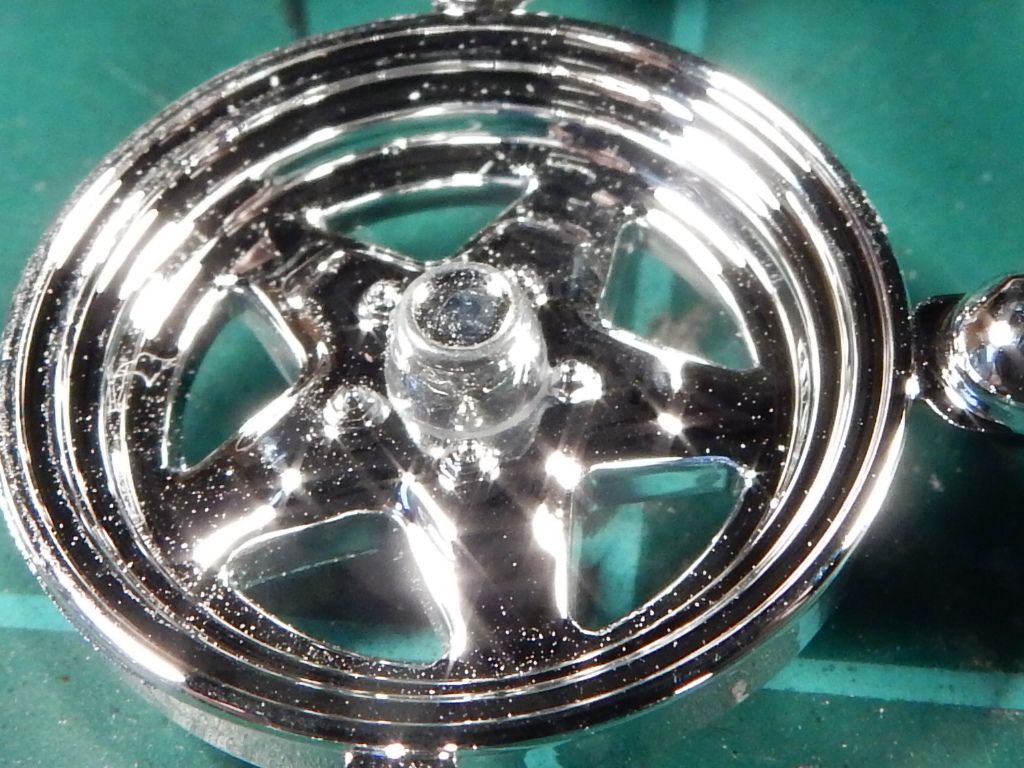
I then took the two spare rear wheels that did have a center cap and sanded the backs of the wheels down until all I had left were......well ....the center caps:
although blurry, you get the picture (pardon the pun)
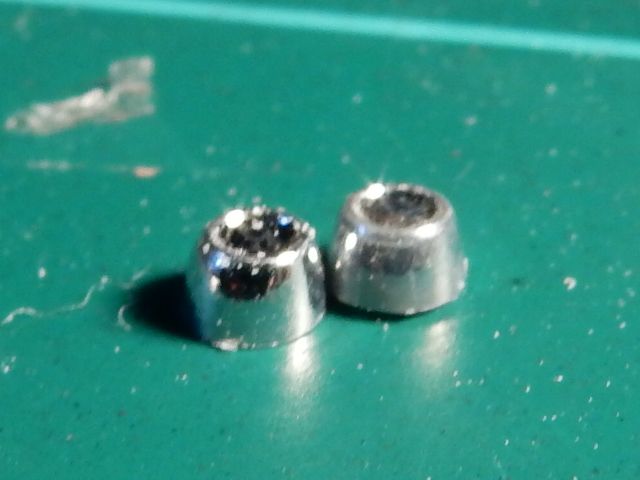
I then test fitted them to the spare front wheel that still attached to sprue. This'll work is all I've gotta say:
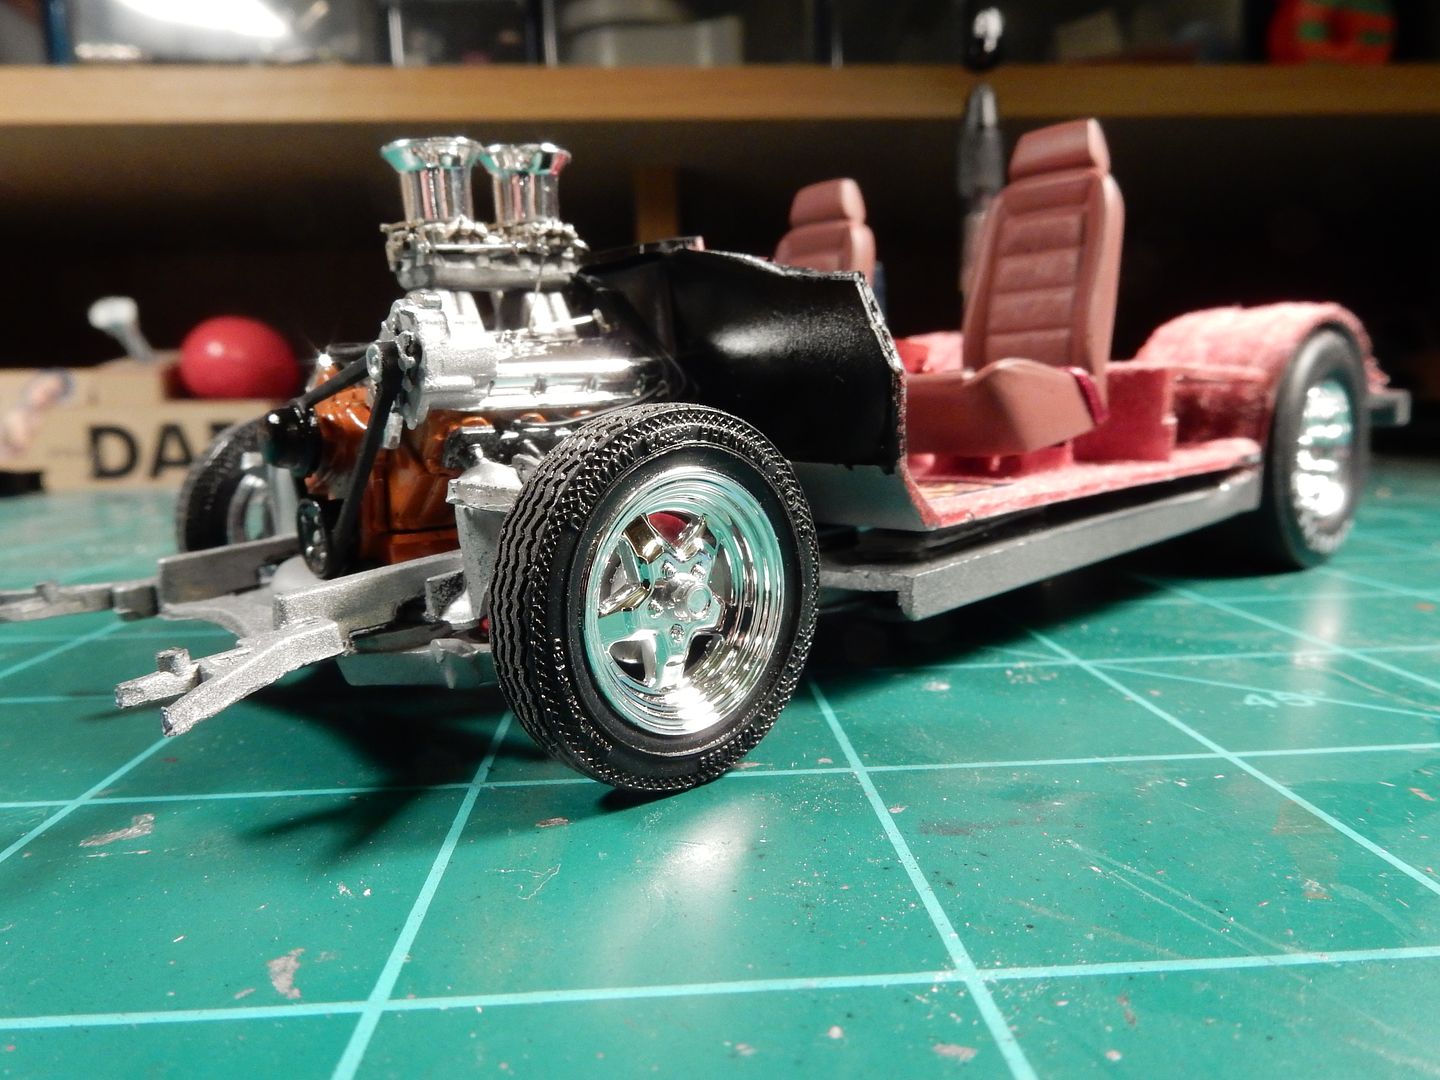
And here's the relative pic. The front wheels are completed in regards to wheel center caps and the flooring is now installed/ adhered to the chassis:
|
|
Deleted
Registered: Nov 21, 2024 13:42:34 GMT -7
Posts: 0
|
Post by Deleted on Jun 23, 2016 5:12:13 GMT -7
 That is just super detailing mate, and lots of great custom mods to get it to where it is now, love those Tassie Devil floor mats too.. praising-the-lord-smiley-emoticon |
|
|
|
Post by mustang1989 on Jun 23, 2016 9:40:13 GMT -7
Thanks Dale.  |
|
|
|
Post by CoyoteCrunch on Jun 23, 2016 11:57:16 GMT -7
Awesome man!! Simply Awesome!!!
two-thumbs-up-smiley-emoticon |
|
|
|
Post by mustang1989 on Jun 24, 2016 7:54:01 GMT -7
Thanks CC!
Ok I'm mostly finished with the rolling chassis and interior. I still have to build a master cylinder and power brake booster for it and add the brake lines but I figured that I'd start on the body some. To say that the body has it's fair share of problems would be an understatement.
I usually see mold lines down around the corners and "what-not" but on top of the front fender? Really?  ? ?
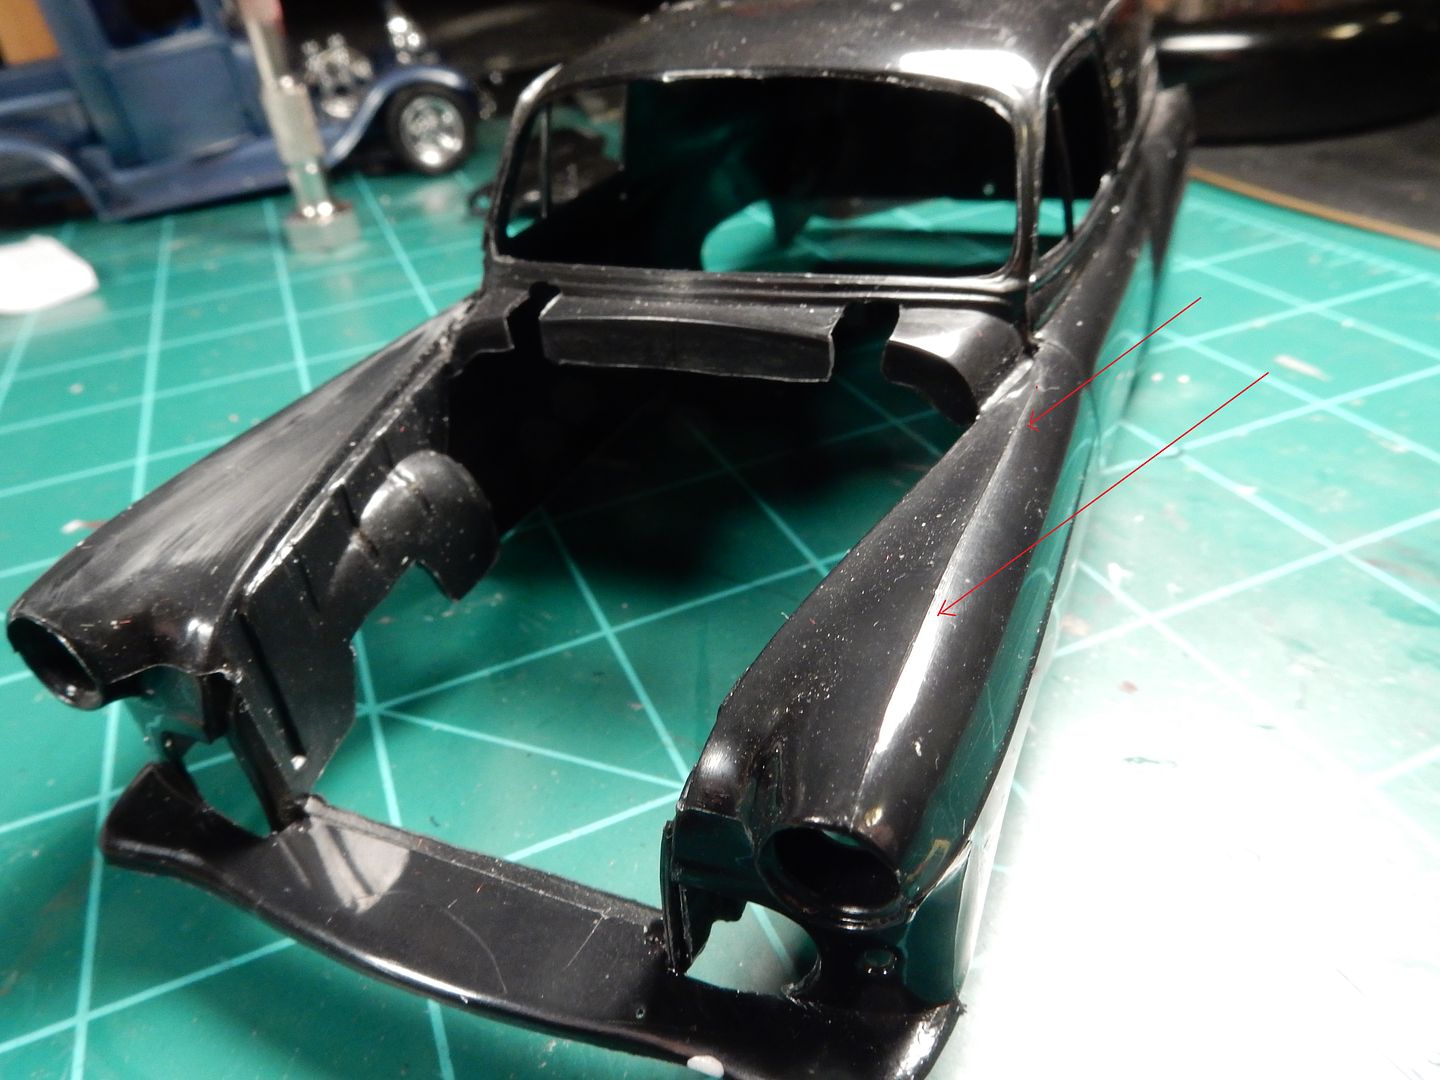
This is pretty bad too...........
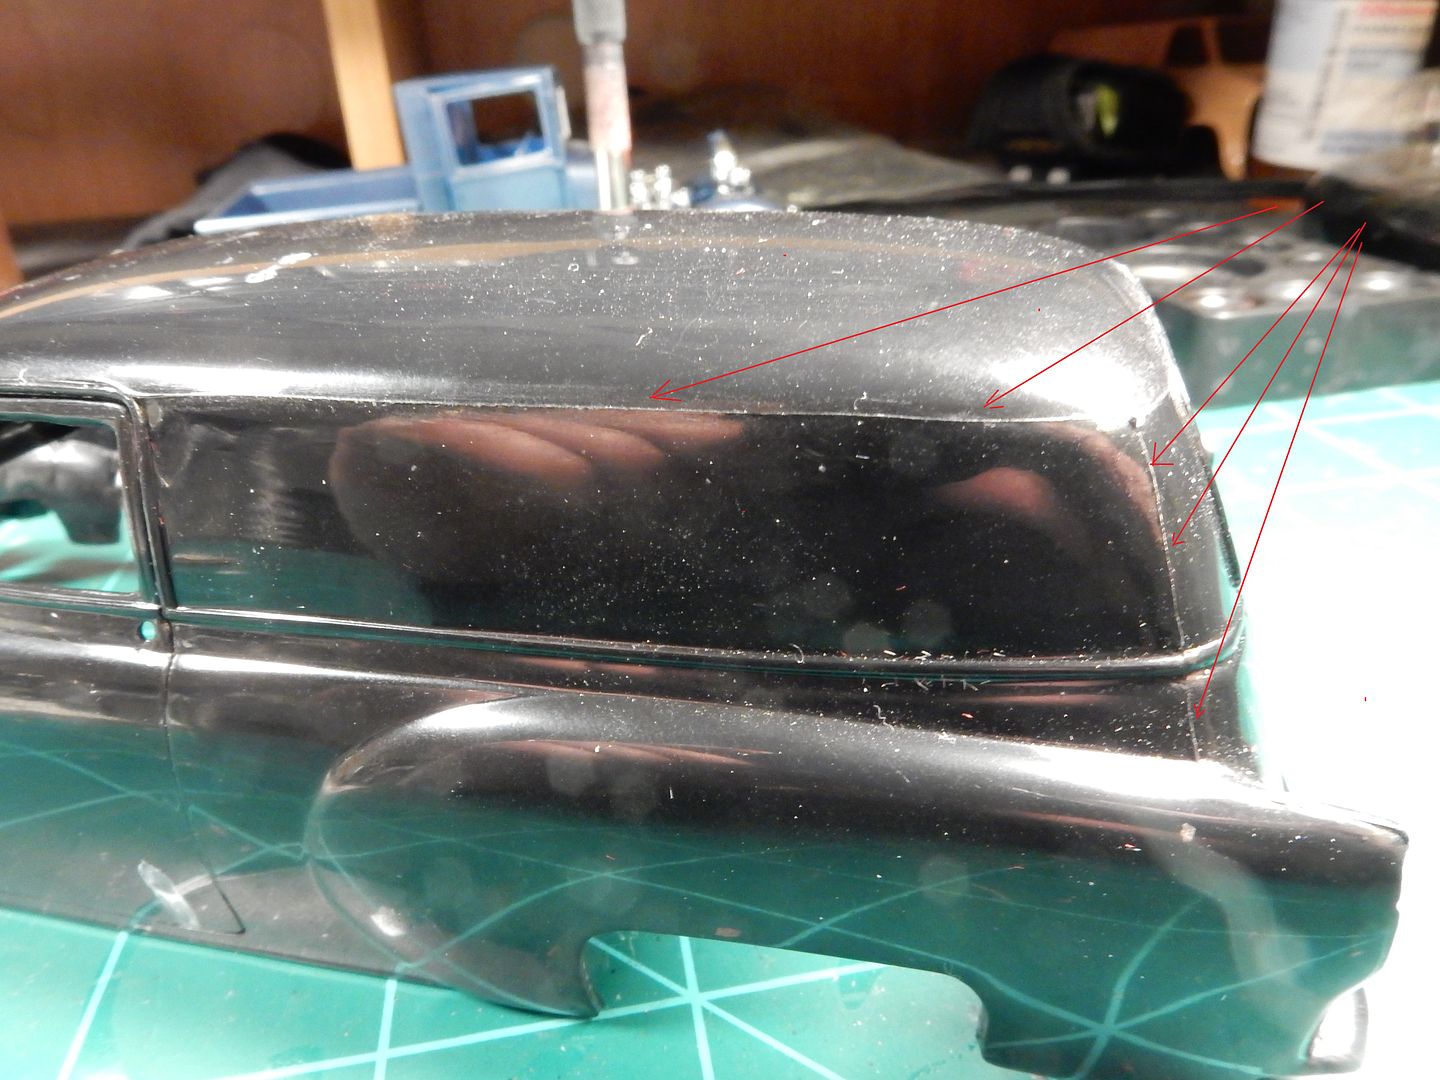
and this is just plain nasty!!!!
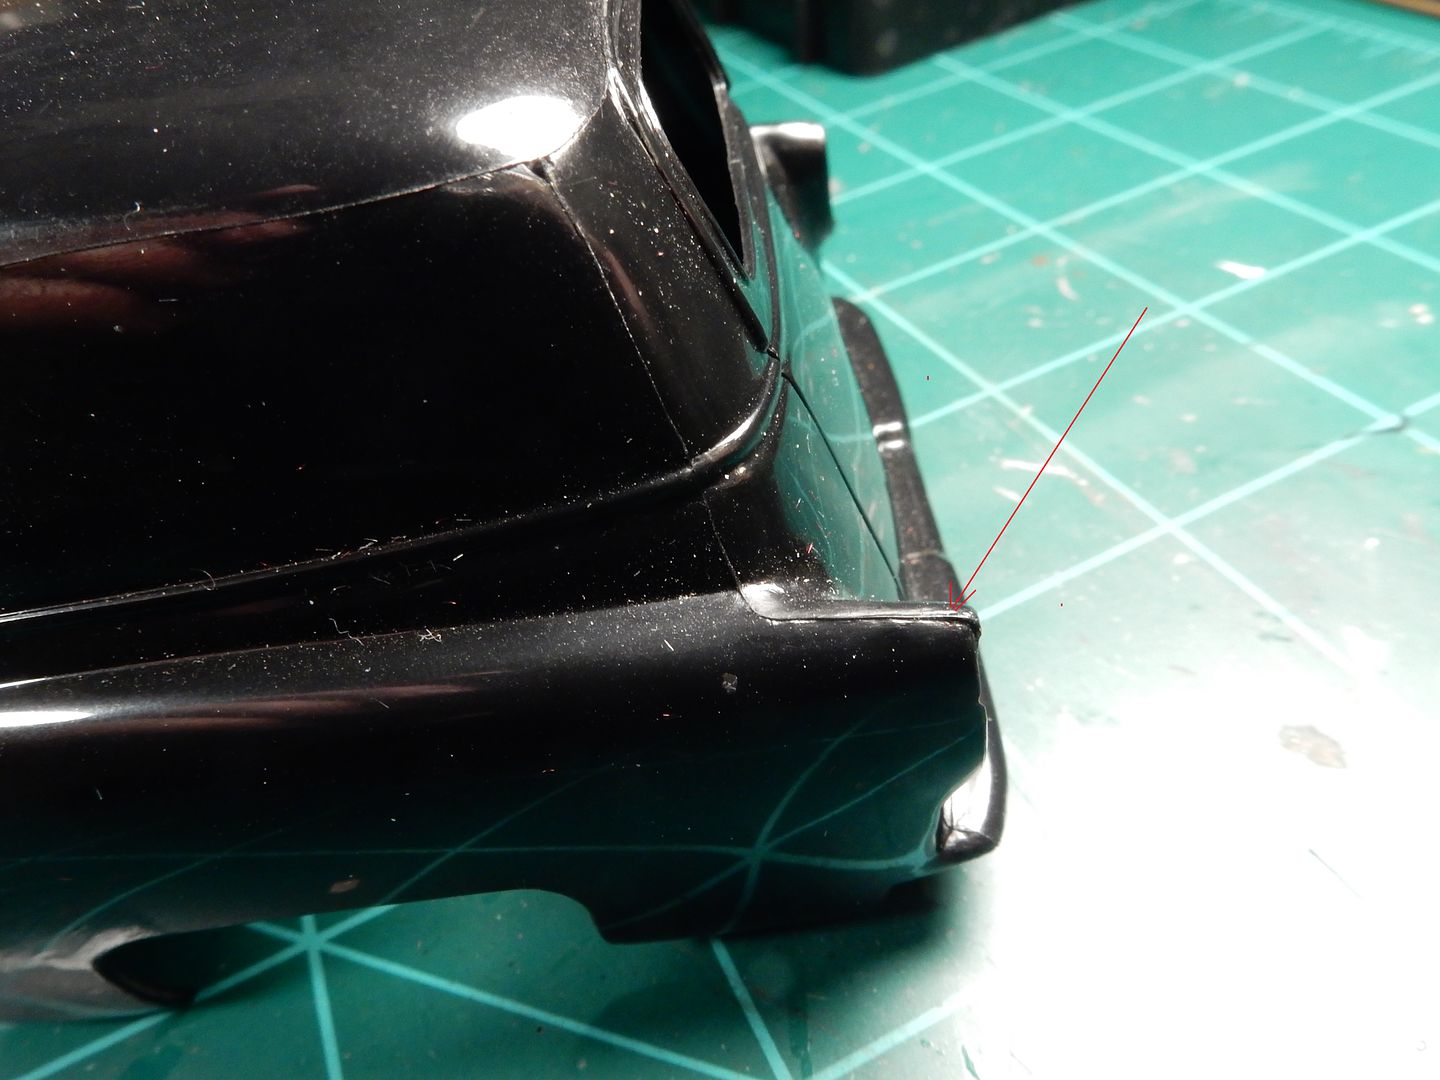
At this point I had a lot of work ahead of me but I ended up taking the body on our one week trip to Kansas along with a fine sanding kit to correct all this. More coming.............
|
|
|
|
Post by jkflash on Jun 24, 2016 8:01:47 GMT -7
Wow that is some amazing work. That engine is awesome.
|
|
|
|
Post by mustang1989 on Jun 24, 2016 8:09:14 GMT -7
Thanks jkflash!
|
|