|
|
Post by CoyoteCrunch on Jun 24, 2016 8:15:16 GMT -7
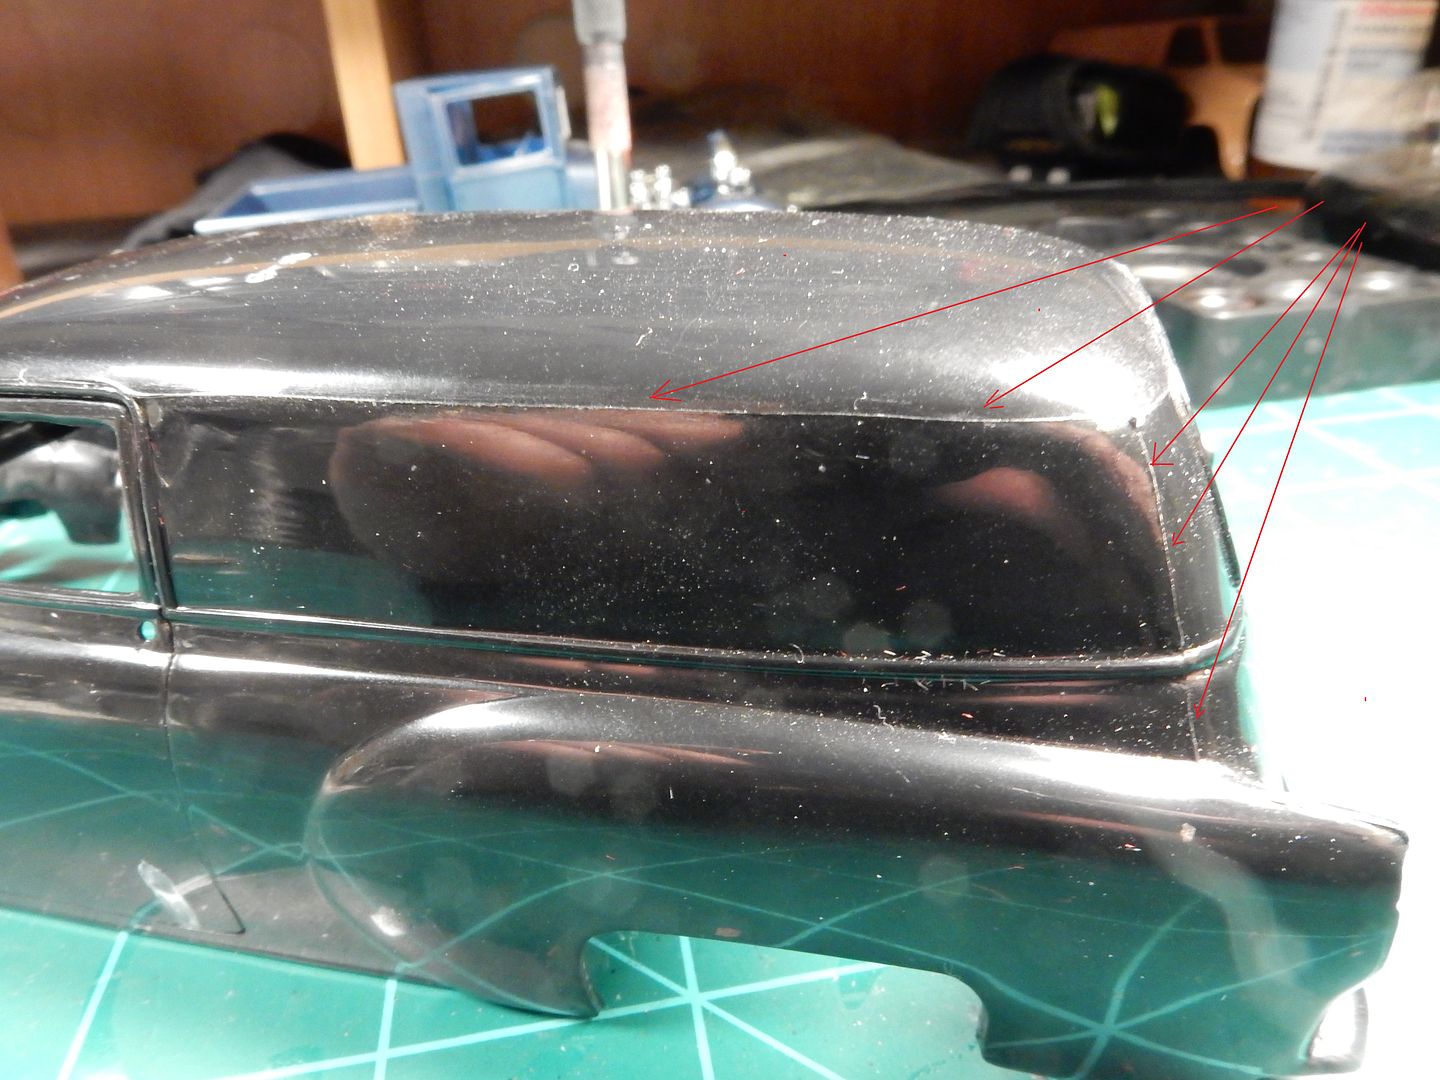
Wow, there sure were a bunch of molding lines wasn't there. Shoot, the fender ones, I probably would have thought that's the way they were supposed to be!
But then again, I am old, and not as wise as most! LOL |
|
|
|
Post by kpnuts on Jun 27, 2016 1:06:21 GMT -7
That is incredible detail work, amazing.
|
|
warmachine
Super Member
  Registered: Jun 19, 2013 19:27:17 GMT -7
Posts: 340
|
Post by warmachine on Jun 27, 2016 1:30:52 GMT -7
given the age of that kit and the mold likely been repaired a few time's guess it happen's great thing their easy to get rid of but judging your skill it'll be a sweet ride
|
|
warmachine
Super Member
  Registered: Jun 19, 2013 19:27:17 GMT -7
Posts: 340
|
Post by warmachine on Jun 27, 2016 1:32:23 GMT -7
if it makes you feel better joe the new rerelease is just and bad lol
|
|
|
|
Post by mustang1989 on Jun 27, 2016 7:14:43 GMT -7
Thanks CC!
kpnuts: I appreciate the encouragement a lot! Especially with the likes of your builds that I've seen.
warmachine: Thank you as well bud. I've got the latest release for spare parts and you're definitely right. It's a carbon copy of mistakes, just in a different color mold. |
|
|
|
Post by mustang1989 on Jun 27, 2016 7:34:06 GMT -7
I went from this:
To this:
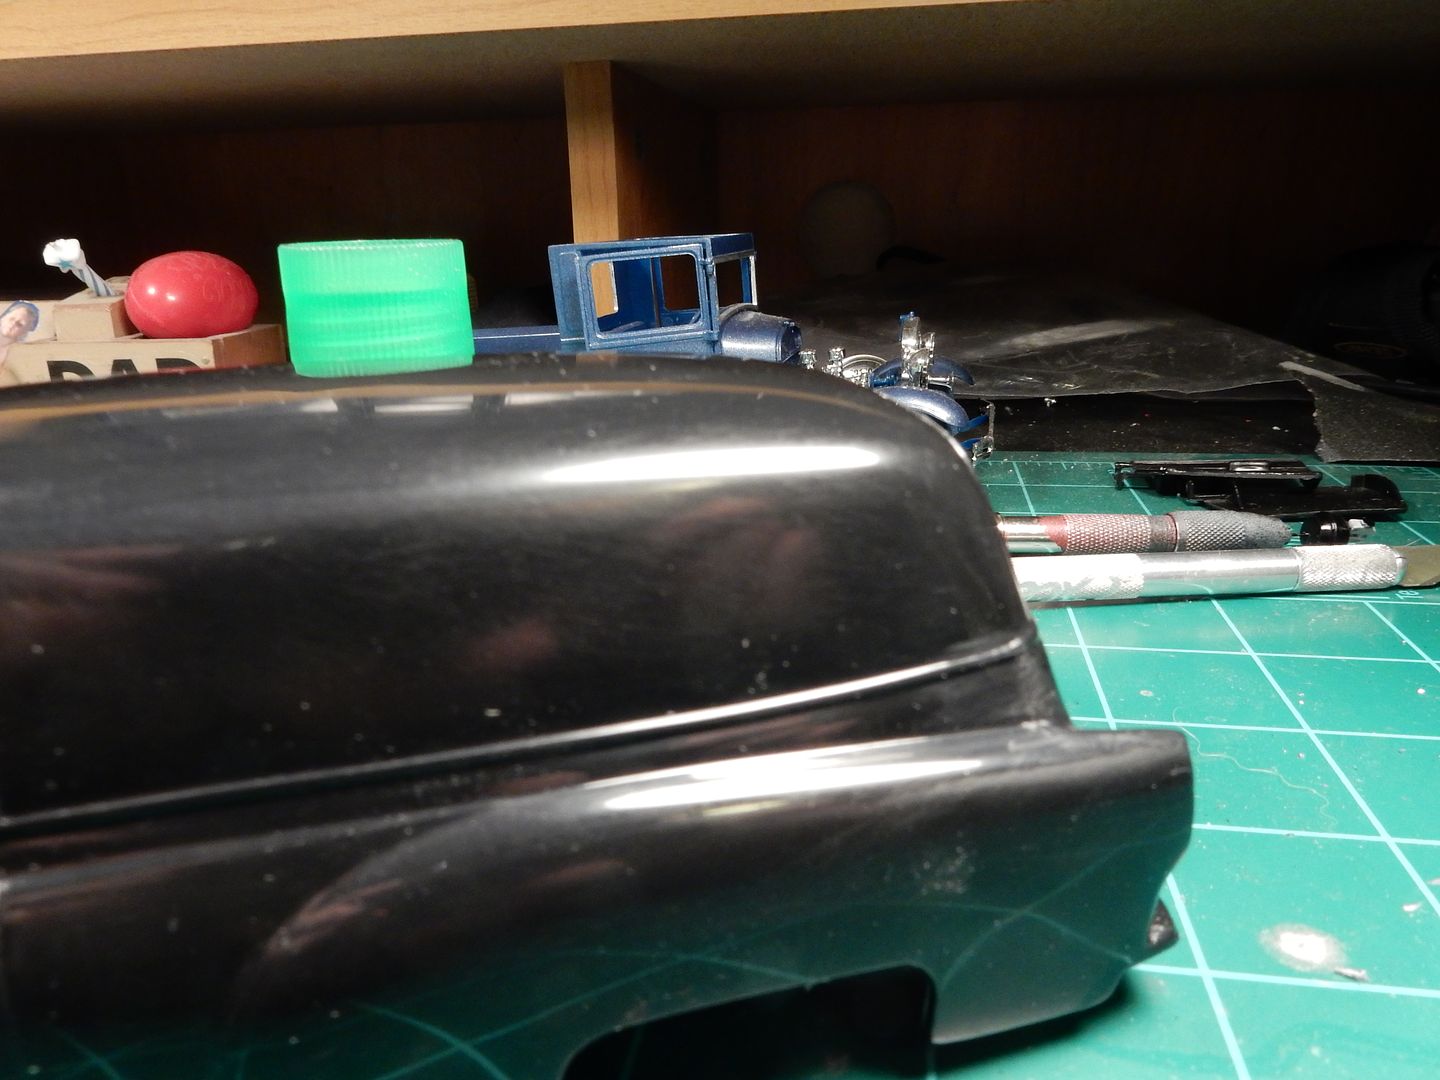
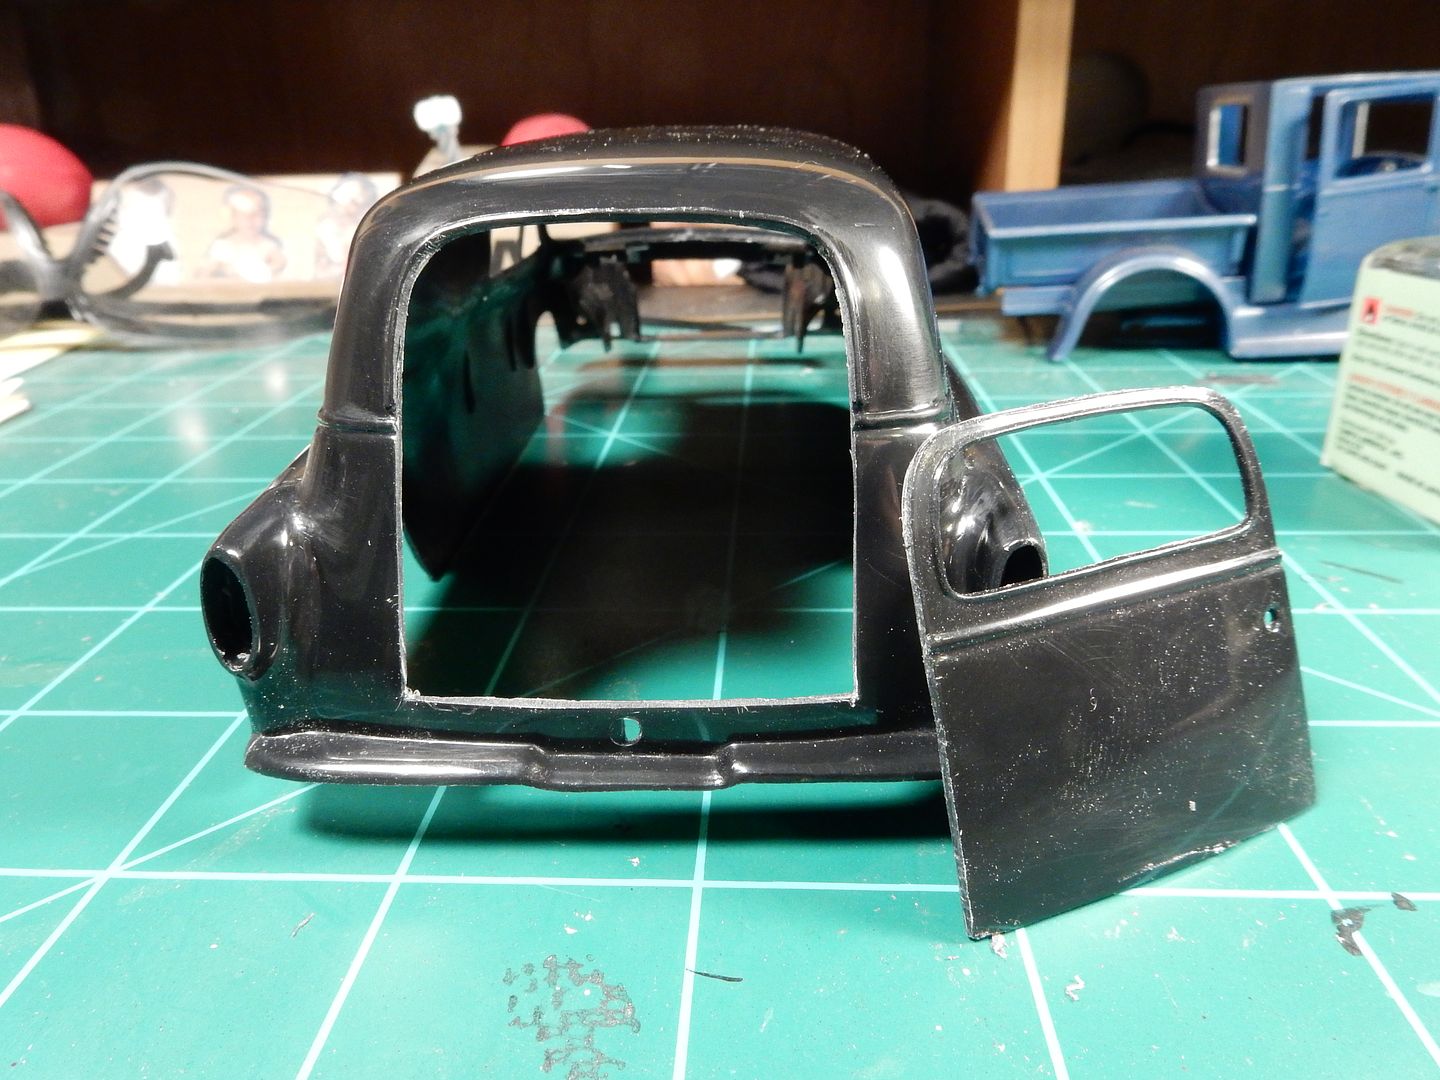
Cut the rear door out:(with sewing thread nonetheless)
smoothed out all the fenders and other affected areas and filled in those nasty hood hinge cut-outs.
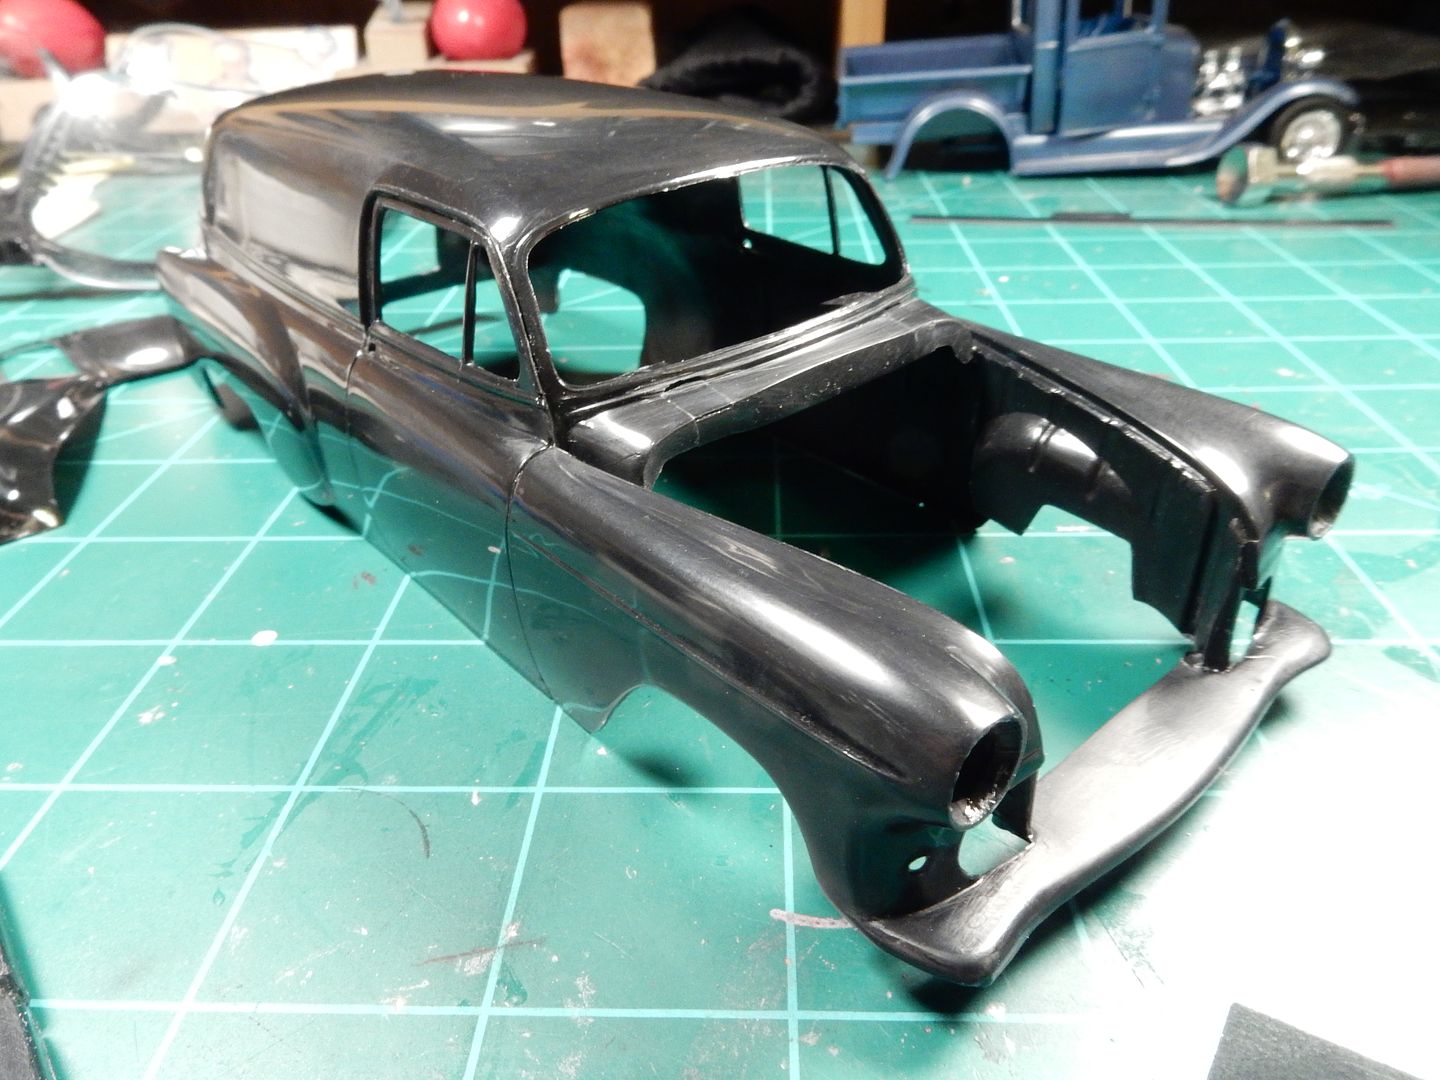
Initial priming with some work left to do:
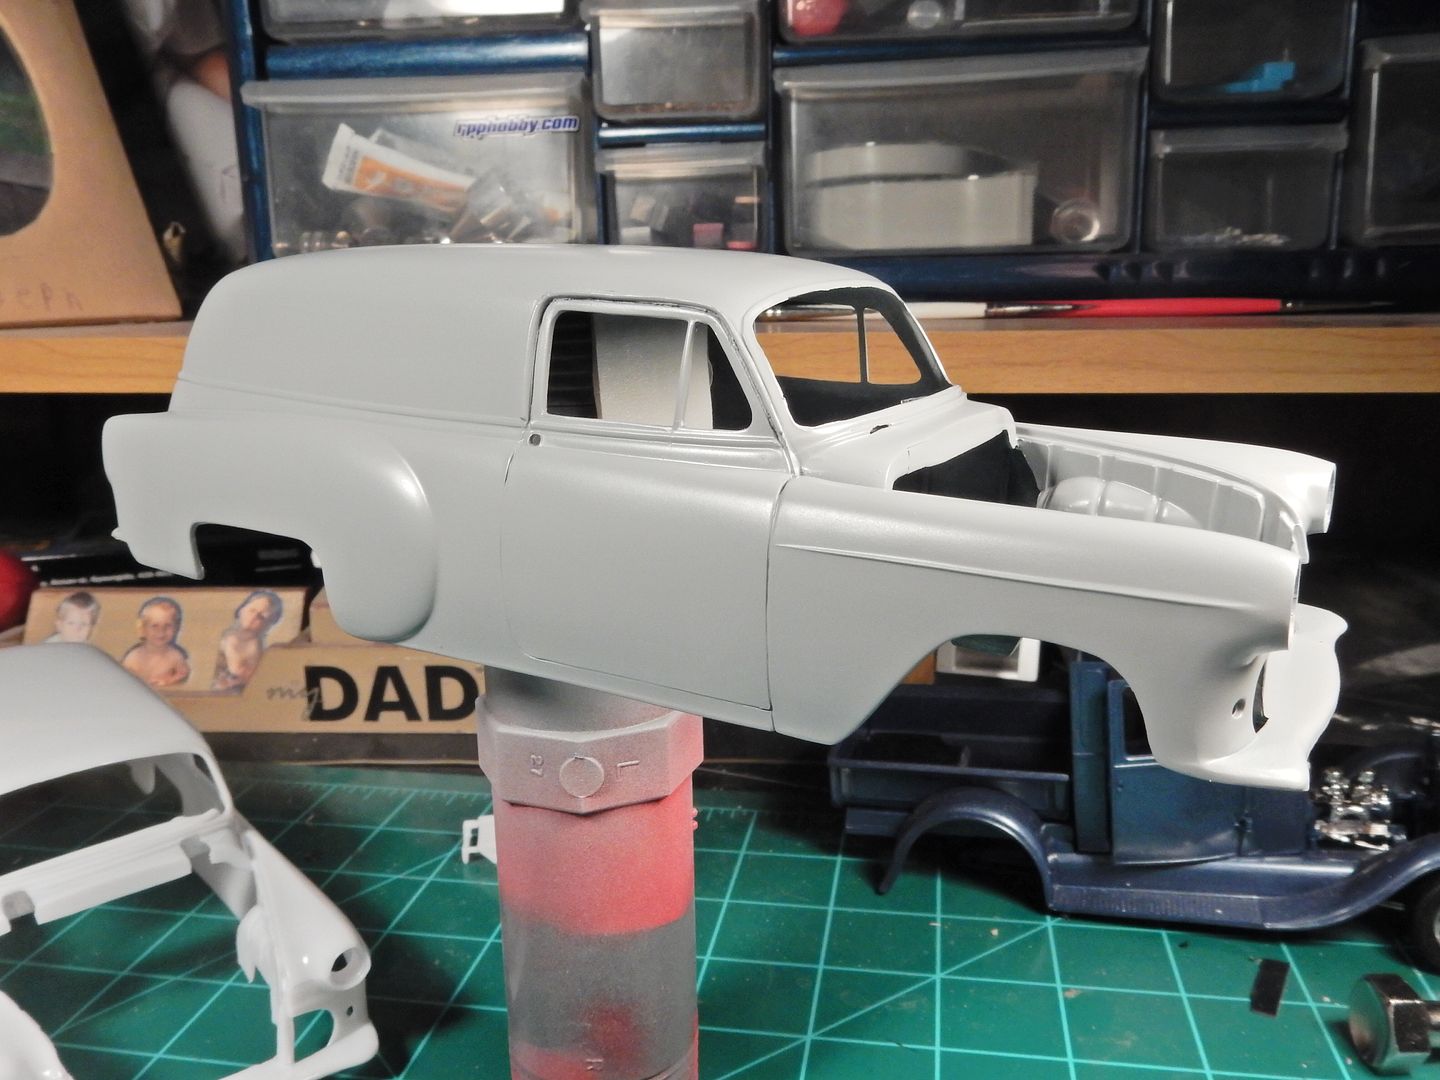
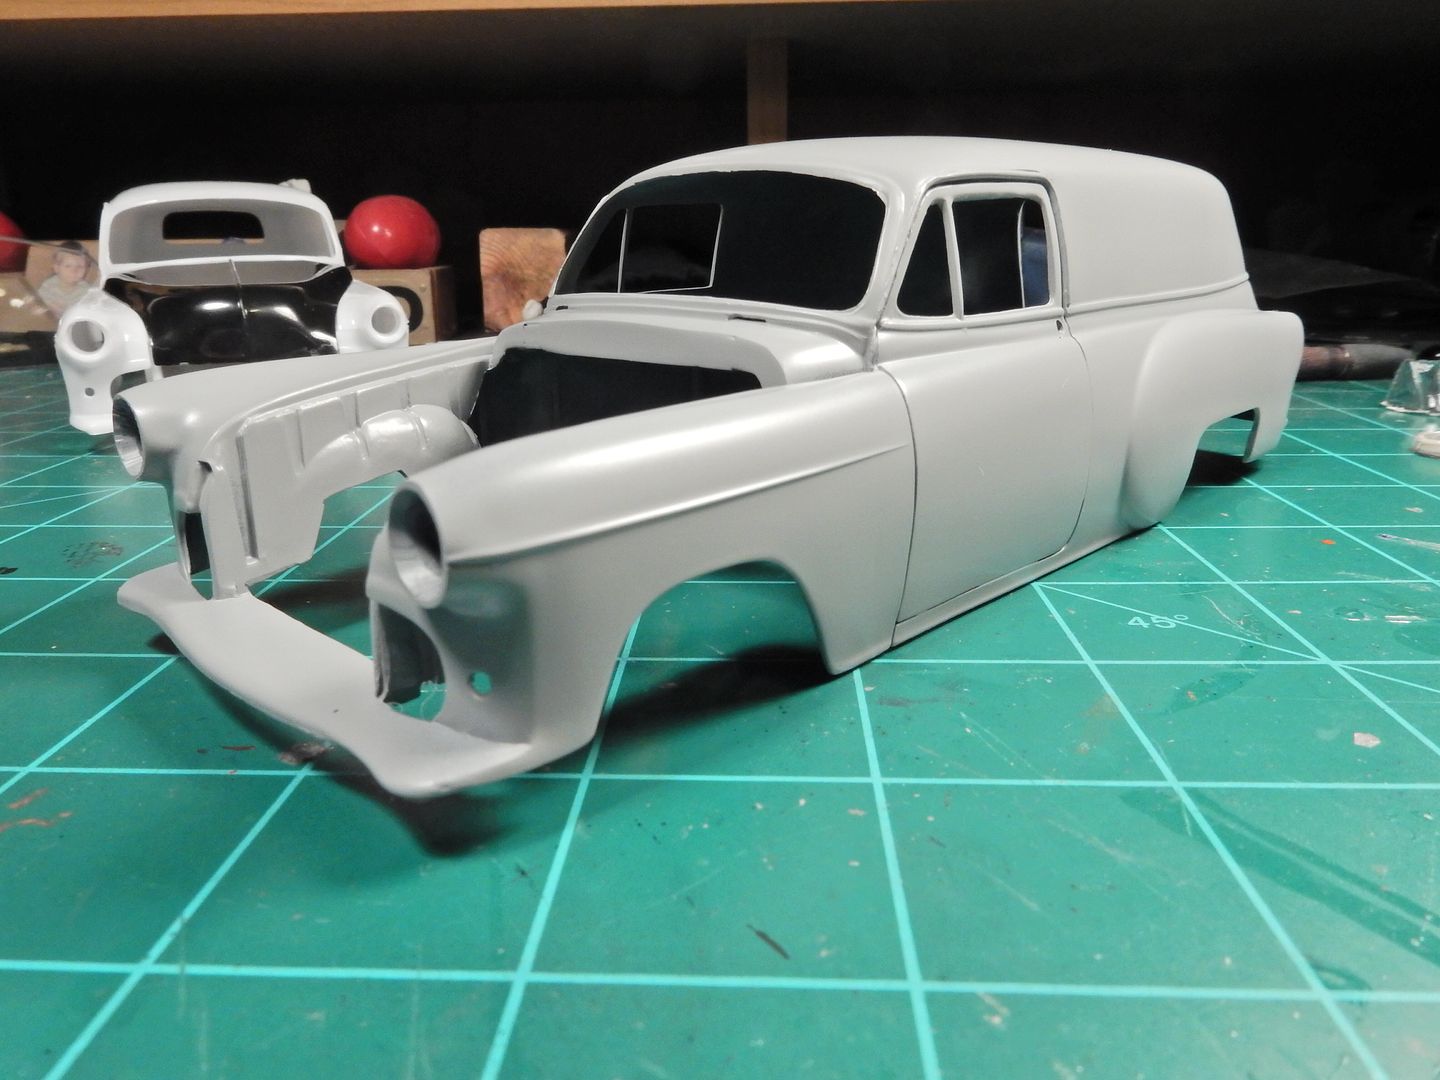
and wound up finishing the touch up body work and test fitting it all on the chassis for progress shots


|
|
|
|
Post by mustang1989 on Jun 29, 2016 3:15:18 GMT -7
Here's the initial coats of MM Black Lacquer...
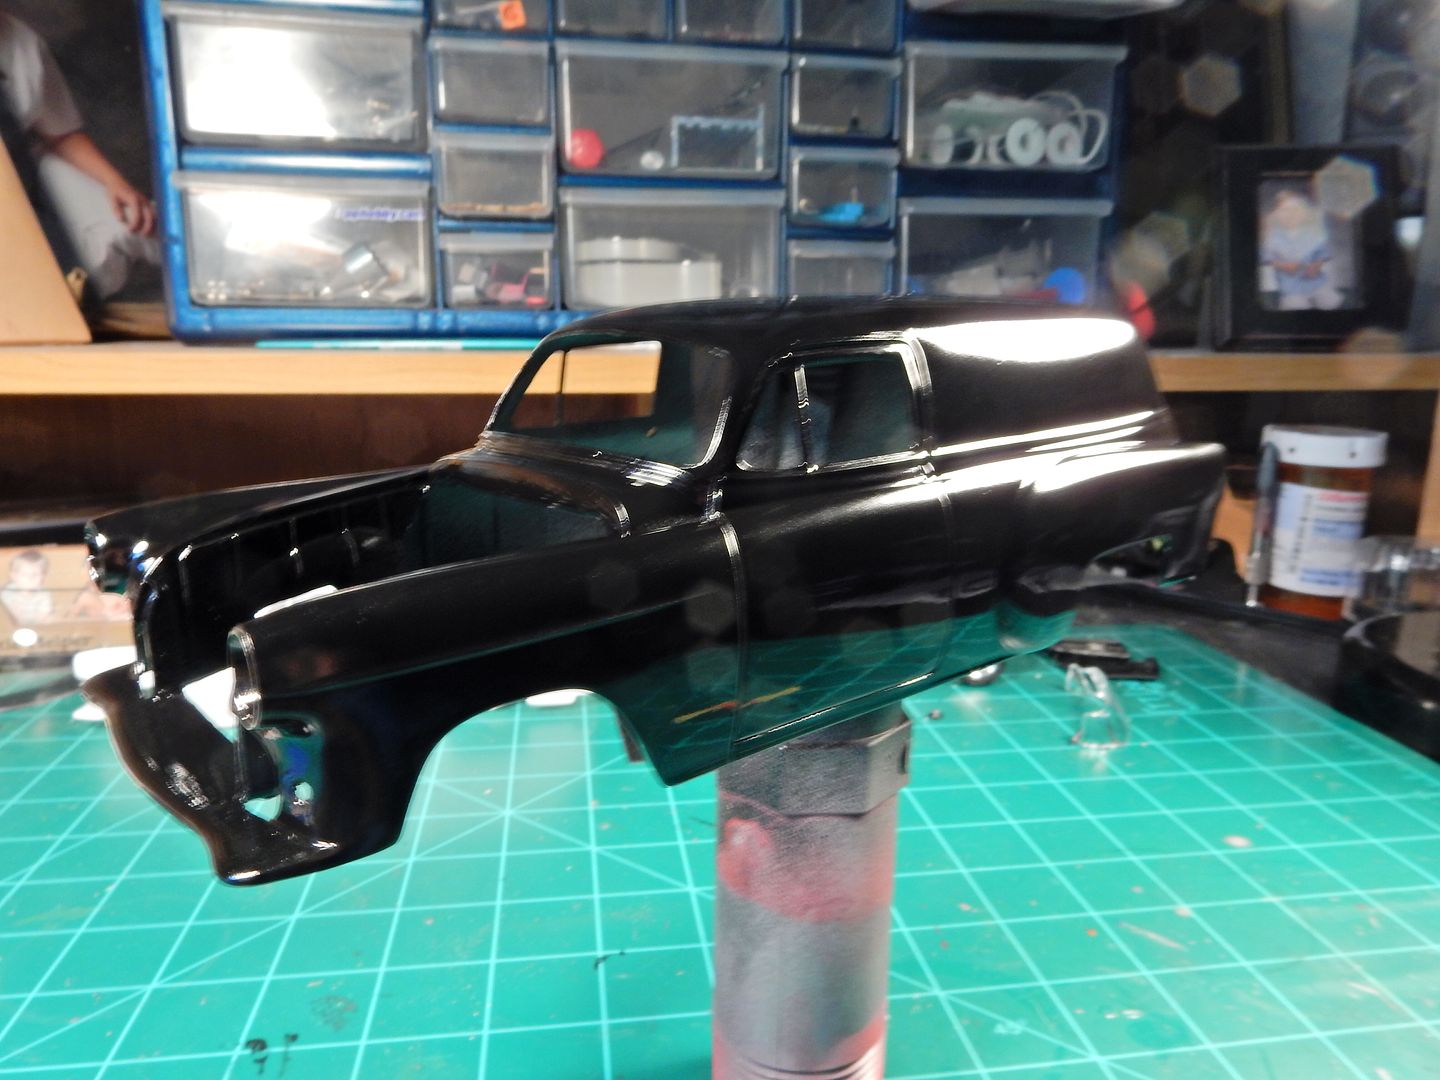
a more clear shot:
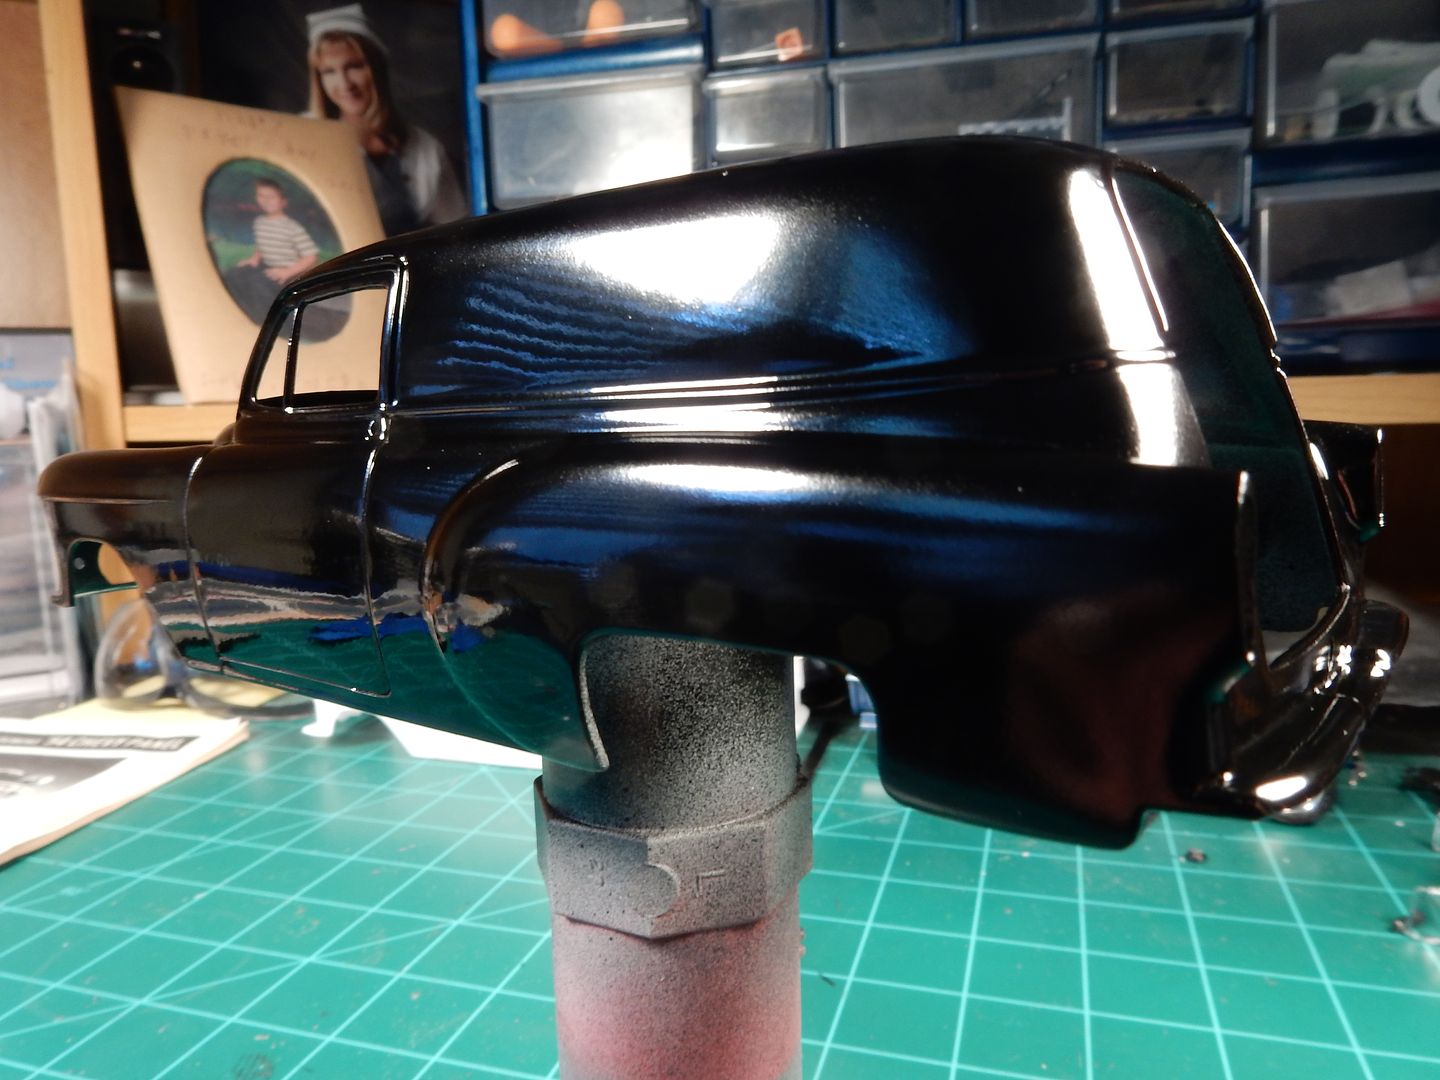
and then the MM "Wet Look" Gloss Lacquer over that:
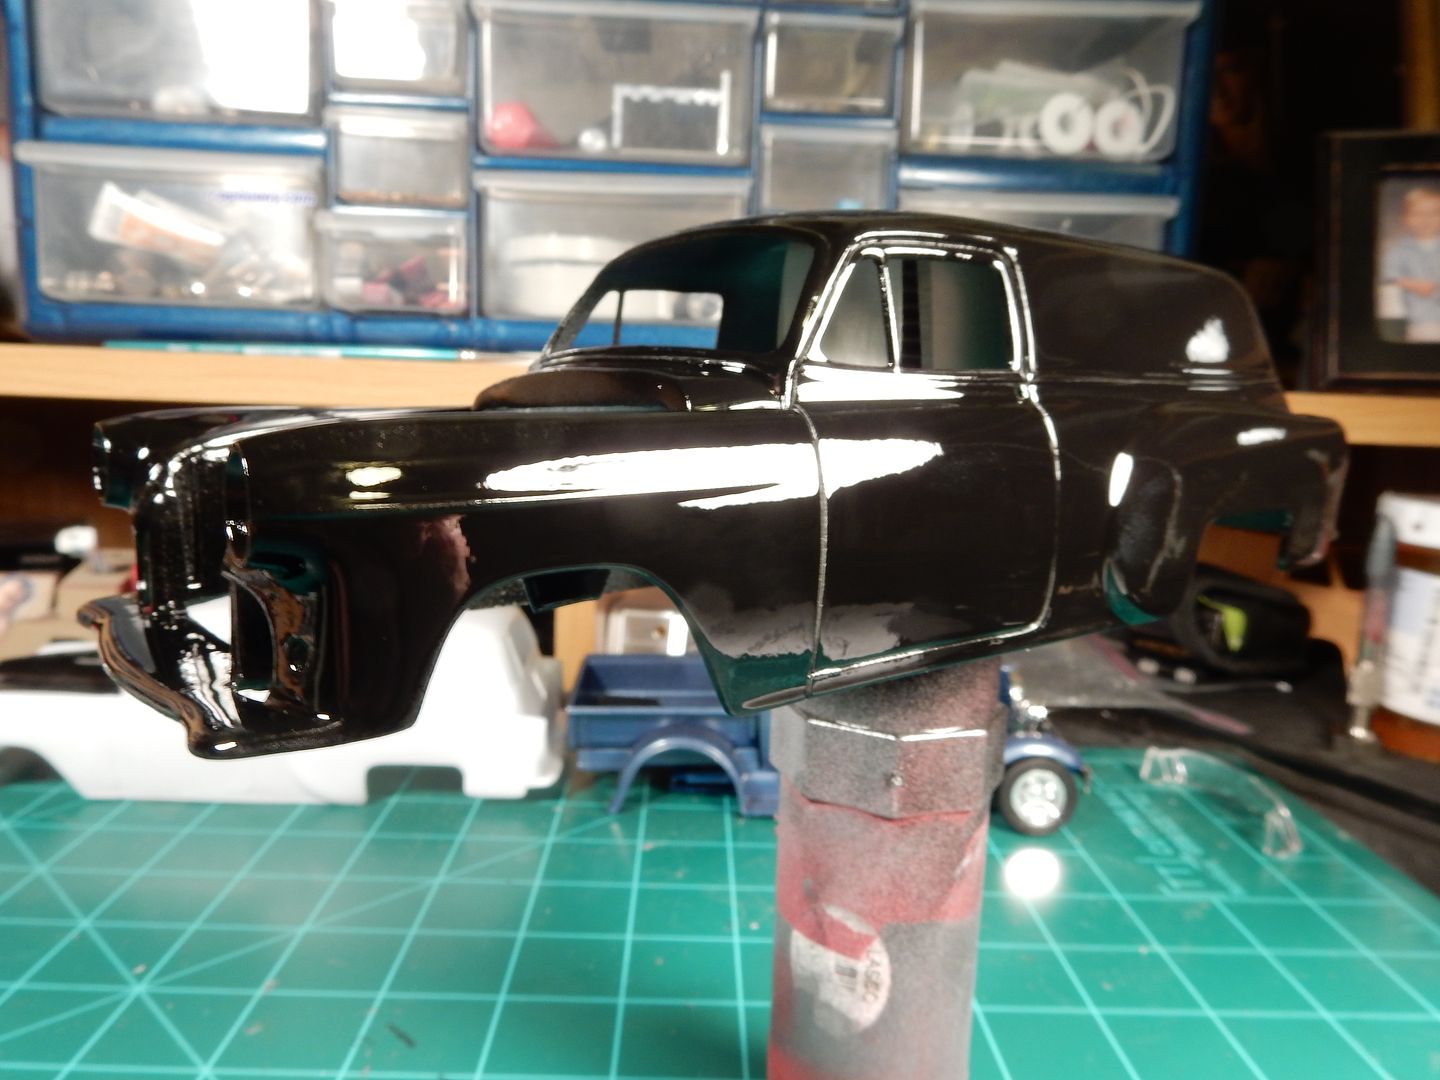
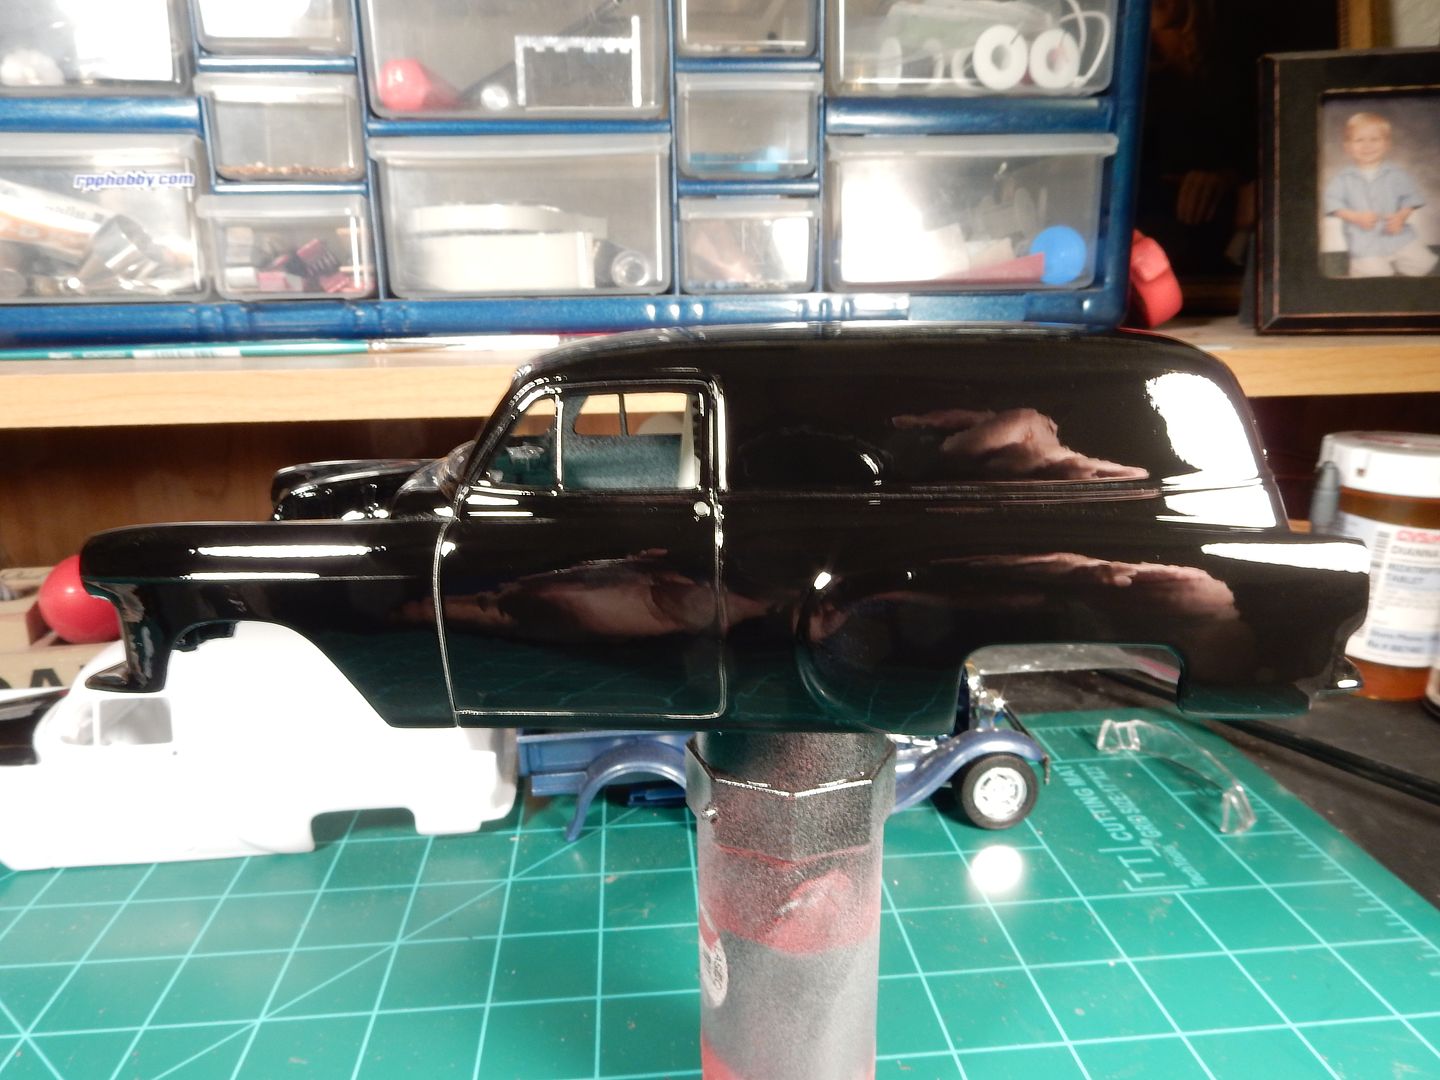
I was blown away by the finish that this "Wet Look" gloss produces. I was at a show in San Antonio a few months back and there's these four or so guys who come up from Mexico and CLEAN HOUSE with the awards with some awesome paint finishes. One of those fellas and I were talking about those finishes they achieved and he let the cat outta the bag with the "Wet Look" gloss coat so I just had to try it. So far I'm really glad I did. |
|
Deleted
Registered: Nov 21, 2024 13:32:00 GMT -7
Posts: 0
|
Post by Deleted on Jun 29, 2016 3:45:53 GMT -7
That looks awesome mate, especially in black..
|
|
|
|
Post by CoyoteCrunch on Jun 29, 2016 5:12:45 GMT -7
Model Masters "Wet Look" - definitely seems to be a very nice paint! Looking sharp, no doubt!
|
|
|
|
Post by mustang1989 on Jun 29, 2016 8:06:20 GMT -7
Thanks Dale and CC! I don't have any plans on ever using anything different at this point I can tell you that.
|
|
|
|
Post by kpnuts on Jun 29, 2016 12:03:27 GMT -7
Wow that's some quality paint job big-drooling-smiley-emoticon
|
|
|
|
Post by mustang1989 on Jun 29, 2016 13:20:47 GMT -7
Thanks kp! I had pretty much that same look on my face when I saw it. I couldn't believe my eyes that something actually went right.
|
|
Deleted
Registered: Nov 21, 2024 13:32:00 GMT -7
Posts: 0
|
Post by Deleted on Jun 29, 2016 15:50:04 GMT -7
Nice job on the paint job. I didn't expect it to be black to be honest but it makes sense.
|
|
|
|
Post by mustang1989 on Jun 29, 2016 19:49:08 GMT -7
Thanks Iceman! I almost left this bad boy just straight black but I've always liked the "Street Demons " theme so to take it to the next level and stay true to the original idea I farmed the decal reproduction out to Speedway decals. I simply sent in my original decals and he sent me back a new set.....with updated Texas plates that read RUQWKR. egyptian
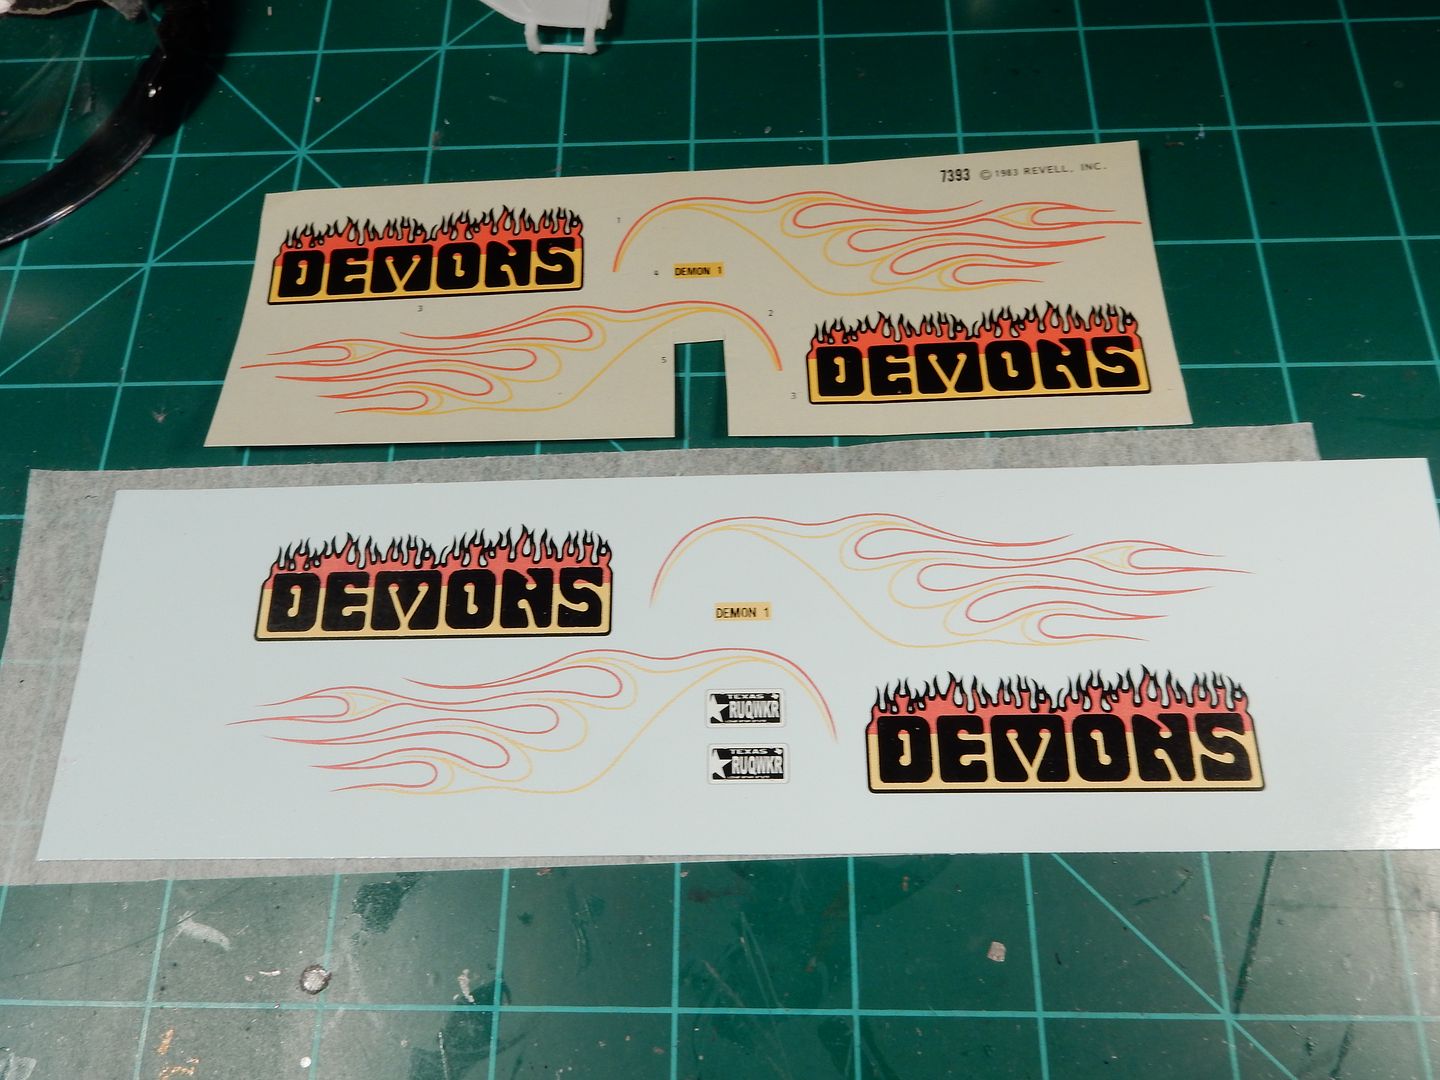
and now ......................applied and waiting for the gloss coat here.
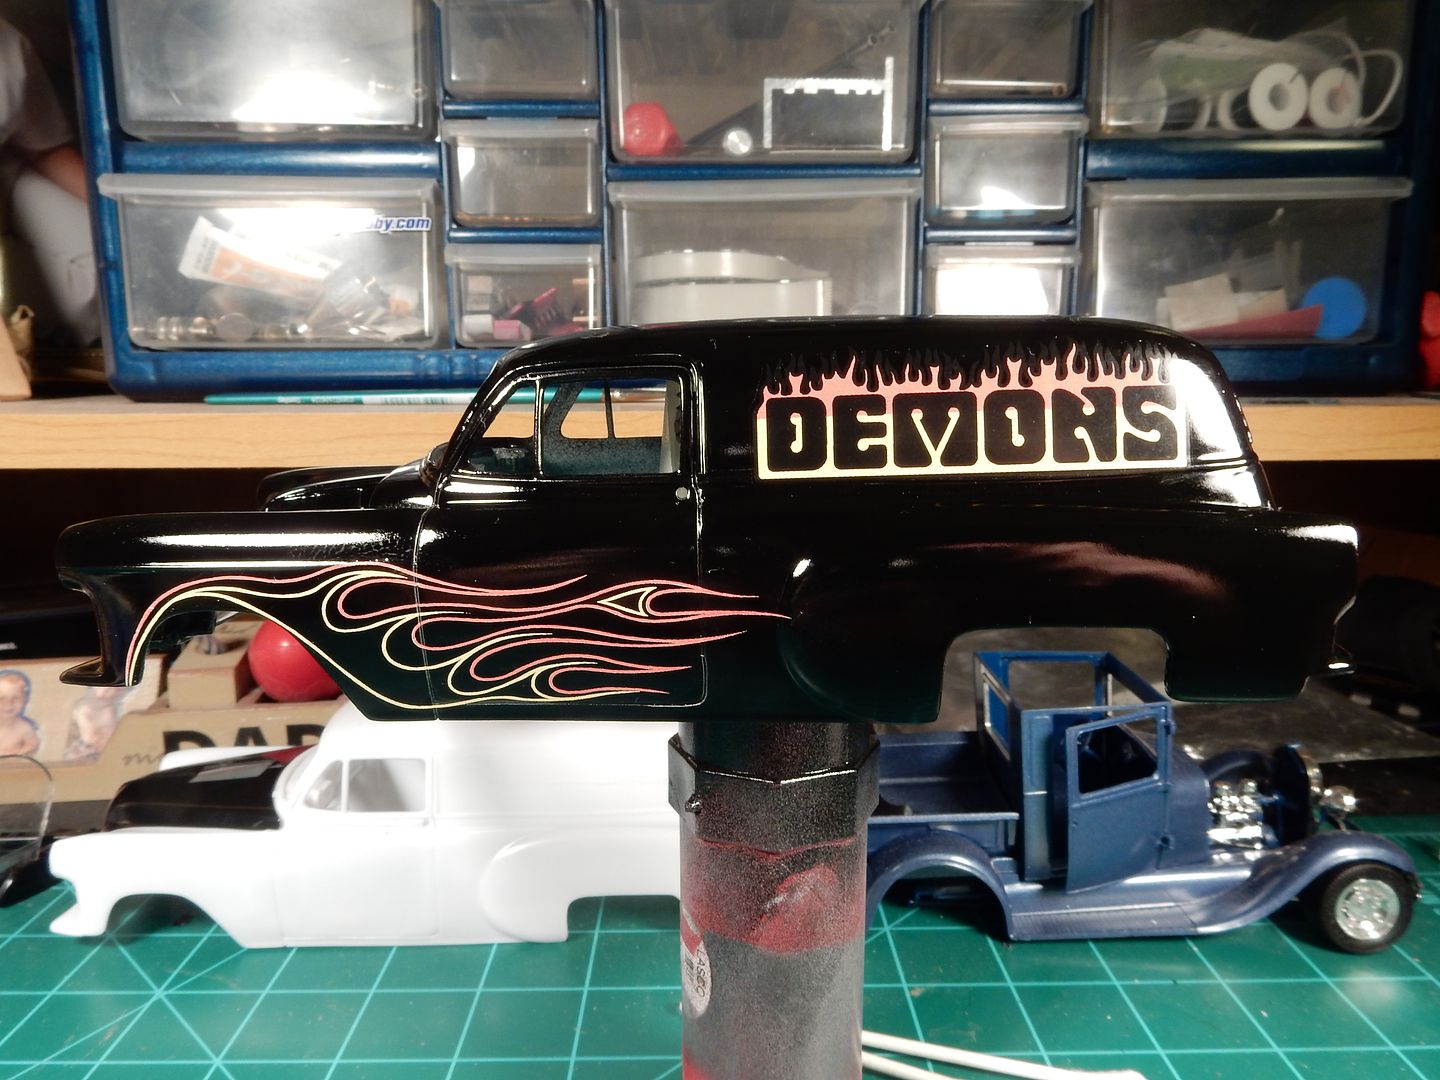
|
|
|
|
Post by CoyoteCrunch on Jun 30, 2016 5:10:51 GMT -7
Nice!!! I will have to keep that decal place in mind, I have many that need redone, and have a custom ideas as well
|
|
|
|
Post by mustang1989 on Jun 30, 2016 5:52:23 GMT -7
Thanks CC!
I'll be referring backwards in the build to highlight some details here and there but this is where I'm at right now after 6+ months of building. I've still got around 2 months left to go believe it or not due to all the little piddly stuff I'll have to do..........you know BMF, paint touch ups, details, filling crappy fitting windows in and all that stuff.
Had to test fit the body today with a day after the lacquer coat had been laid over the decals. I do have some work to do as this coat didn't turn out as pristine as the first one did. I've got to wait a few days before I can start sanding and smoothing this coat out to come back over it with hopefully one last coat.
Here are the fruits of 6 months work so far:
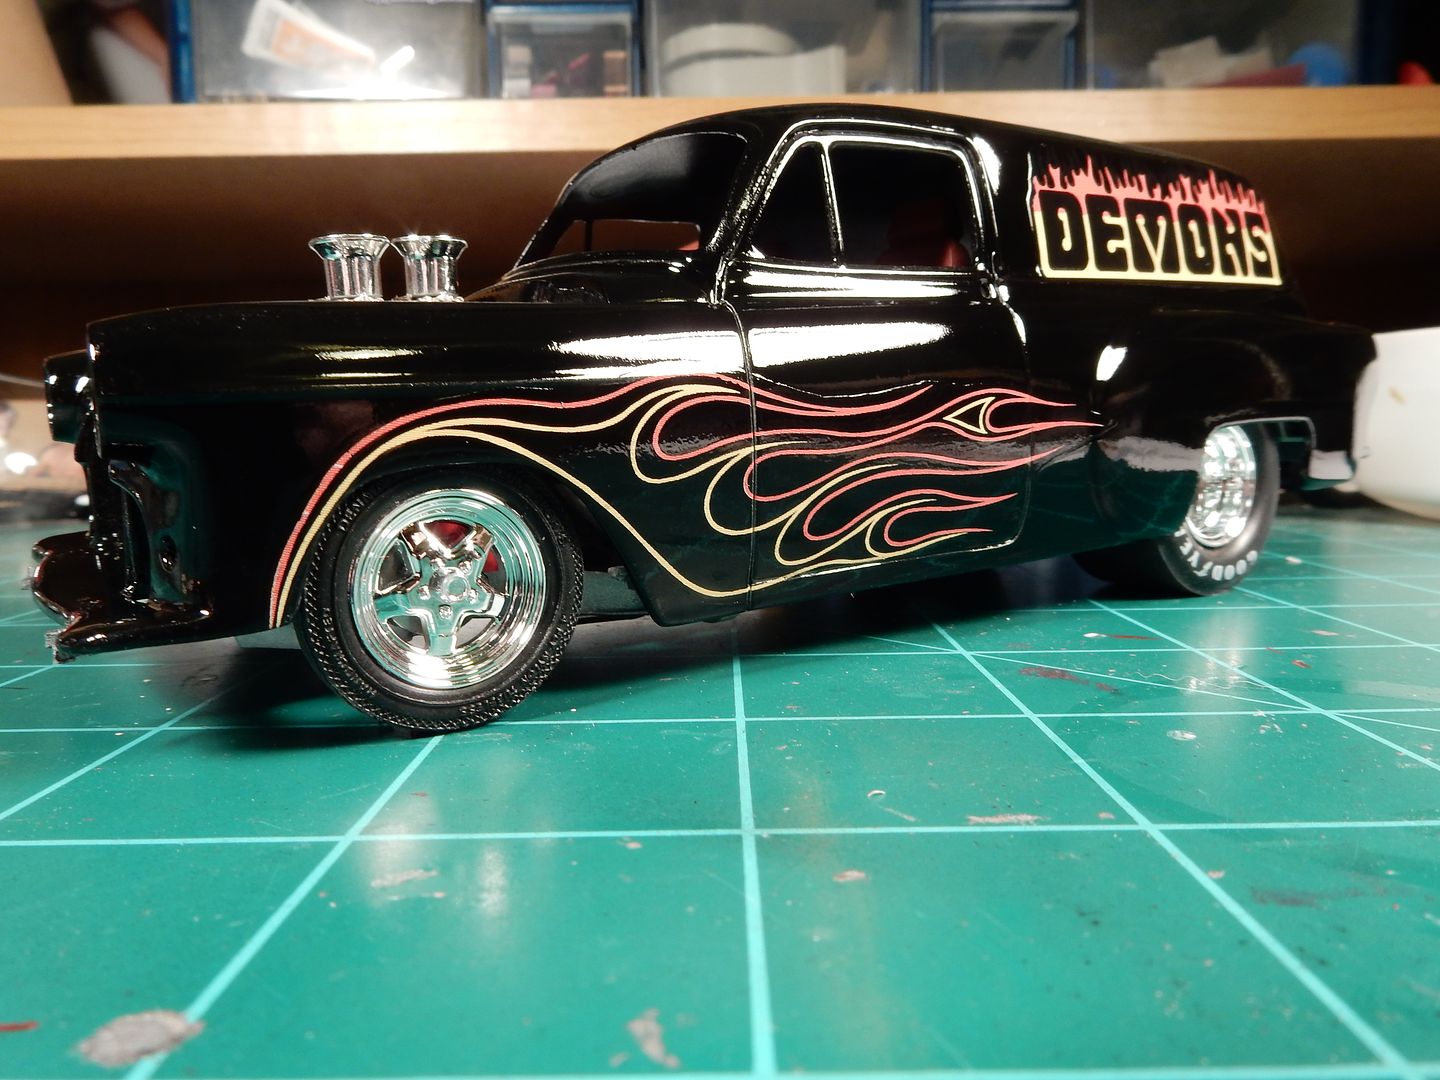
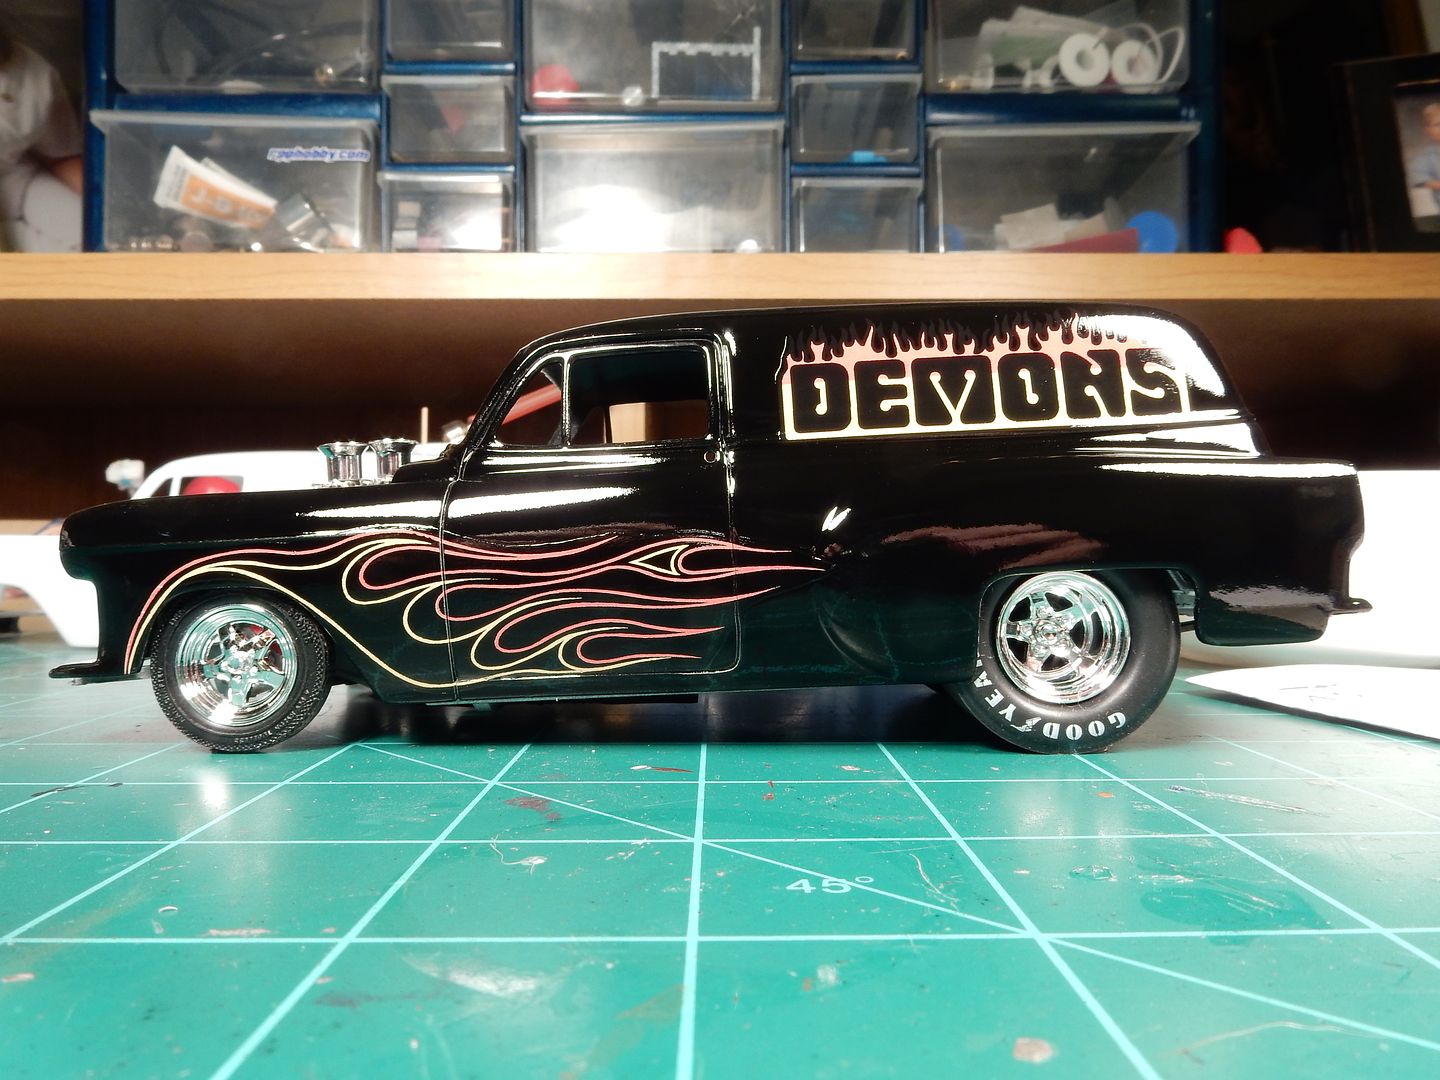
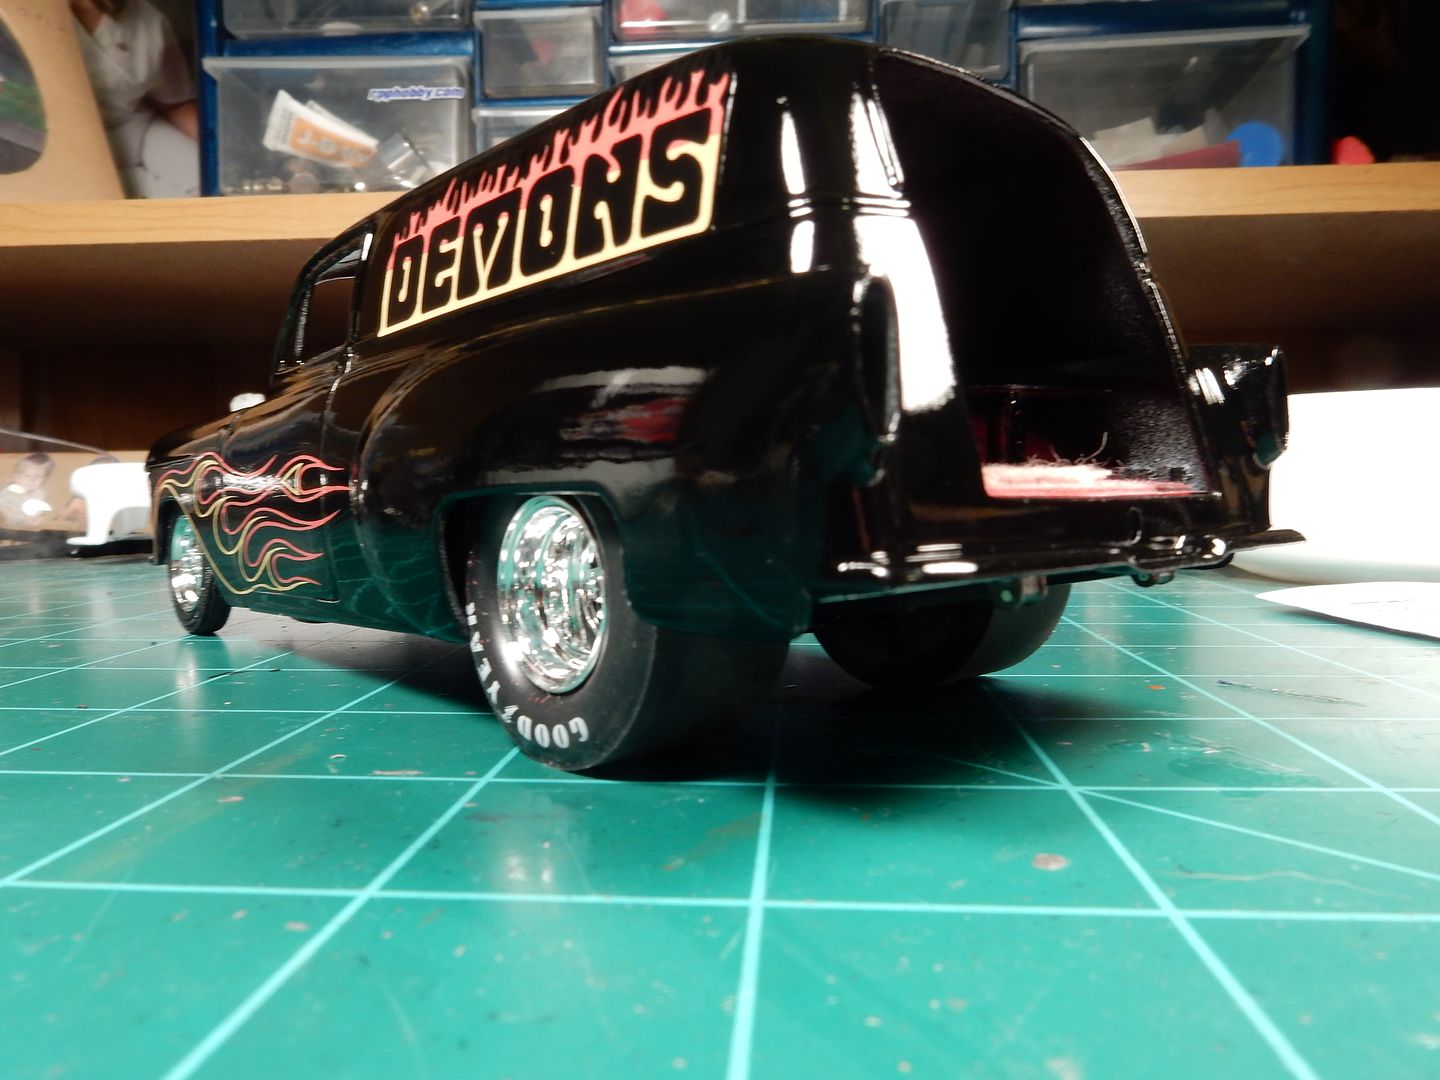
|
|
|
|
Post by CoyoteCrunch on Jun 30, 2016 9:01:06 GMT -7
Awesome build sir - I am really enjoying watching this build cone together.
I like this build just as she is, but the second picture in this last group of pictures has a colored shadow on the rear fender. That sparked me to think, wow - if you could get Speedway Decals to make you some flames to match the front, that would fit in this colored shadow area - might be kind of cool. Looking like fly off flames from the main ones - just a thought. I like it the way it is, love the wet look black - no doubt!
|
|
|
|
Post by mustang1989 on Jun 30, 2016 11:47:08 GMT -7
Thanks CC! That's a good idea but I think I'm going to leave it all original themed. I am, however, going to be cleaning that paint job up.
|
|
|
|
Post by kpnuts on Jun 30, 2016 12:20:32 GMT -7
Wow, I mean wow, that is just, um, ah, um, wow
|
|
|
|
Post by mustang1989 on Jul 1, 2016 14:07:48 GMT -7
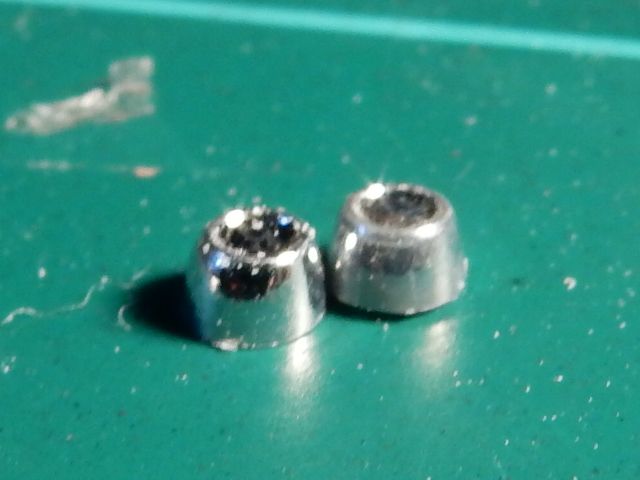
I'd like to take a sec here and go over one of my more prouder moments of this journey. I had a real problem with the wheel centers on the front wheels..........or the lack thereof anyways. I just couldn't stand leaving the front wheels the way they were with no cap:
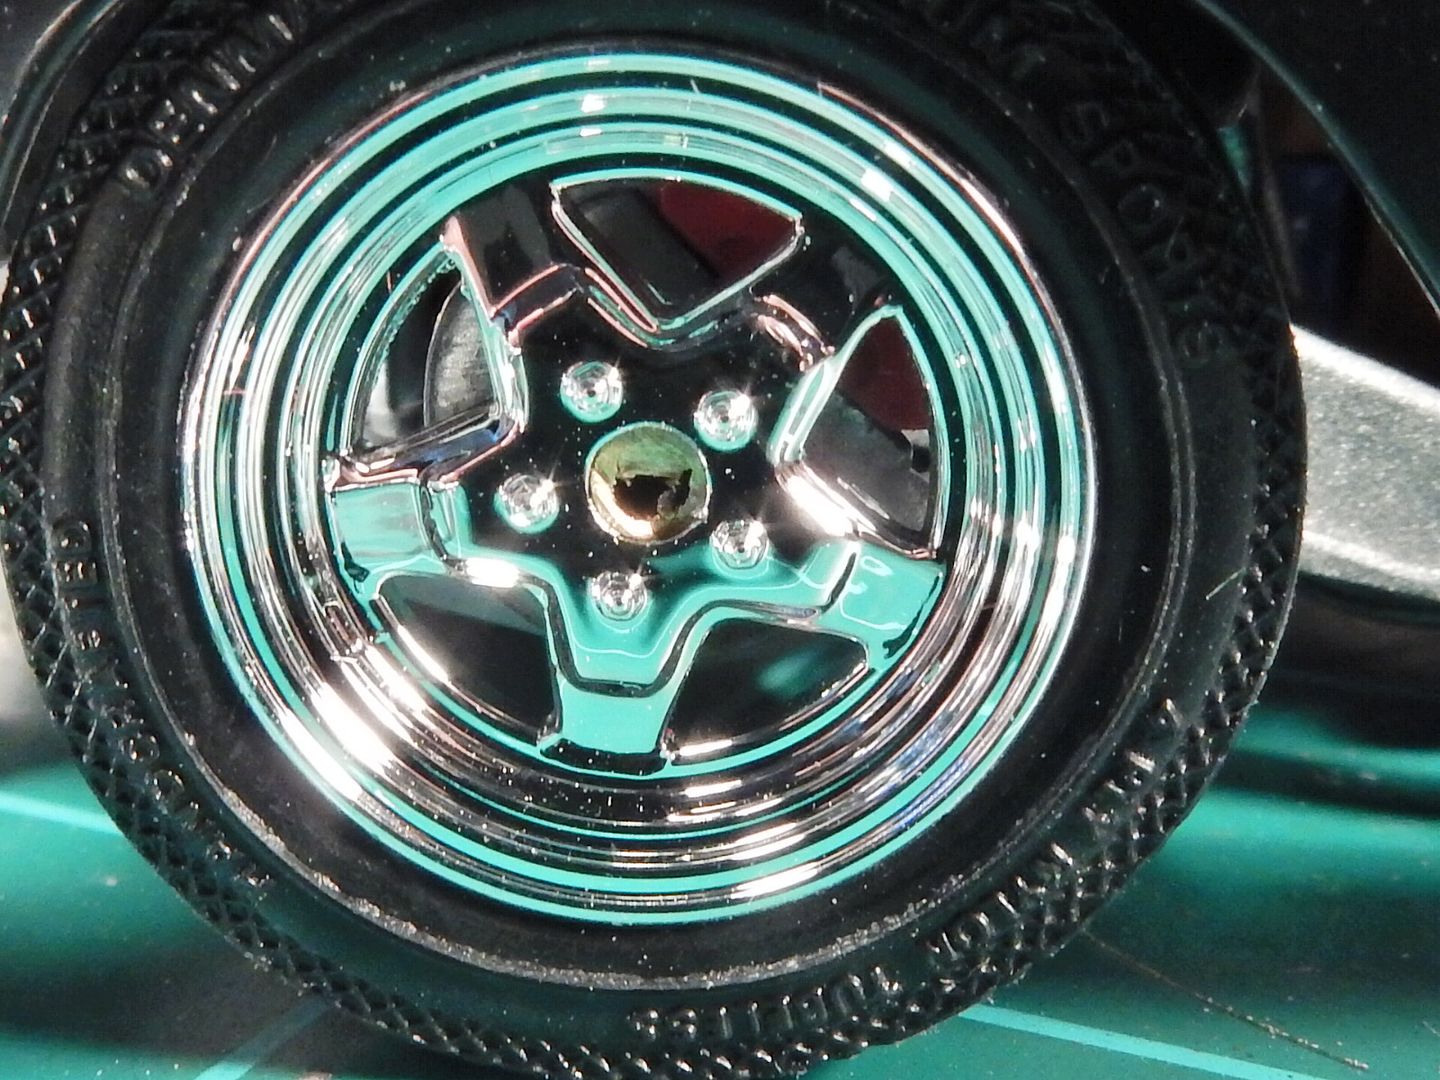
I then took the two spare rear wheels that did have a center cap and sanded the backs of the wheels down until all I had left were......well ....the center caps.
It's a rough picture but you get the idea:
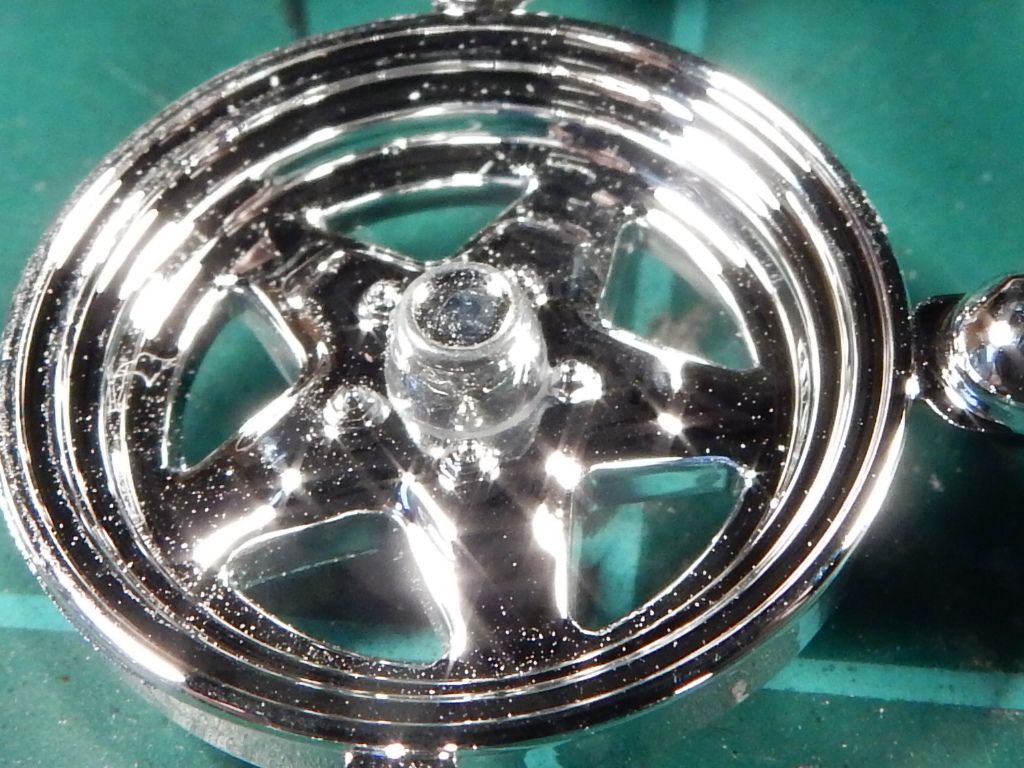
I then test fitted them to the spare front wheel that still attached to sprue. This'll work is all I've gotta say:
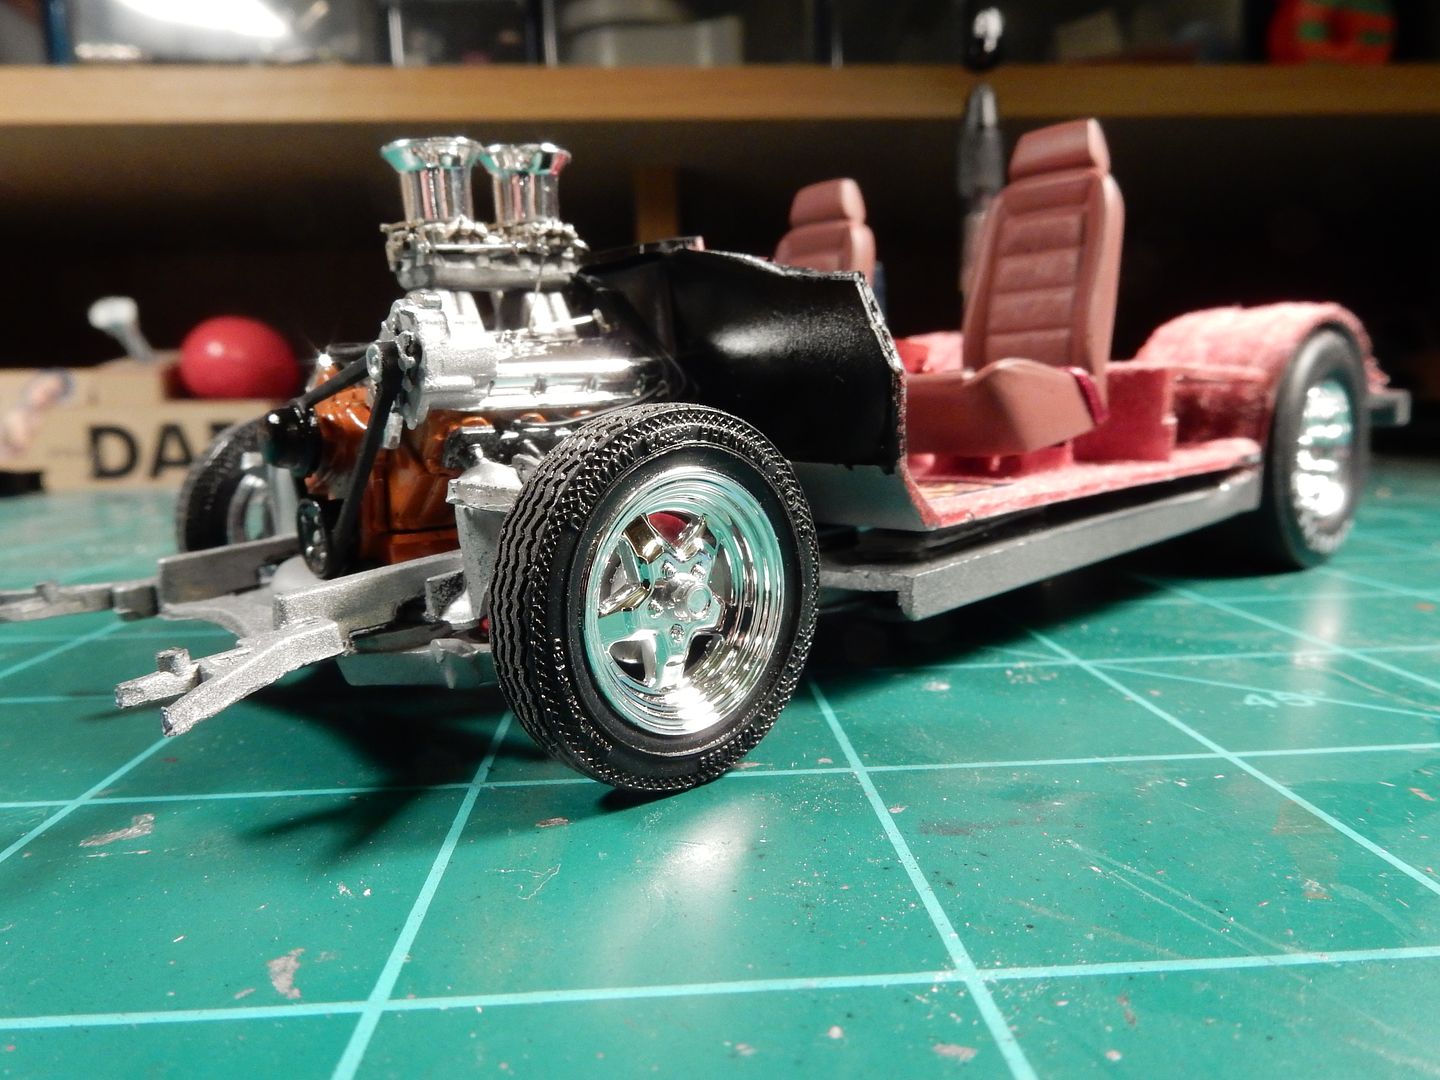
then the "on car" picture:
|
|
|
|
Post by mustang1989 on Jul 3, 2016 4:52:58 GMT -7
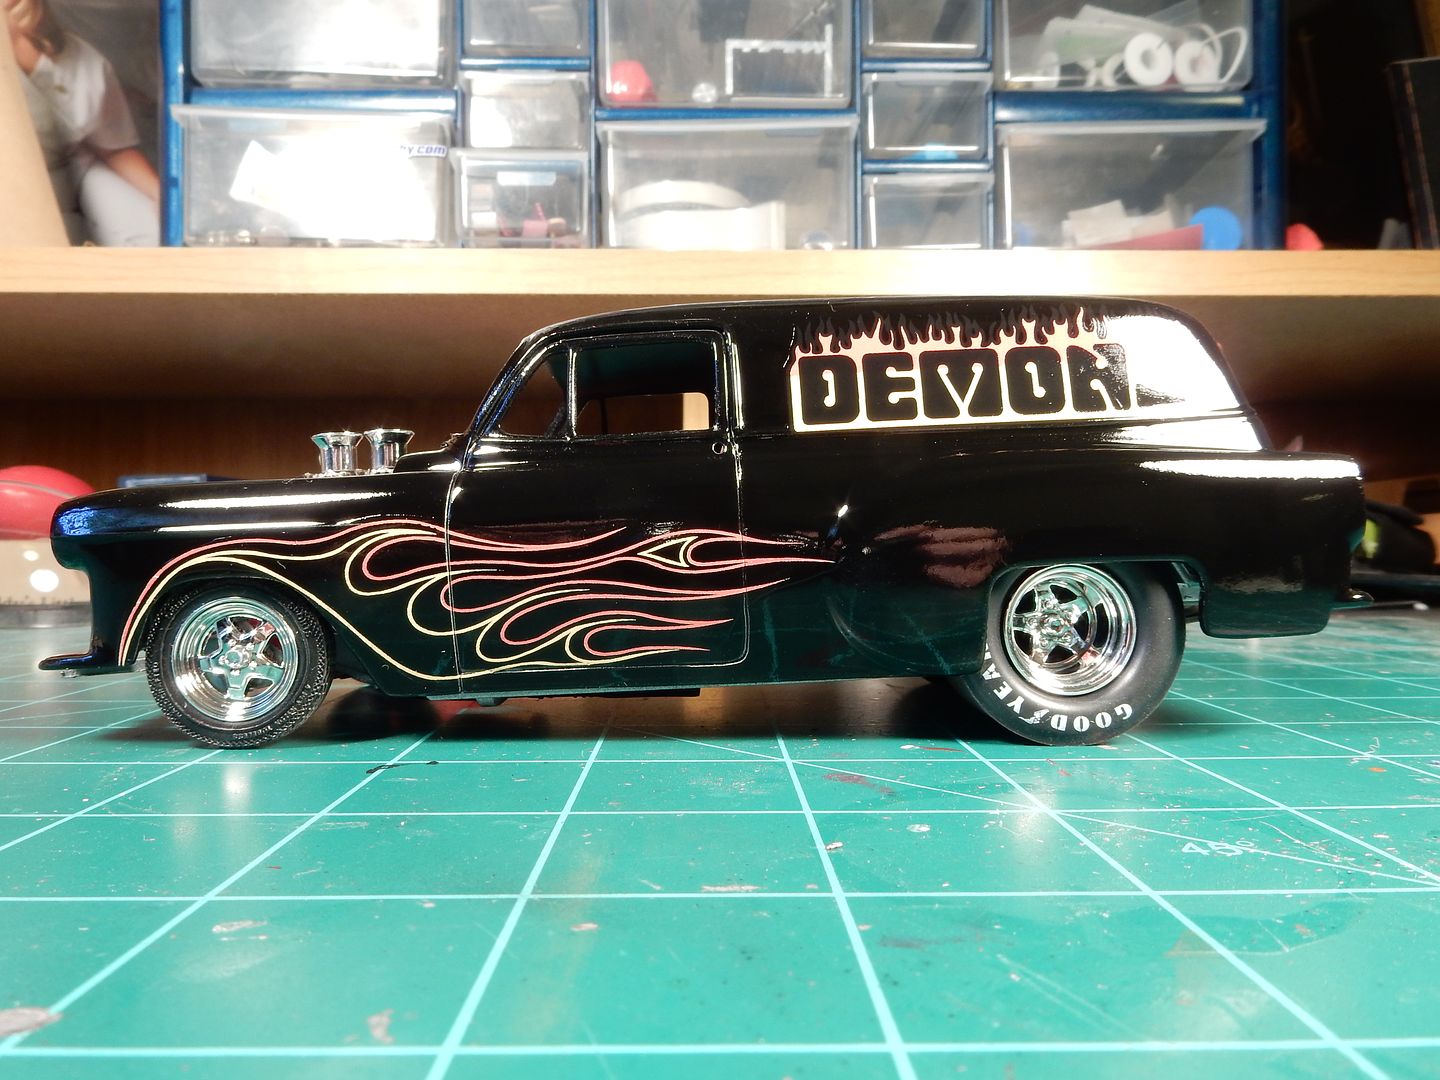
and speaking of wheels I just gave 'em another facelift. I ended up applying a coat of Tamiya Smoke to the wheels yesterday which really brings them out more if you ask me. I intended to do this from the start but one thing lead to another and before I knew it the wheels & tires were on the vehicle. After I noticed it I was too "chicken"  to attempt the coating but the more I looked at it the more I decided it had to be done to get rid of that toy chrome look. to attempt the coating but the more I looked at it the more I decided it had to be done to get rid of that toy chrome look.
Before: (notice the high glare from them here):

and after: (a more defined and realistic look and this picture has even been lightened):
|
|
|
|
Post by CoyoteCrunch on Jul 4, 2016 12:59:48 GMT -7
Love the look - for sure the Tamiya smoke is the ONLY way to go for nearly every piece of chrome on all builds. The master Iceman taught me this trick a coupe years back, and I have ALWAYS used it ever since! |
|
|
|
Post by kpnuts on Jul 4, 2016 22:38:35 GMT -7
It does make a difference, maybe I should get some.
Great build.
|
|
Deleted
Registered: Nov 21, 2024 13:32:00 GMT -7
Posts: 0
|
Post by Deleted on Jul 5, 2016 6:35:31 GMT -7
Looks absolutely SUPERB mate, and i might need to use that smoke effect i think, nice improvement.
|
|
|
|
Post by mustang1989 on Jul 5, 2016 11:42:09 GMT -7
Thanks fellas. Is there a chance I can enter this in the MOM contest here in the coming months?
|
|
warmachine
Super Member
  Registered: Jun 19, 2013 19:27:17 GMT -7
Posts: 340
|
Post by warmachine on Jul 5, 2016 11:53:12 GMT -7
joe there's a prostreet motm coming up i think in november
|
|
|
|
Post by mustang1989 on Jul 5, 2016 11:54:16 GMT -7
That'd be perfect if I can get in on that one.
|
|
|
|
Post by mustang1989 on Jul 14, 2016 7:09:01 GMT -7
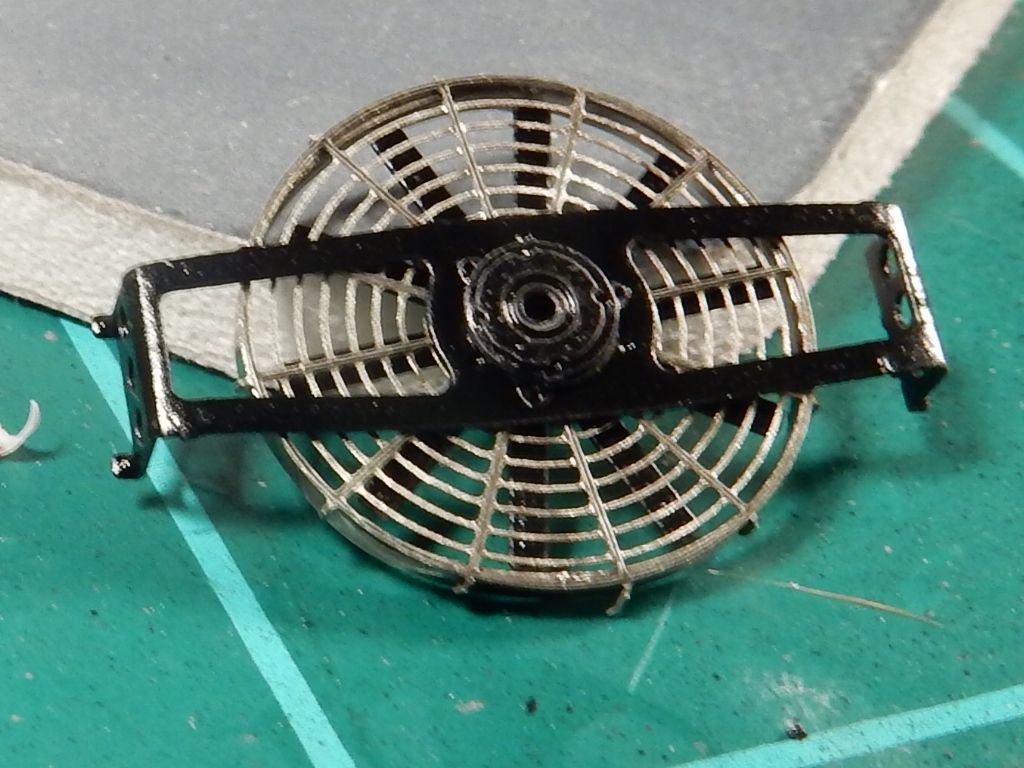
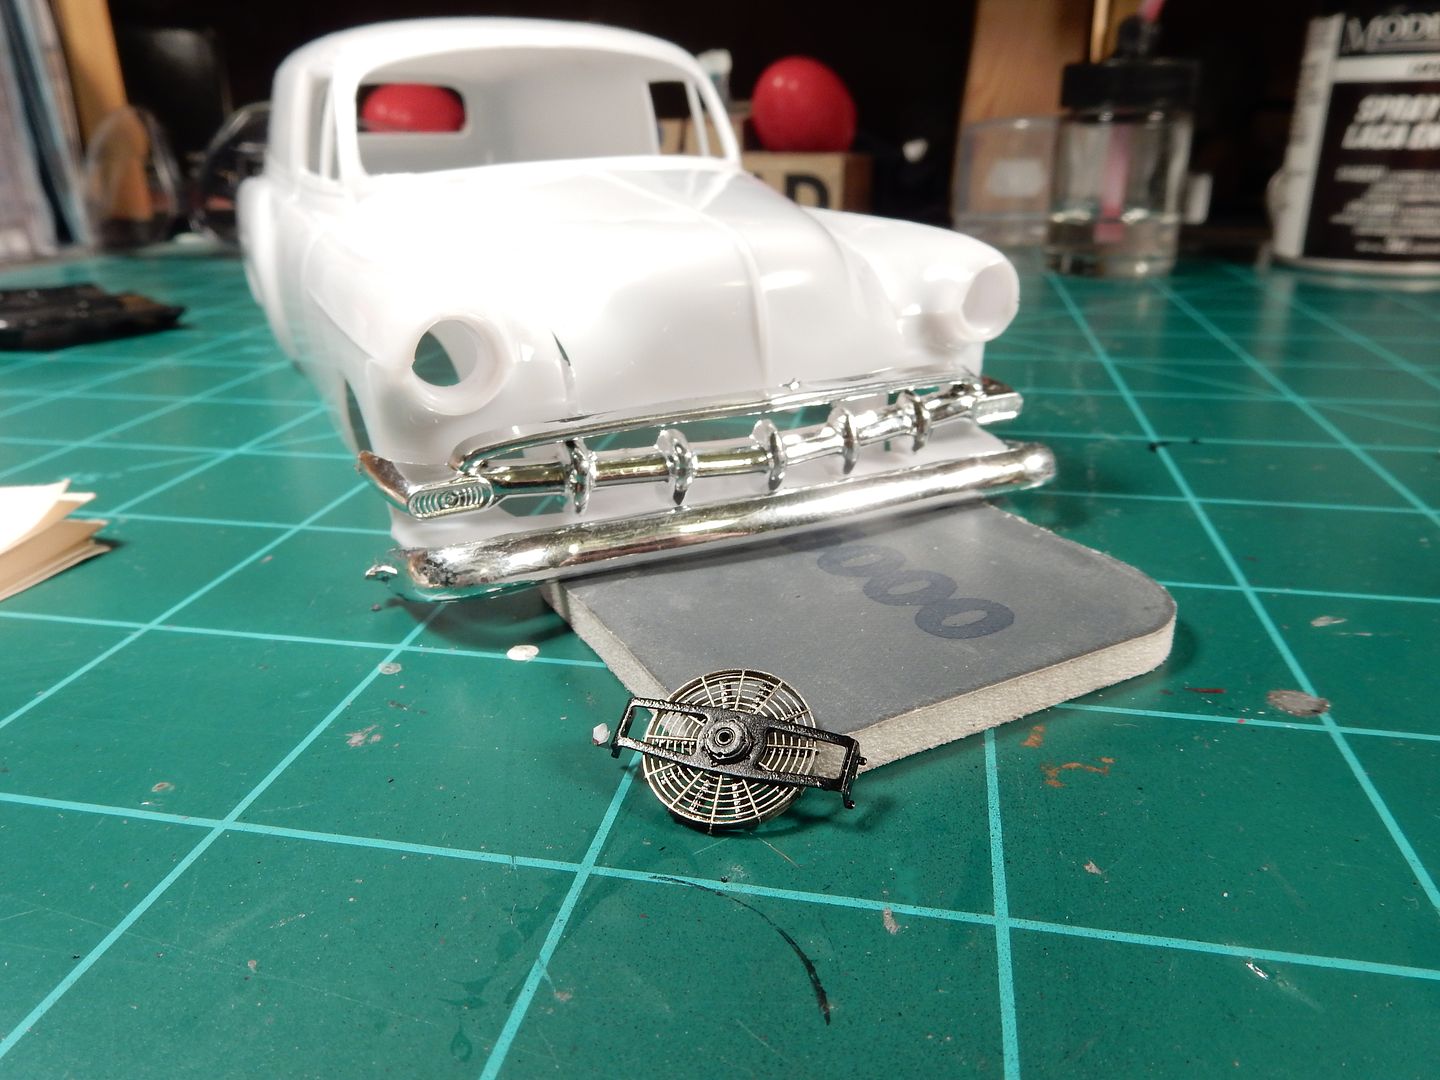
I've been working on my PE electric cooling fan from Model Car Garage for the last few days and finally got it underway. I still need to run the electrical ckts to it but the base fan is completed.
a little scale reference against my spare '54 Chev
I'm also continuing work on my interior door panels which have given me a lot of grief. I've stripped them 4 times so far. Just wasn't happy with the way the paint was behaving. I used acrylic for the white inserts and after I applied the gloss coat to seal it all in the acrylic paint started cracking. Then it was a masking issue that looked really bad and then I had a paint boo boo that went to crap when I was sanding to correct it. You know, the typical stuff. I used white primer this time around as a base coat so we'll see what happens this time round.
|
|
|
|
Post by mustang1989 on Sept 9, 2016 4:39:51 GMT -7
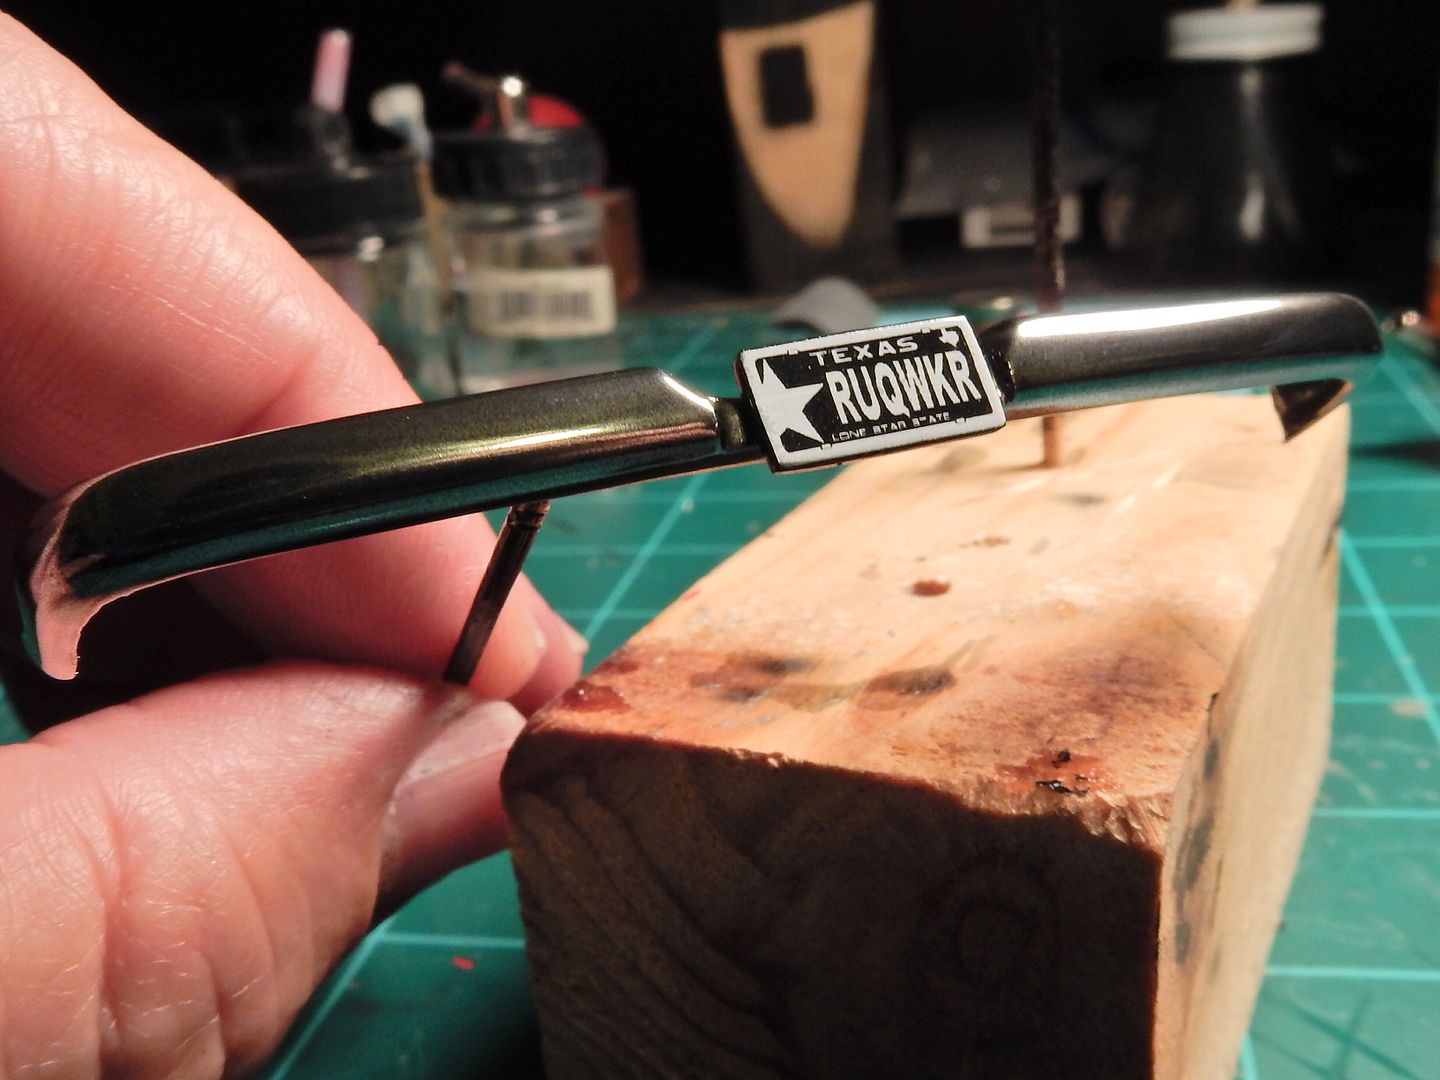
I'm pretty much all but done with this thing folks. I still have a few odds and ends to go. A shot of the rear bumper after Alclad and with the license plate installed. I'll be attaching a couple of PE mounting screw heads to this now that I'm looking at it in photos to add a little more "flavor" to the plate.
and here's a shot of the front bumper after Alclad application. Still gotta fill in the park lamps with amber but I'm happy with the results so far. I also got the windshield, vent windows and steering wheel installed.
An overall progress shot:
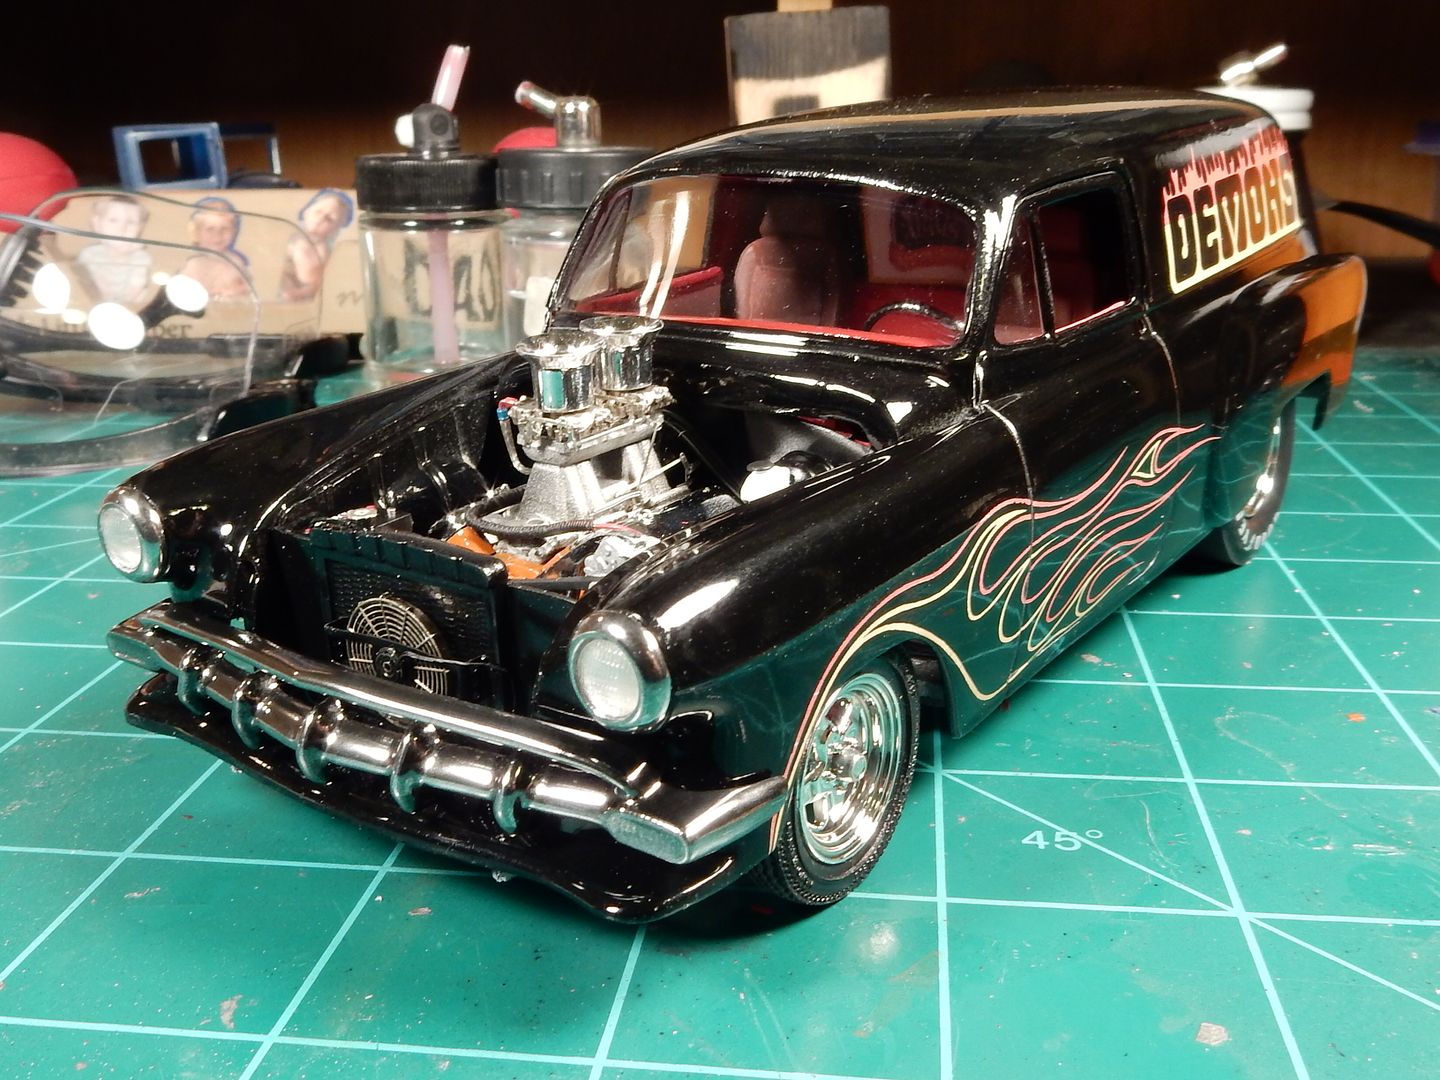
There are some areas that I need to touch up on this thing as far as the body goes but I'm at the point to where some of it I'm almost afraid to do anything with. At this stage things can get very unforgiving for me and it's either don't do anything about it or take the chance to correct it and risk starting all over again with the body. After what I've been through with this thing, starting over with the body would result in at least a 2 month set back and another set of decals that I'd have to get printed and shipped to me.
Anyways here's what's left out of that list I had a couple of pages back. I'm almost there...........
1. Rearview Mirror and “Tree”
2. Install Rear Bumper
3. Install Radiator Hoses and clamps
4. Install Body Onto Chassis
5. Install Door Handles
6. Gloss Coat Hood Assembly
7. Install filler placard for area below rear door
|
|
Deleted
Registered: Nov 21, 2024 13:32:00 GMT -7
Posts: 0
|
Post by Deleted on Sept 9, 2016 4:54:22 GMT -7
That is just SPECTACULAR !!! Sweet work mate.
|
|