Deleted
Registered: Nov 27, 2024 13:21:09 GMT -7
Posts: 0
|
Post by Deleted on Feb 9, 2016 1:22:51 GMT -7
Every build i have seen done of this kit, has been stock, or near enough to it, fair enough, some very nice builds, but you know me..............  As i can't leave well enough alone, and just can't come at building stock, here goes something different. We have all heard the so many different styles for building cars, Pro Touring, Resto-mod, Pro Street, well, i am adding one more, PRO FAMILY....... yes, it is car related..  I plan on building the 57 Ford Del Rio Ranch Wagon, only i want to build something the whole family can go out and have a fair crack at any mountain pass or highway, and still feel fast and safe.. hense, Pro Family..  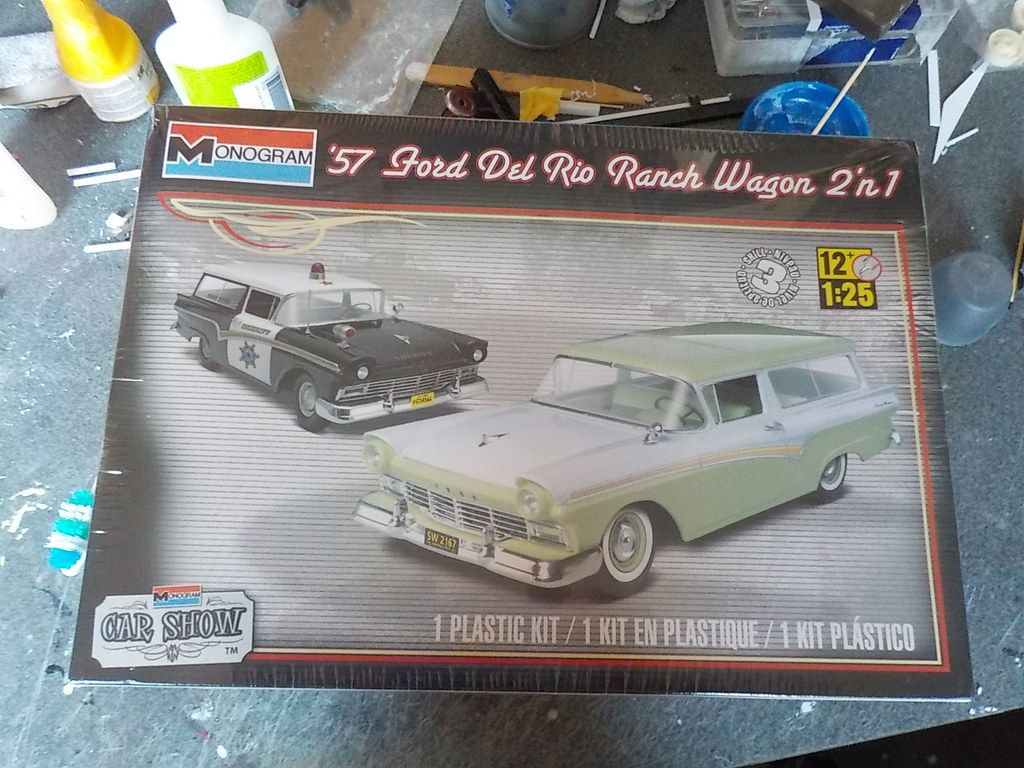 |
|
|
|
Post by mike0157 on Feb 9, 2016 4:13:57 GMT -7
Very cool choice can't wait to see what you have up your sleeve. I'm pretty sure I'm going to be doing the same kit. It looks like a really good one from what I've seen of it at least.
|
|
|
|
Post by Grandpabeast on Feb 9, 2016 9:51:13 GMT -7
Awesome !!!!!
|
|
|
|
Post by CoyoteCrunch on Feb 9, 2016 10:33:49 GMT -7
Pro Family huh - well, one thing for sure, I betcha it will be low to the ground, so easy for the kiddos to climb into!!
popcorn-and-drink-smiley-emoticon popcorn-and-drink-smiley-emoticon popcorn-and-drink-smiley-emoticon |
|
Deleted
Registered: Nov 27, 2024 13:21:09 GMT -7
Posts: 0
|
Post by Deleted on Feb 10, 2016 4:40:29 GMT -7
Cheers guys, Tom, yes it will be low, but what a bugger trying to get it there, the chassis hangs down too low, so it's time to start choppin'...... Firstly, i need to make some room for rear wheels.... 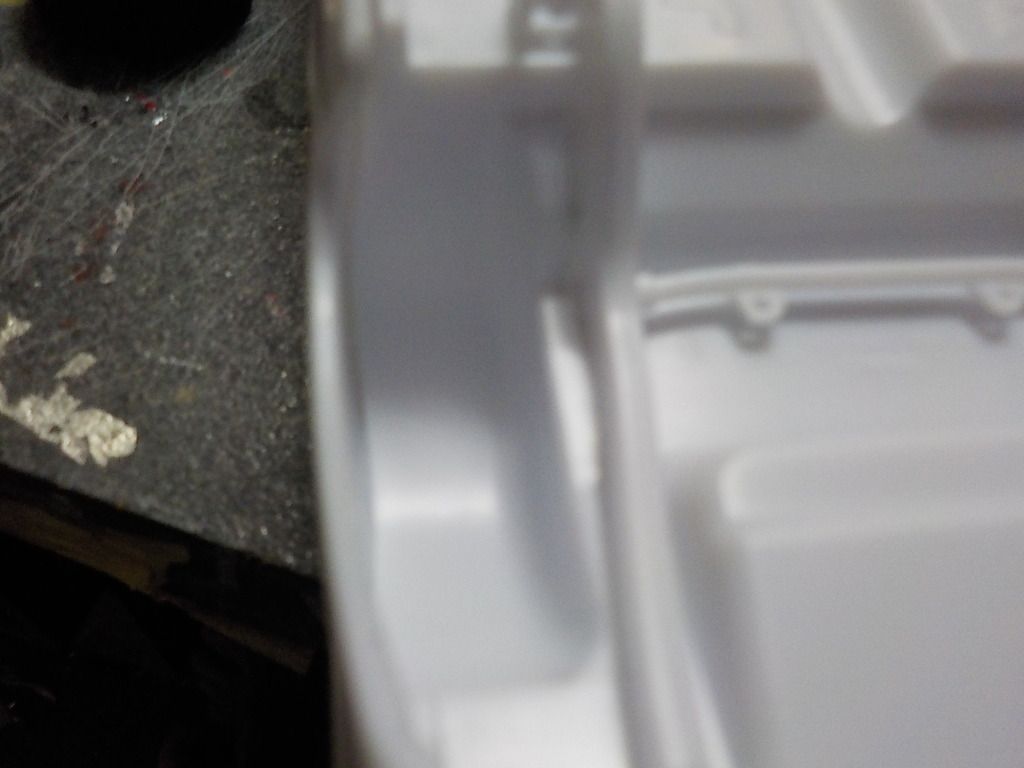  Then the front's wont fit.... 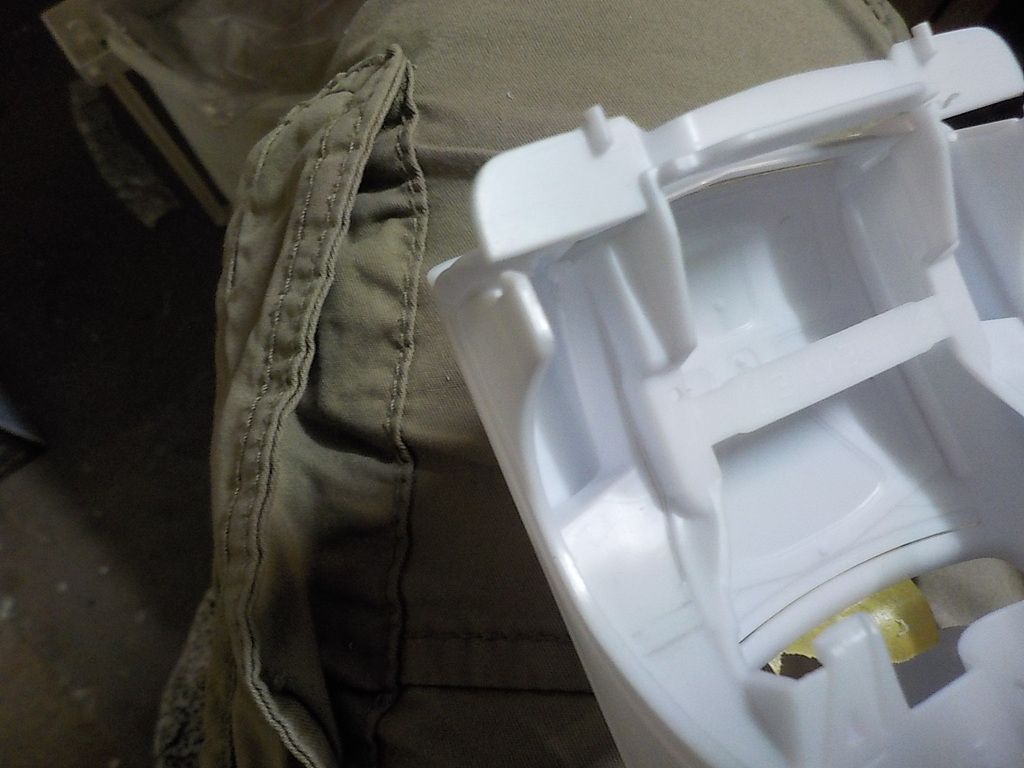 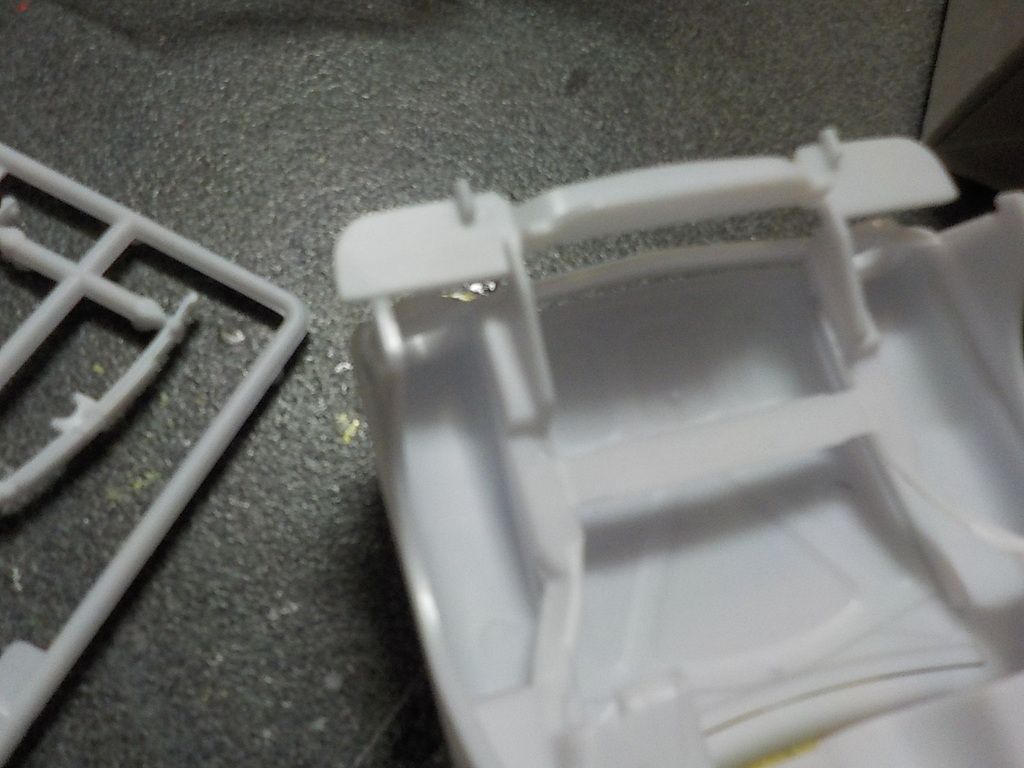 Unfortunately, there is still not enough room, so back out with the scalpel And then the fire wall needed a few scale inches taken out of it, to be able to lift the whole floor and chassis up off mother earth.. 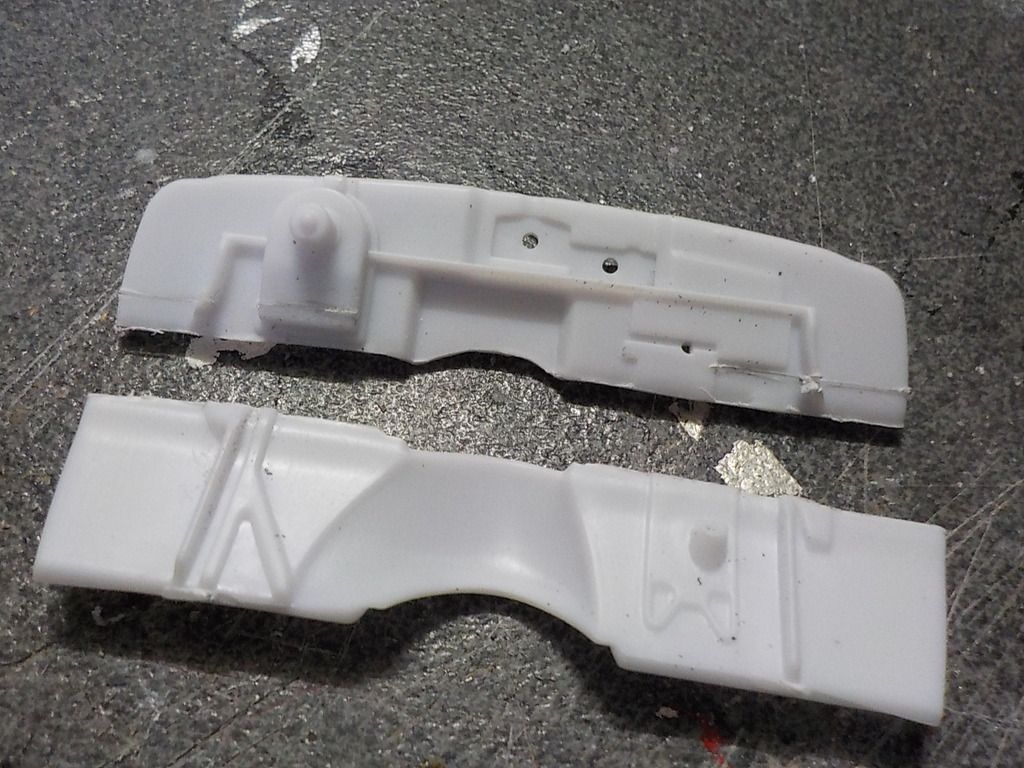 Now, back to the bench...  |
|
|
|
Post by CoyoteCrunch on Feb 10, 2016 13:07:32 GMT -7
Has taken me some time, following along with your cutting and a choppin, and I do believe it is starting to sink in, as I followed and understood all the cutting you just did!
Those front wheel wells, did you have to fill them in towards the firewall, or were they molded like a box? |
|
Deleted
Registered: Nov 27, 2024 13:21:09 GMT -7
Posts: 0
|
Post by Deleted on Feb 10, 2016 14:27:44 GMT -7
Has taken me some time, following along with your cutting and a choppin, and I do believe it is starting to sink in, as I followed and understood all the cutting you just did!
Those front wheel wells, did you have to fill them in towards the firewall, or were they molded like a box? I am glad you follow grasshopper.....  Well, after these pics were taken, I found the wheels are still too wide to fit, so off came more of the inner wheel wells, all of it actually, I will now have to do some braces like a pro street car, but at least I can get it low enough and still have fat rubber, just how I like them.... Will take some more pics tonight mate.. |
|
Deleted
Registered: Nov 27, 2024 13:21:09 GMT -7
Posts: 0
|
Post by Deleted on Feb 12, 2016 3:04:17 GMT -7
Well, i mentioned i removed a little more, well, now there is nothing left..  After the cut job on the fire wall, it should now sit like this............i hope..   And here are the wheels i am using, but will paint the centres out i think..  |
|
|
|
Post by CoyoteCrunch on Feb 12, 2016 19:36:39 GMT -7
Very cool rims!!
That little bowl / tub of powder. Is that ground down plastic for body filler?
|
|
|
|
Post by jmccann630 on Feb 12, 2016 20:00:06 GMT -7
This should look cool DC..nice work so far!
|
|
Deleted
Registered: Nov 27, 2024 13:21:09 GMT -7
Posts: 0
|
Post by Deleted on Feb 12, 2016 23:23:42 GMT -7
Very cool rims!! That little bowl / tub of powder. Is that ground down plastic for body filler? GEEZ , there is nothing you miss in a picture of my place is there......  Yes buddy, plastic sanding, and drop it over some CA super glue, it is a great gap filler. And thanks too, both of you Tom and John, got a bit more done today, but will get some pics soon..  |
|
Deleted
Registered: Nov 27, 2024 13:21:09 GMT -7
Posts: 0
|
Post by Deleted on Feb 13, 2016 1:28:22 GMT -7
Seeing as the chassis will be seen in the engine bay, i though i should fill in the rails, so now they are solid, not a "C" section, it will also add strength ( if it were real) now that all the inner fenders are gone.. Needs a bit more clean up yet. 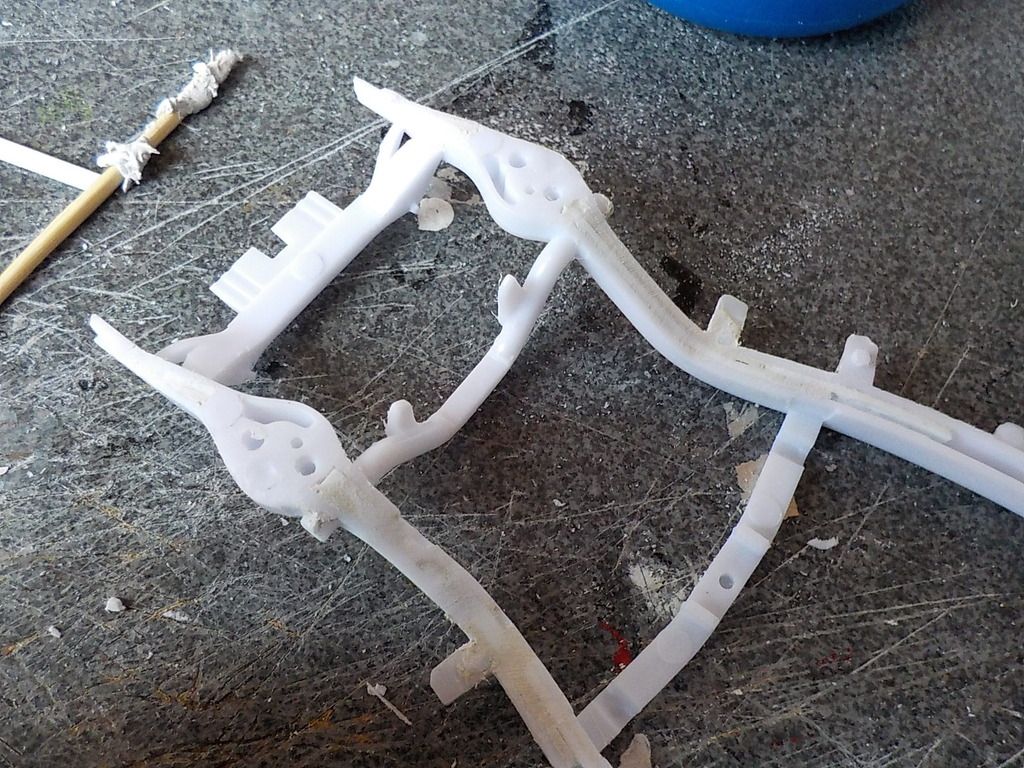 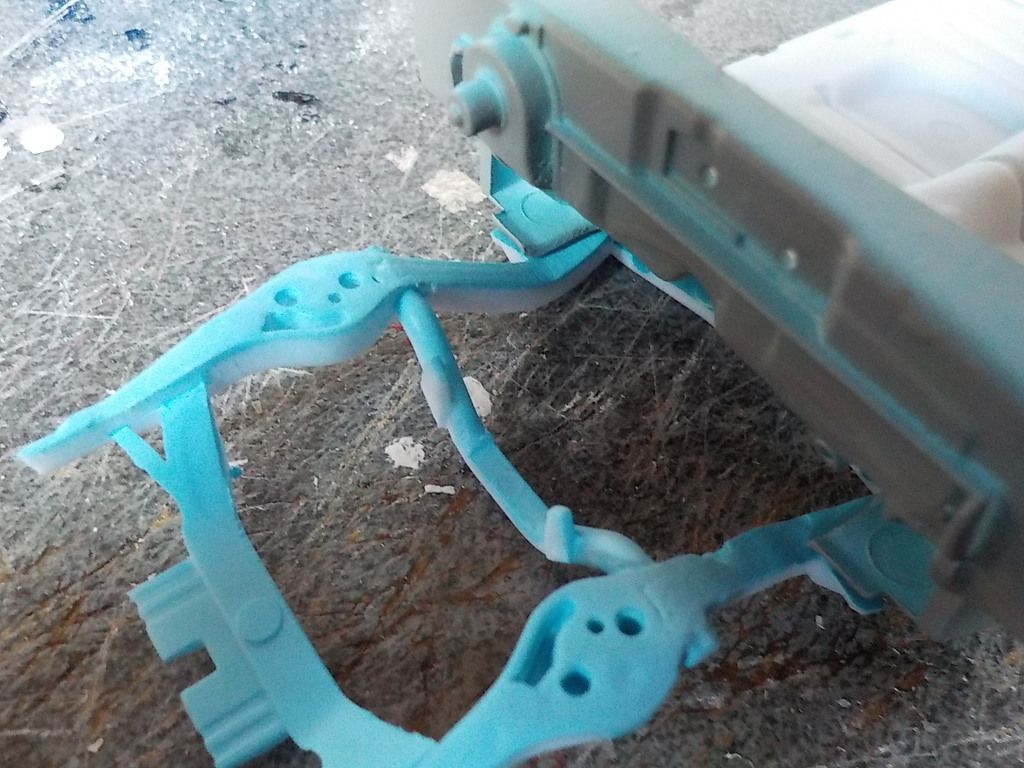 Then. relocated the rear wheel wells, mini tubb style. They are a little higher and inboard aswell.   |
|
|
|
Post by CoyoteCrunch on Feb 13, 2016 17:32:02 GMT -7
Very ingenious, quite elusive, yet incredibly strengthening - superior thinking, from the plastic intimidation MASTER!!
|
|
|
|
Post by AK on Feb 13, 2016 22:14:37 GMT -7
Great stance! And those wheels are awesome!
|
|
Deleted
Registered: Nov 27, 2024 13:21:09 GMT -7
Posts: 0
|
Post by Deleted on Feb 14, 2016 13:20:56 GMT -7
Cheers Tom and Allan, (intimidation master" running-around-smiley-emoticon Well, into the serious side of things, MOTOR and HORSEPOWER!!!!! A couple of Turbo's that i received in my prize package, mounted down nice and low so as not to give anything away... Now this means i need a couple of holes in the support panel for the intercooler pipes.   In this pic, you can see where i have started shaving tiny amounts off the bottom of the radiator, to compensate for the channeling of the chassis.  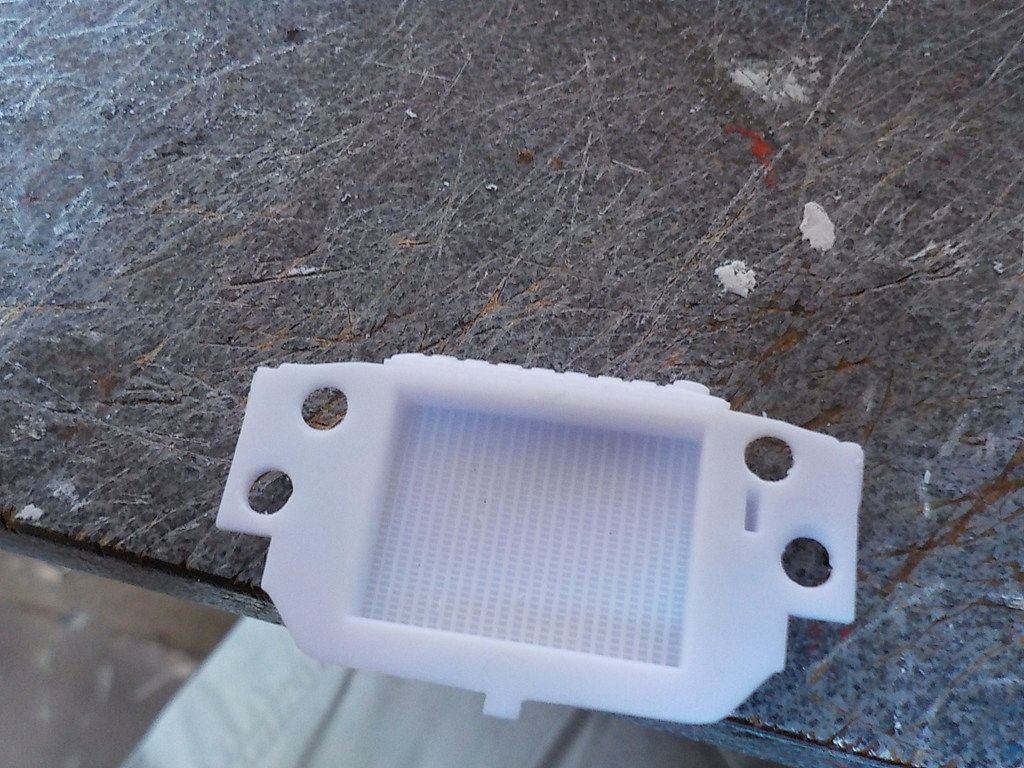 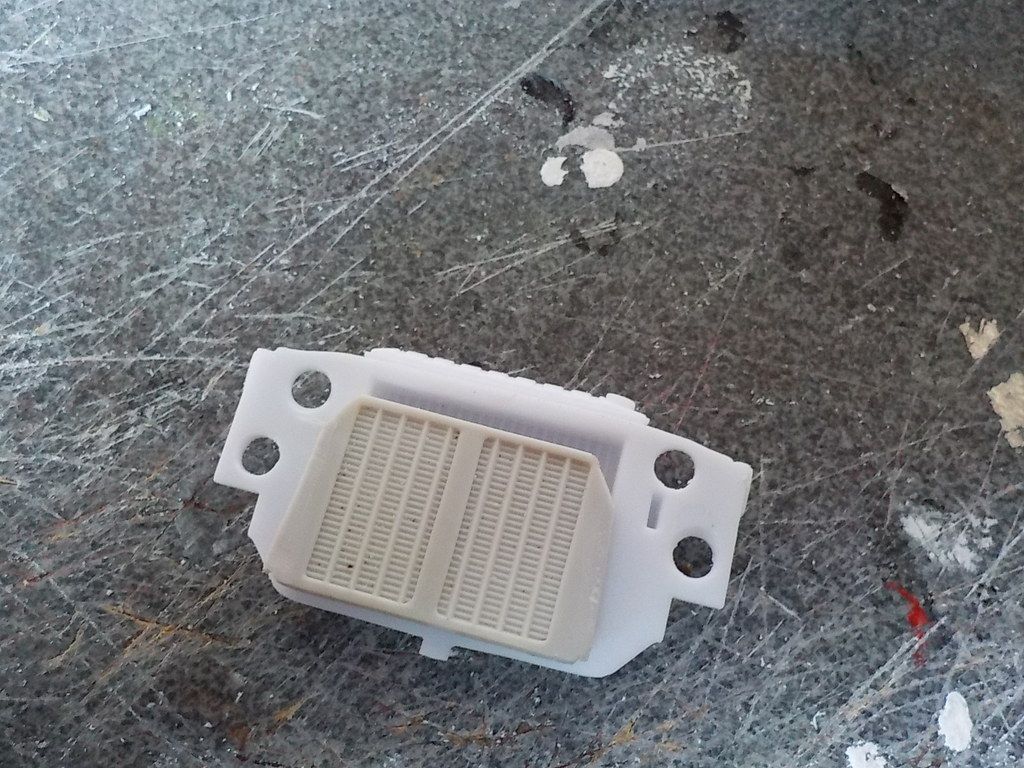 |
|
|
|
Post by sharp on Feb 14, 2016 14:16:04 GMT -7
Looking real good, very nice custom work Dale!
|
|
|
|
Post by CoyoteCrunch on Feb 18, 2016 13:54:18 GMT -7
SaWeeeeTT!!!!
|
|
tubbs
Loyal Member
   Registered: Jul 24, 2013 5:02:43 GMT -7
Posts: 1,017
|
Post by tubbs on Feb 19, 2016 9:31:54 GMT -7
yea, when you alter things, it sets off a chain reaction that is virtually unstoppable!! your doing a hell of a job controlling it. better set that motor in there soon to make sure you got hood and ground clearance... just saying. been there way too many times. this is another kit I have to get.
|
|
Deleted
Registered: Nov 27, 2024 13:21:09 GMT -7
Posts: 0
|
Post by Deleted on Feb 20, 2016 18:36:36 GMT -7
Thanks for following guys, Mr Tubbs, i know what you mean mate, cut one thing, and all hell breaks lose..... Here are a few more things i needed to modify, for the same reason, to compensate for all the other mods...  Removed the tunnel, as it was not deep enough, and the tail shaft would not touch the diff. I replaced it with an old pro stock tunnel, only mounted backwards, i need the extra depth at the rear. 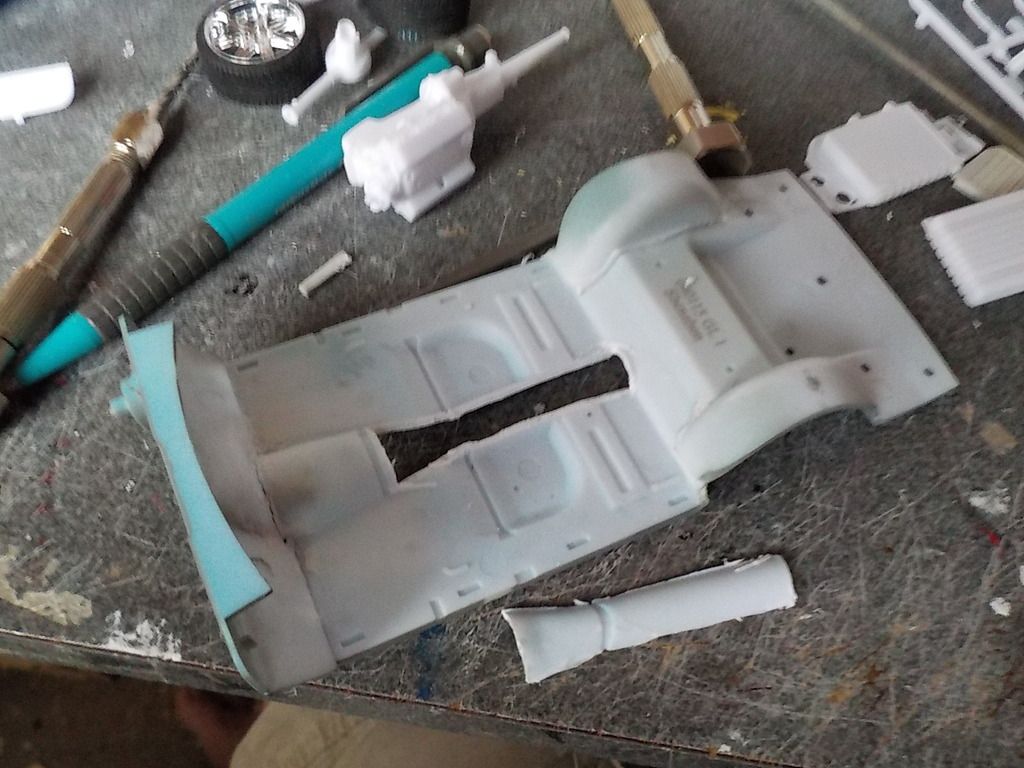   Then the diff housing looked like it would house axles like chicken bones, so i am beefing that up too. 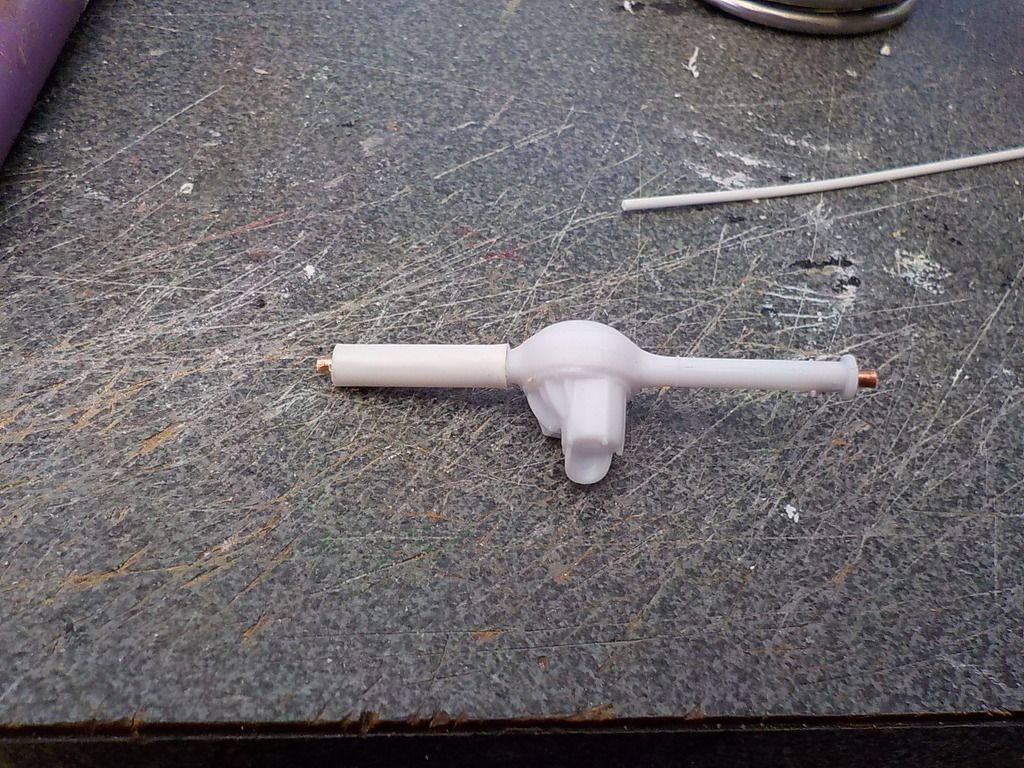 Also had to remove the outer spring hangers, and moved them inside the chassis rail, now have to manufacture a 4 ling rear..... somehow... thinking-hard-smiley-emoticon  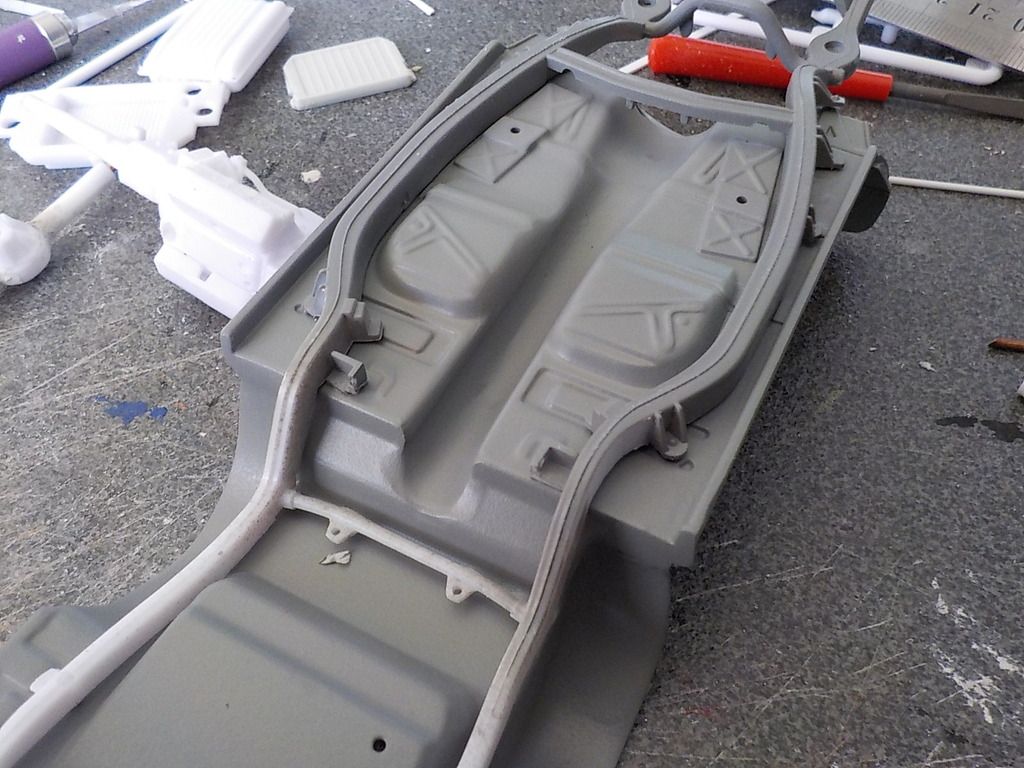 Back to the bench....... |
|
|
|
Post by CoyoteCrunch on Feb 20, 2016 19:14:22 GMT -7
Mind boggling mate - still amazes me man.....
|
|
Deleted
Registered: Nov 27, 2024 13:21:09 GMT -7
Posts: 0
|
Post by Deleted on Feb 20, 2016 23:13:25 GMT -7
Mind boggling mate - still amazes me man..... Wait till you see the next instalment, if it works out that is, i'm still trying to get my head around what i am trying to build....... thinking-hard-smiley-emoticon |
|
|
|
Post by stitchdup on Feb 21, 2016 2:39:29 GMT -7
Neat work and if you were closer I could give you a 4link that would probably fit. but I have a question. Is there a reason you prime each part after you've modded it?
|
|
Deleted
Registered: Nov 27, 2024 13:21:09 GMT -7
Posts: 0
|
Post by Deleted on Feb 21, 2016 3:03:35 GMT -7
Neat work and if you were closer I could give you a 4link that would probably fit. but I have a question. Is there a reason you prime each part after you've modded it? I appreciate the thought mate, THANKS!  The reason i prime everything after modding it, is that i can see the scratches and imperfections easier, and cut plastic will suck up the paint and swell sometimes, like when you sand the badges off............after it dries, a quick wipe with some wet/dry, and a scratch looks like a crater, but it is also pretty well filled. It also gives me a "feel" for what it's going to look like. Also, the longer the undercoat is down, the better it seals and hardens. As i use auto paints, and usually lay my paint on fairly heavy it prevents the plastic sucking the paint up and getting those swirl marks etc in the plastic under the paint. If i get a hankering for a color, i can also just go out and squirt it, as it is already primered. |
|
|
|
Post by stitchdup on Feb 21, 2016 3:06:57 GMT -7
Thanks, I think your the only person I've seen do that.
|
|
|
|
Post by CoyoteCrunch on Feb 21, 2016 7:36:57 GMT -7
If I ever get to the level you and Les are, in cutting and chopping up stuff, I will definitely do this primer trick. I as well prime more than I need to I think, but like you said Dale, it shows the imperfections much better before the paint is flying. I think I need to use some gray primers though, I have always preferred white, so when the paint goes down, it helps the color to be as bright as it can, but my eyes not being as good as they used to be, I see the marks and swirls and what not better with gray primer.
|
|
Deleted
Registered: Nov 27, 2024 13:21:09 GMT -7
Posts: 0
|
Post by Deleted on Feb 21, 2016 16:42:13 GMT -7
This is going to be one mean ride when you are down deecee.
I love the engine with twin turbos along with all the great mods you have made.
Rob
|
|
|
|
Post by jmccann630 on Feb 21, 2016 18:43:29 GMT -7
Very nice work DC..This is gonna look great!
|
|
Deleted
Registered: Nov 27, 2024 13:21:09 GMT -7
Posts: 0
|
Post by Deleted on Feb 22, 2016 2:37:20 GMT -7
Thanks men,  . Well the diff has been fattened up, and then i started on the control arms..... wow, what an introduction to detail scratch building, i know there is a fair bit of styrene in the bin....  From this! 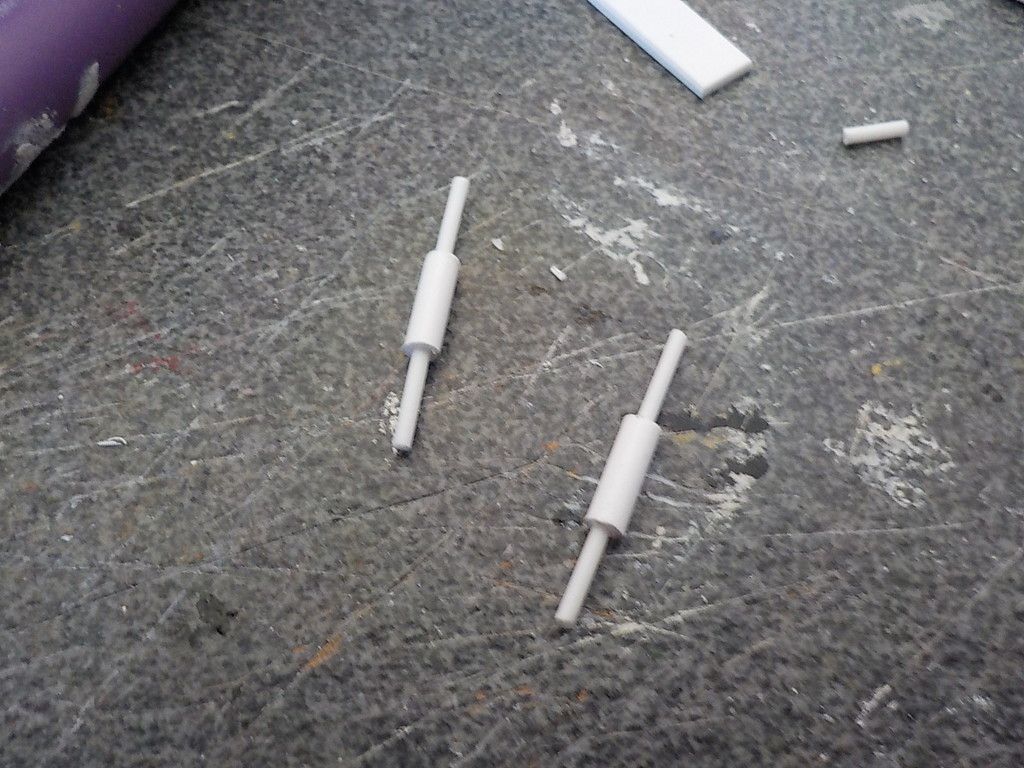 TO THIS..   Still have to make the mounts for the diff housing. Then on to the front end,, decided to remove the shaded area, and make my own uprights, as the kit ones are pretty ordinary.  We will see what the heck happens here in the next few days...  |
|
tubbs
Loyal Member
   Registered: Jul 24, 2013 5:02:43 GMT -7
Posts: 1,017
|
Post by tubbs on Feb 22, 2016 8:42:34 GMT -7
nice work. are you going to make an upper bar? coil over or shock? looking real sweet.
|
|
Deleted
Registered: Nov 27, 2024 13:21:09 GMT -7
Posts: 0
|
Post by Deleted on Feb 22, 2016 14:00:46 GMT -7
nice work. are you going to make an upper bar? coil over or shock? looking real sweet. Thanks mate, I have 2 shorter ones made for the top of the diff, and probably will make a couple of coil overs, a bit more head scratching to be done yet.... thinking-hard-smiley-emoticon
|
|