Deleted
Registered: Nov 24, 2024 11:57:39 GMT -7
Posts: 0
|
Post by Deleted on Nov 15, 2014 16:59:41 GMT -7
Well gents, here's my first car in quite some time. Tamiya's R-33 Skyline GT-R. The bulk of the build can be found here. I'll be posting a build log here as well as MCM. 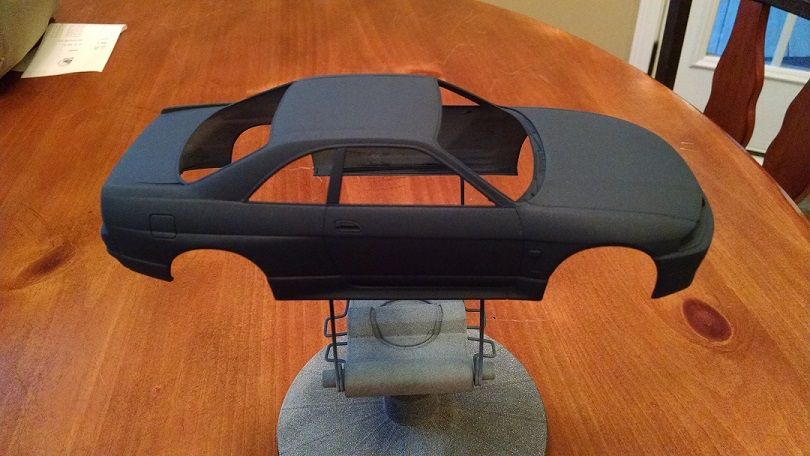 This is the first wetcoat and has dried significantly flatter than it went on. When it went on wet, it had a beautiful glossy metallic blue color to it. I'm hoping a gloss coat will bring out some shine. I also have some suspension bits to put on and then call the suspension done, then it's on to the interior. |
|
|
|
Post by CoyoteCrunch on Nov 15, 2014 18:30:13 GMT -7
Duplicolor makes an awesome clearcoat with color changing effects, this may bring out the blue metallic you want. If I can find my can, (its in the boxes from moving to another room), I will post a pic of it if you want |
|
|
|
Post by CoyoteCrunch on Nov 15, 2014 18:40:08 GMT -7
Found it - here is a couple pics of it..............


|
|
Deleted
Registered: Nov 24, 2024 11:57:39 GMT -7
Posts: 0
|
Post by Deleted on Nov 15, 2014 21:12:10 GMT -7
Coyote, Thanks! Does this have metallic flakes in the clear? Or is it specifically designed for metallic paints, to enhance the metallic paint? I have a metallic finish now, it's just that the paint dried so flat. I have Model Masters Ultra Gloss Clear that I'm planning on putting down, I just want to make sure that it's going to produce that mirror finish I see so many people achieve.
|
|
|
|
Post by Big D on Nov 15, 2014 22:21:26 GMT -7
JD, I've had the same thing happen to me and I used an automotive rubbing compound with a damp cloth. Rubbed the snot out of it after the paint dried well and brought out a lot of shine.
|
|
|
|
Post by jbailey on Nov 15, 2014 22:31:26 GMT -7
What is the brand/type of paint you used for the base coat? It looks nice and smooth though!
|
|
Deleted
Registered: Nov 24, 2024 11:57:40 GMT -7
Posts: 0
|
Post by Deleted on Nov 16, 2014 4:12:11 GMT -7
Dupli-color is the brand i use a lot on my builds, never goes wrong.
|
|
Deleted
Registered: Nov 24, 2024 11:57:39 GMT -7
Posts: 0
|
Post by Deleted on Nov 16, 2014 9:10:20 GMT -7
Model Masters Insignia Blue mixed with a two drops of Chrome Silver. Once the garage warms up, I'll be giving her the last wet coat and then Model Masters Ultra Gloss coat.
|
|
Deleted
Registered: Nov 24, 2024 11:57:39 GMT -7
Posts: 0
|
Post by Deleted on Nov 16, 2014 17:02:08 GMT -7
The last wet coat on and the clear coat. I'll try to get pictures up tomorrow morning. In the mean time, the front suspension is on and the front received a noticeable drop. I'm going to see about the rear tires tonight, whether I can place them accurately without the body or not. Otherwise, it's on to the interior!
|
|
Deleted
Registered: Nov 24, 2024 11:57:39 GMT -7
Posts: 0
|
Post by Deleted on Nov 19, 2014 23:53:19 GMT -7
here's the latest:  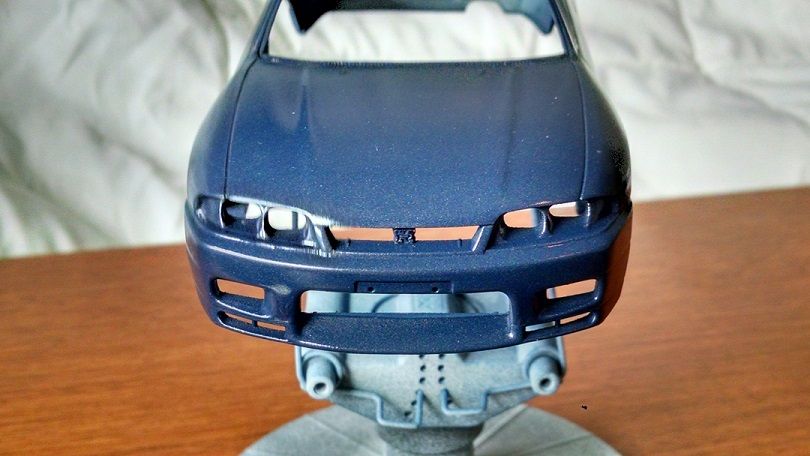 |
|
Deleted
Registered: Nov 24, 2024 11:57:39 GMT -7
Posts: 0
|
Post by Deleted on Nov 19, 2014 23:55:19 GMT -7
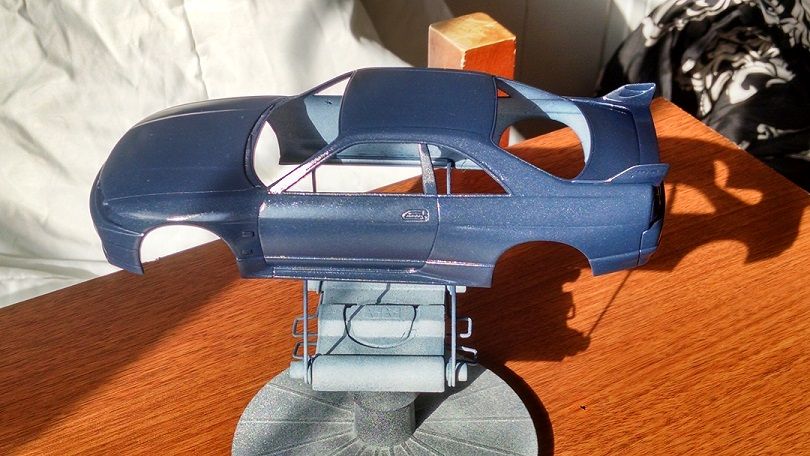 and here's the drop: 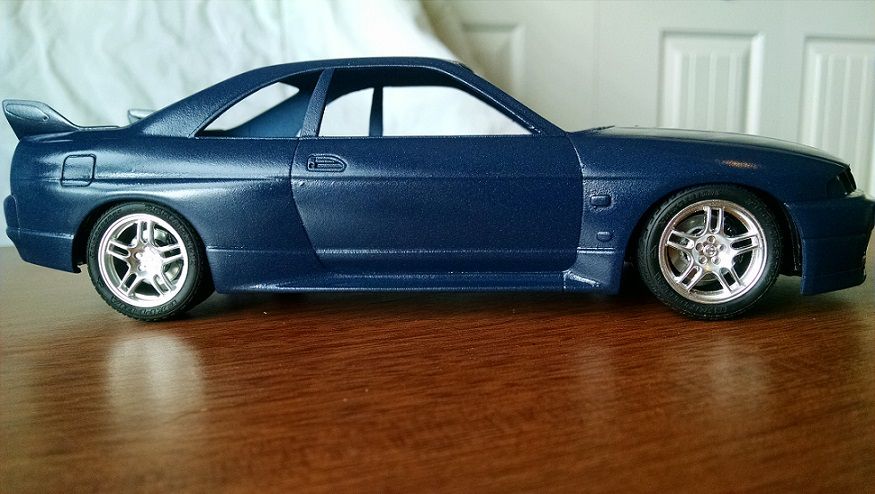 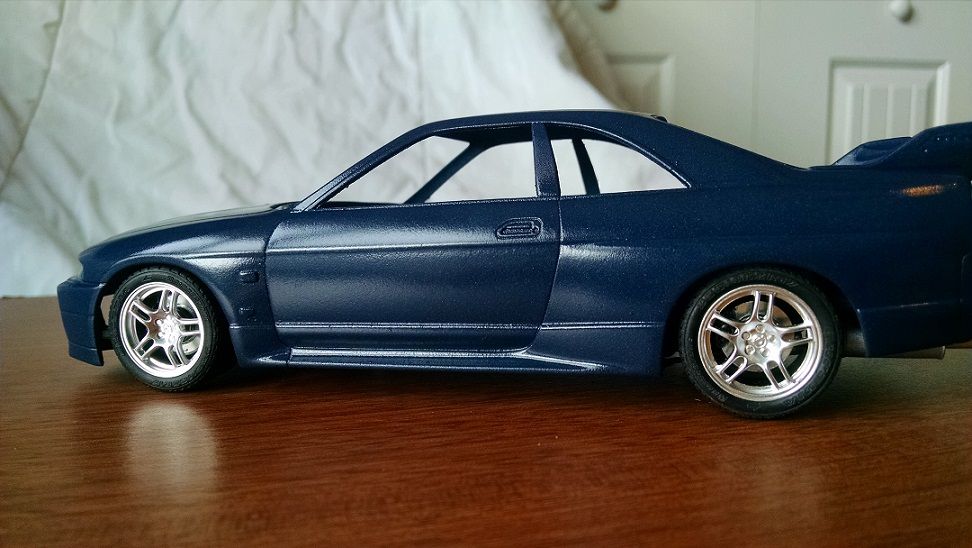 hopefully I can finish this up this weekend as LOTS of goodies are arriving for my next build. |
|
|
|
Post by CoyoteCrunch on Nov 20, 2014 12:20:23 GMT -7
Looks nice!!
|
|
Deleted
Registered: Nov 24, 2024 11:57:39 GMT -7
Posts: 0
|
Post by Deleted on Nov 21, 2014 10:03:46 GMT -7
Thanks coyote! There's some serious orange peel that needs to be polished but otherwise, I'm happy with it for my first car.
|
|
|
|
Post by jbailey on Nov 21, 2014 10:11:01 GMT -7
That's a nice color for the skyline! Stance looks great!
|
|
|
|
Post by Big D on Nov 21, 2014 13:13:05 GMT -7
Looks good! Did you bring out the paint just by using clear coat? Good color and wheels.
|
|
Deleted
Registered: Nov 24, 2024 11:57:40 GMT -7
Posts: 0
|
Post by Deleted on Nov 21, 2014 13:25:06 GMT -7
the stance looks right, color is great on the skyline, nicely done so far  curious as to your choice of interior color thinking-hard-smiley-emoticon |
|
Deleted
Registered: Nov 24, 2024 11:57:39 GMT -7
Posts: 0
|
Post by Deleted on Nov 22, 2014 0:50:09 GMT -7
I used Model Masters Ultra Gloss Lacquer clear coat following my final wet coat. That's what brought out the color in the paint.
I'm also unsure of what color I'm going to do the interior in. I've been bouncing between following the directed colors or going custom. I think I'm going to keep this one pretty straight forward. I have plans for a very long, very detailed build coming up.
|
|
Deleted
Registered: Nov 24, 2024 11:57:40 GMT -7
Posts: 0
|
Post by Deleted on Nov 22, 2014 2:38:50 GMT -7
Glad you got some color coming through mate, looks good, can't wait to see this super detailed build you have coming next.  |
|
Deleted
Registered: Nov 24, 2024 11:57:39 GMT -7
Posts: 0
|
Post by Deleted on Nov 22, 2014 16:32:53 GMT -7
Thanks Deecee! The next immediate build is most likely going to be my Tamiya DBS, with a full PE detail up set from Hobby Design, Scale Motorsports Twill Weave CF, and rims from HD as well, all to represent the "Carbon Black" edition. After that, I have an R-34 VSPEC II build that will utilize the RB26 out of an R-32 kit I have. That build will have a box full of goodies and mods. Look for it soon!
As for the R-33, I've done the window trim on the sides and painted the lower half of the front bumper and headlights flat black. Next is the window trim around the front and back windows, the panel lines, and then the decals. I've decided to go with the kit directed gray interior and used MM Engine Gray. Once that's dry the second color for the seats will be applied and then the carpet and rear deck will be flocked with charcoal gray. Otherwise, the suspension needs a wash of Windsor and Newton burnt umber and this build is d. o. n. e.
|
|
|
|
Post by Skip-O-Matic on Nov 26, 2014 21:13:09 GMT -7
Looks good. I like the color and how it sits on wheels.
|
|
Deleted
Registered: Nov 24, 2024 11:57:39 GMT -7
Posts: 0
|
Post by Deleted on Nov 27, 2014 13:04:12 GMT -7
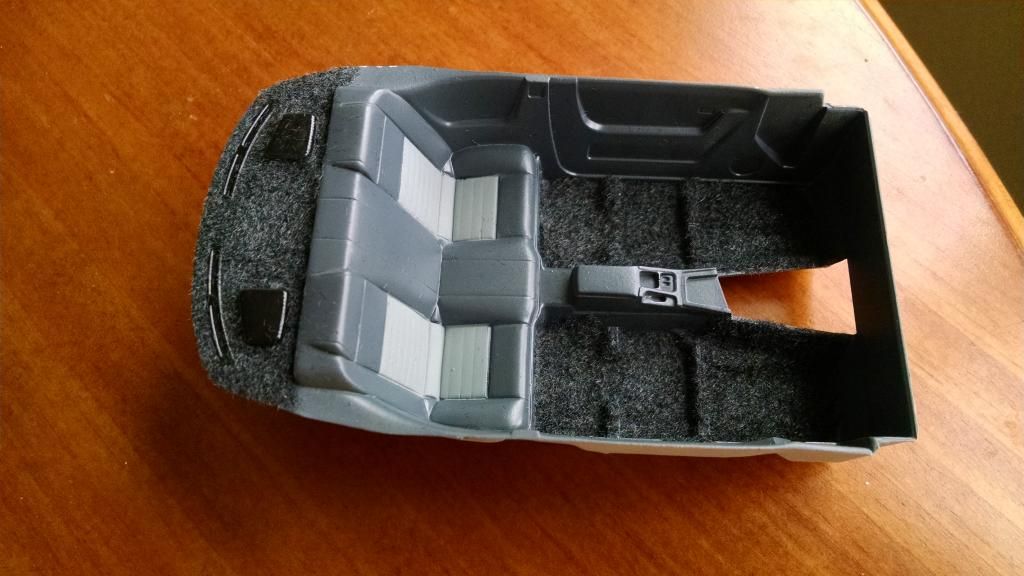 Interior flocked in charcoal grey. Panel lines done. 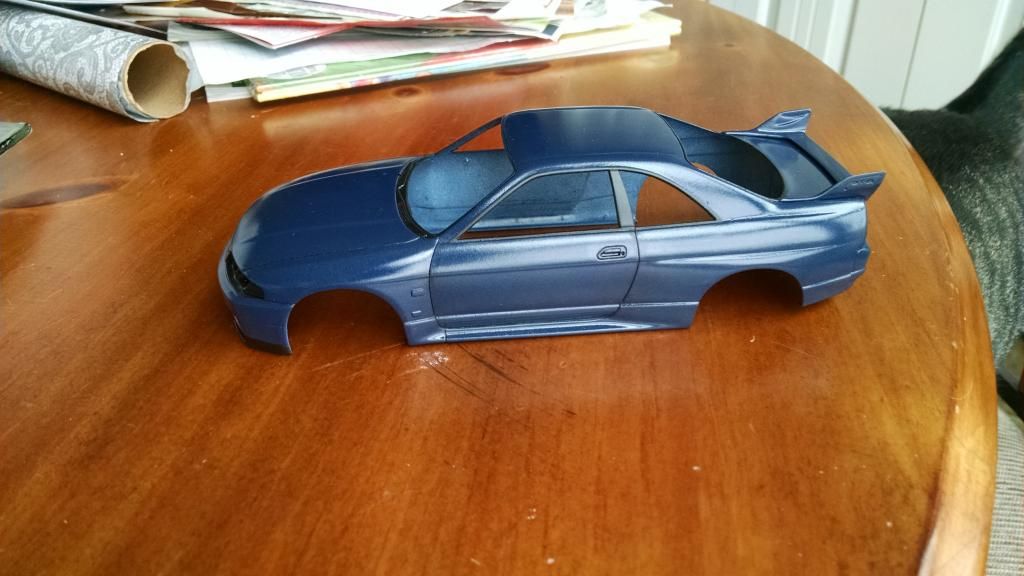 |
|
Deleted
Registered: Nov 24, 2024 11:57:40 GMT -7
Posts: 0
|
Post by Deleted on Nov 27, 2014 16:25:19 GMT -7
flocking looks good, nicely done on the 2tone seat covers  |
|
|
|
Post by gardnerpag44 on Nov 28, 2014 13:11:07 GMT -7
Looking very nice some great detail  |
|
|
|
Post by sharp on Nov 28, 2014 16:09:51 GMT -7
Coming out real nice! great detail work on the interior  |
|
Deleted
Registered: Nov 24, 2024 11:57:39 GMT -7
Posts: 0
|
Post by Deleted on Nov 29, 2014 17:15:32 GMT -7
Thank you guys for the support! Here's some more progress... mounted the tub to the chassis... 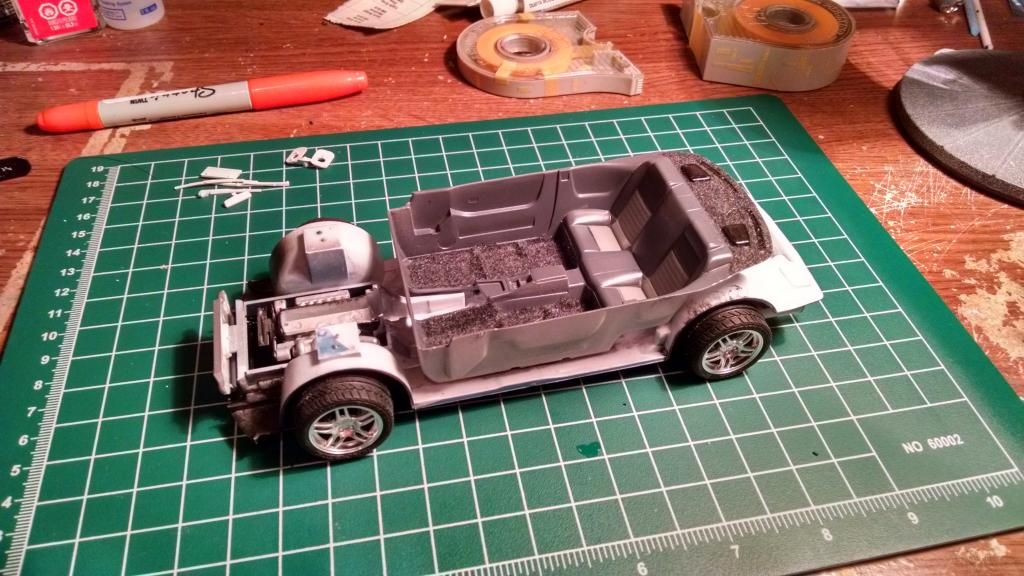 rear lights installed. I used a red sharpie for the brake lights and an orange sharpie for the turn signals. I have to say, I was really happy with the results. I think the brake lights look damn near real... 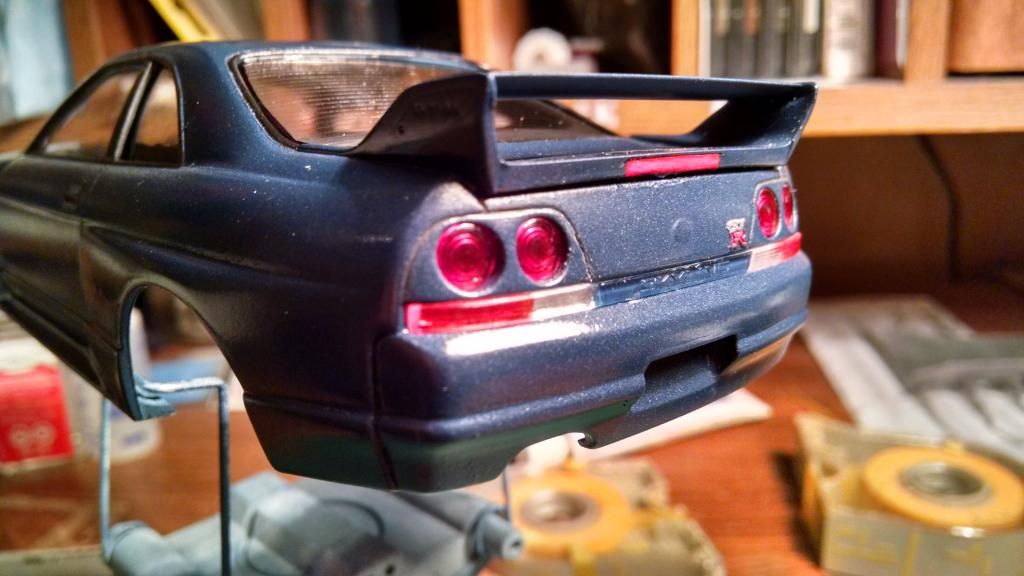 sorry for the dust. I went over everything with a tack cloth after finishing up the pictures...This is the reason why I'm not a fan of workbench photos. Also, i painted the third brake light. I debated on whether I liked it and I'm still not set on it whether it's supposed to be there or not. 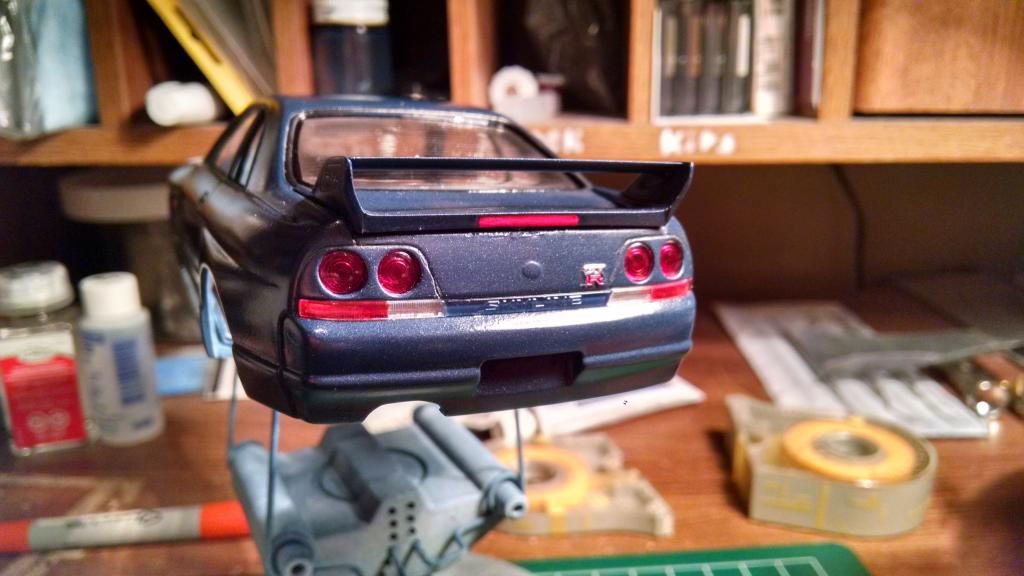 Anyway, I also painted the amber signals on the sides Testor's orange. It's not perfect yet, I'm going to go back and tape around the signals so I can paint confidently, not worrying about painting the body of the car. 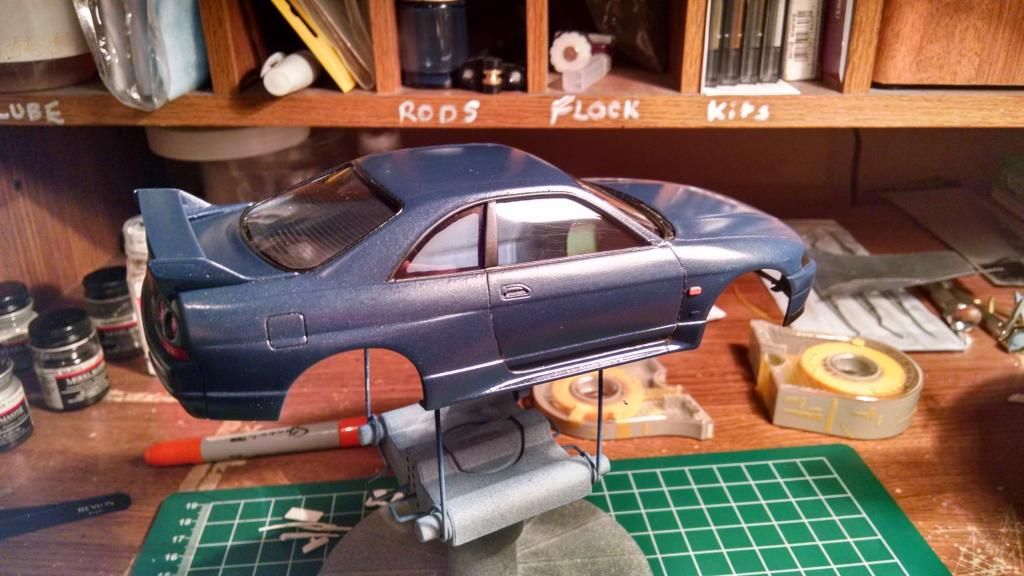 I used a very thin Model Masters Red and Chrome Silver to paint the front emblem. I will have to put some sort of magnification device on the x-mas list... 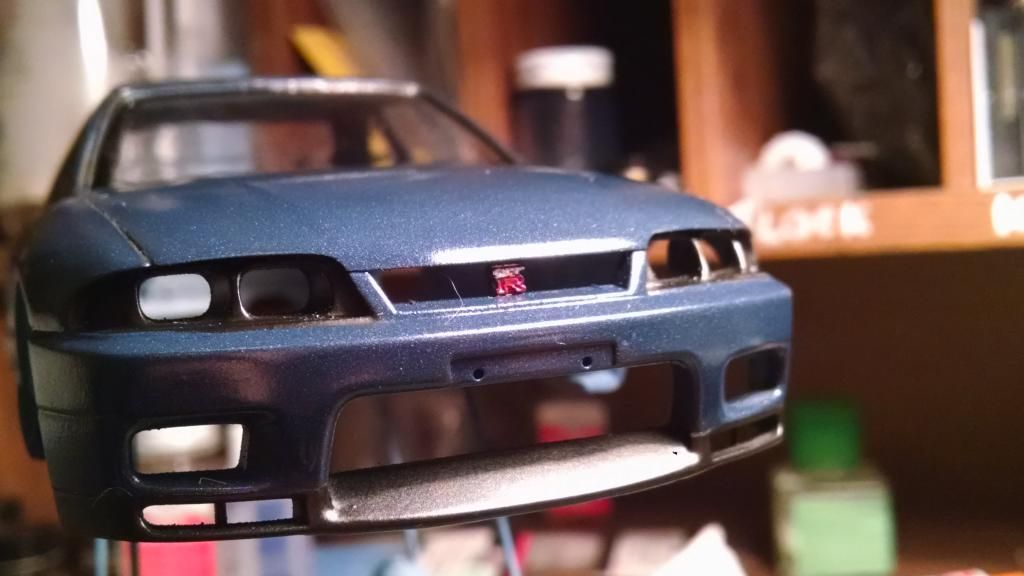 And now I notice that dog hair next to the emblem.  Here's the suspension as well... 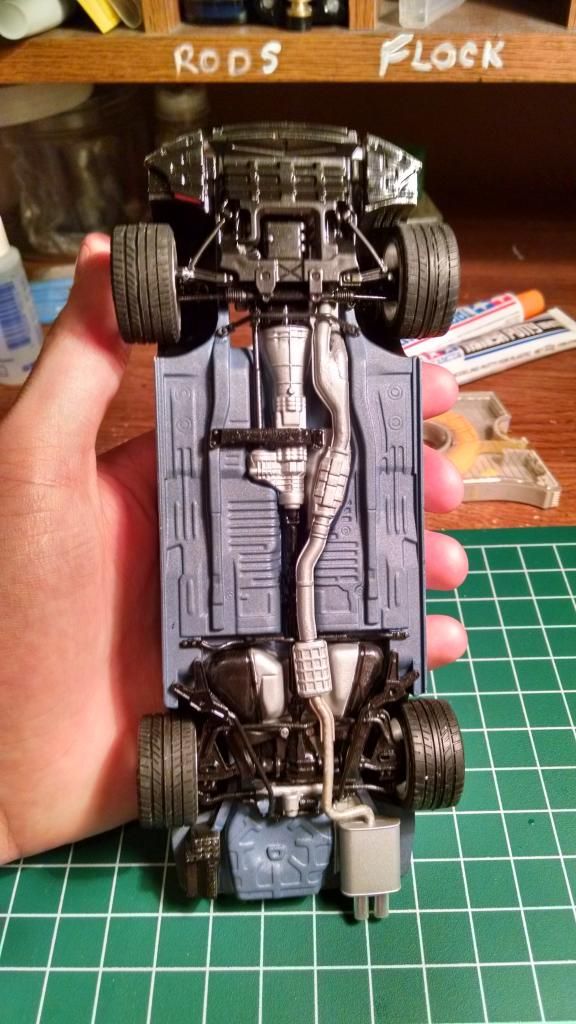 as always, comments, critiques, and criticisms welcome! |
|
|
|
Post by Big D on Nov 29, 2014 17:25:31 GMT -7
JD what did you do the panel lines with?
|
|
Deleted
Registered: Nov 24, 2024 11:57:39 GMT -7
Posts: 0
|
Post by Deleted on Nov 29, 2014 19:12:42 GMT -7
ModelMasters flat black, a very very thin mixture. It was a step above black colored thinnner. Prior to painting, I deepened the lines with a dental tool and the backside of a dull #11 blade. After painting and the clear coat, I again softly went through the panel lines with one of my dental tools to allow the paint to flow better through the line.
|
|
Deleted
Registered: Nov 24, 2024 11:57:40 GMT -7
Posts: 0
|
Post by Deleted on Nov 29, 2014 19:53:54 GMT -7
Looking good. Great job on those emblems.
|
|
|
|
Post by CoyoteCrunch on Nov 30, 2014 17:16:57 GMT -7
You know it - magnification needed on my end as well!! LOL I think I like the third brake lite, all newer vehicles have them anyways, seem to fit nicely
Well done sir - VERY NICE BUILD!! |
|
Deleted
Registered: Nov 24, 2024 11:57:39 GMT -7
Posts: 0
|
Post by Deleted on Nov 30, 2014 22:22:32 GMT -7
bit of a weekend update. I placed most of the exterior decals and mesh screens on the front bumper. 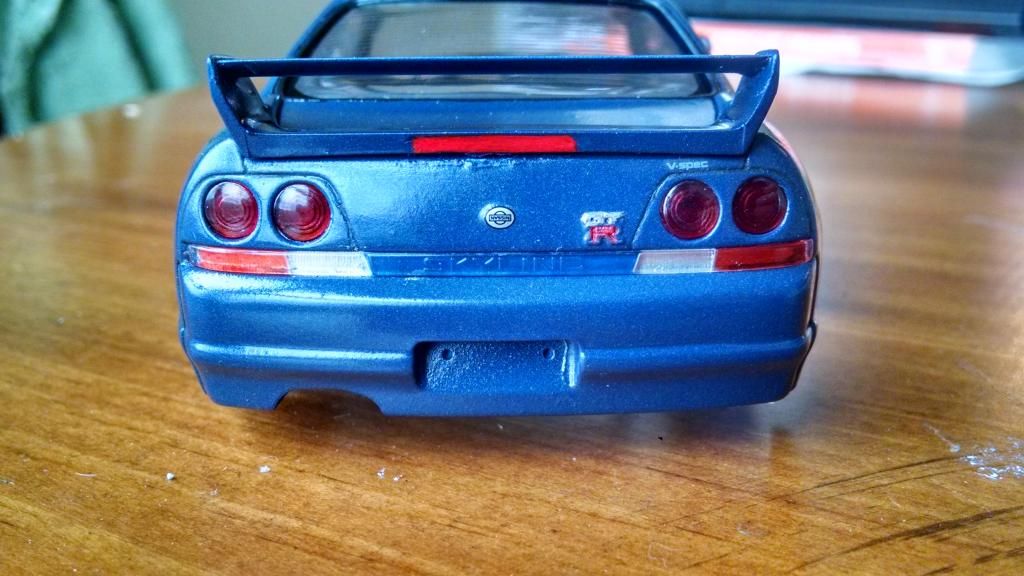 You can see how blue the paint looks in this picture...and you can see how bad the orange peel is. 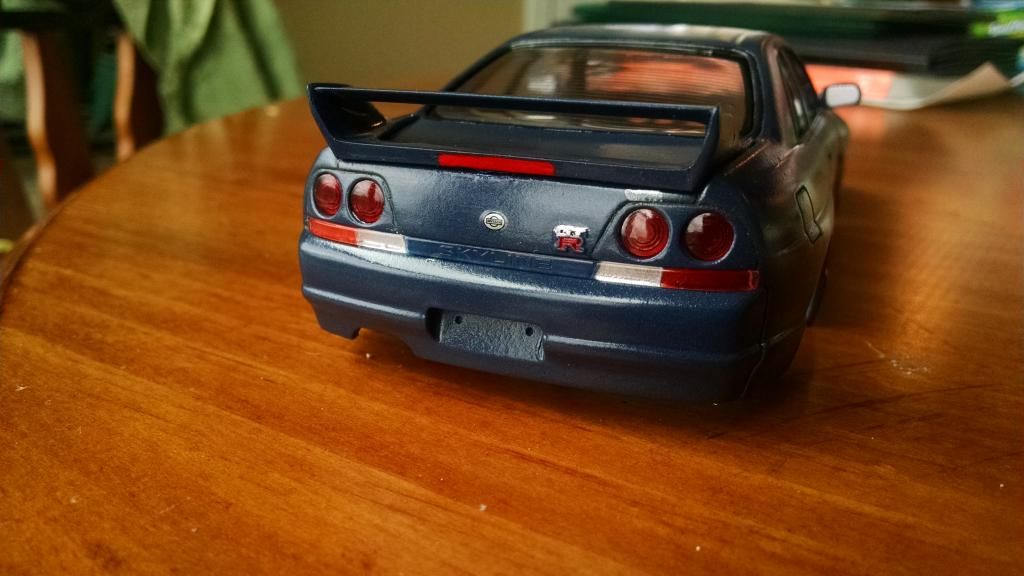 then here you can see the paint darken. 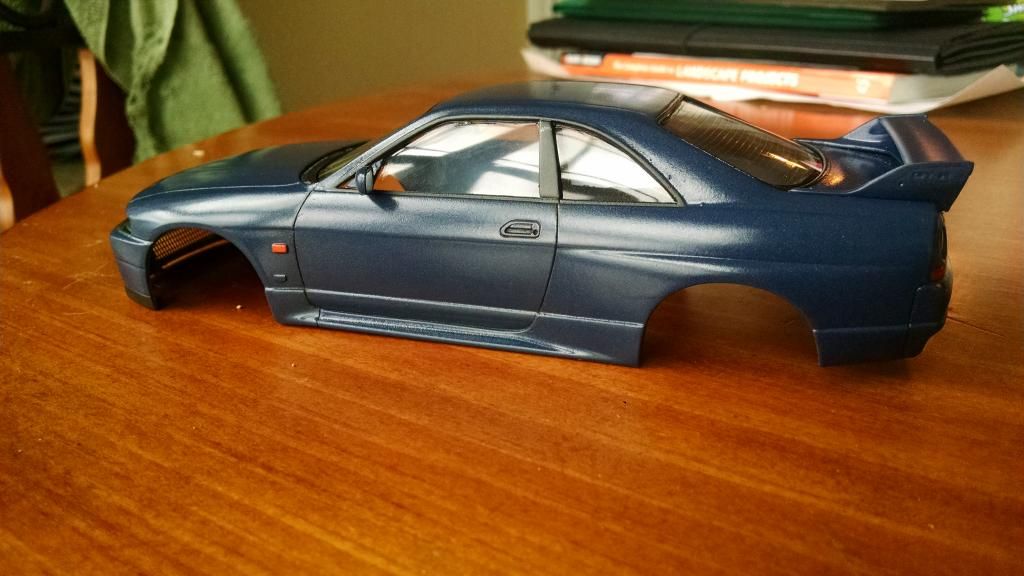 for some reason, the GT badges fell off. I'm severely irritated at this. In the future, I'll be protecting the decals with a bit of Future... 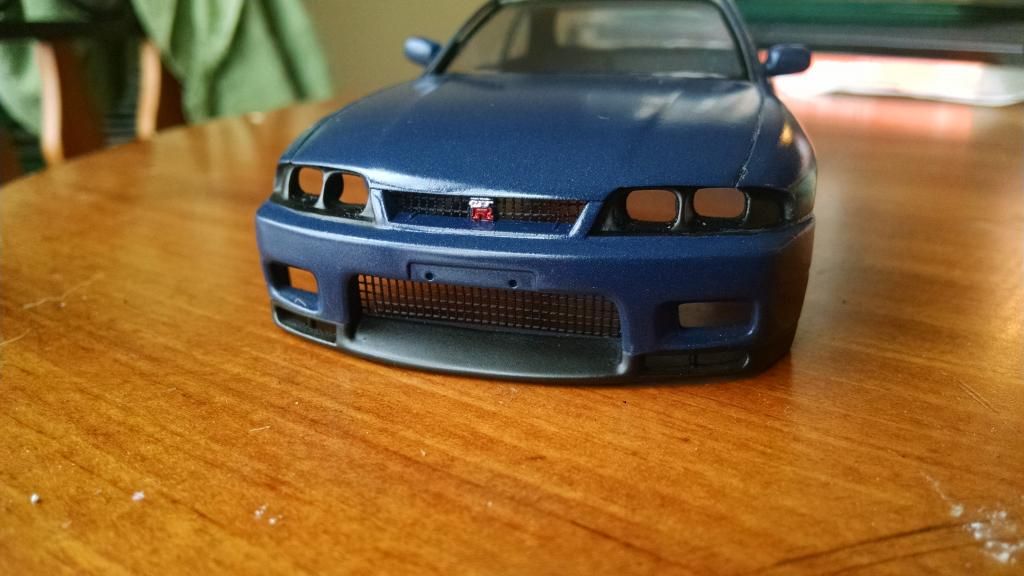 In the future, I'm going to progressively wet sand the orange peel out now that I know what it is. I'm glad I am getting close to the end of this build, it has been a pleasure to build and paint and already I've learned (and relearned) several techniques. |
|