goofy62
New Member
 Registered: Dec 24, 2021 10:21:11 GMT -7
Posts: 41 
|
Post by goofy62 on Dec 29, 2021 12:53:41 GMT -7
Hello everyone!
This will be my first post on this board.
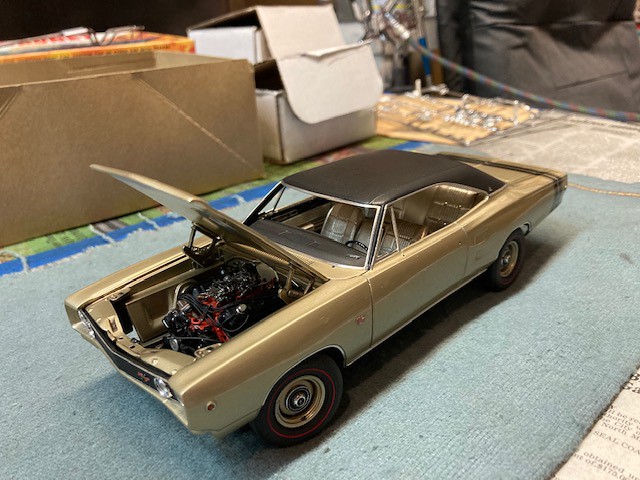
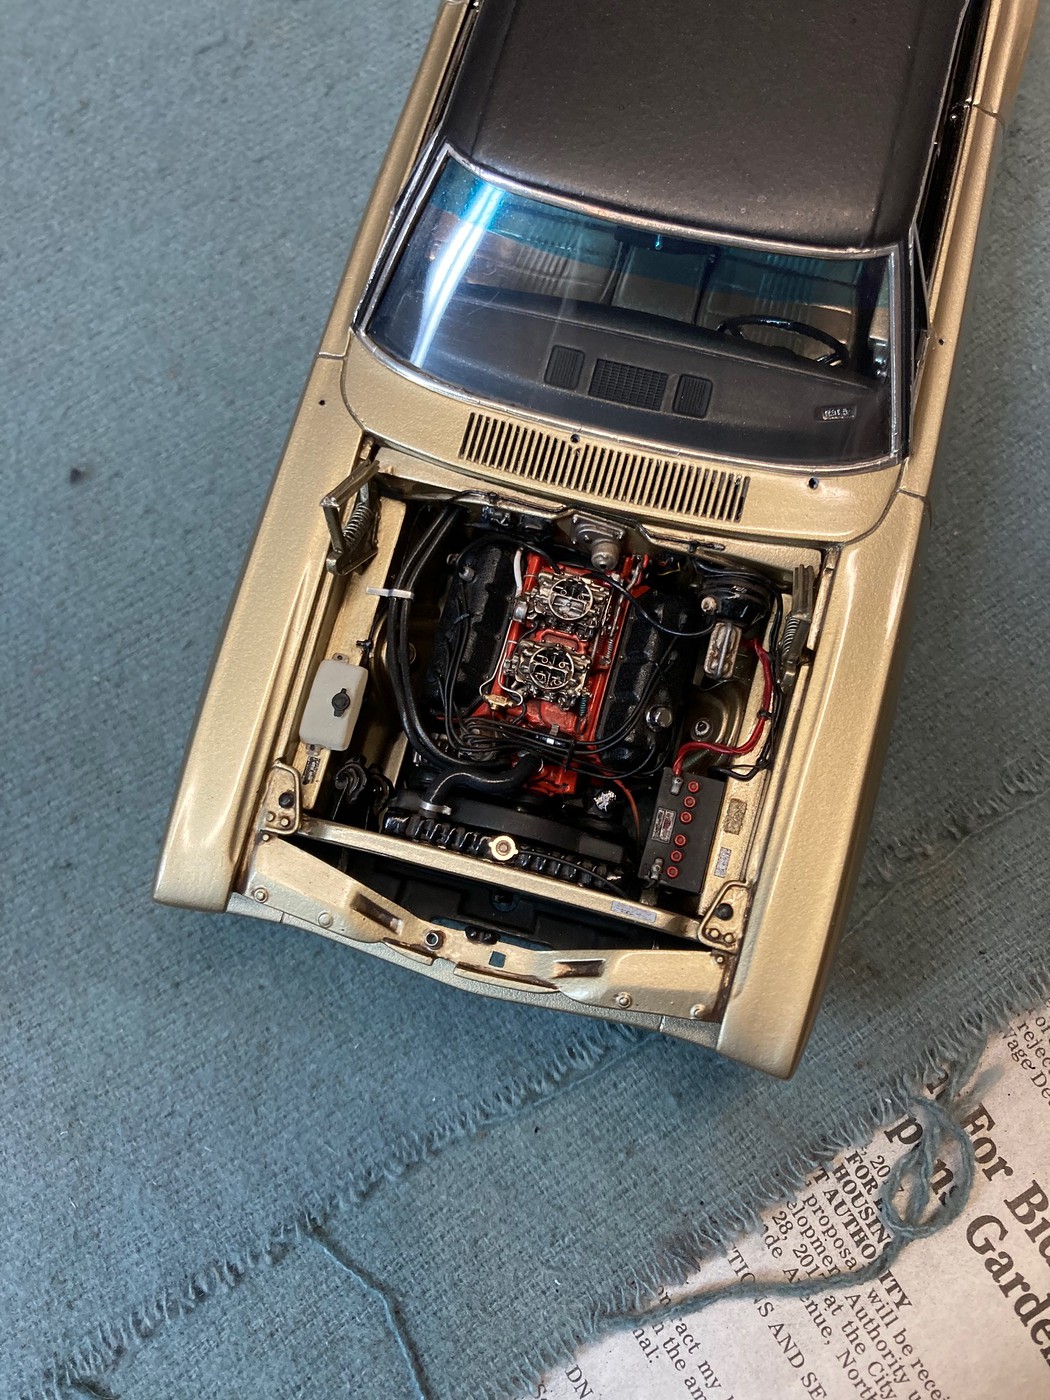
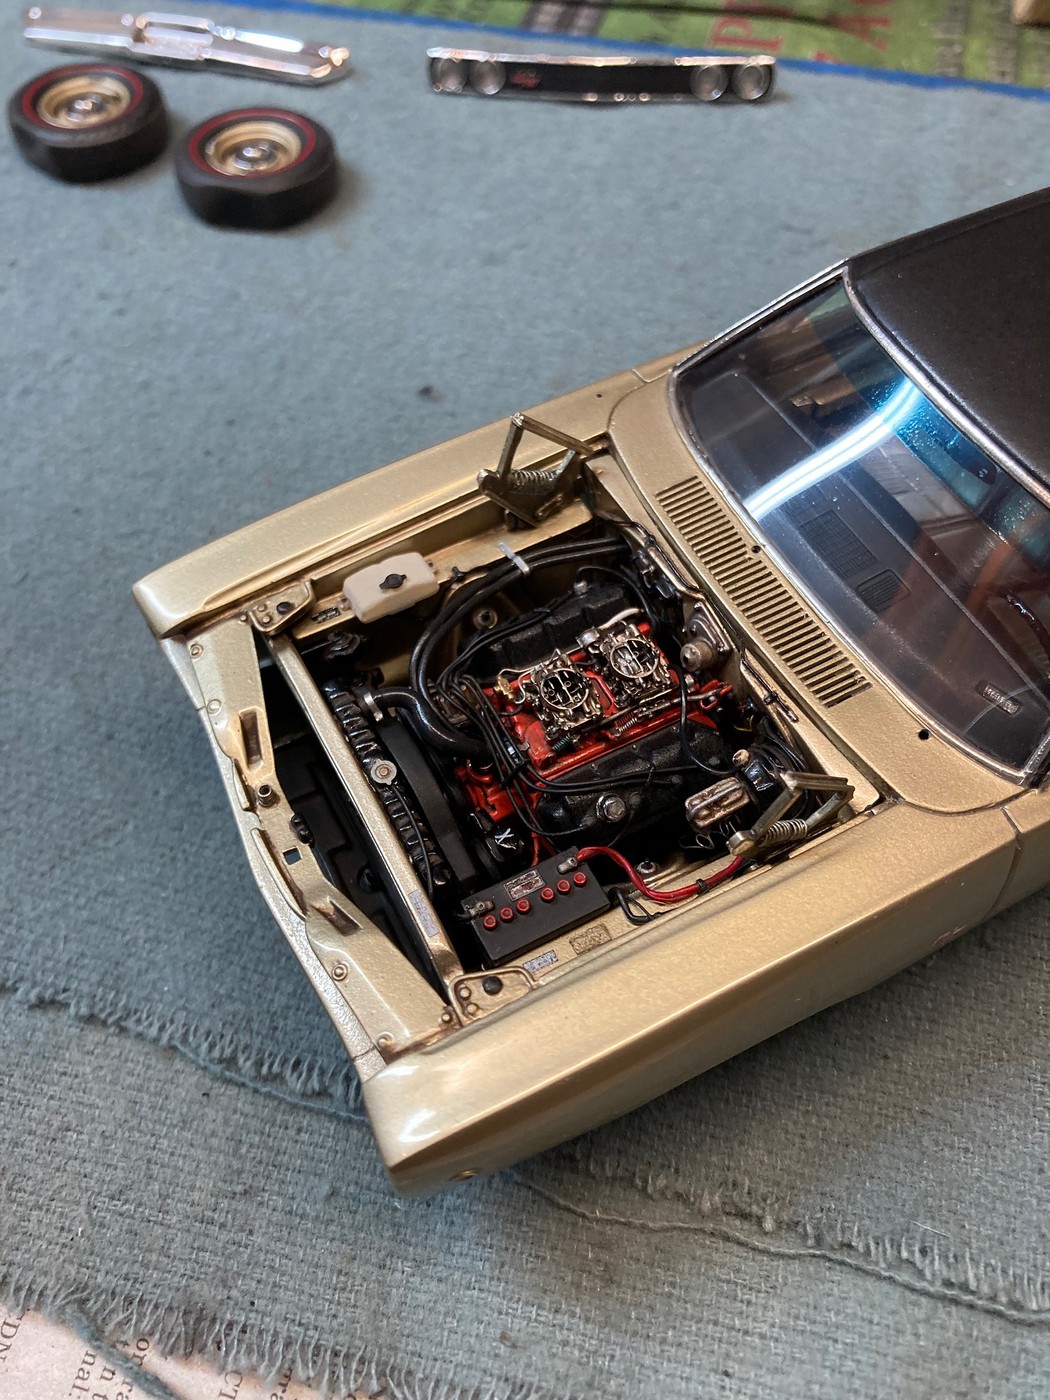
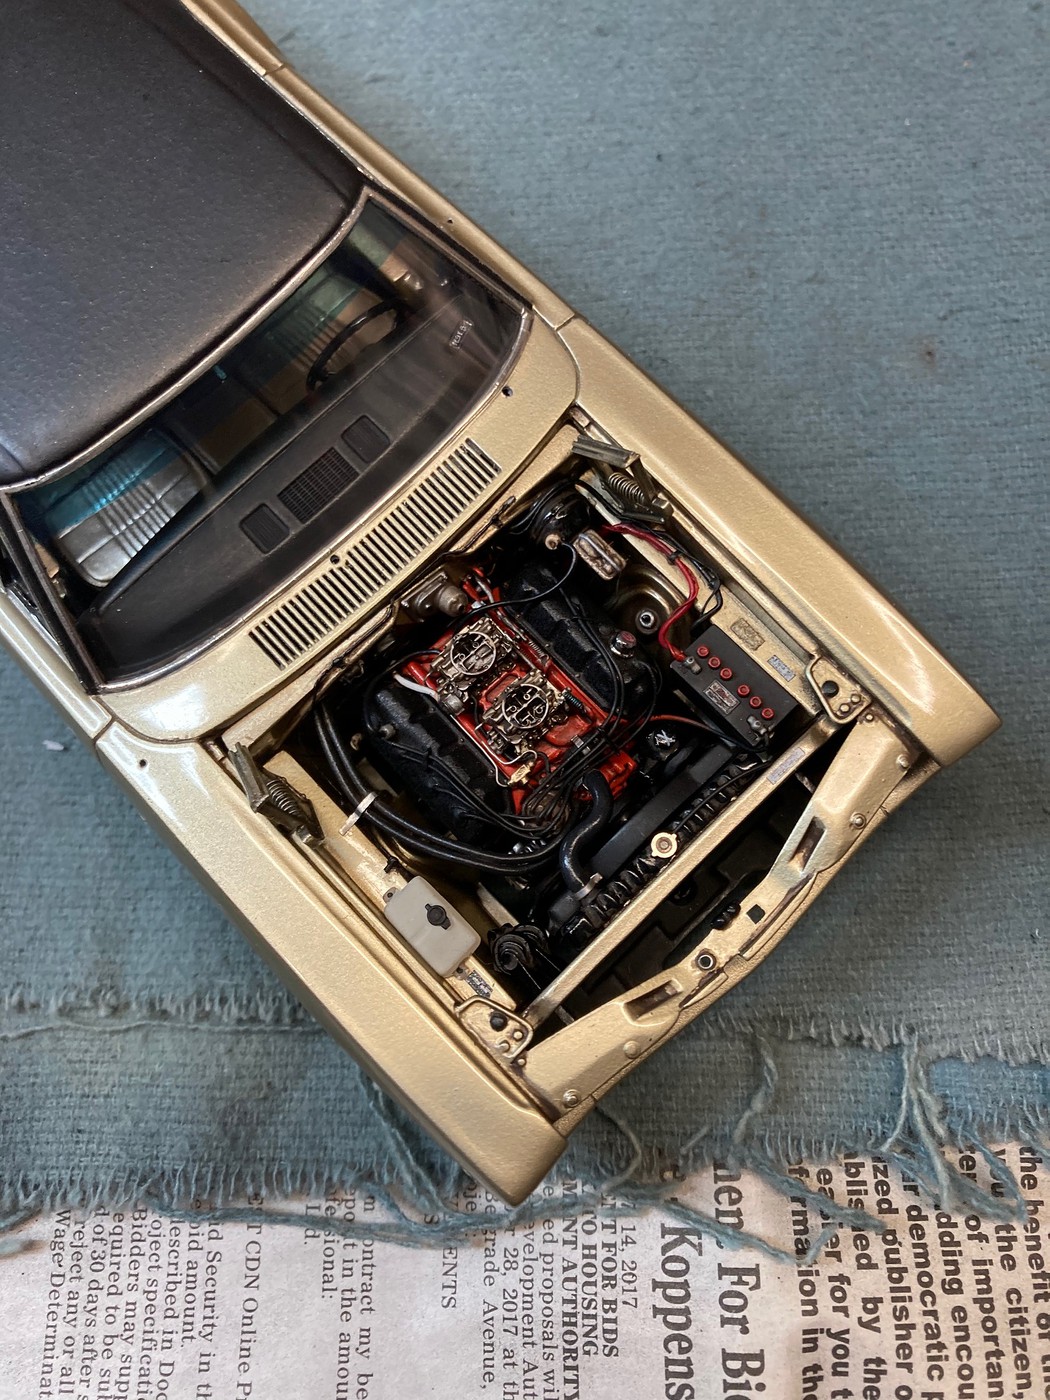
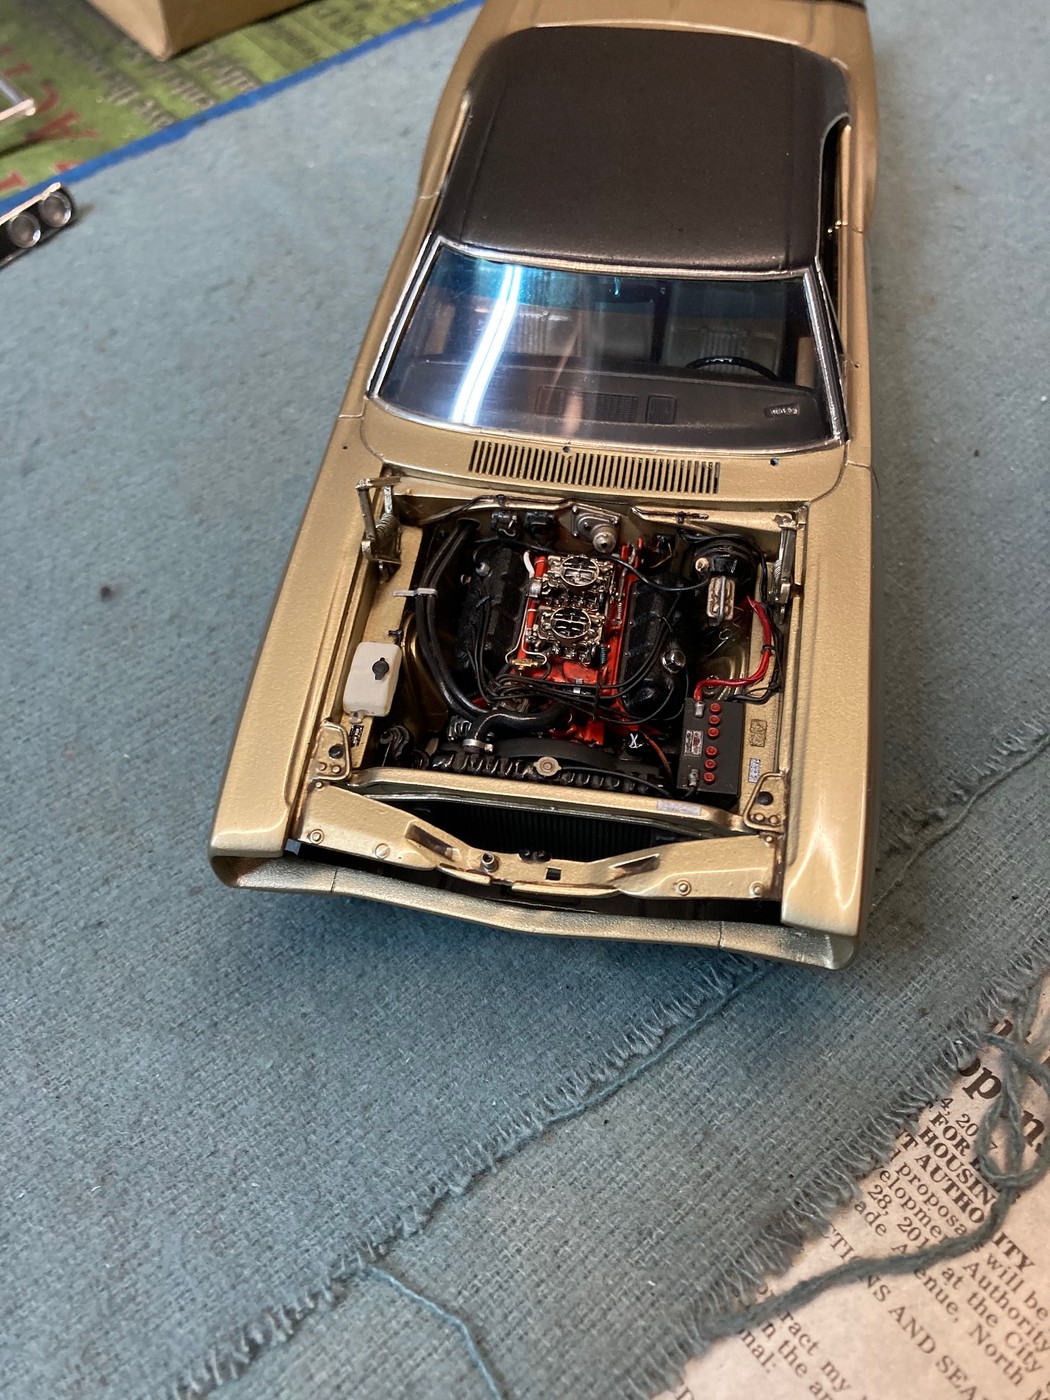
This MPC 1968 Dodge Coronet is my current project that I have already been working on for over a year.
While I have far too many upgrades to list, and too many progress photos to post at this stage of the game, I'll just give the truncated version of what has been accomplished to this point.
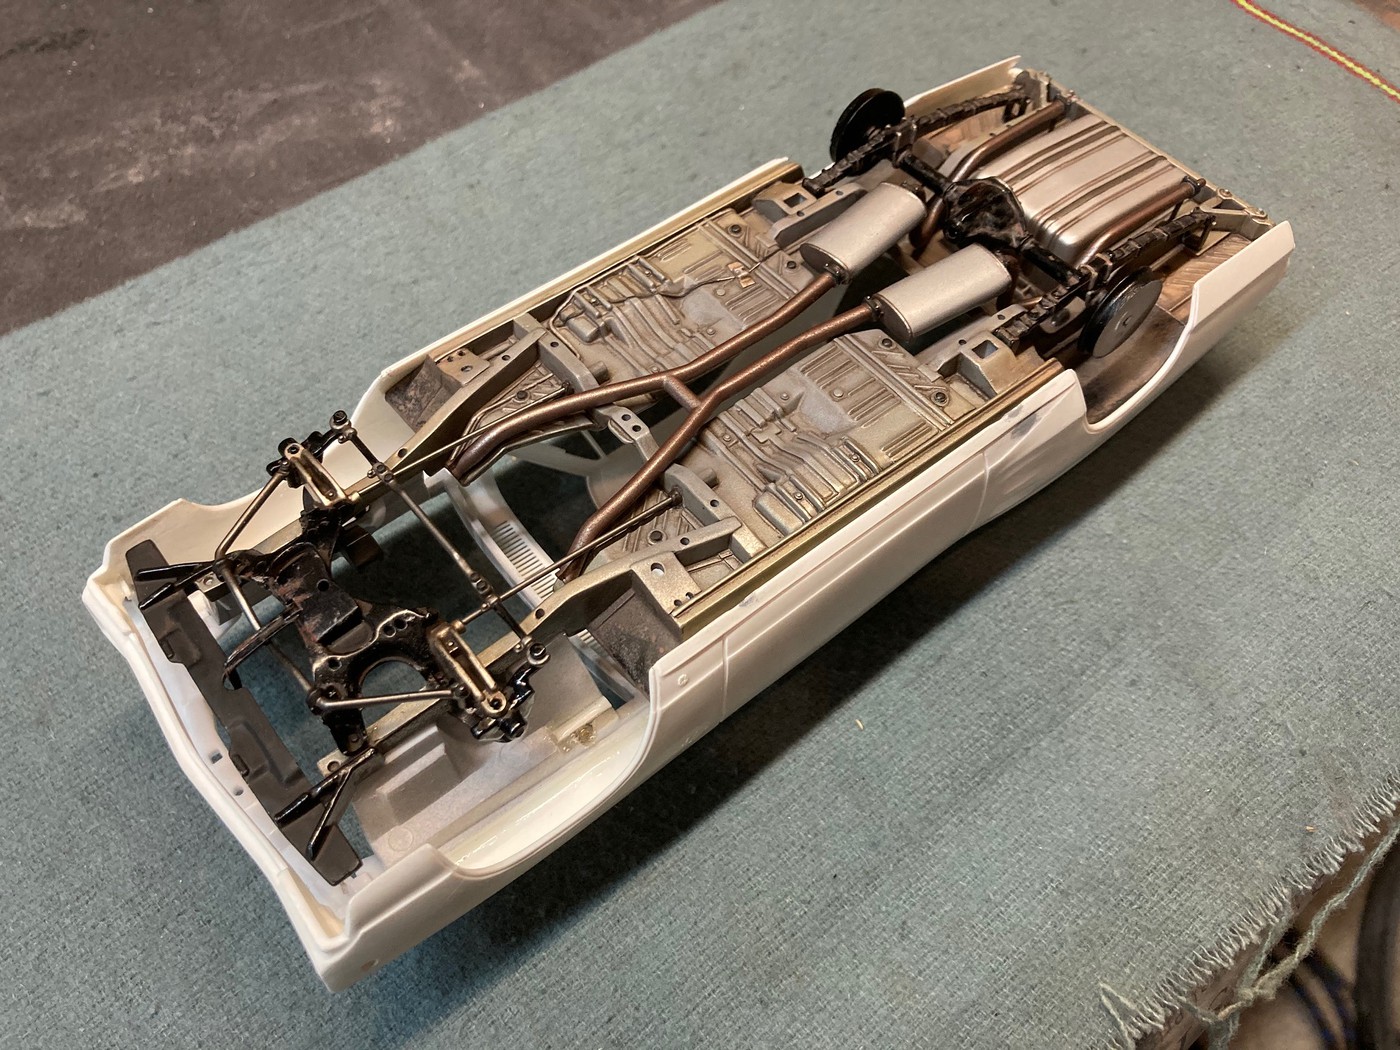
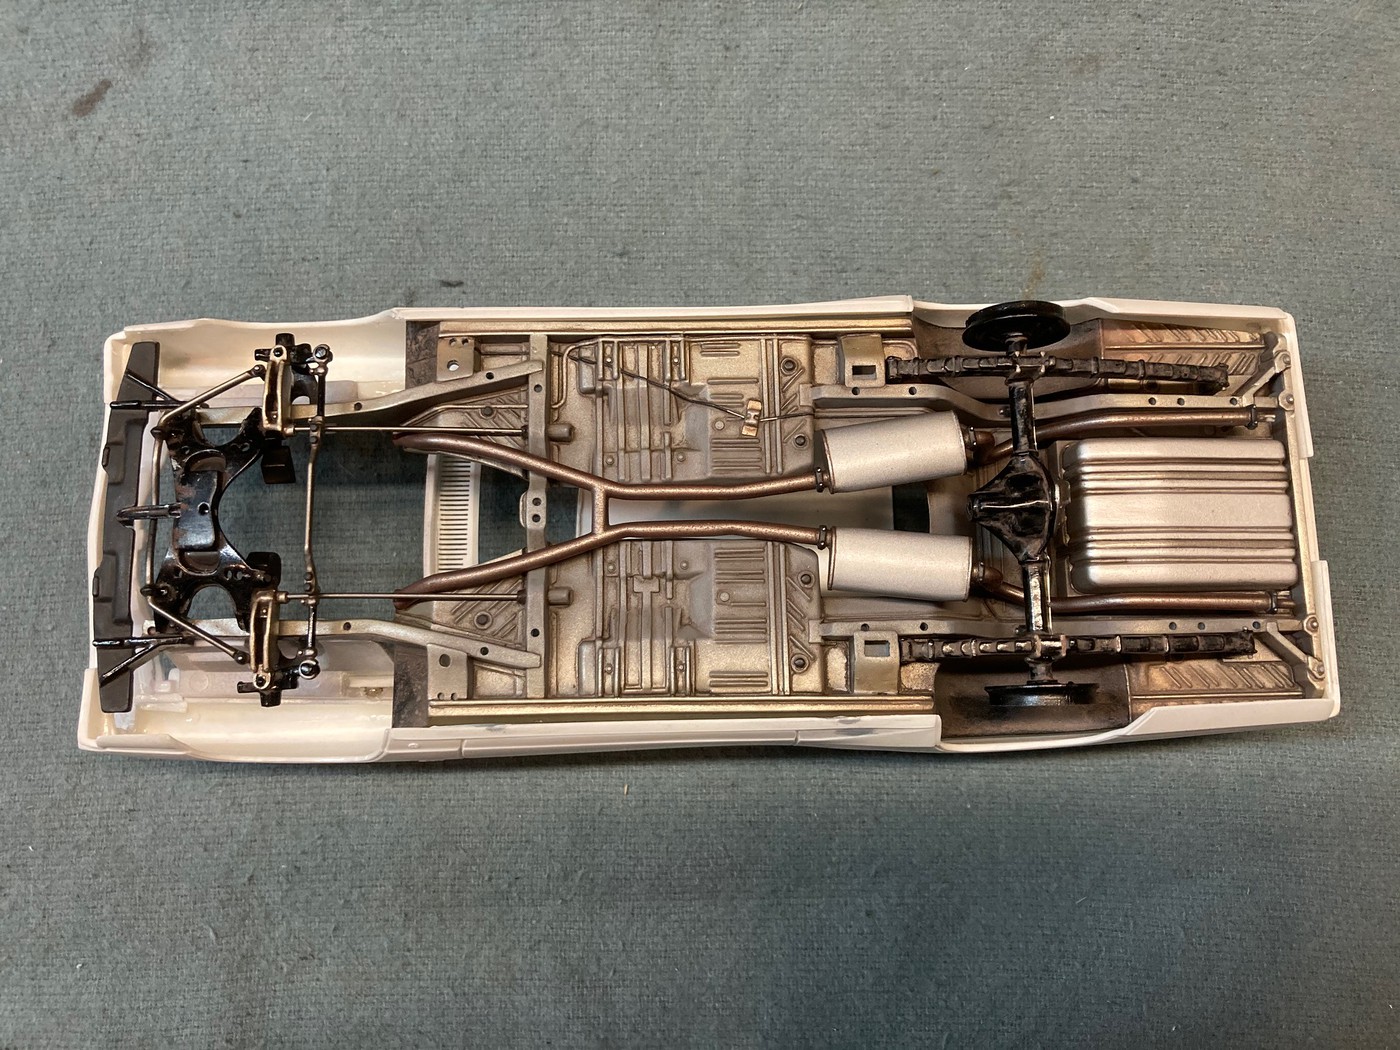
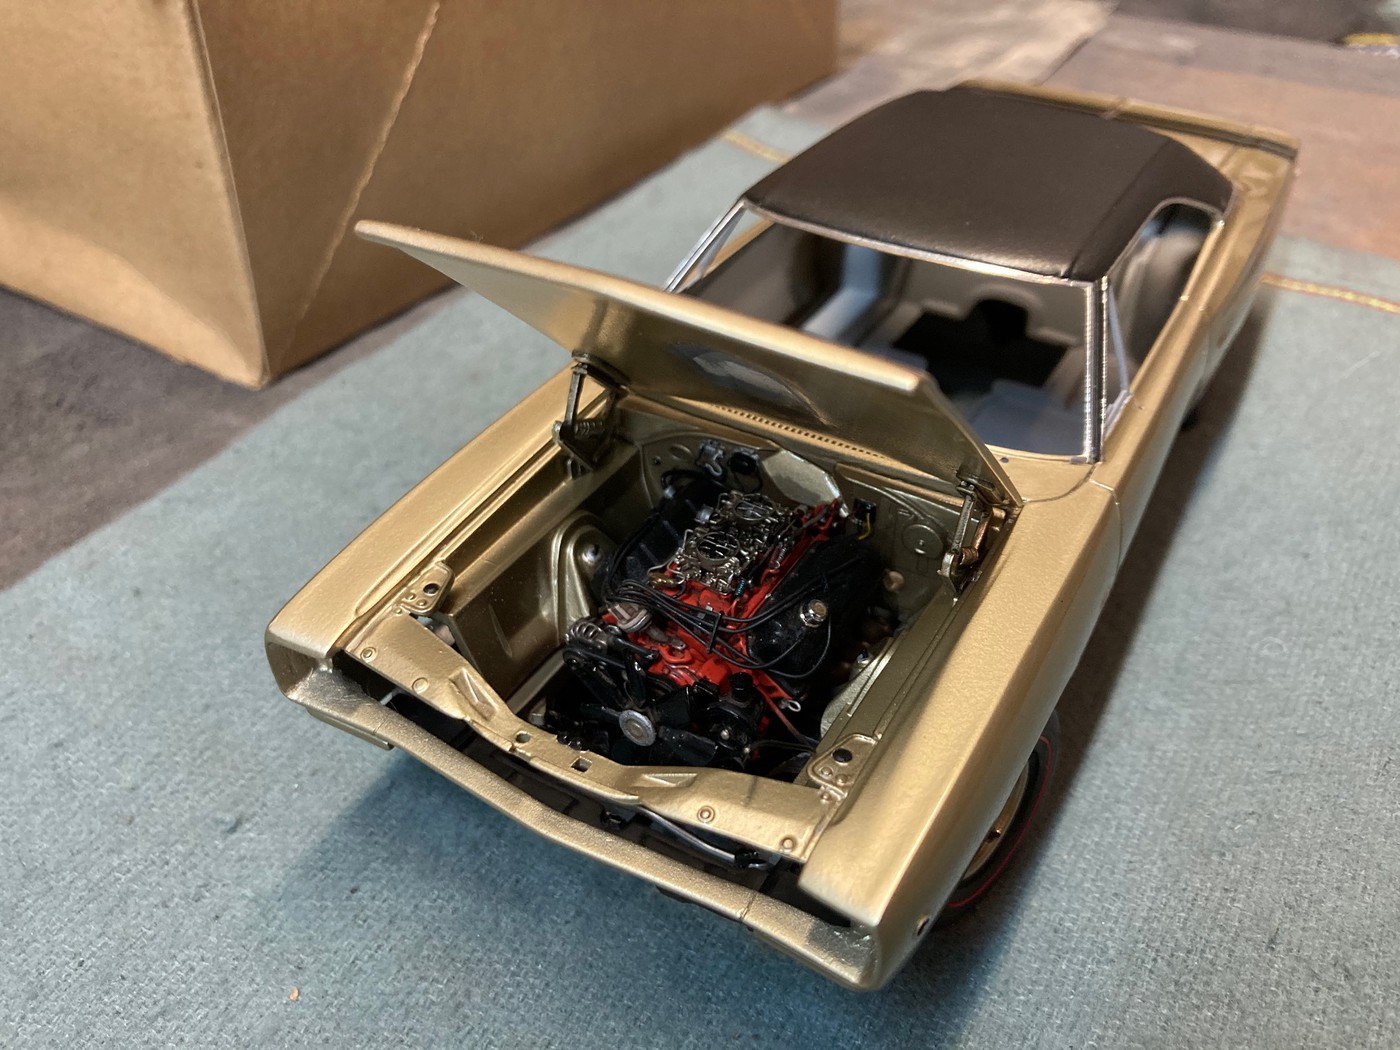
A good number of parts from the Revell 1968 Dodge Charger kit are going into this kit, including the engine bay, the entire chassis, a good portion of the engine, some interior parts, and a few others.
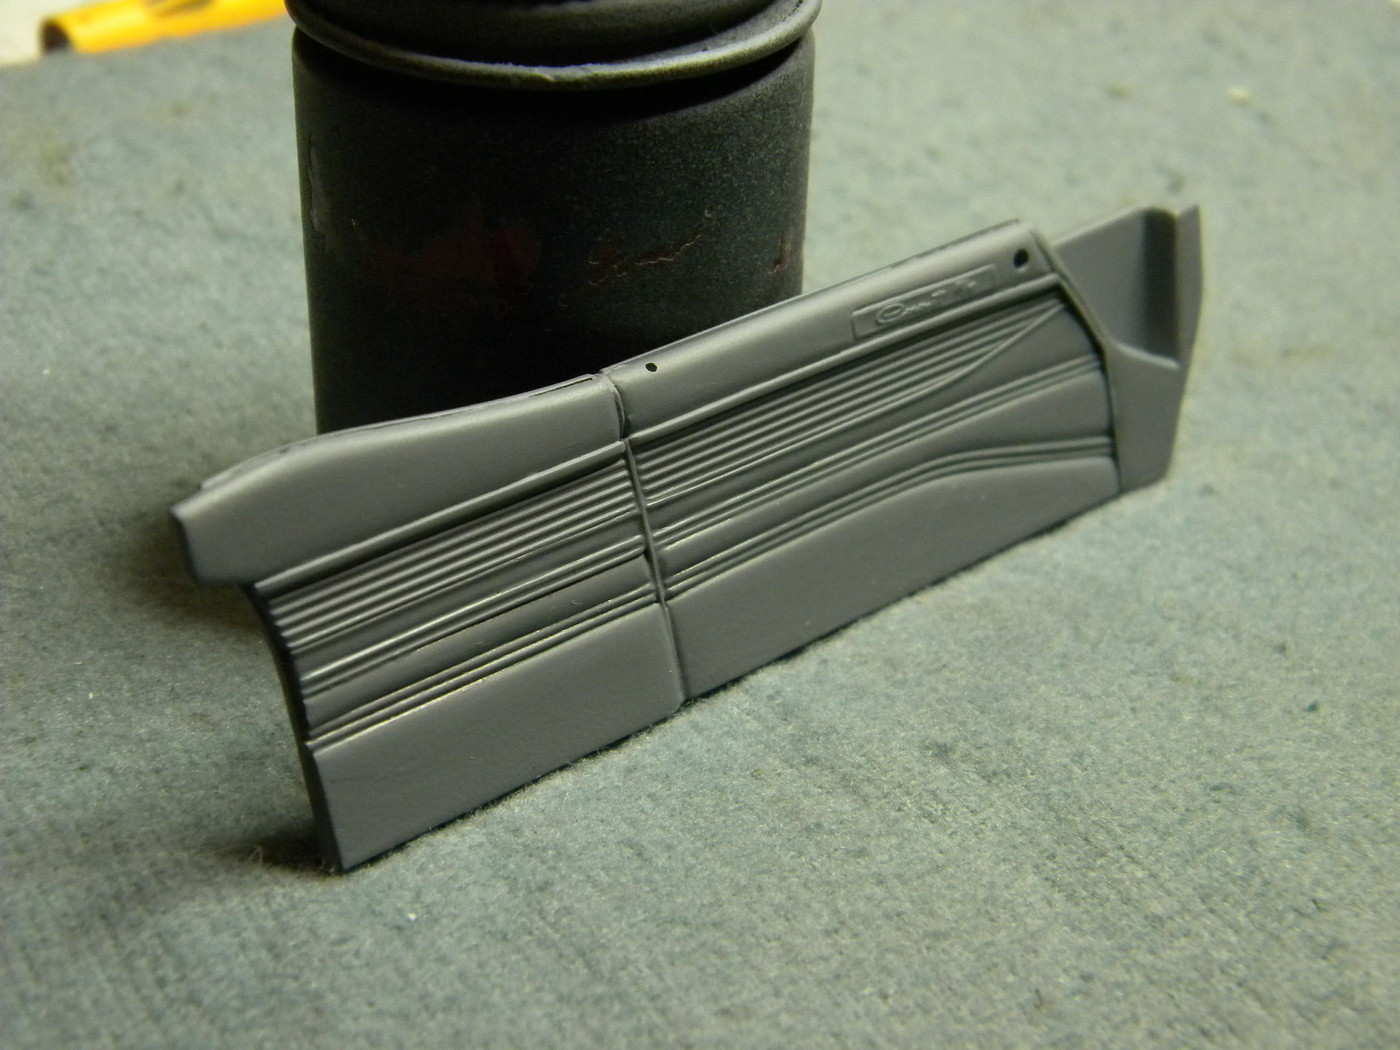
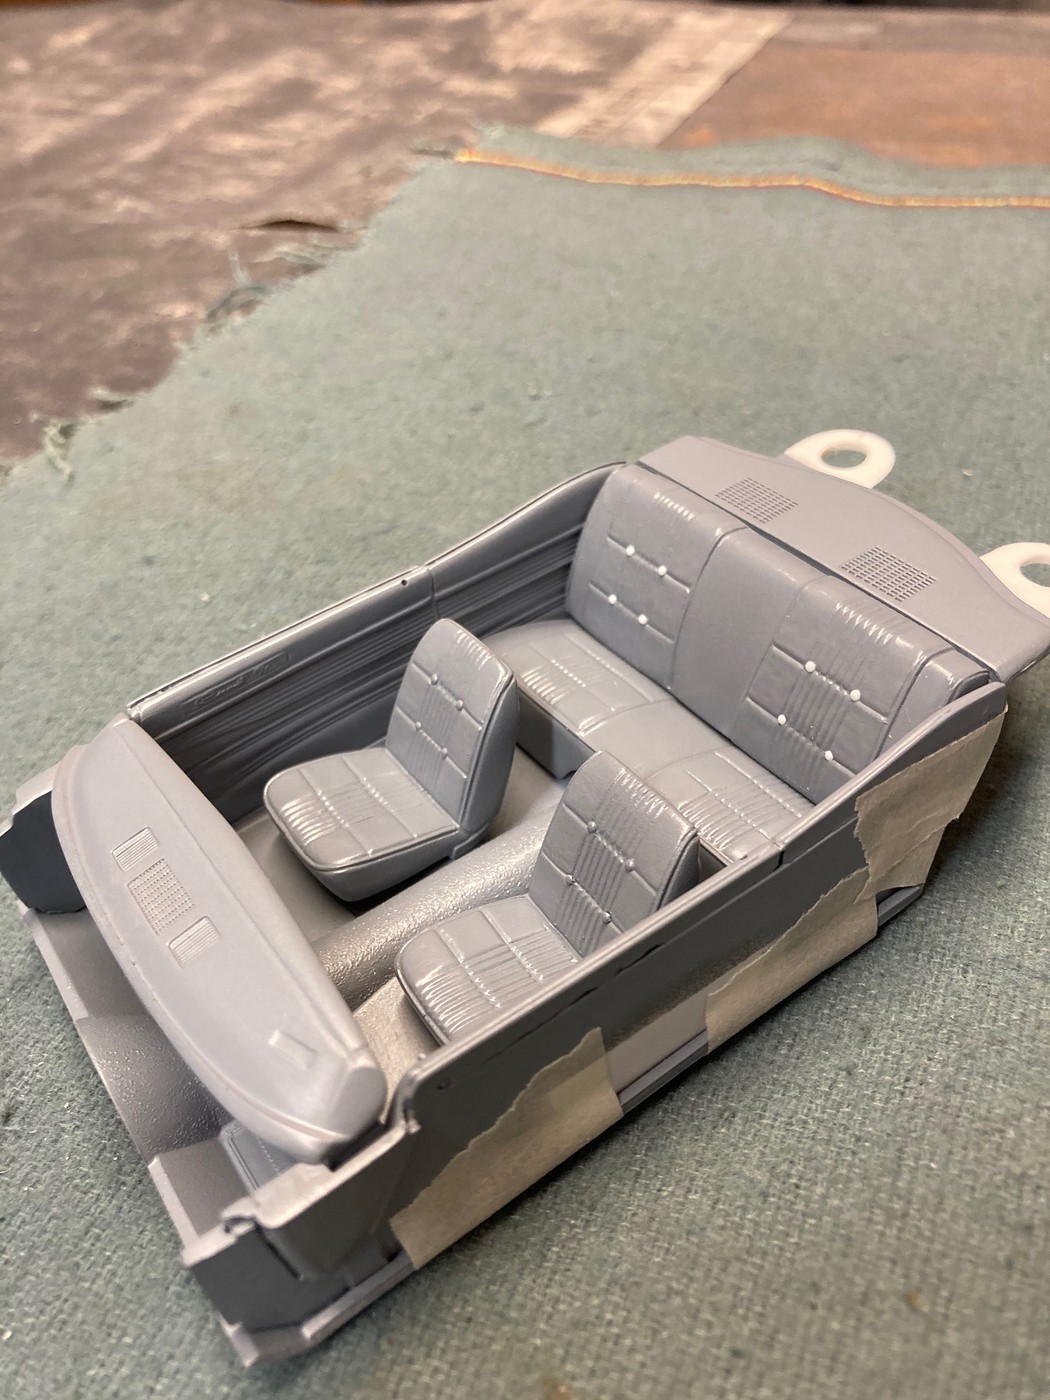
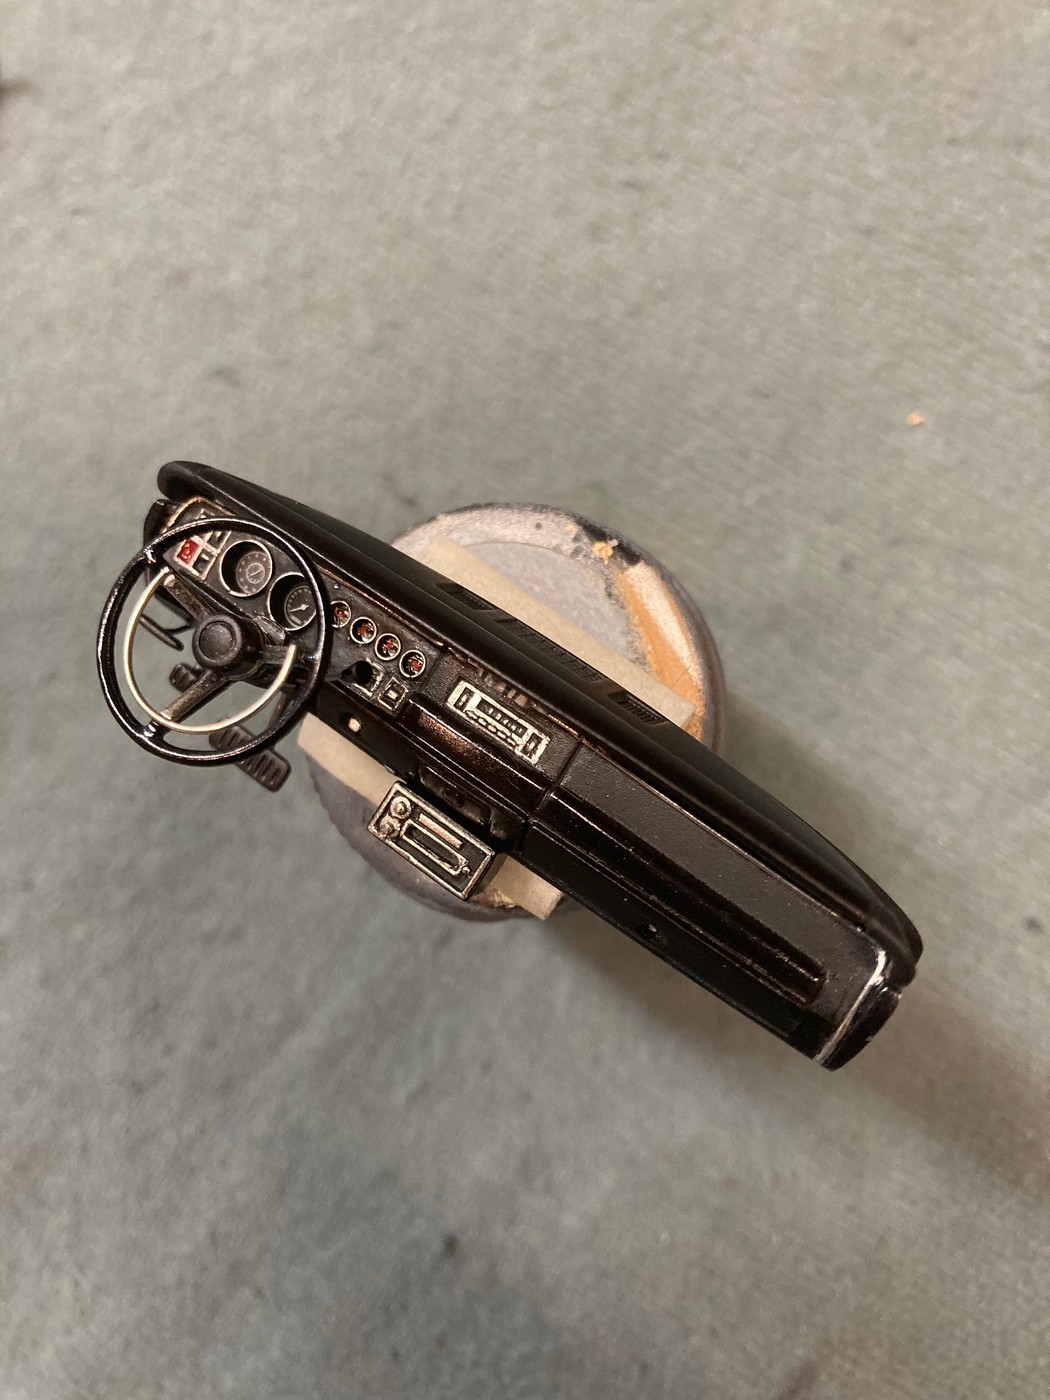
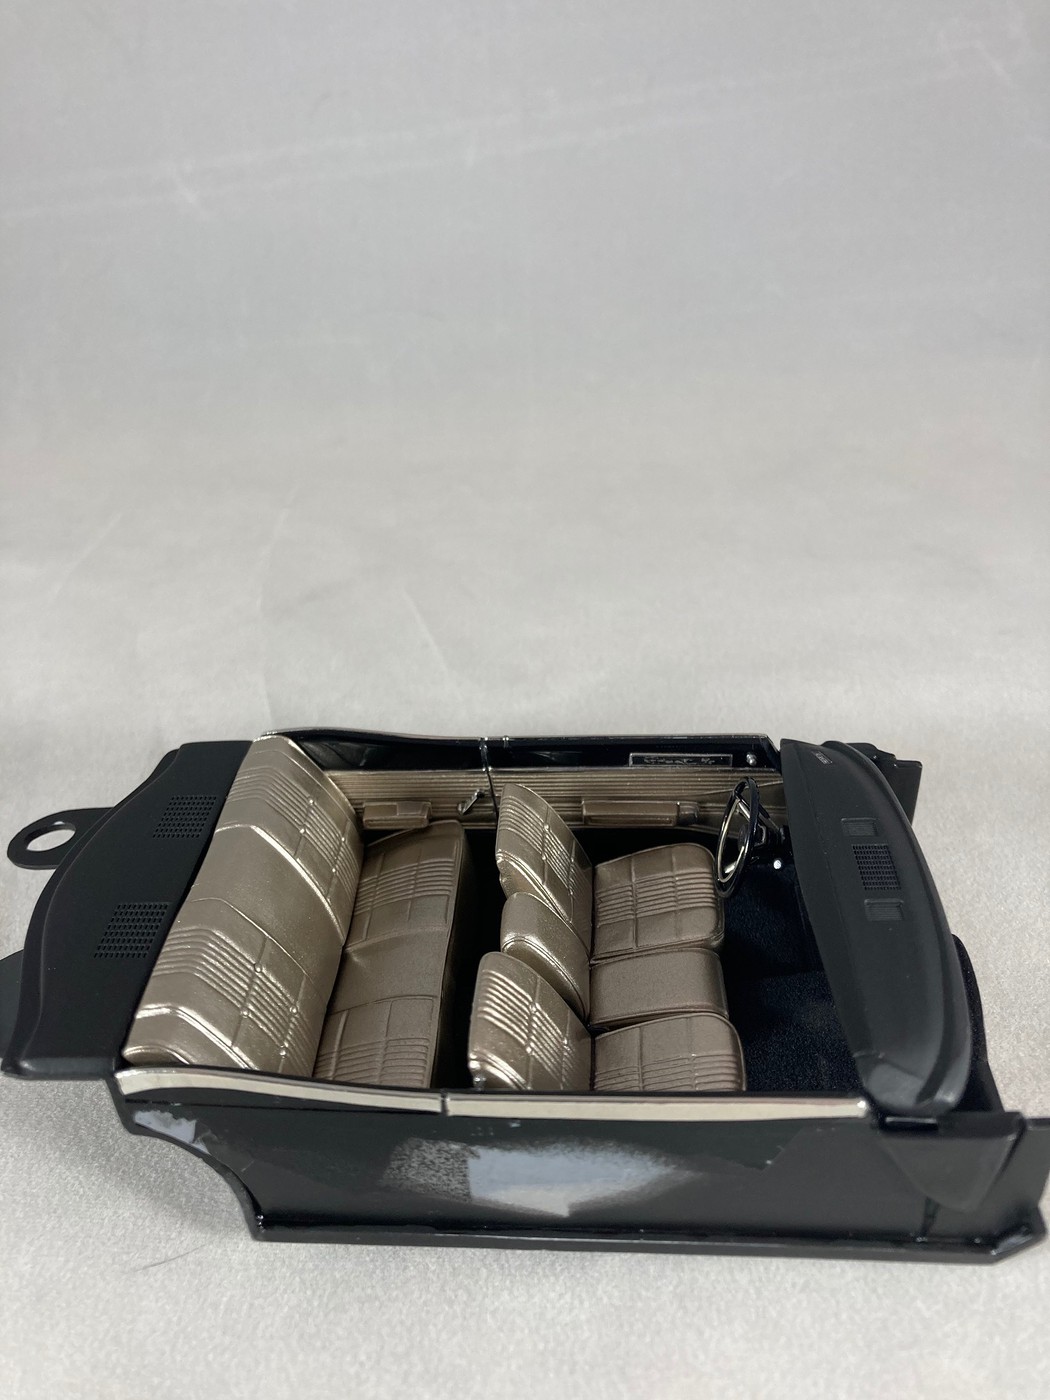
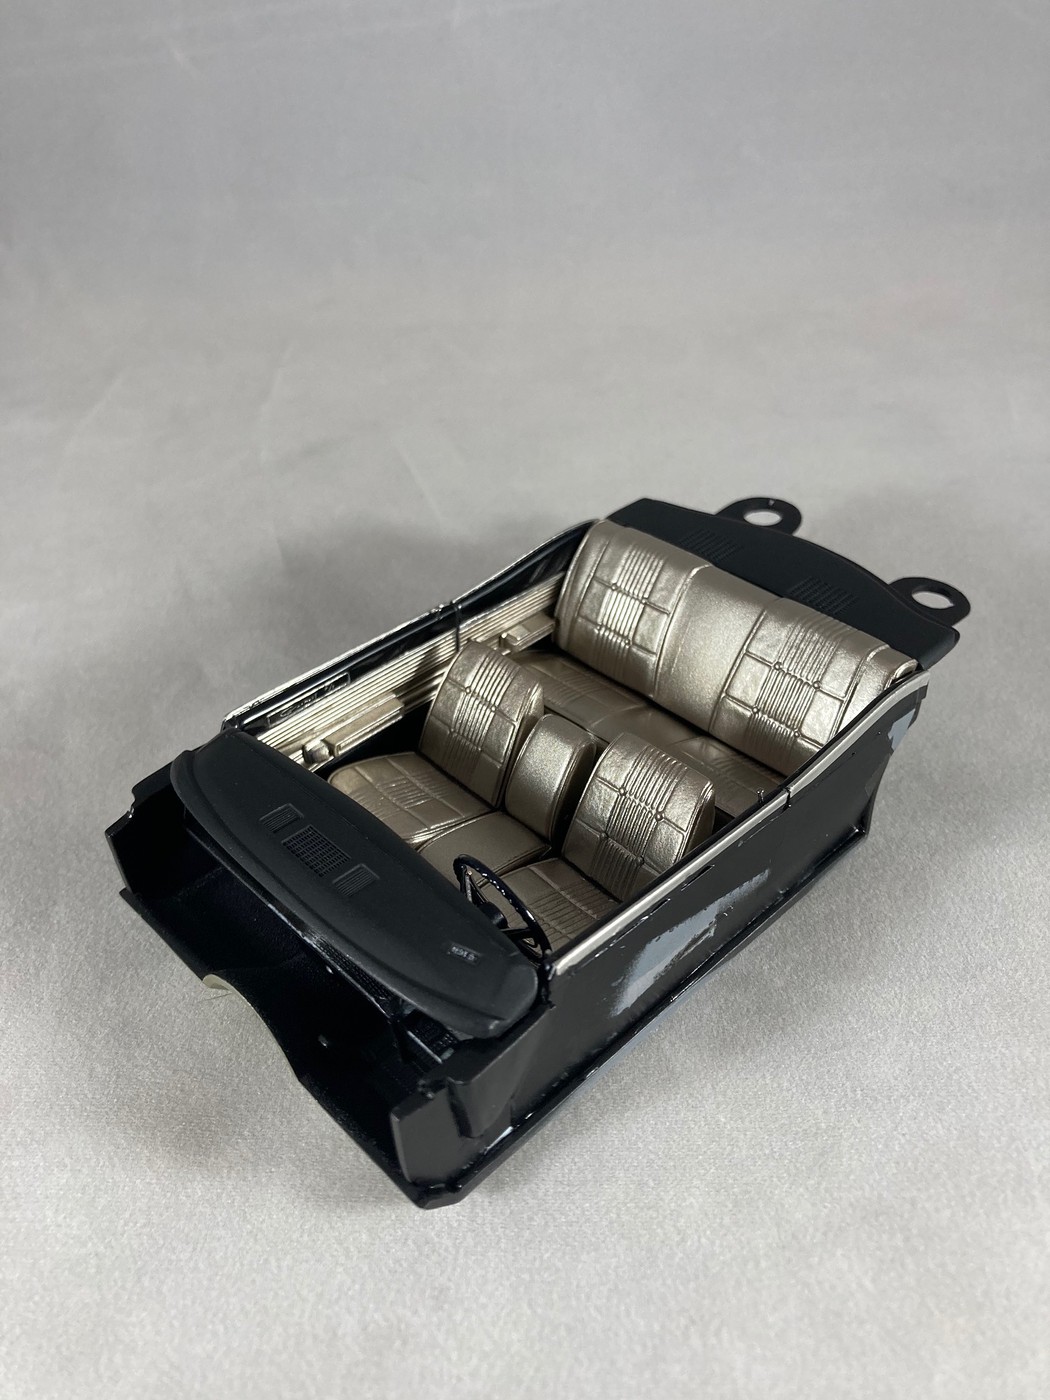
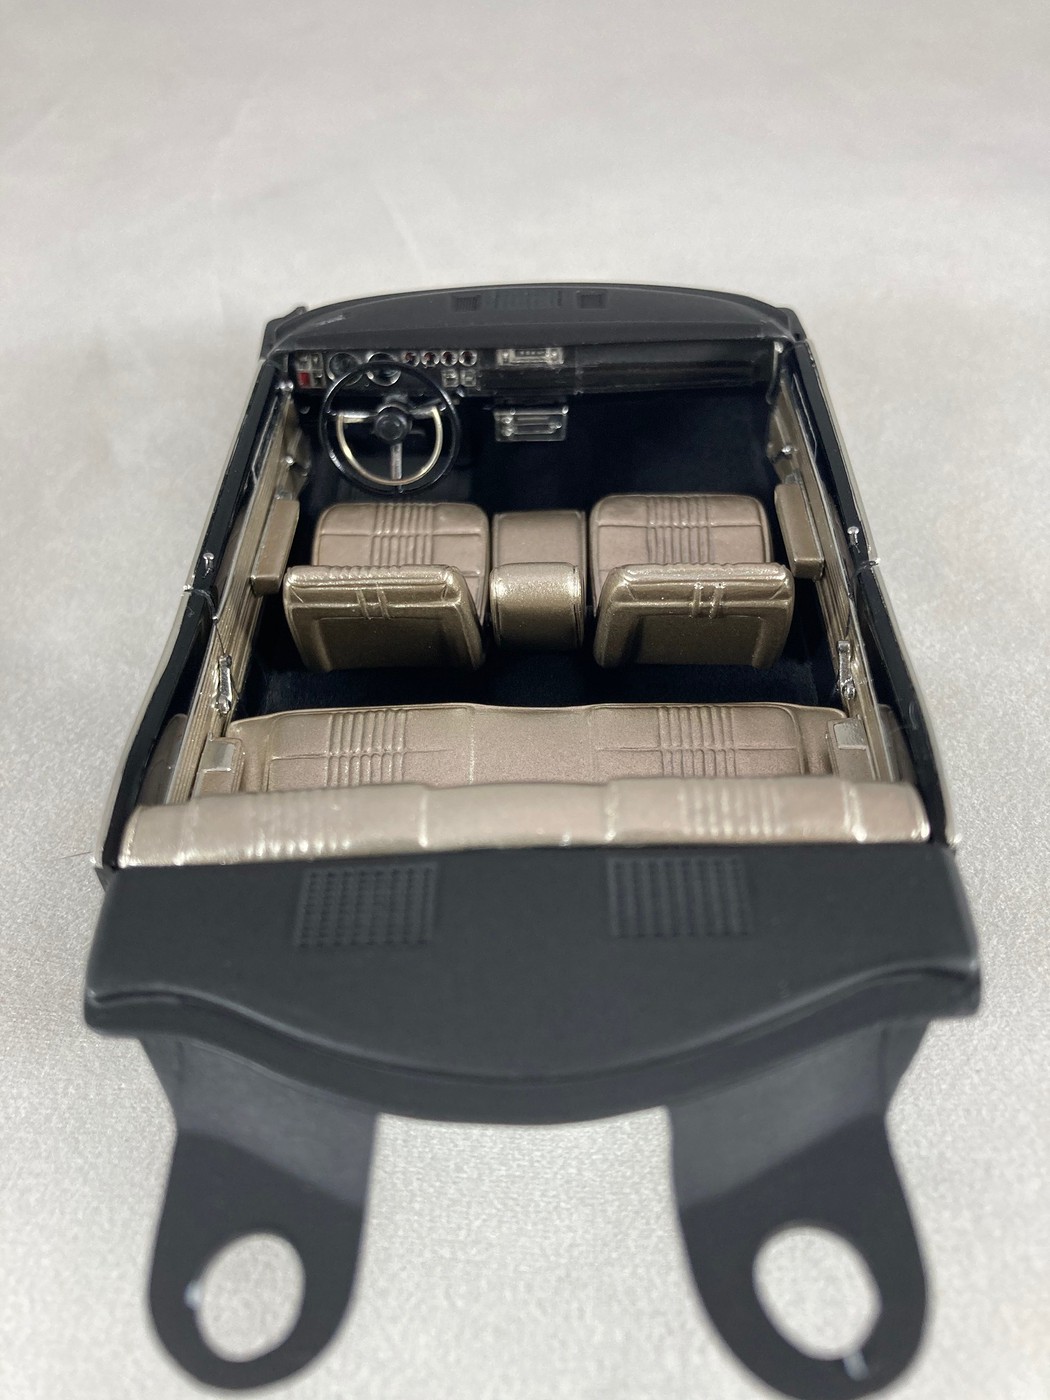
The original interior has been blown apart and heavily modified and rebuilt, with completely scratch made door panels, modified front and rear seats from the original kit, and modified parts from the Revell Charger, as well as a good number of scratch made parts, including the steering wheel and column, "buddy seat", and an under dash 8 track player, along with numerous added small details.
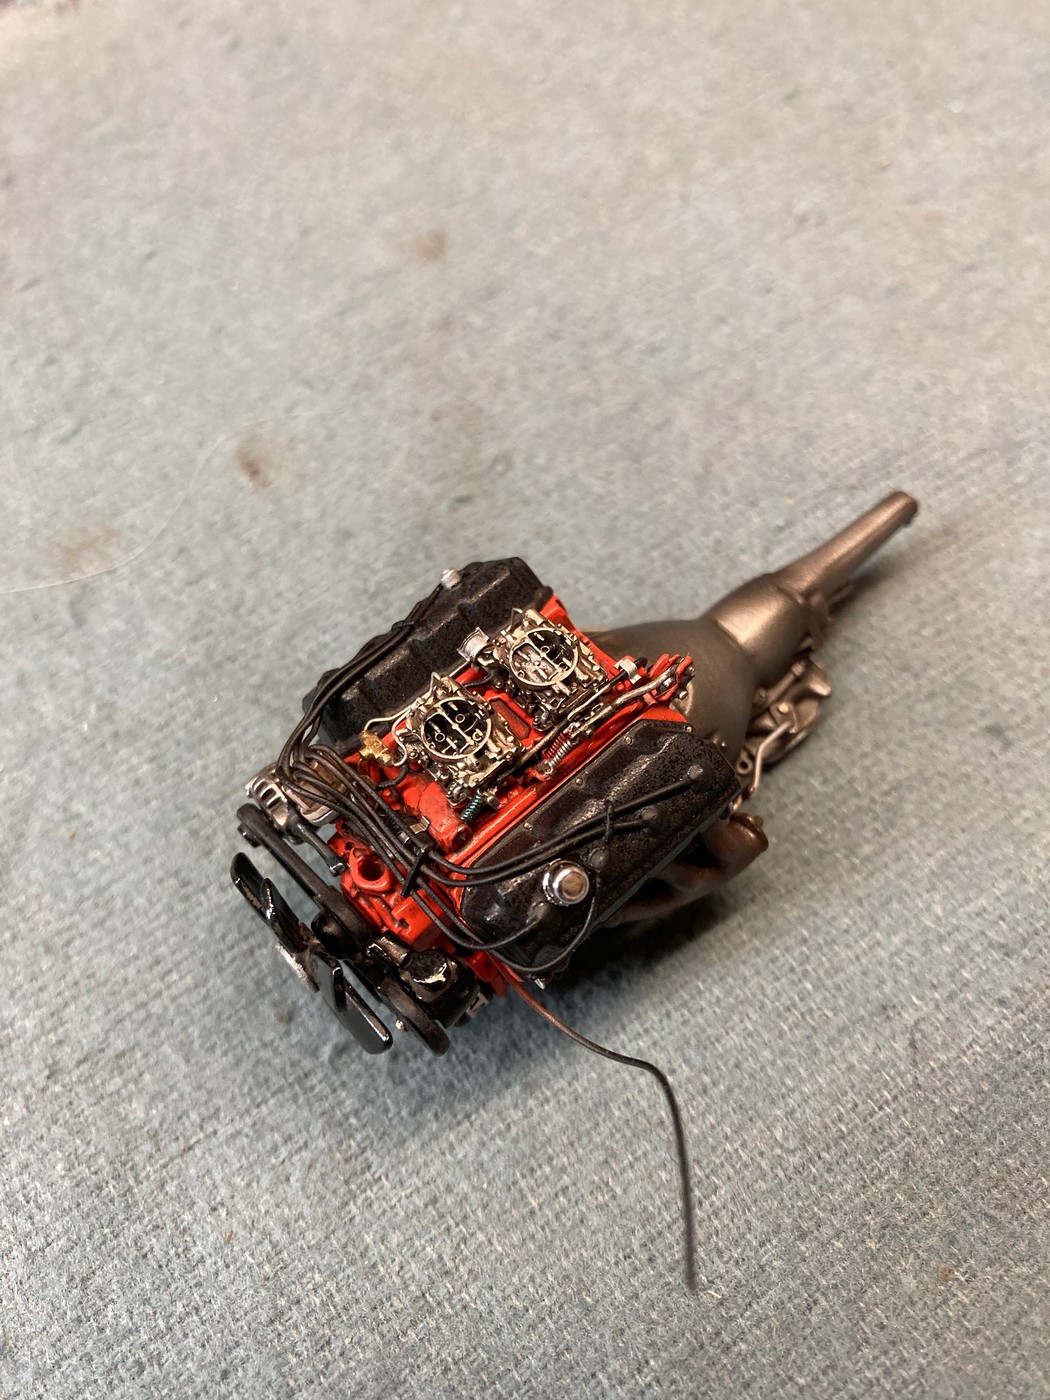
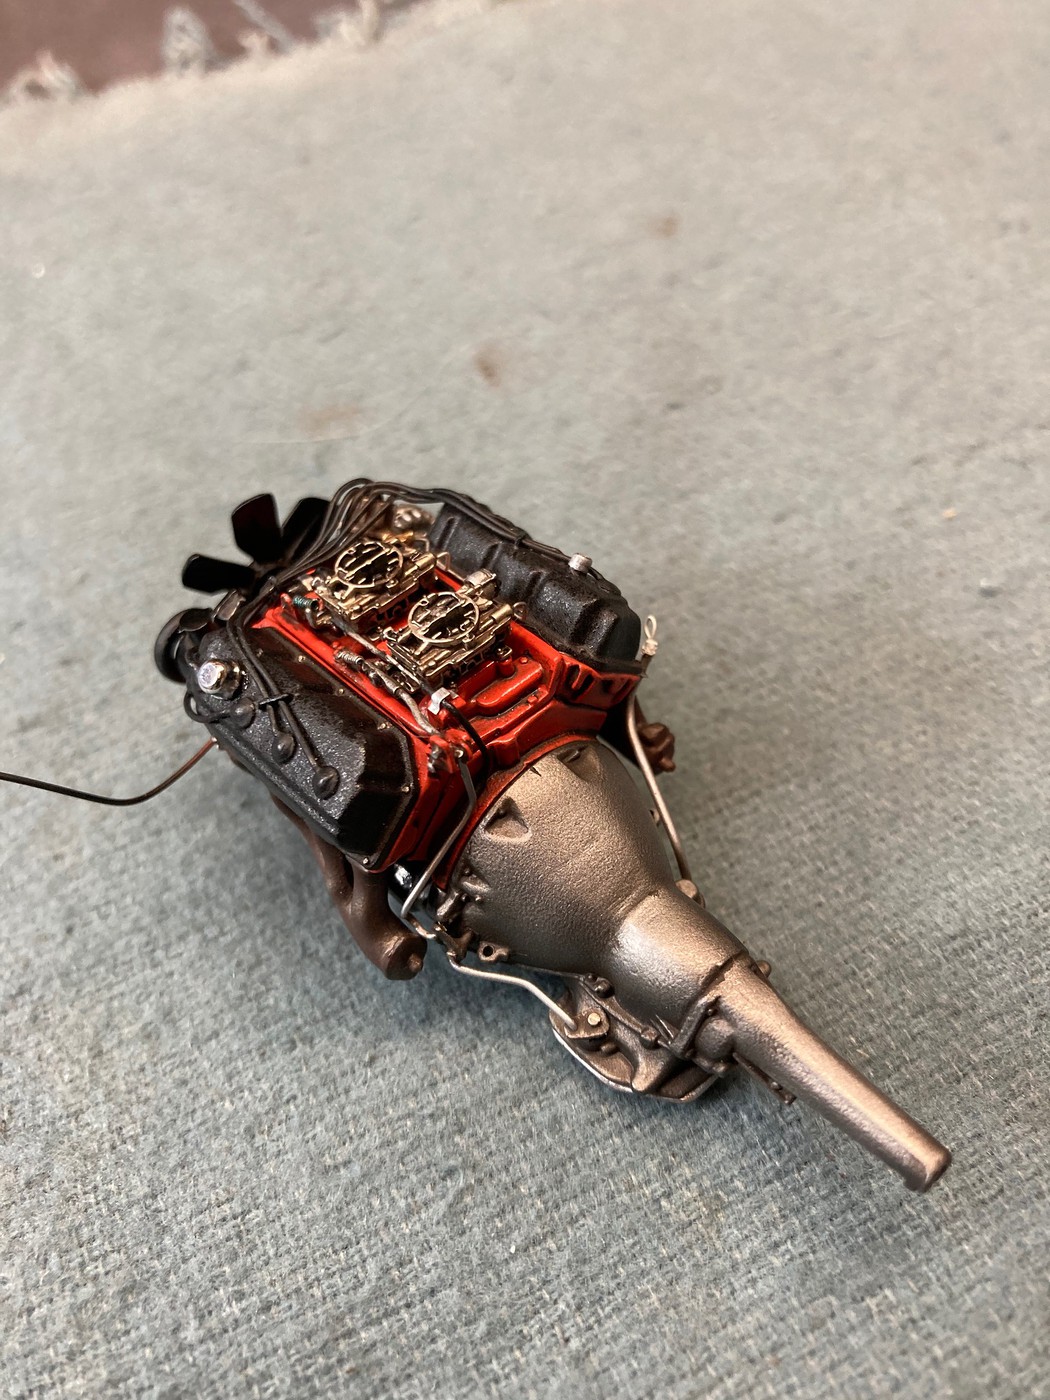
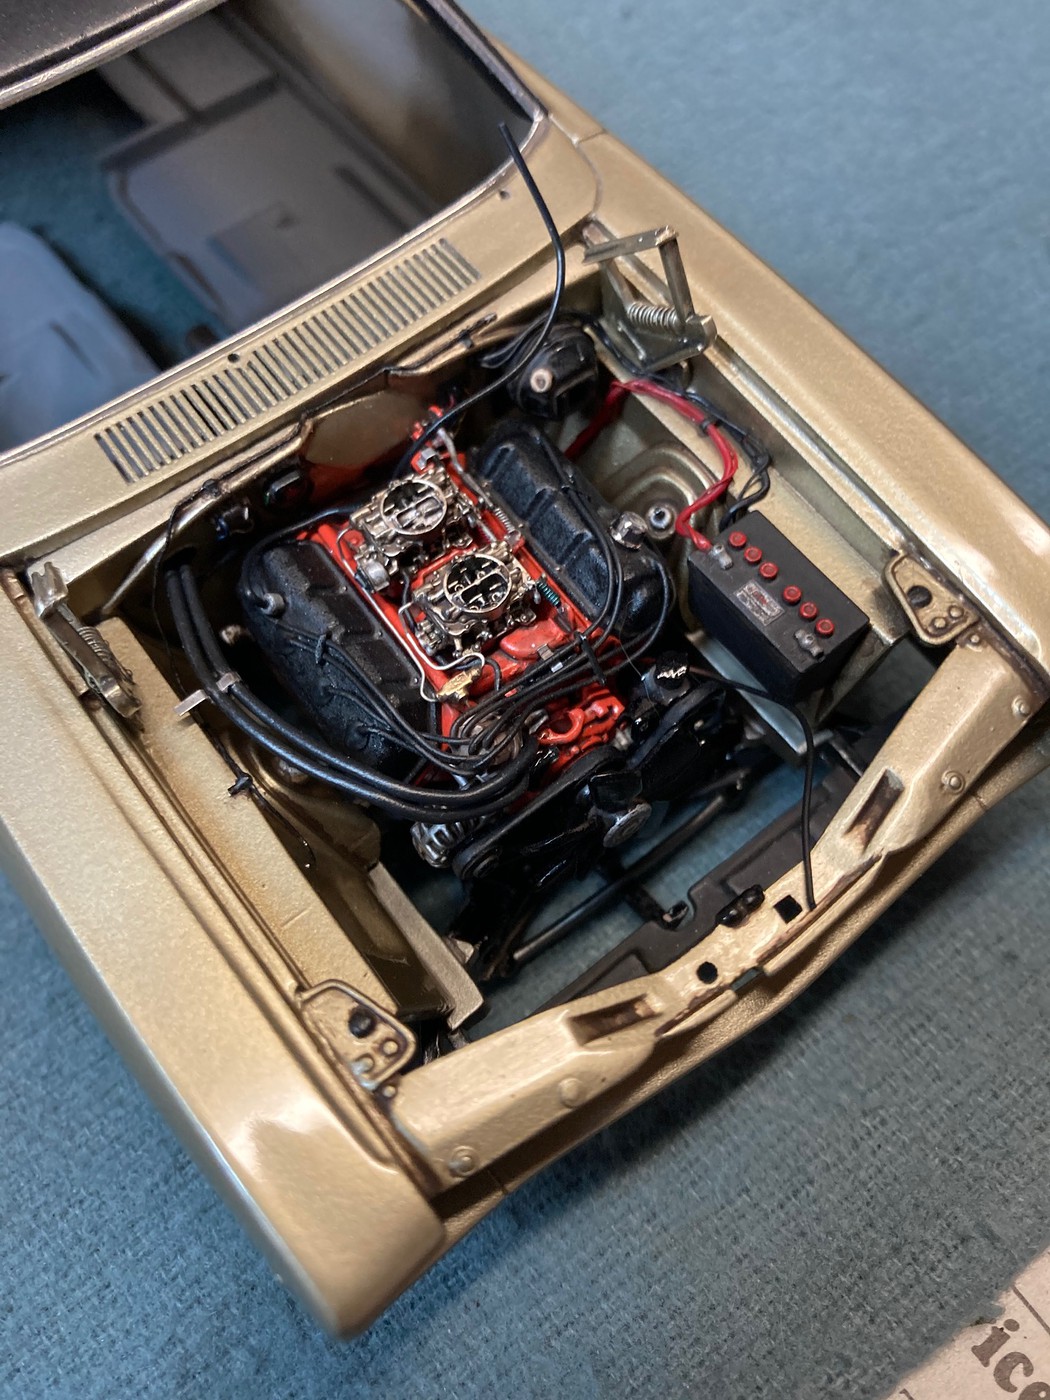
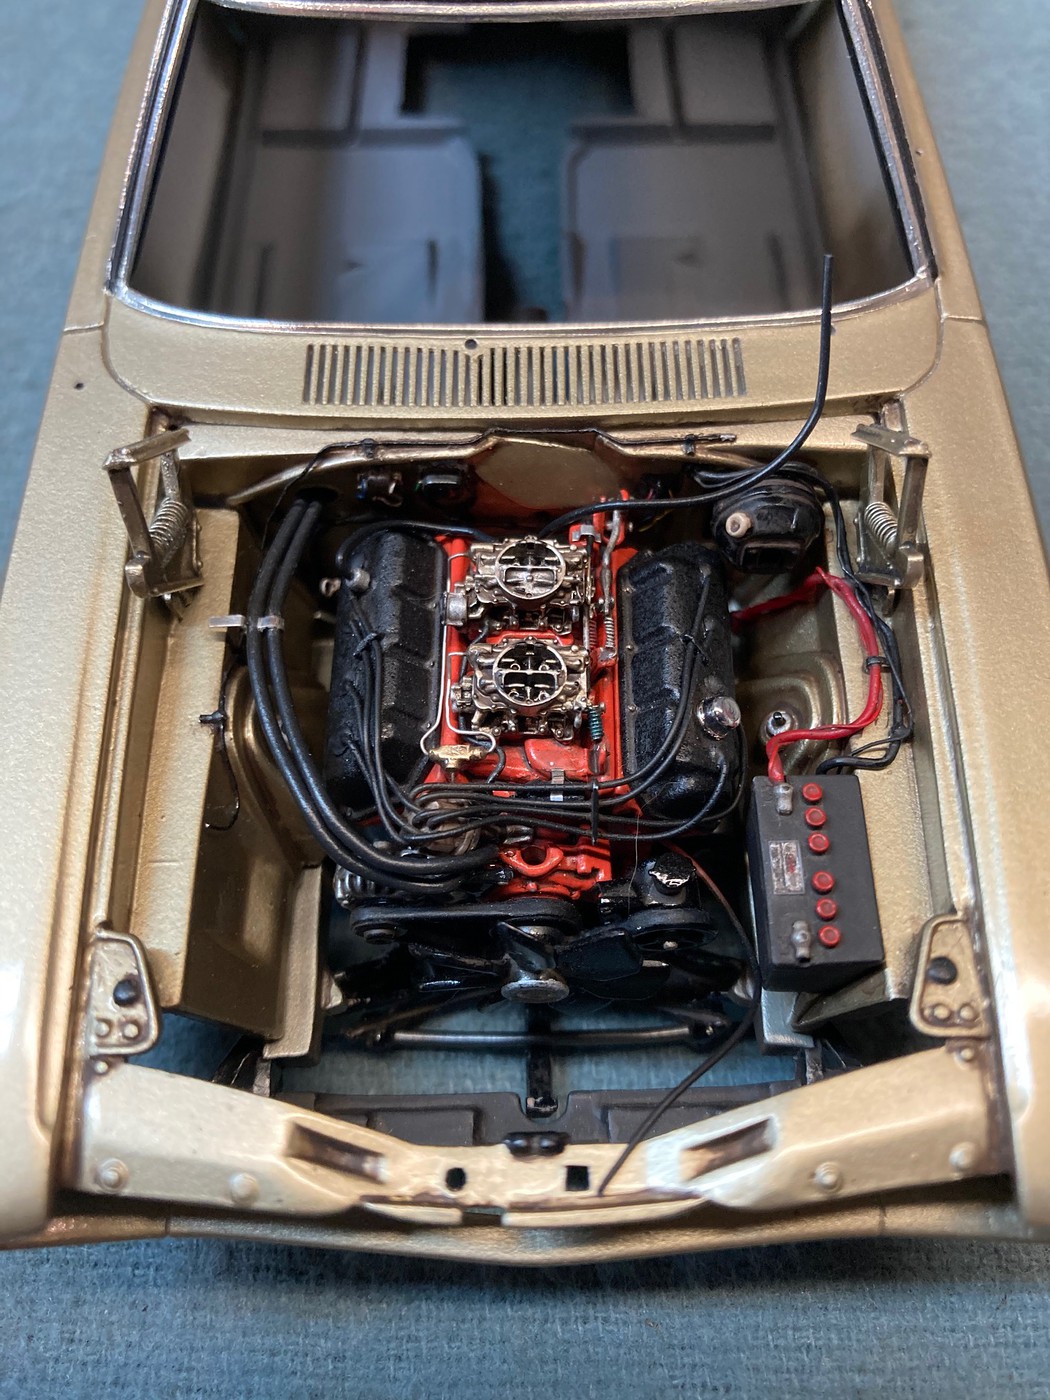
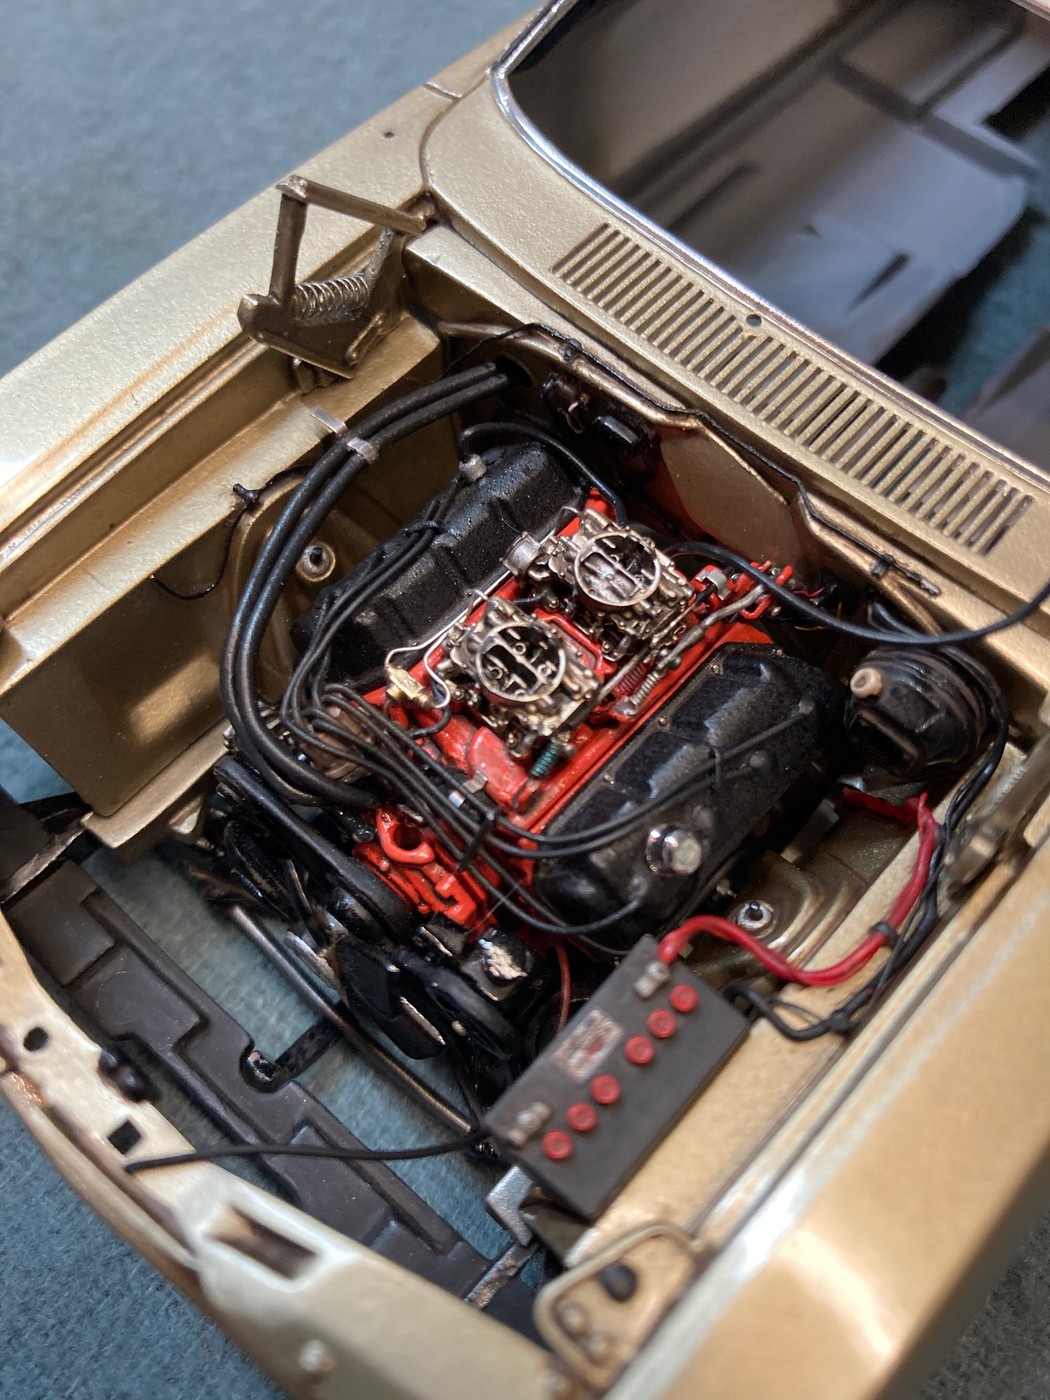
The engine has been pieced together with parts from several different kits, as well as after market and scratch made parts, and then fully plumbed and wired, down to the finest detail that I could achieve.
The chassis was not exempt from modifications. The rear suspension was reworked and re-positioned, and scratch made parts, such as the front K-member "skid plate" and all four torque boxes were added
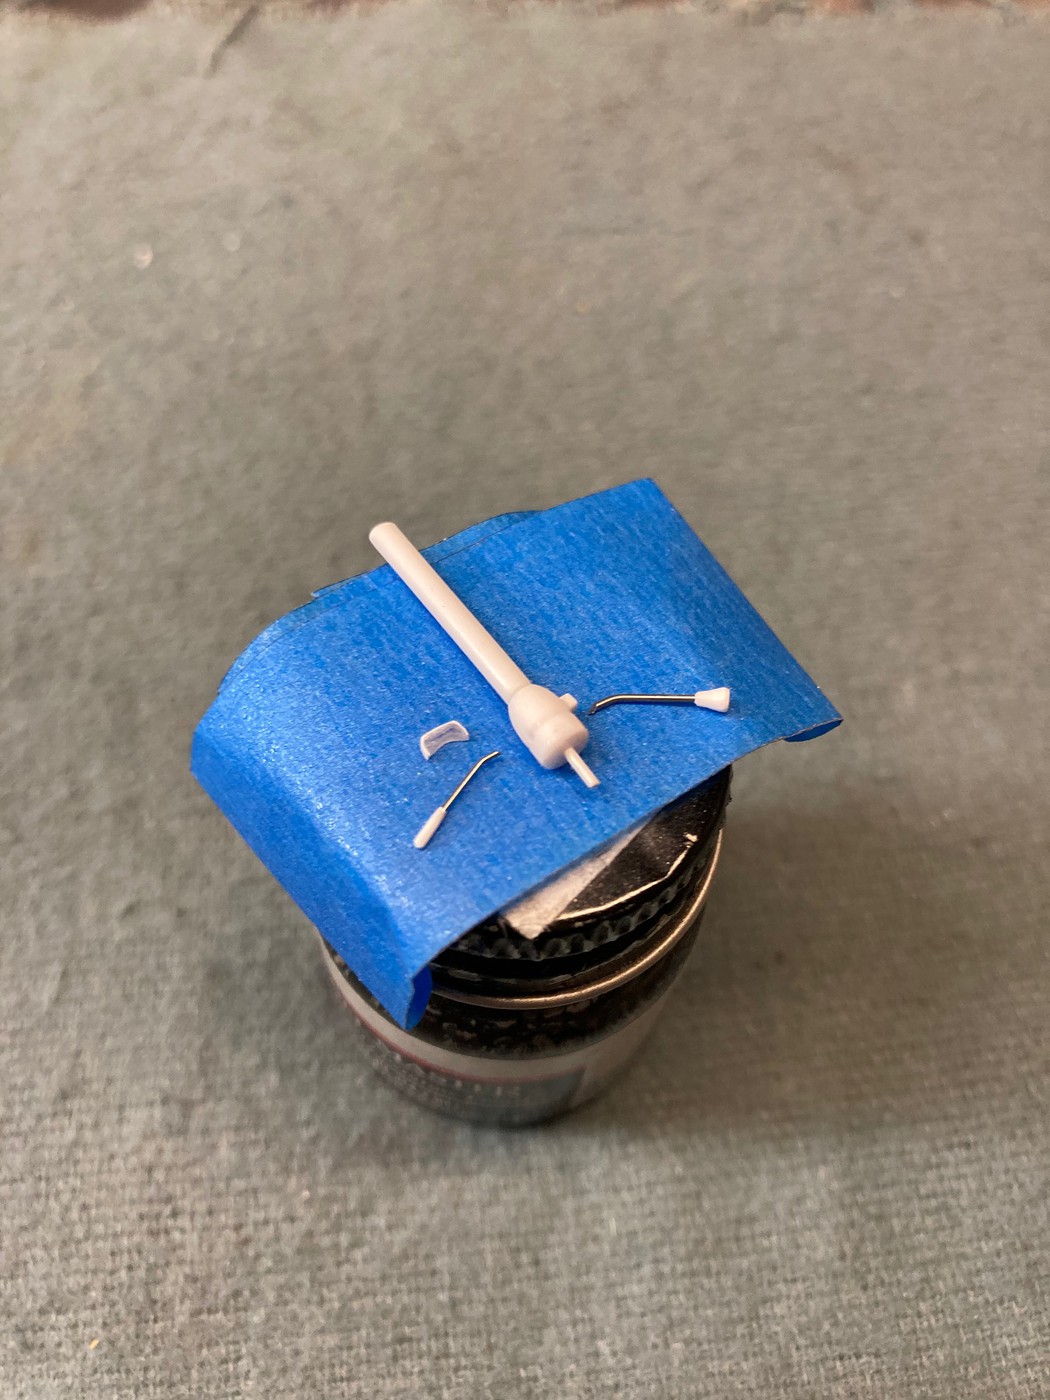
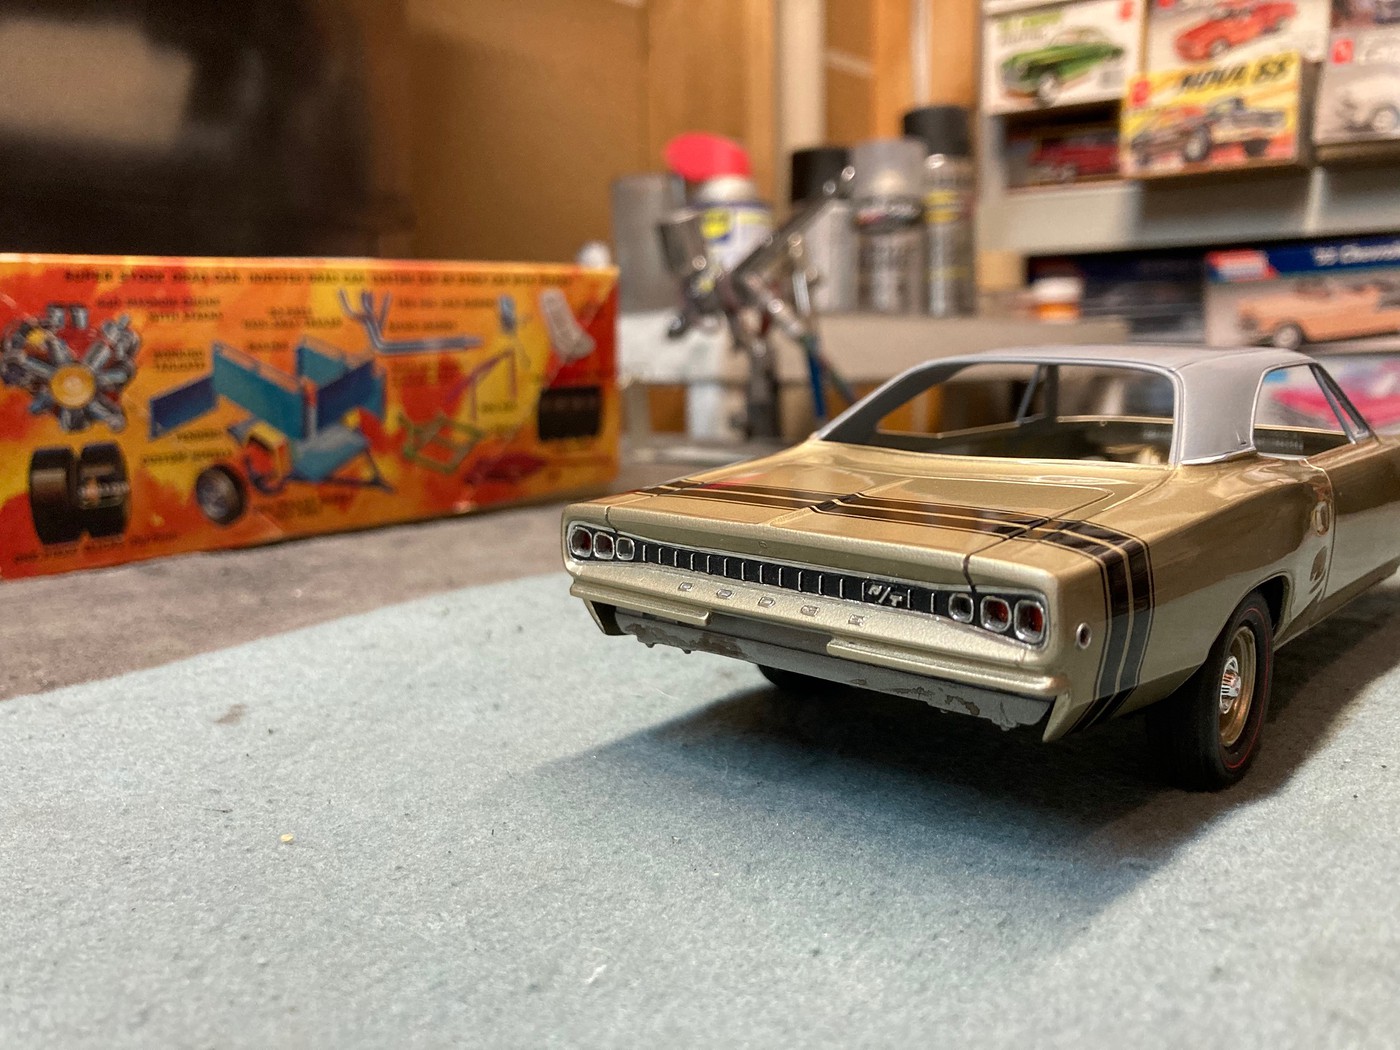
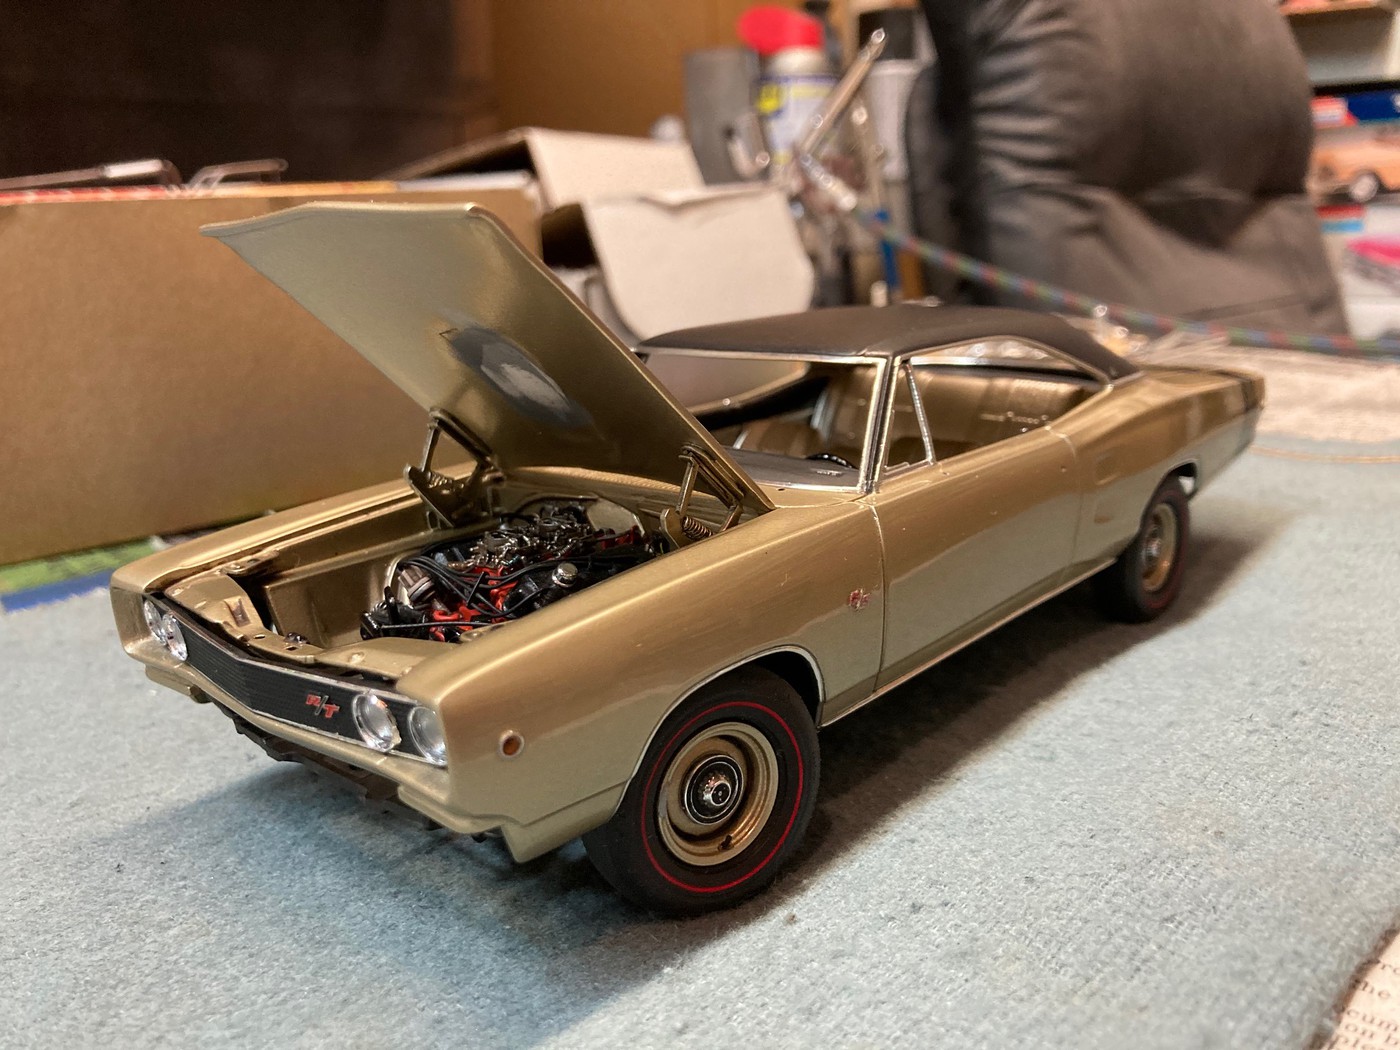
On the body, a vinyl top was added, cowl vents opened, and door handles and windshield wipers removed for replacement, as well as the headlights drilled for clear lens replacement.
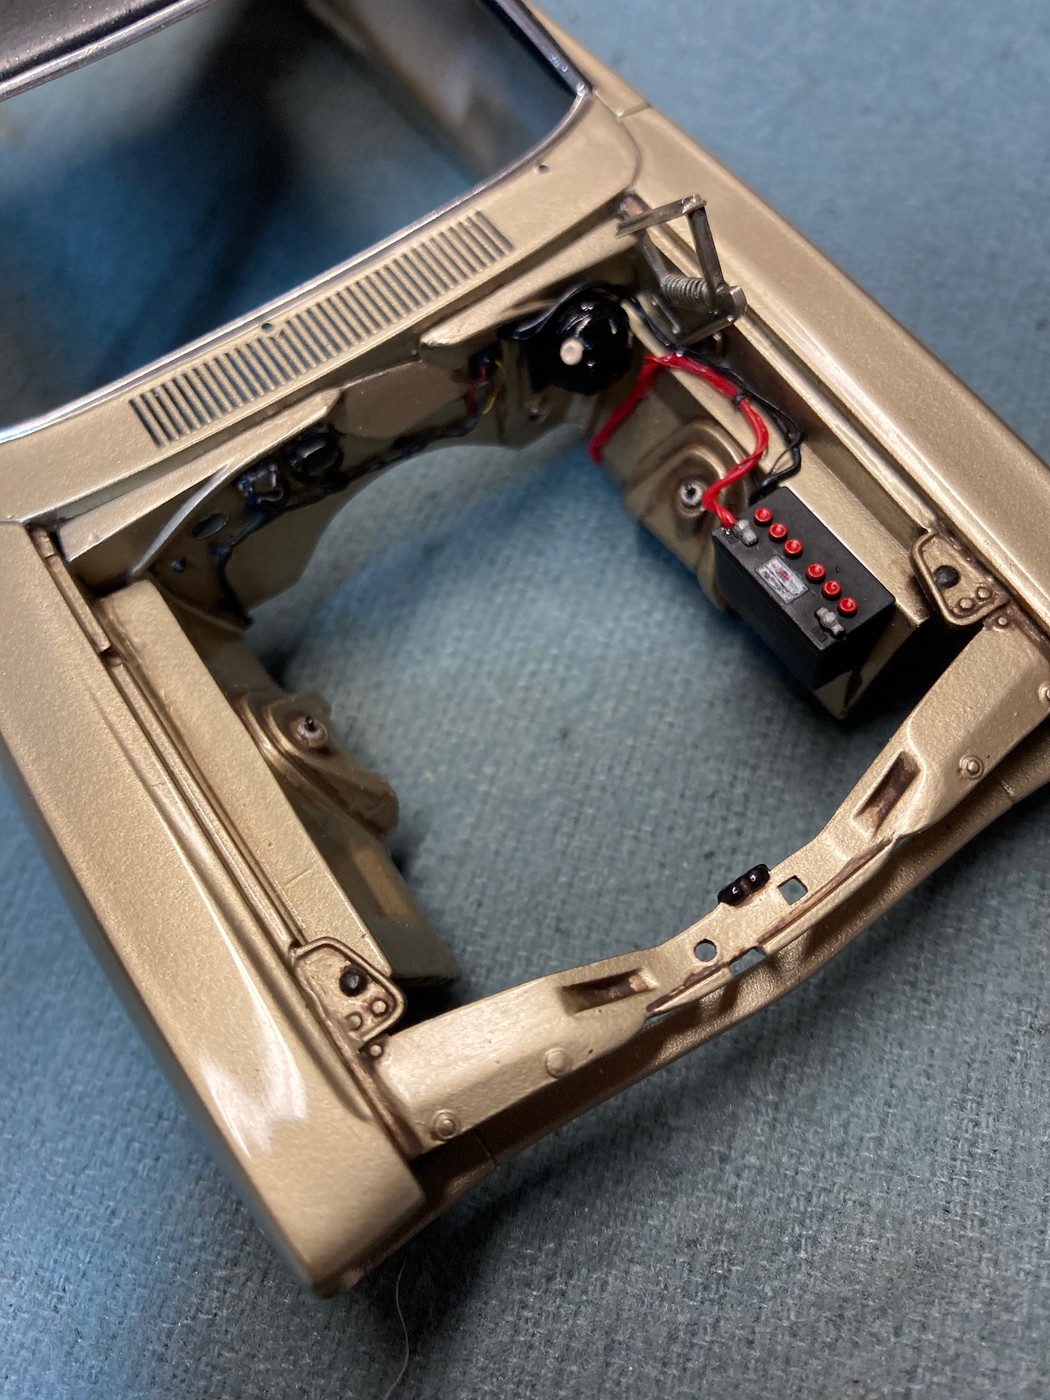
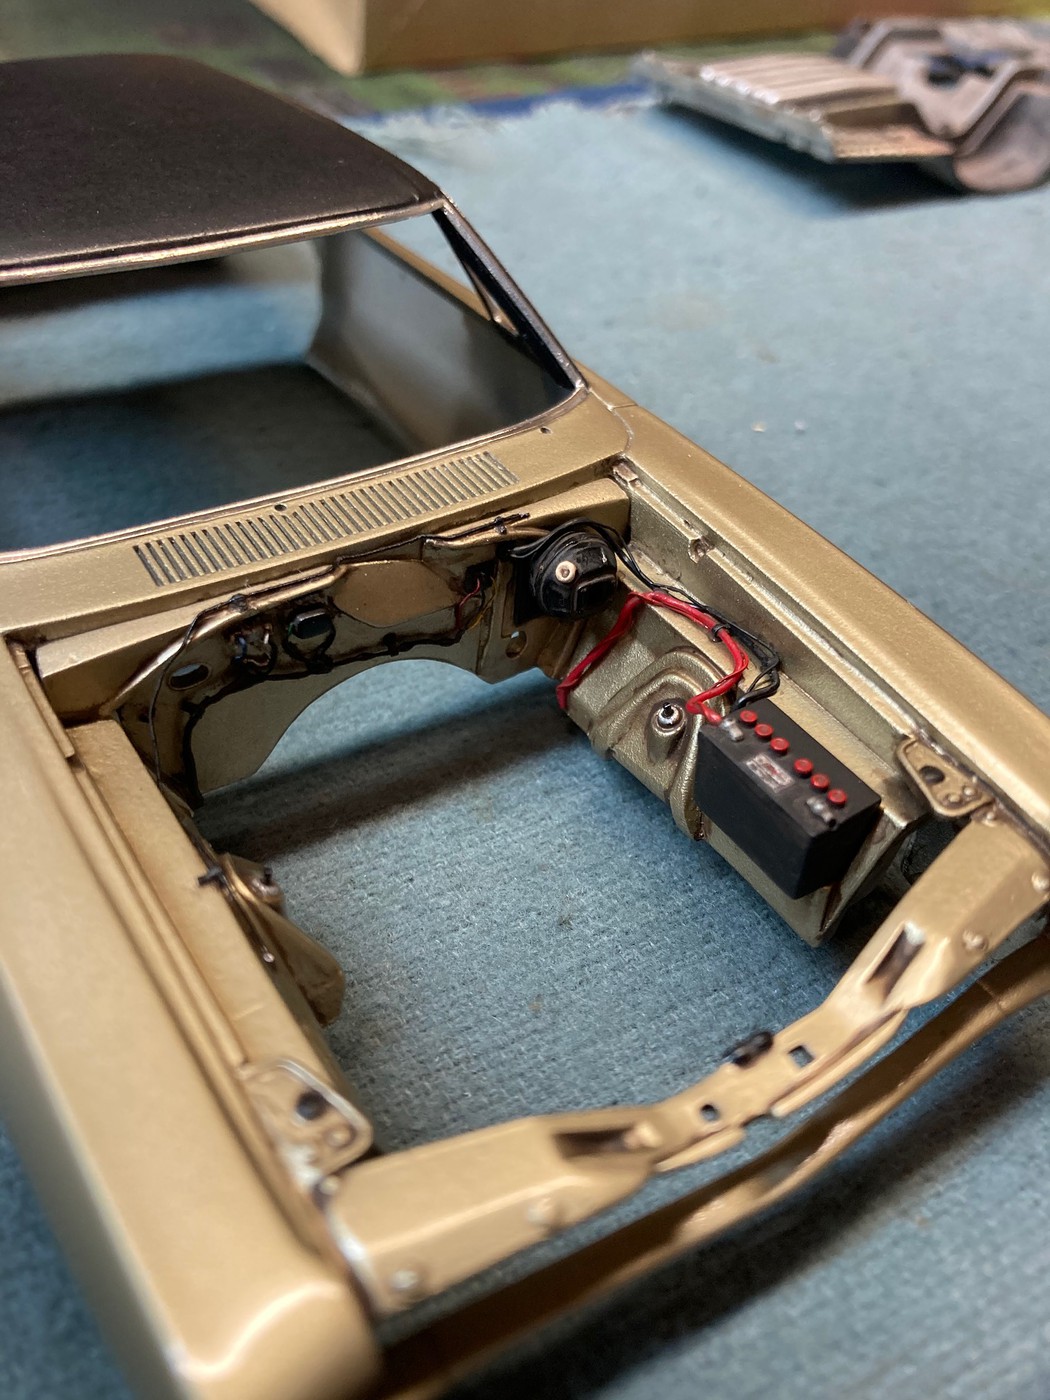
All of the under hood wiring was replaced, and magnetically removable hood hinges were added. The body was painted with MCW #6761 "Gold Metallic" with a painted bumblebee stripe.
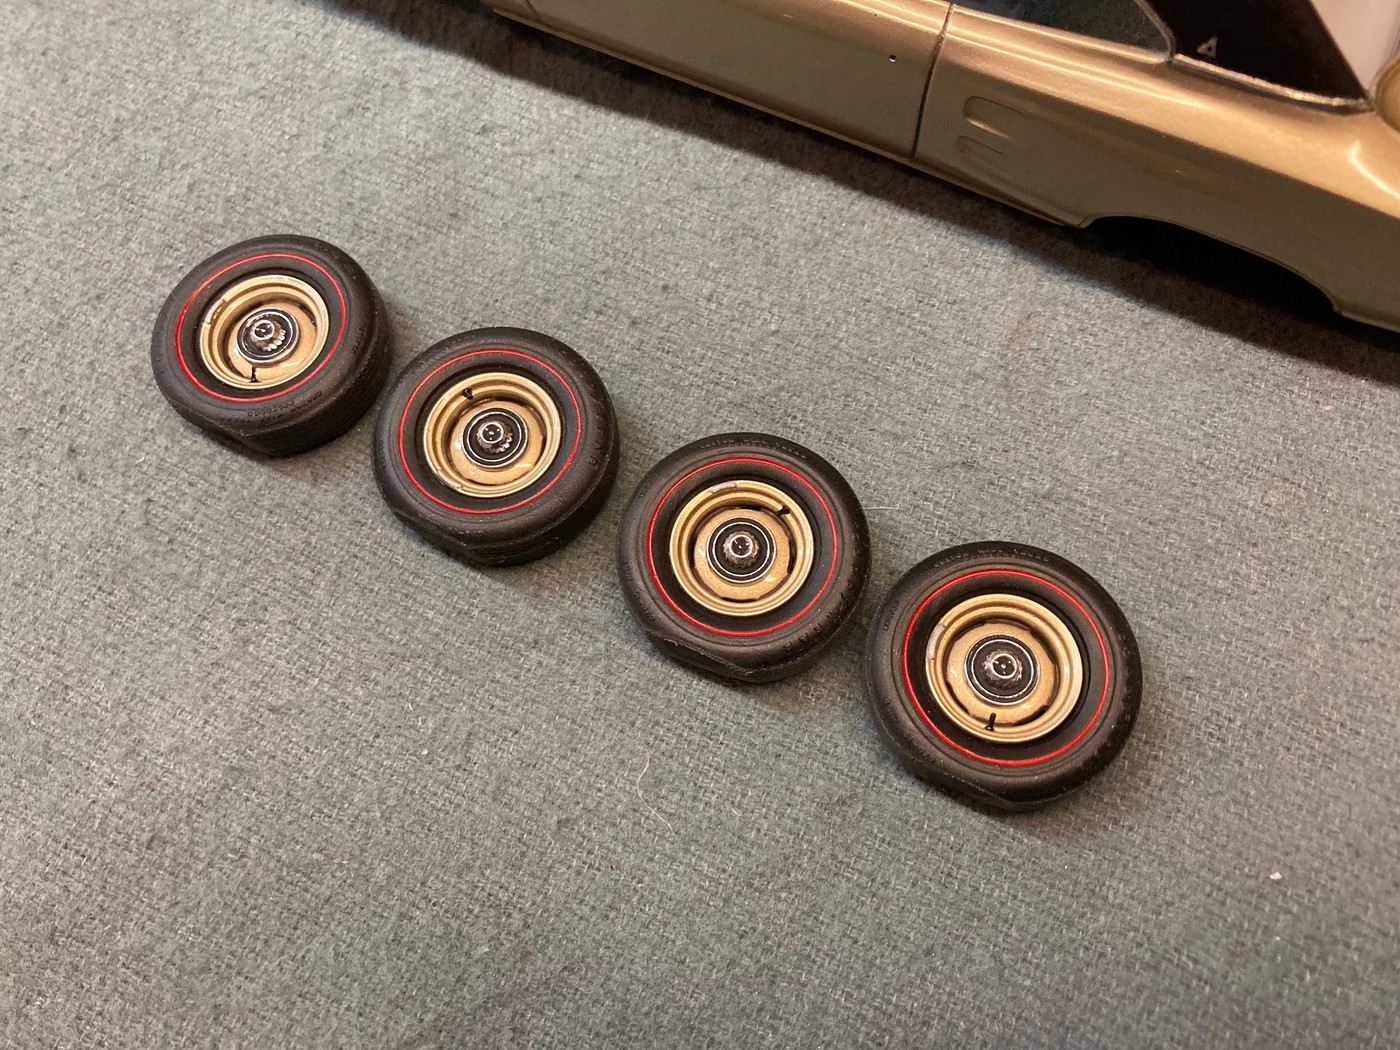
Anyway, here are a few photos of the slow progress on this project over the past year.
Feel free to ask ant questions or make any comments.
By the way, if any of you have an MPC '68 Coronet hard top kit that you plan on restoring in the future, the basic interior that I mastered for this build has been recreated by Ed Fluck Jr. in resin and offered to the public.
It includes reworked bucket seats, a widened 2 piece rear seat, scratch made door panels, modified floor pan, and a 2 piece dash board.
The set also includes separate arm rests and window cranks, but the steering wheel and console, if desired, are not included. Of course the buddy seat and 8 track player are not included either.
Steve
|
|
|
|
Post by mustang1989 on Dec 30, 2021 8:41:56 GMT -7
The details man…..the DETAILS!!!!! An outstanding build in all aspects!!!!
|
|
|
|
Post by jkflash on Dec 30, 2021 10:36:04 GMT -7
To say I am impressed is an understatement. This is fantastic. That car is so detailed it looks like if you added a little gas to the carbs it would fire right up!
|
|
goofy62
New Member
 Registered: Dec 24, 2021 10:21:11 GMT -7
Posts: 41 
|
Post by goofy62 on Dec 30, 2021 13:59:19 GMT -7
The details man…..the DETAILS!!!!! An outstanding build in all aspects!!!! Thanks! |
|
goofy62
New Member
 Registered: Dec 24, 2021 10:21:11 GMT -7
Posts: 41 
|
Post by goofy62 on Dec 30, 2021 14:00:21 GMT -7
To say I am impressed is an understatement. This is fantastic. That car is so detailed it looks like if you added a little gas to the carbs it would fire right up! Thank you!
I guess that's the objective with model building, right? 
Steve
|
|
|
|
Post by mustang1989 on Dec 30, 2021 14:18:49 GMT -7
Really good to have you here Steve. Like I was sayin’ you’re gonna fit right in.
|
|
41chevy
Senior Member
   Registered: Jul 1, 2021 9:46:43 GMT -7
Posts: 705
|
Post by 41chevy on Dec 30, 2021 20:38:31 GMT -7
I've been following this build on another forum up to the engine post. The body details (especially the hood hinges) are fantastic! Paul
|
|
|
|
Post by Grandpabeast on Jan 1, 2022 4:10:44 GMT -7
Wow, amazing! Every time I look at the pictures I see something I missed the first time! Incredible job
|
|
goofy62
New Member
 Registered: Dec 24, 2021 10:21:11 GMT -7
Posts: 41 
|
Post by goofy62 on Jan 2, 2022 14:27:27 GMT -7
Thanks guys!!
Not a whole lot more to report, but there have been a few advancements.
Got the washer lines added, and then added a little more grime to the engine bay.
Then, I started to do a little more test fitting to make sure everything is fitting properly.
I have to say, this is going to be a real "shoe horn" job!
If I don't do everything just so, I'm going to run into problems!
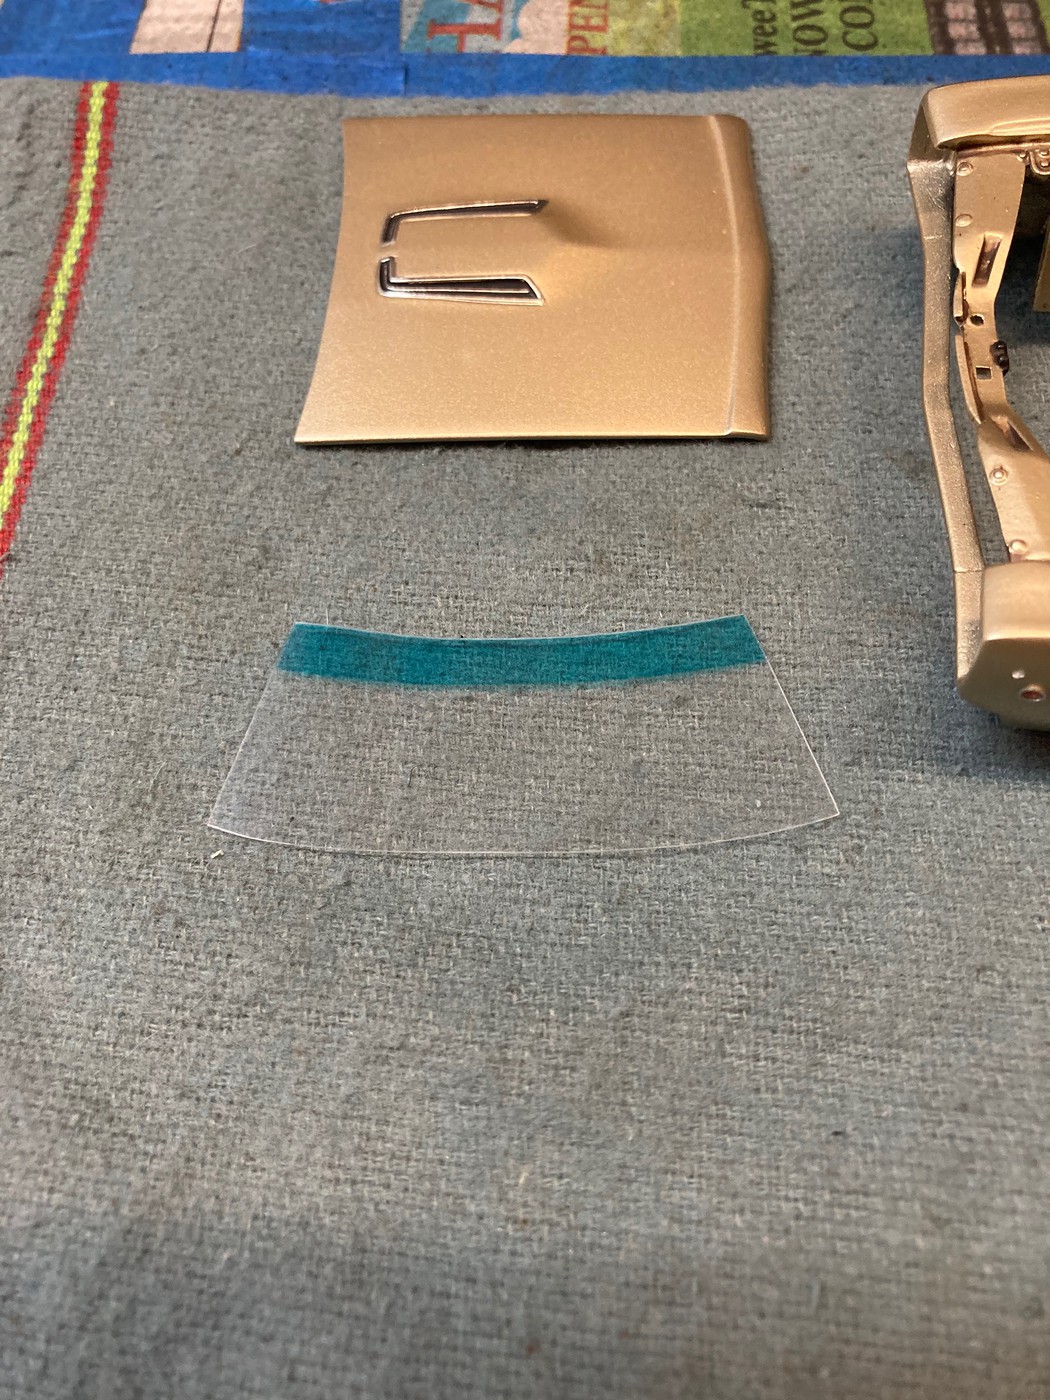
Started working on getting the glass in place.....that is until my epoxy turned to crap on me! 
Now I have to wait for some new stuff to arrive.
But I did get the new glass cut, and the windshield tinted.
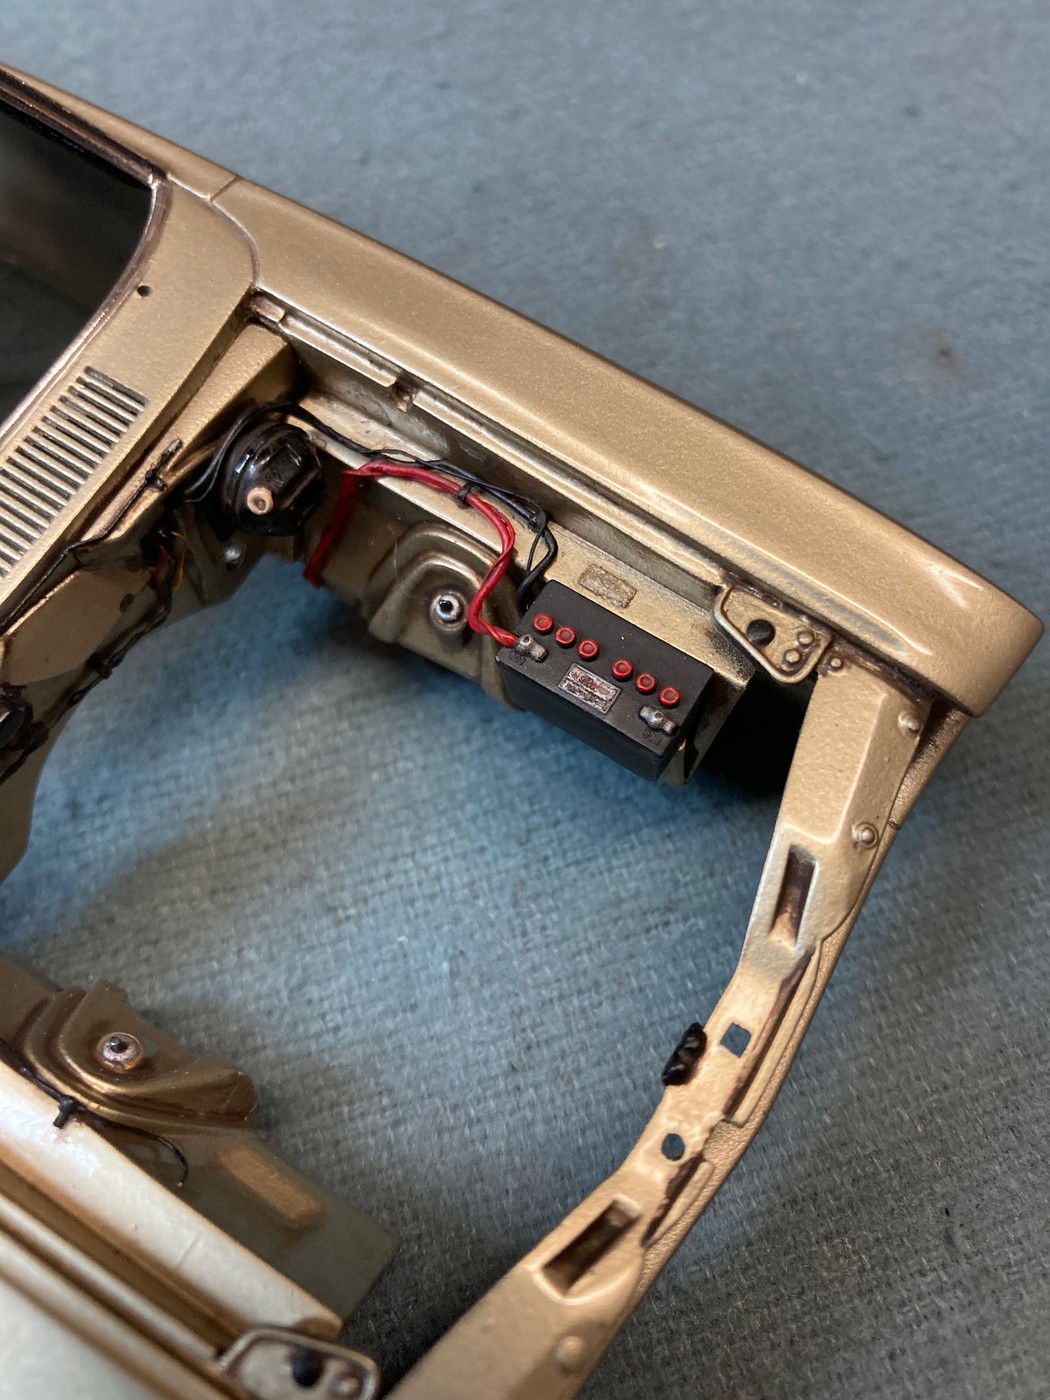
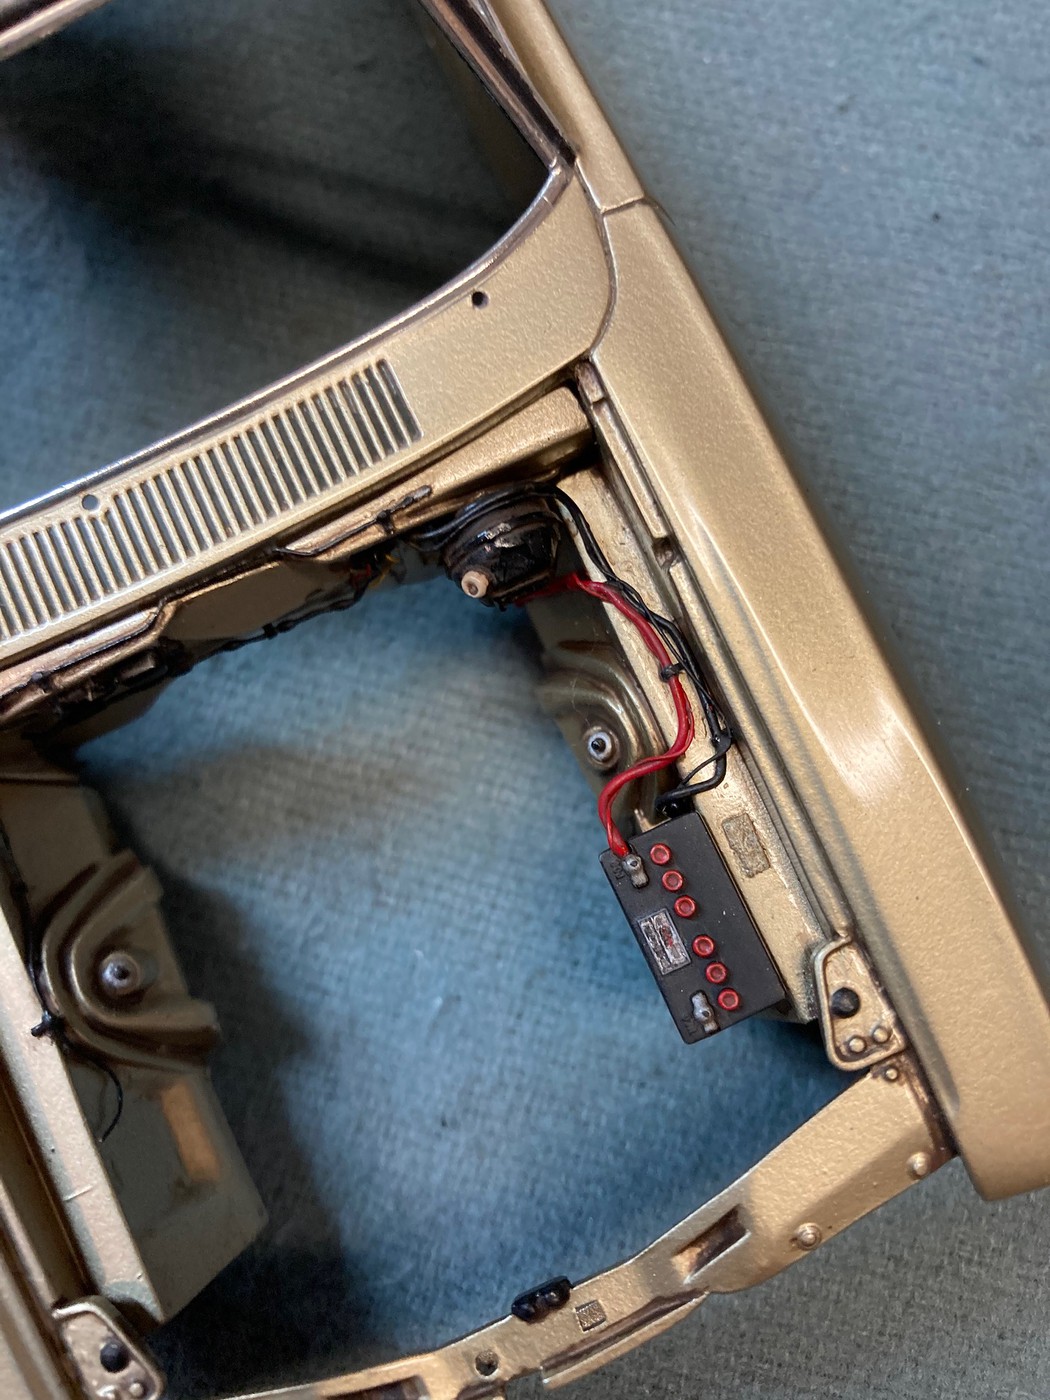
Finally, I had several people on Facebook jokingly ask me where the "data plate" on the inner fender by the battery was.
Well, let's say I don't take criticism well. 
Steve
|
|
|
|
Post by mustang1989 on Jan 2, 2022 16:24:09 GMT -7
Oh WOW!!! No stone unturned with this one. This reminds me of the air cleaner on that 442 you did
|
|
Keef
New Member
 Registered: Jan 1, 2022 13:02:53 GMT -7
Alive….. until my wife finds out
Posts: 10
|
Post by Keef on Jan 3, 2022 14:08:56 GMT -7
Just when I think I couldn’t be any more amazed, you post more pics of the smallest details and blow me away again!!! Superb work and amazing attention to detail!!
|
|
malcox477
Loyal Member
   Registered: May 21, 2019 16:19:37 GMT -7
Posts: 1,039
|
Post by malcox477 on Jan 8, 2022 1:57:47 GMT -7
Amazing detail work, now i want to do that, is that weird...  |
|
goofy62
New Member
 Registered: Dec 24, 2021 10:21:11 GMT -7
Posts: 41 
|
Post by goofy62 on Jan 15, 2022 12:23:15 GMT -7
Back with another update.
I finally got the interior and chassis mated to the body, the engine is in, and the engine bay detailing finished.
On to finishing up the chassis! 
Steve
|
|
41chevy
Senior Member
   Registered: Jul 1, 2021 9:46:43 GMT -7
Posts: 705
|
Post by 41chevy on Jan 15, 2022 12:37:46 GMT -7
It looks better than the real thing.  How did you make the coil hood pop up spring by the hood latch? Paul |
|
goofy62
New Member
 Registered: Dec 24, 2021 10:21:11 GMT -7
Posts: 41 
|
Post by goofy62 on Jan 15, 2022 15:23:42 GMT -7
It looks better than the real thing.  How did you make the coil hood pop up spring by the hood latch? Paul Just wrapped a piece of wire around a tapered subject.
In this case it was a round tapered dental tool.
Steve
|
|
41chevy
Senior Member
   Registered: Jul 1, 2021 9:46:43 GMT -7
Posts: 705
|
Post by 41chevy on Jan 16, 2022 11:18:17 GMT -7
It looks better than the real thing.  How did you make the coil hood pop up spring by the hood latch? Paul Just wrapped a piece of wire around a tapered subject.
In this case it was a round tapered dental tool.
Steve
Thanks! I've a affinity for them. Working on them for a living, I probably caught my shirt on them (or poked my belly for decades) Paul |
|
