|
|
Post by mustang1989 on Mar 27, 2019 11:32:35 GMT -7
It's been a long while since I've done anything aviation related so it's been really difficult to decide on what I'm going to do for an ice breaker for the last few months. I bounced back and forth from Ta-152 to an Fw190 D series to a 190 A series to finally .........this:
A Hase offering of the 234:
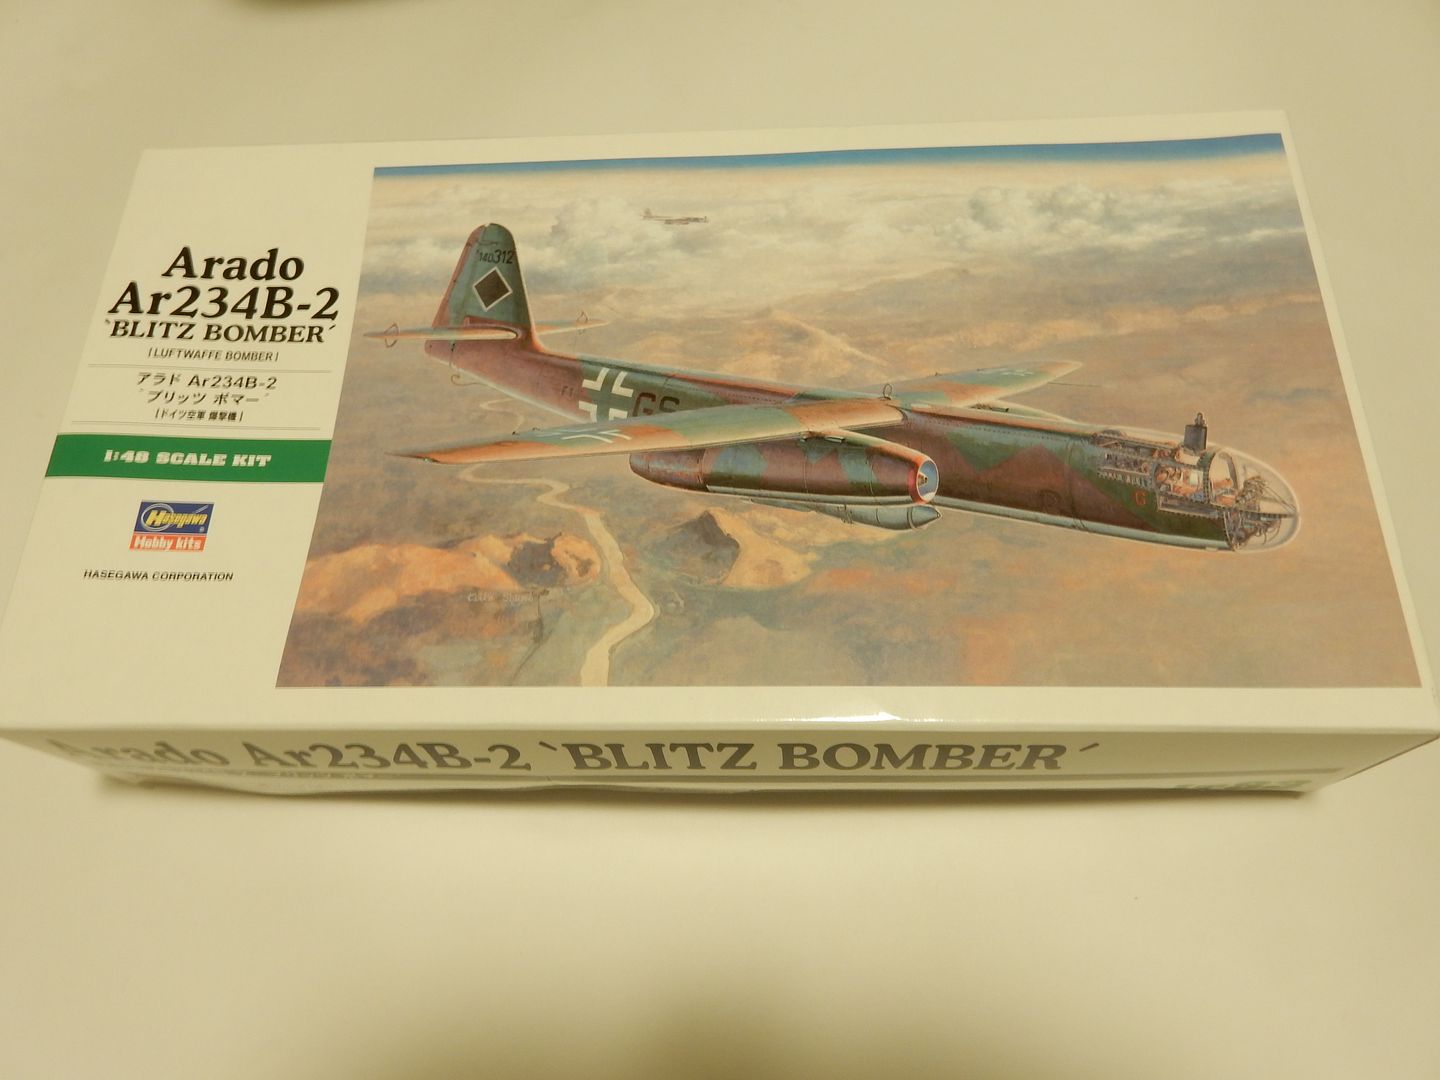
I bought two of these because every time I start hackin' on a build for detail add ons like cockpits or engine displays or anything like that I have inherent problem of messing something up along the way to the point of being unrepairable so I just head it off at the pass with a spare parts kit. I don't know when exactly I'll get started on this bad boy as I still have to finish up my '54 Chevy Panel Wagon that I'm building in the Auto section here but I decided to post a Threadlocker anyway.
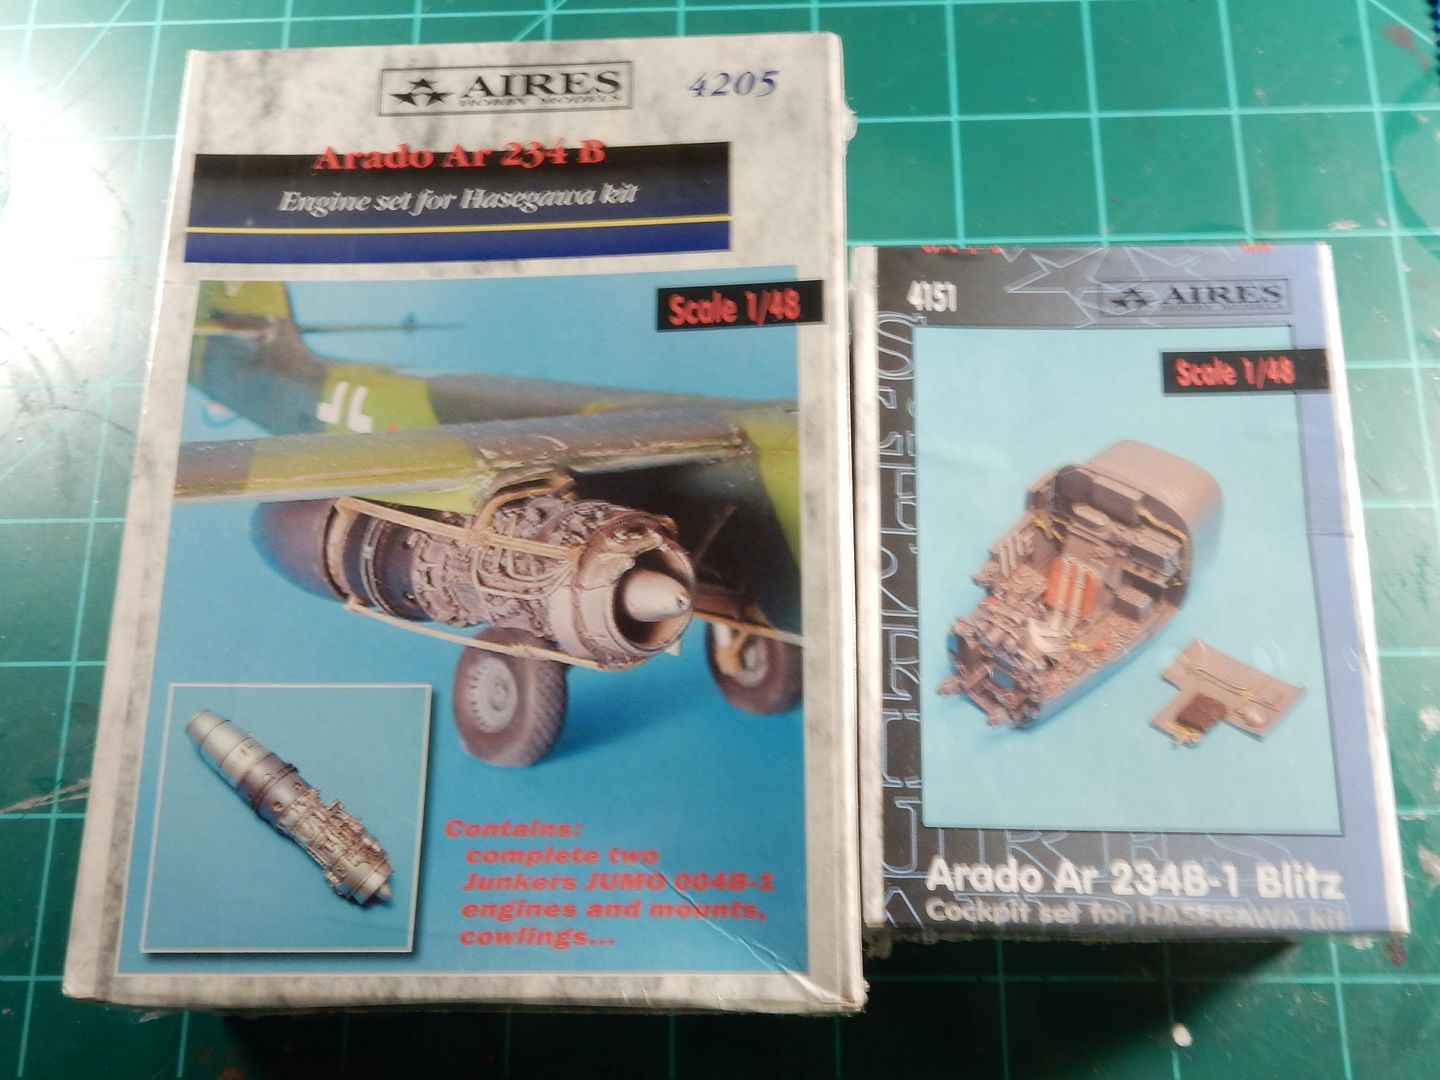
The upgrades:
|
|
|
|
Post by mustang1989 on Apr 1, 2019 14:18:34 GMT -7
|
|
|
|
Post by mustang1989 on Apr 2, 2019 13:41:34 GMT -7
|
|
|
|
Post by mustang1989 on Apr 4, 2019 7:19:00 GMT -7
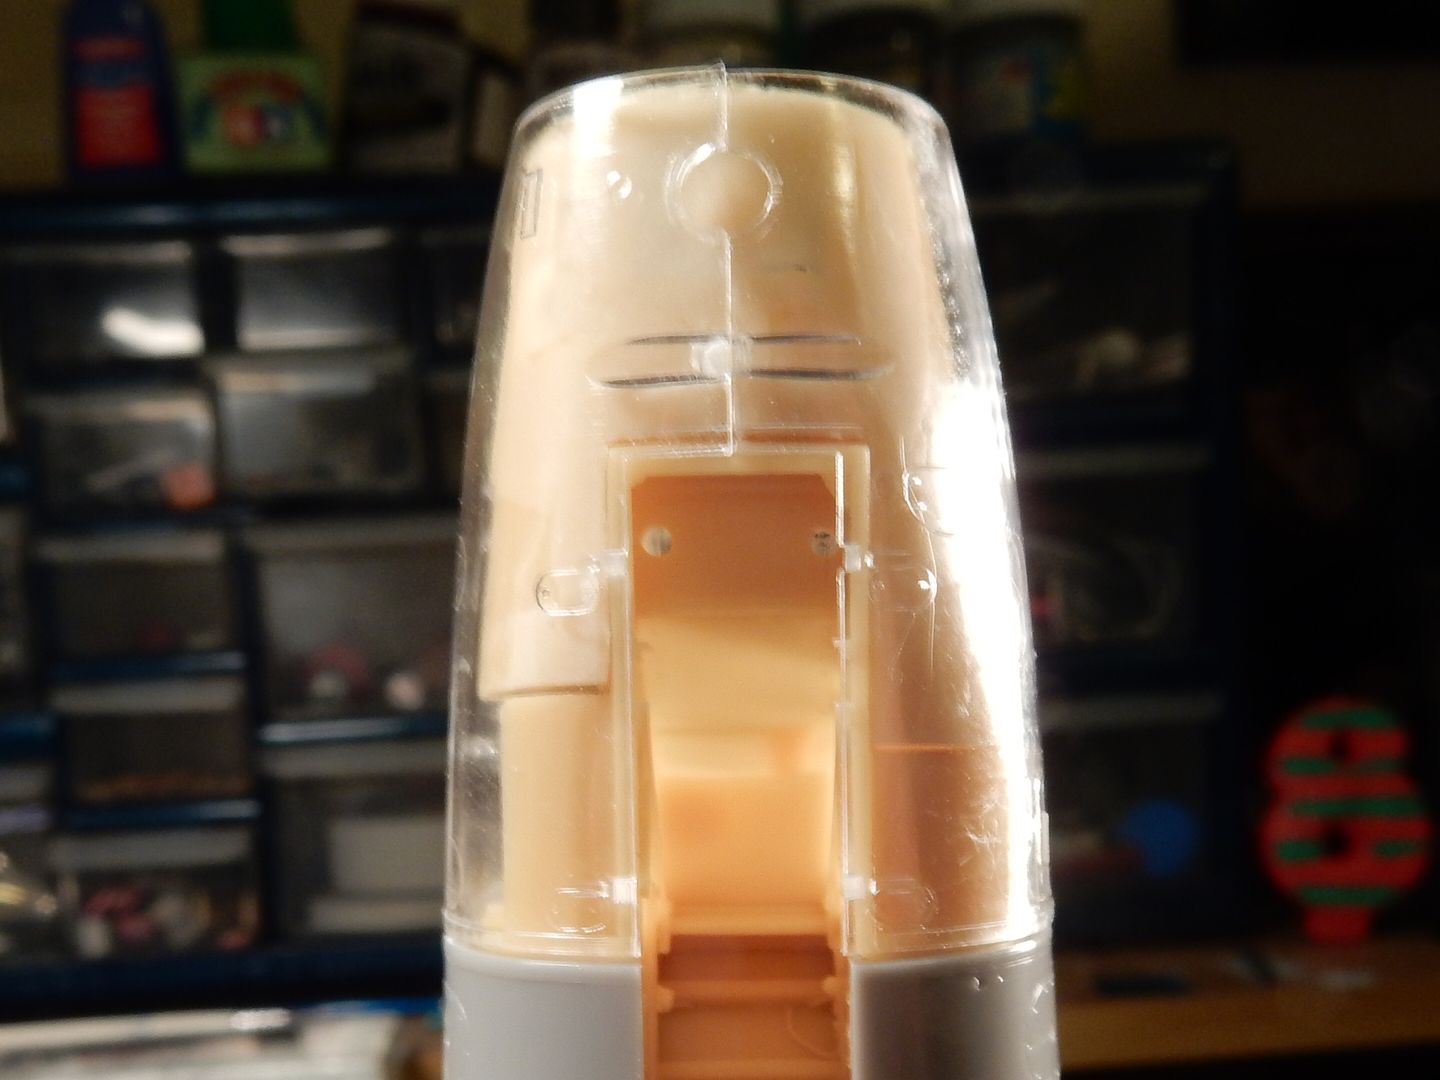
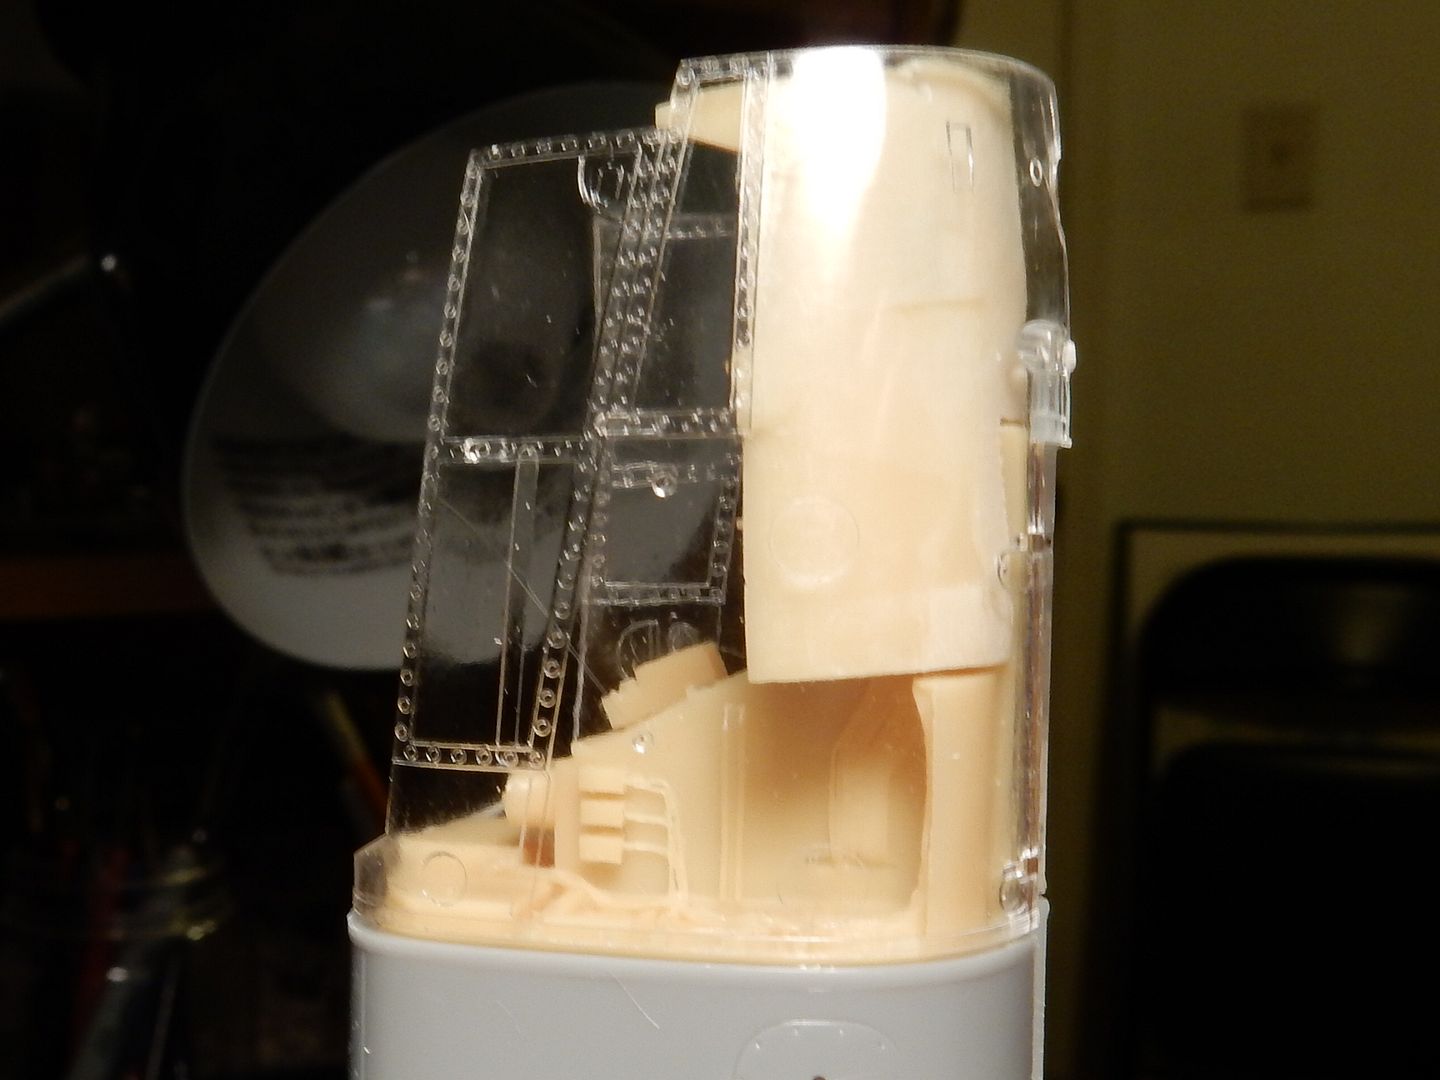
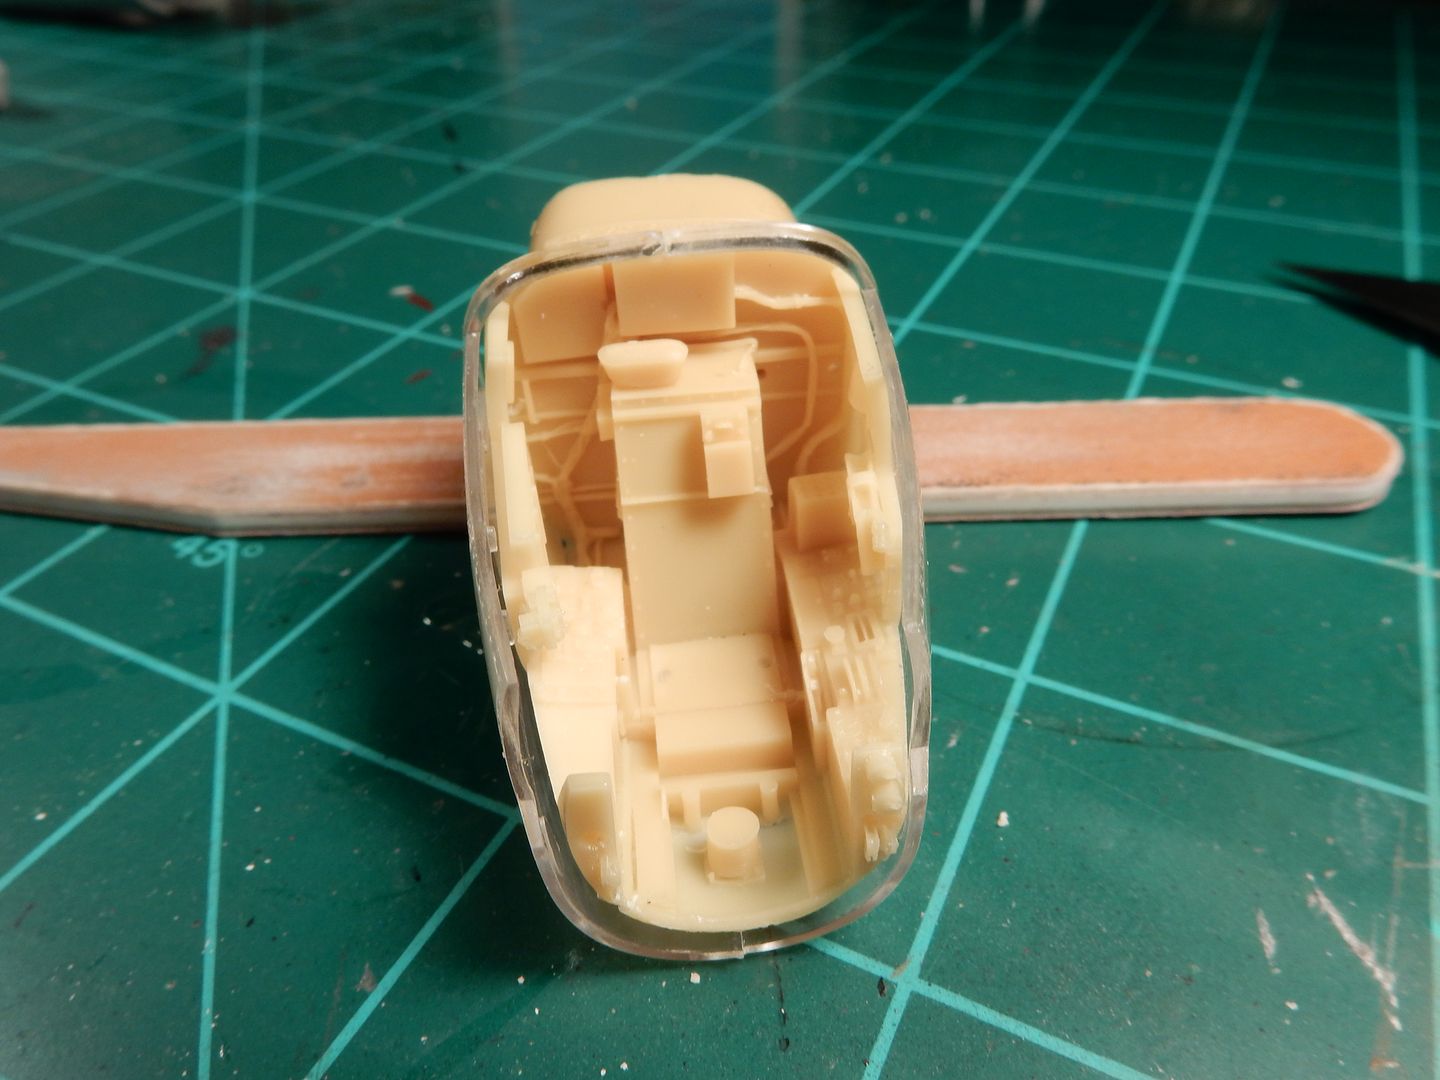
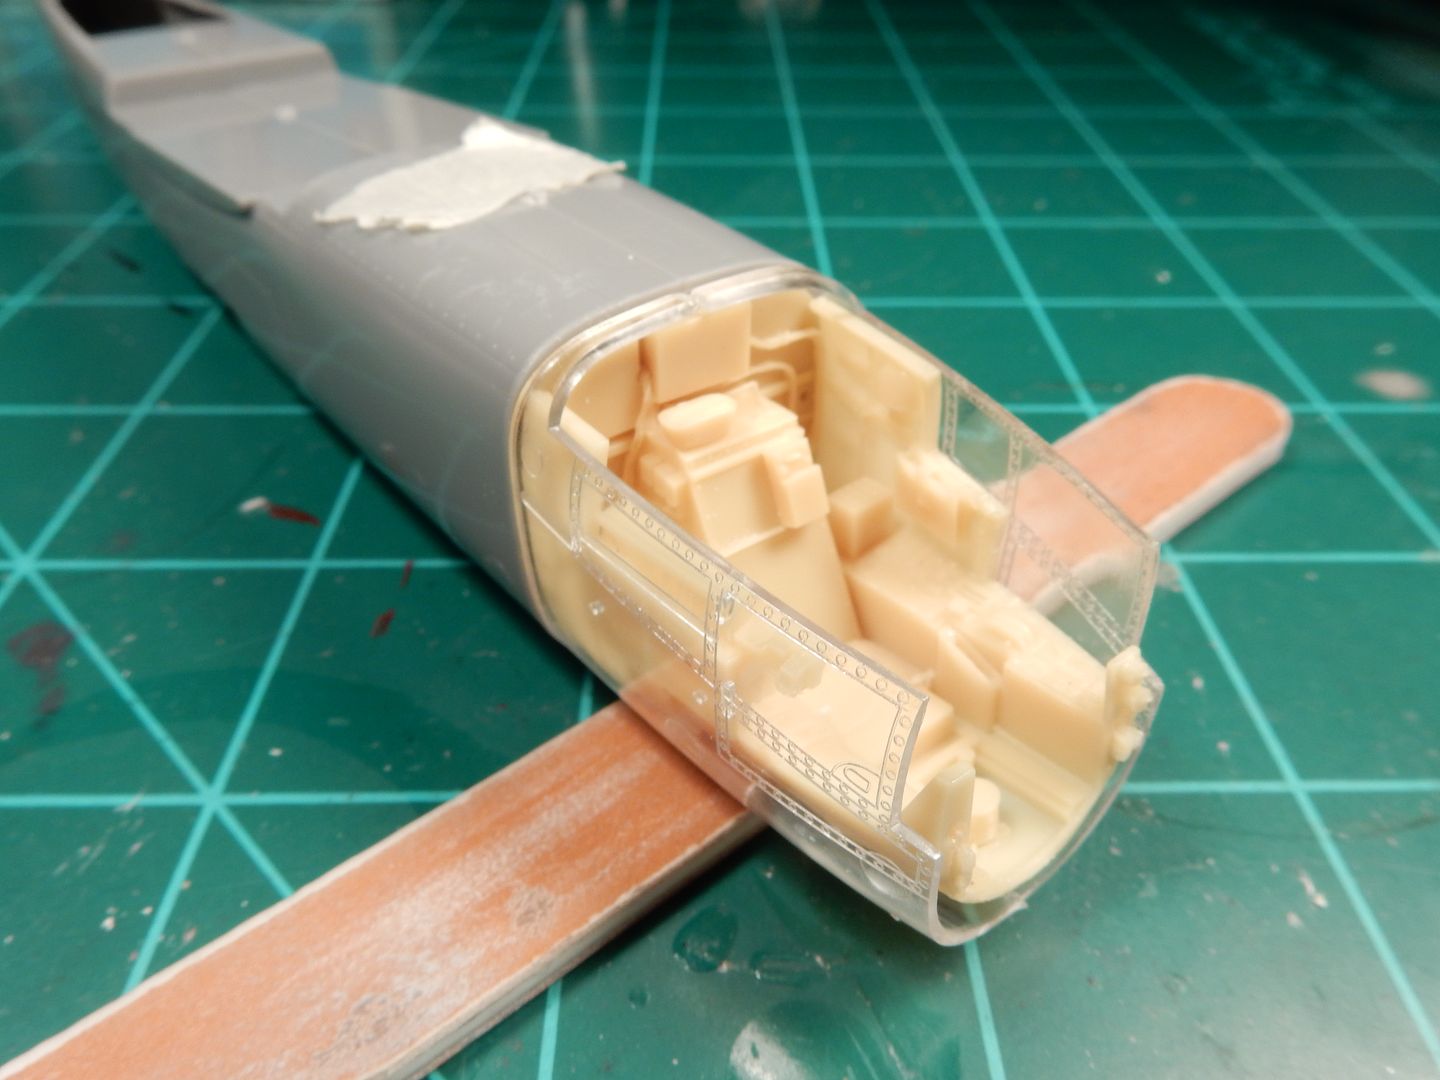
I've got the tub all trimmed up and the two pieces glued together. I had to sand a lot of material from the bottom to get it to fit right but so far so good. Here's a few shots with the clear nose piece test fitted. It looks like it's gonna be A-OK.

|
|
|
|
Post by mustang1989 on Apr 5, 2019 15:51:08 GMT -7
I cut the side panels from the resin mounting blocks today. This stuff is super thin so cutting it from them was a slow process to avoid breaking the dang things. Looks like everything is fitting here so far:
and still mates up to the fuselage as good as I've ever seen from an Aires set
|
|
|
|
Post by mustang1989 on Apr 23, 2019 6:58:06 GMT -7
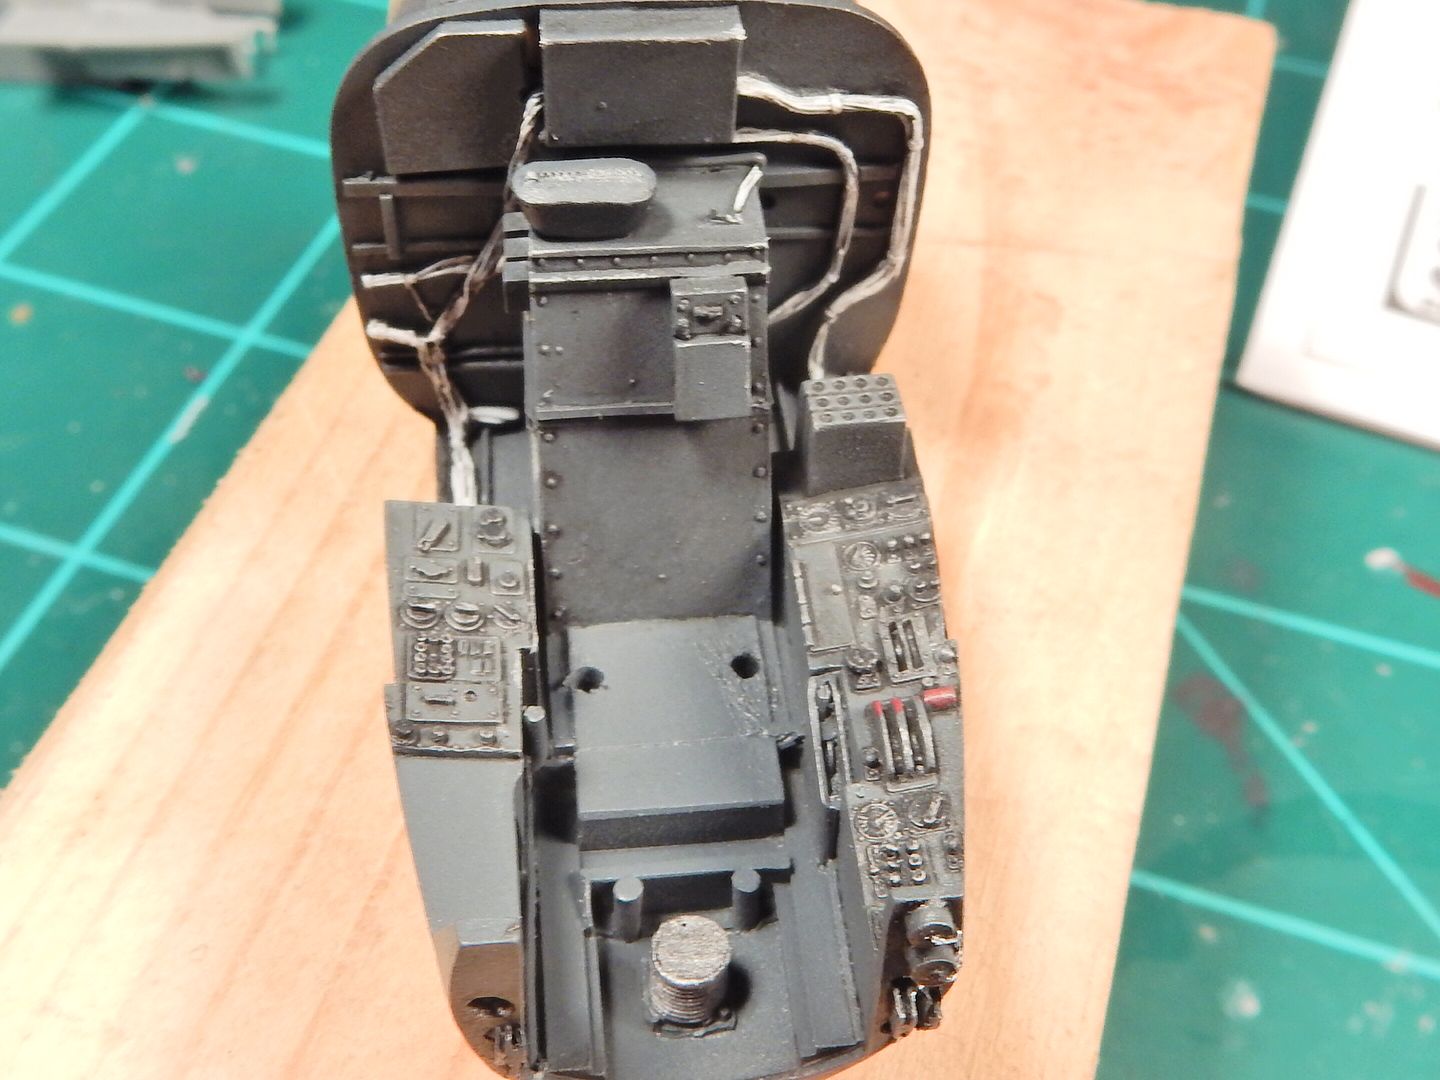
Started with a black base on the interior tub:
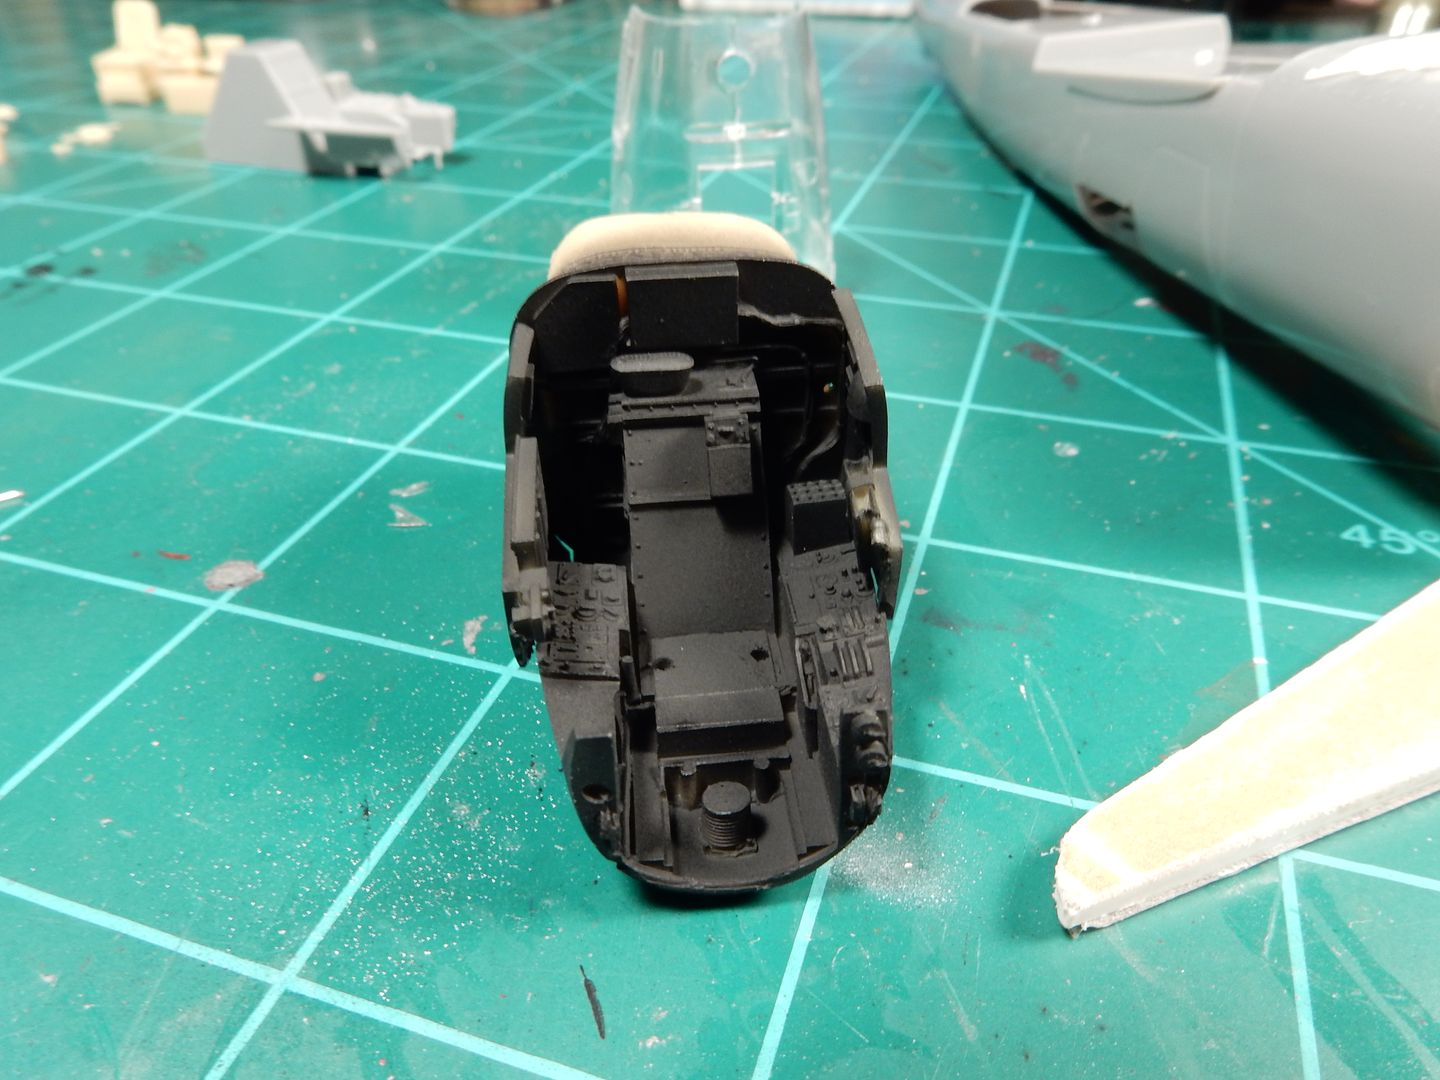
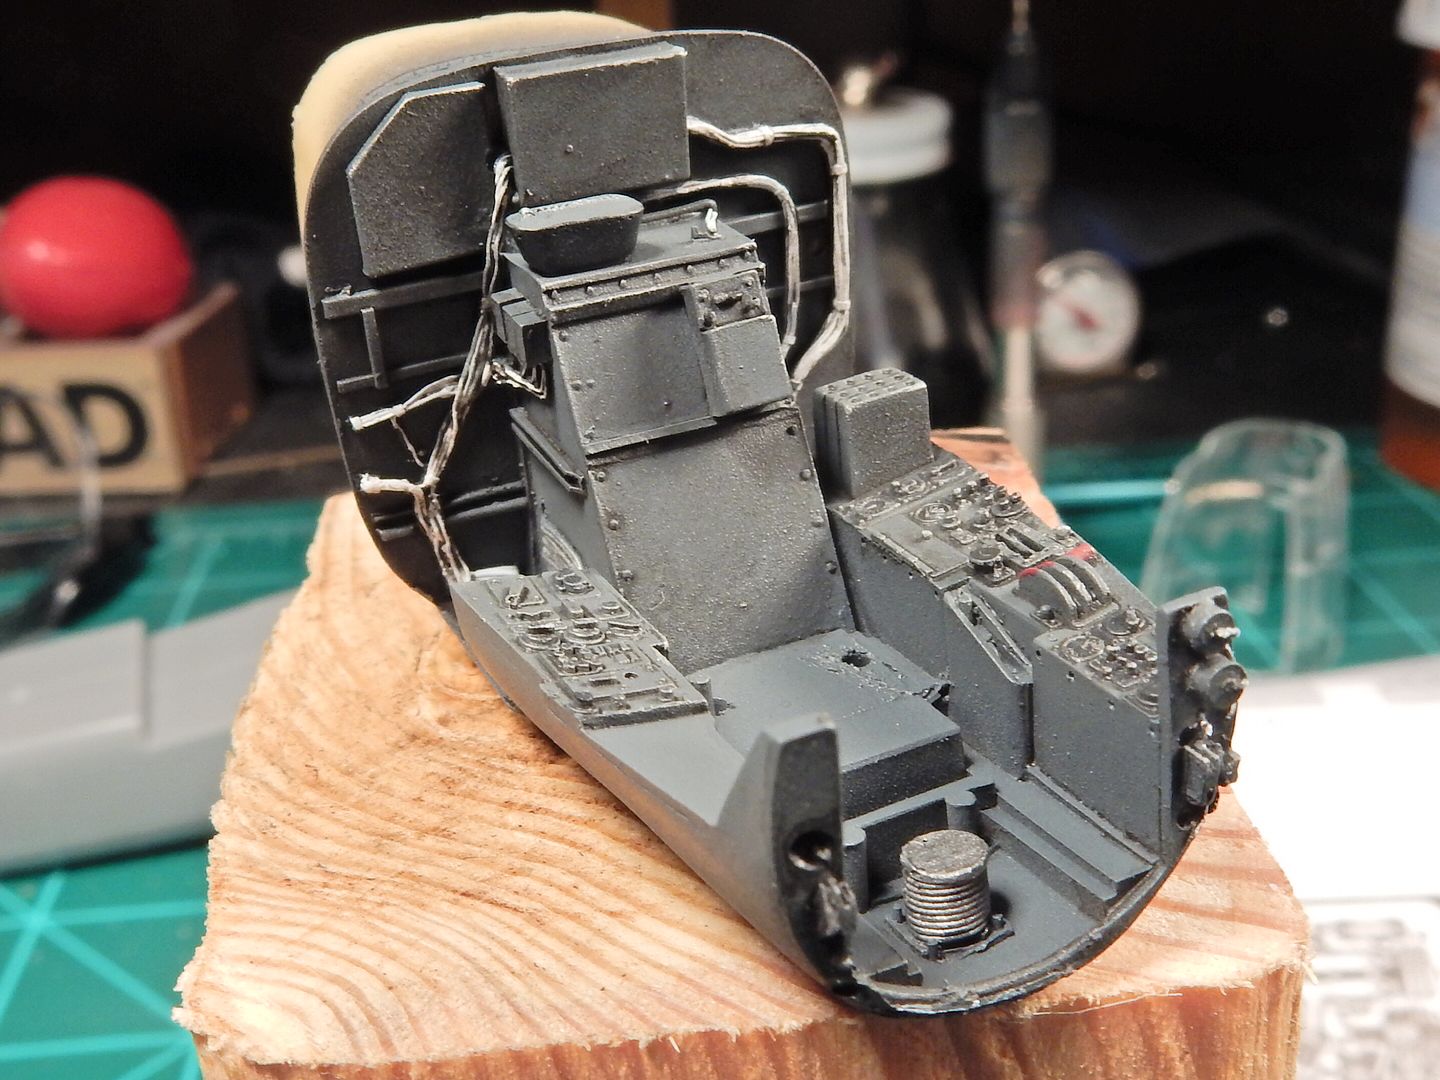
I hit the highlights with a little acrylic RLM 66 with a drop of white in it on the high points. I set that aside to dry and then hit it with a coat of Tamiya Clear and allowed that to dry. I followed that up with a wash of MIG Productions dark wash lightened some so as not to be overbearing with it. After that dried under a lamp for a while I brought out all the details and dry brushed some silver over the corners and over some of the more frequently used controls through out the side consoles. I then went over everything with a coat of MM flat clear with a drop of grey in it to give the sun faded look. I still have to install the instruments at the R/H front console and at the upright panel at the front of the L/H console and then it'll be down to the PE details, resin pieces like the control yoke and seat with belts and then the main instrument panel. There's alot more stuff I didn't mention but the list is just too dang long. You get the picture though(no pun intended).
|
|
|
|
Post by kpnuts on Apr 23, 2019 7:14:27 GMT -7
That's looking great mate
|
|
|
|
Post by mustang1989 on Apr 24, 2019 12:58:05 GMT -7
That's looking great mate Thanks Ken.
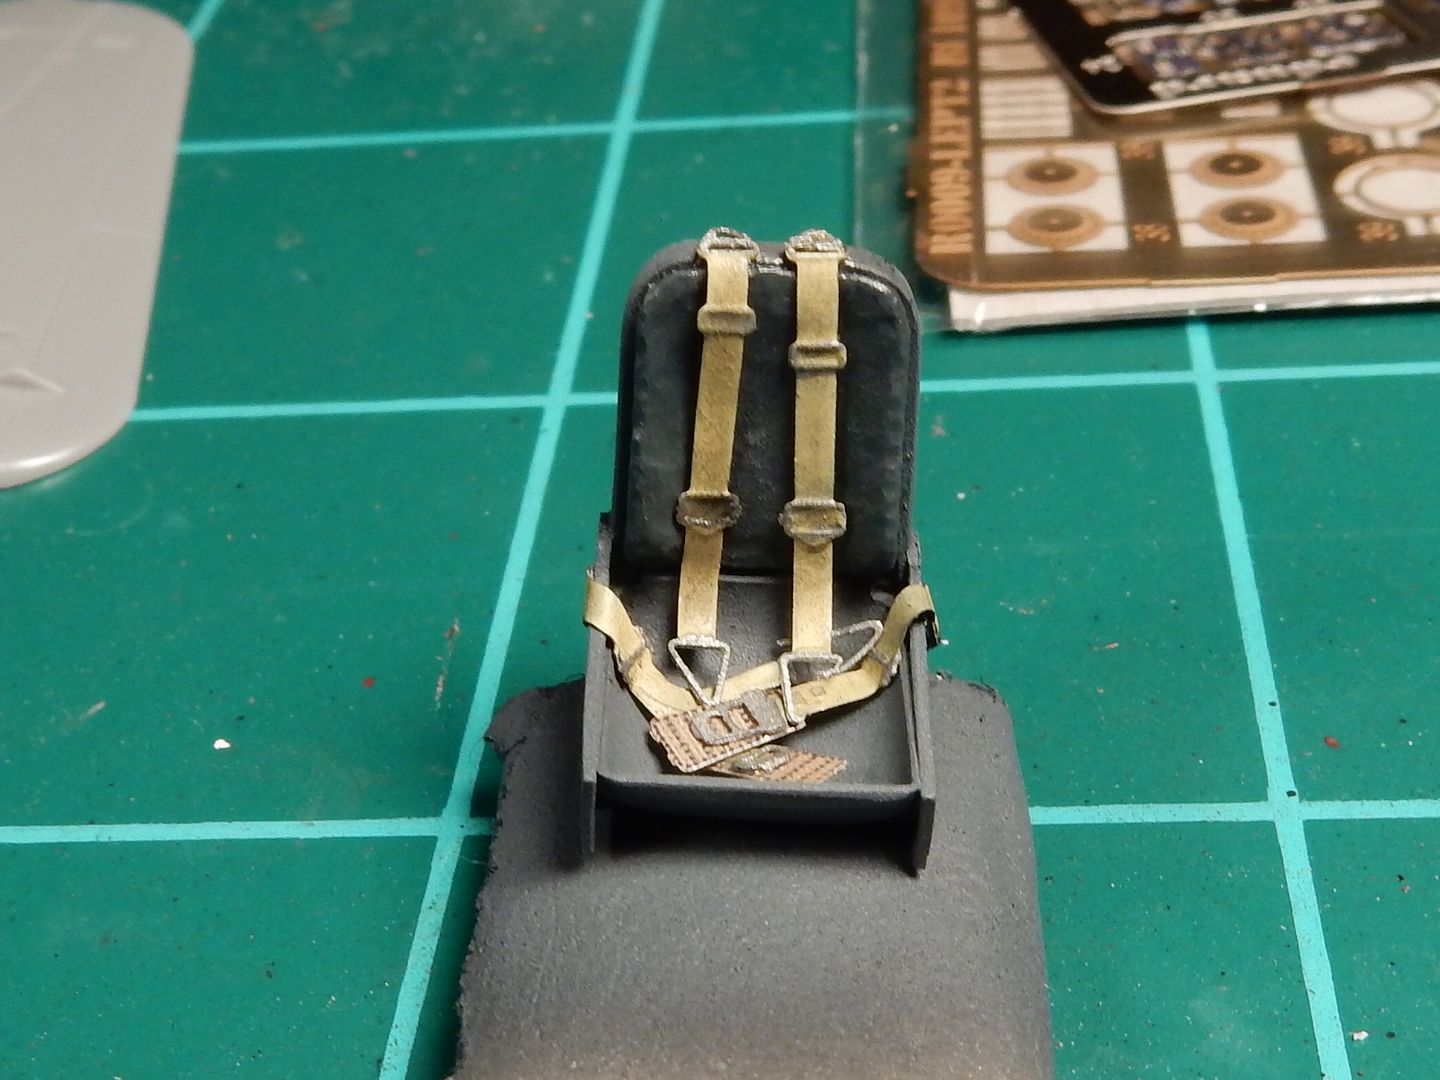
The seat and seat belts have taken me longer than I have wanted but I've got it to a point that I think I can show some progress now. I have to pick out some aluminum details on the seat belts with a toothpick but here's a pick just to show some progress anyways. I still have the armrests to go on this bad boy so I aint finished with the construction of the seat yet.
|
|
|
|
Post by kpnuts on Apr 26, 2019 12:43:28 GMT -7
You are a sadist adding sooooooo much detail, I take my hat off to you I just don't have that much patience.
|
|
|
|
Post by mustang1989 on Apr 26, 2019 19:22:57 GMT -7
You are a sadist adding sooooooo much detail, I take my hat off to you I just don't have that much patience. I dunno about that Ken. You sure know how to build a stunning ship model bro. Just sayin.....
Pilots seat is done and installed. I'll be working on the back wall where the battery and other details are and working my way forward after I take care of the nose gear bay on the bottom side of this whole assembly. Here's the progress as of this morning though: ( The seat belts are actually dirtier than they look in the picture-here they look practically brand new....wow).
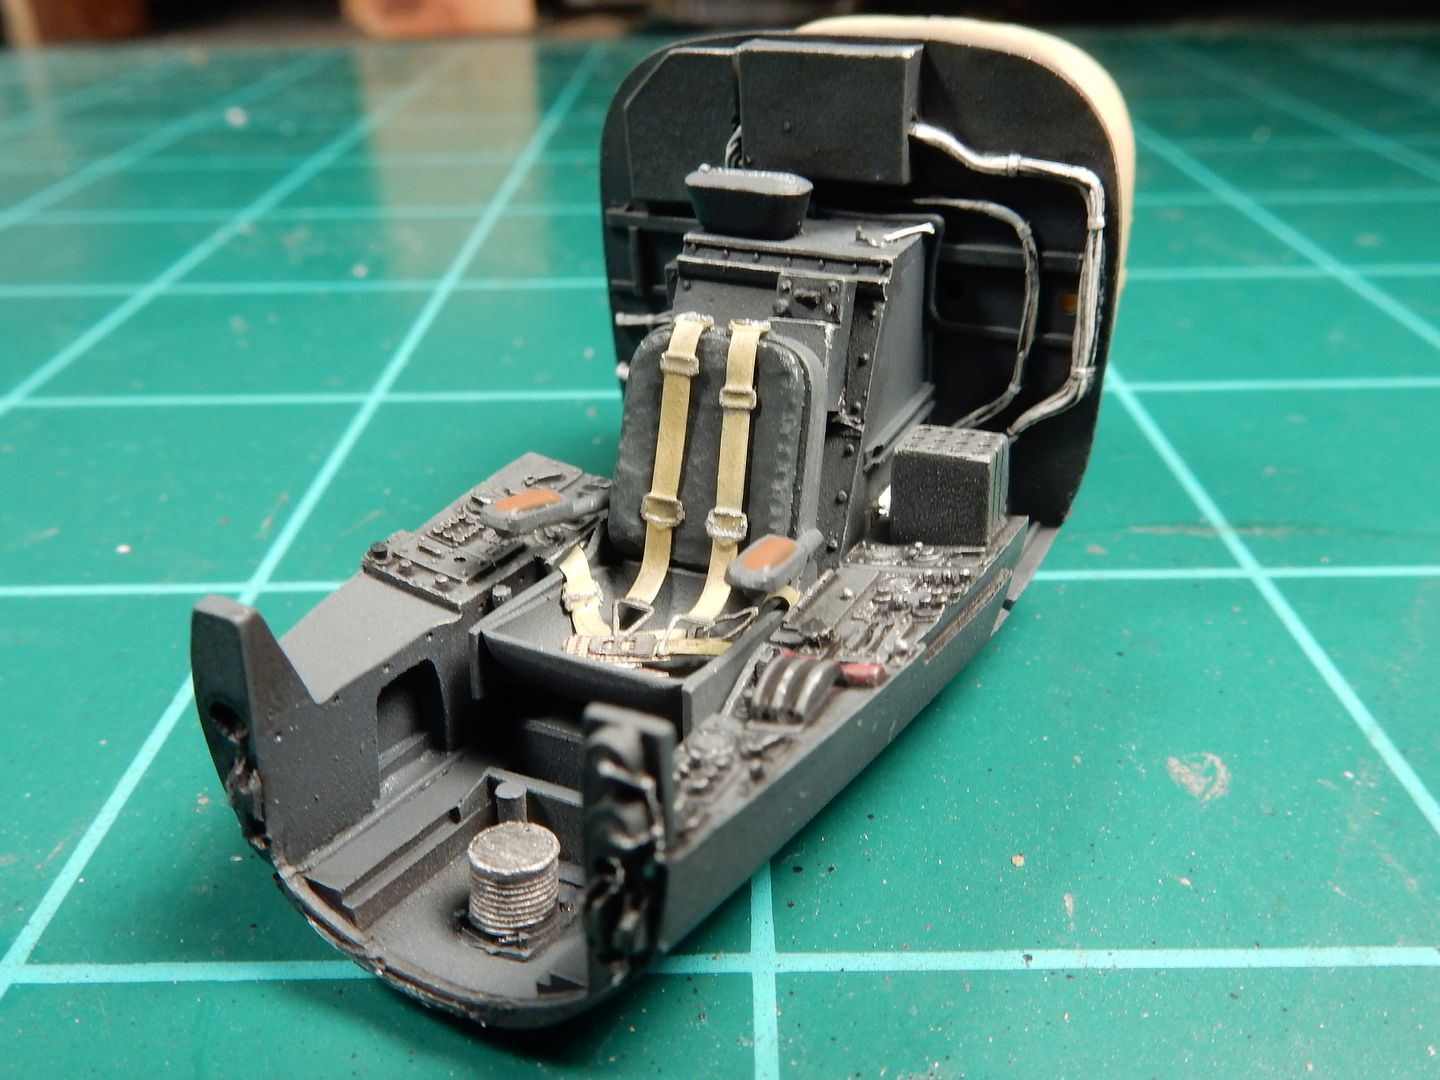
and then some more progress:
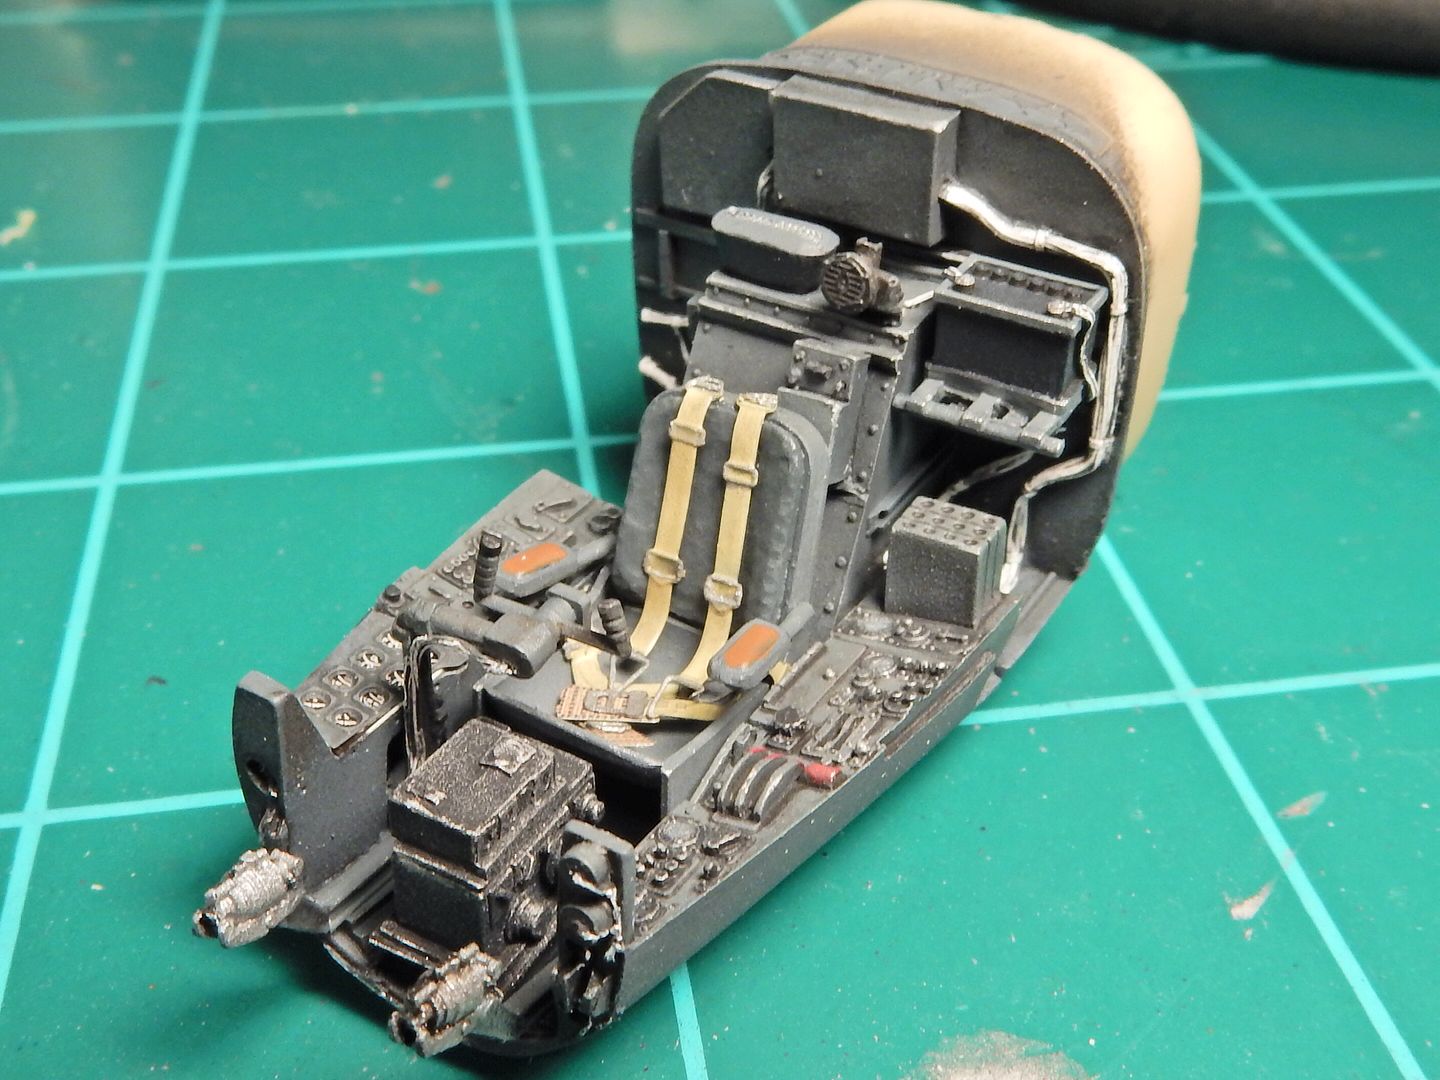
|
|
|
|
Post by kpnuts on Apr 27, 2019 12:05:02 GMT -7
It's looking great mate, you really put a lot of work into your models.
|
|
|
|
Post by mustang1989 on May 25, 2019 8:15:11 GMT -7
It's looking great mate, you really put a lot of work into your models. Thanks Ken. I'm really looking forward to having this one sitting in my display case.
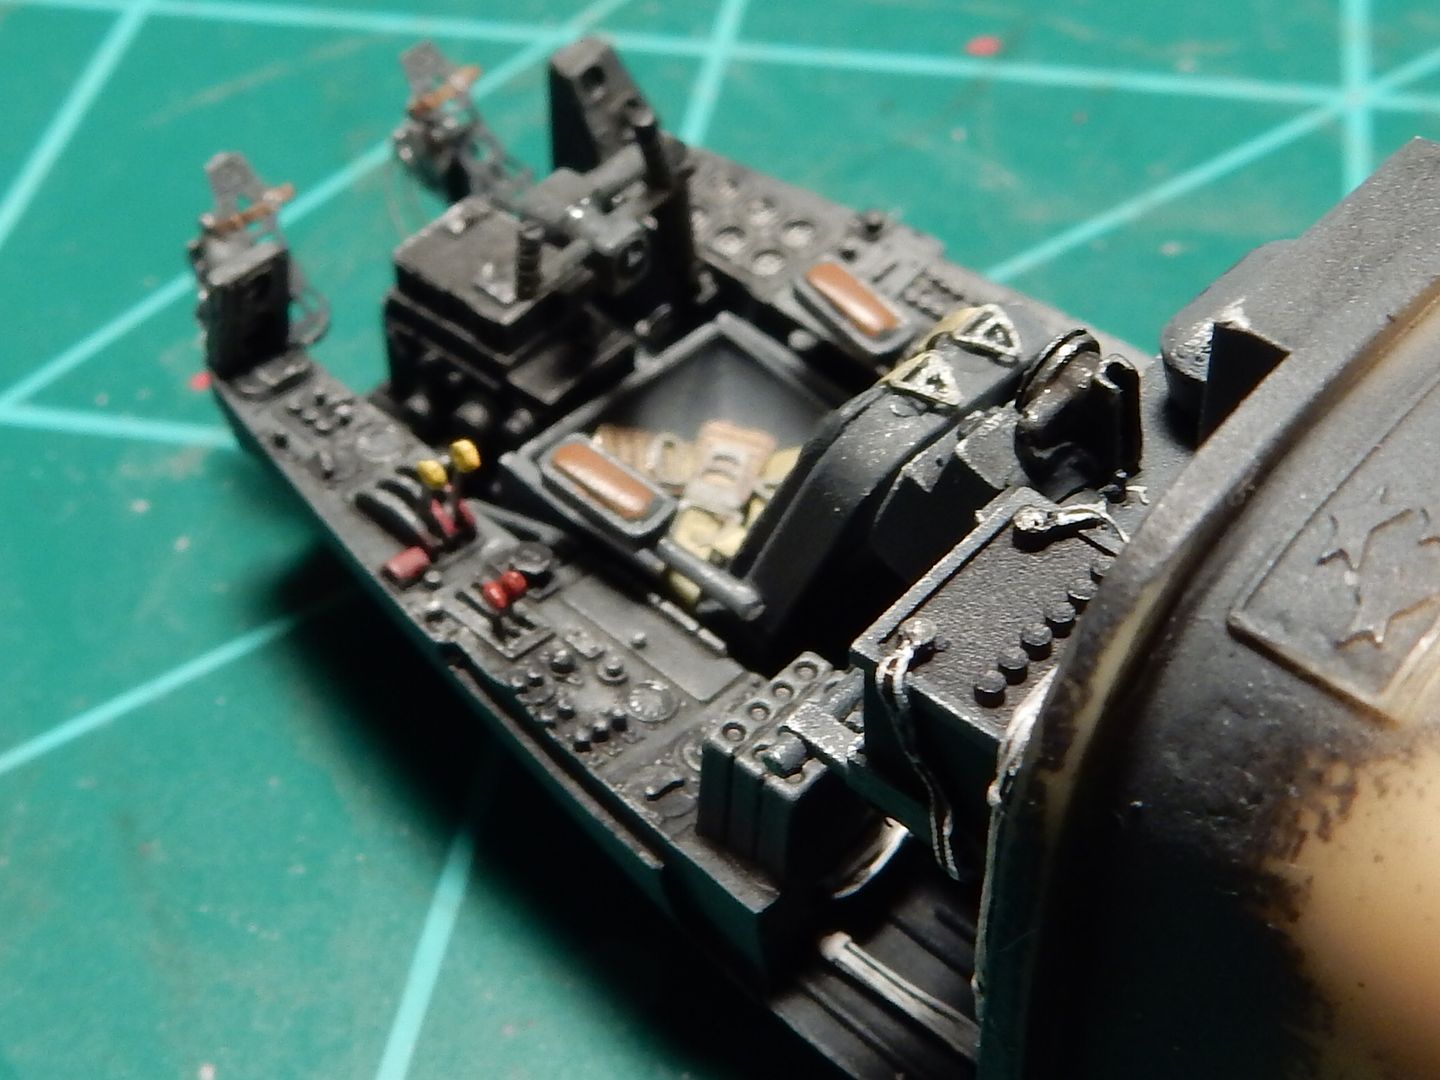
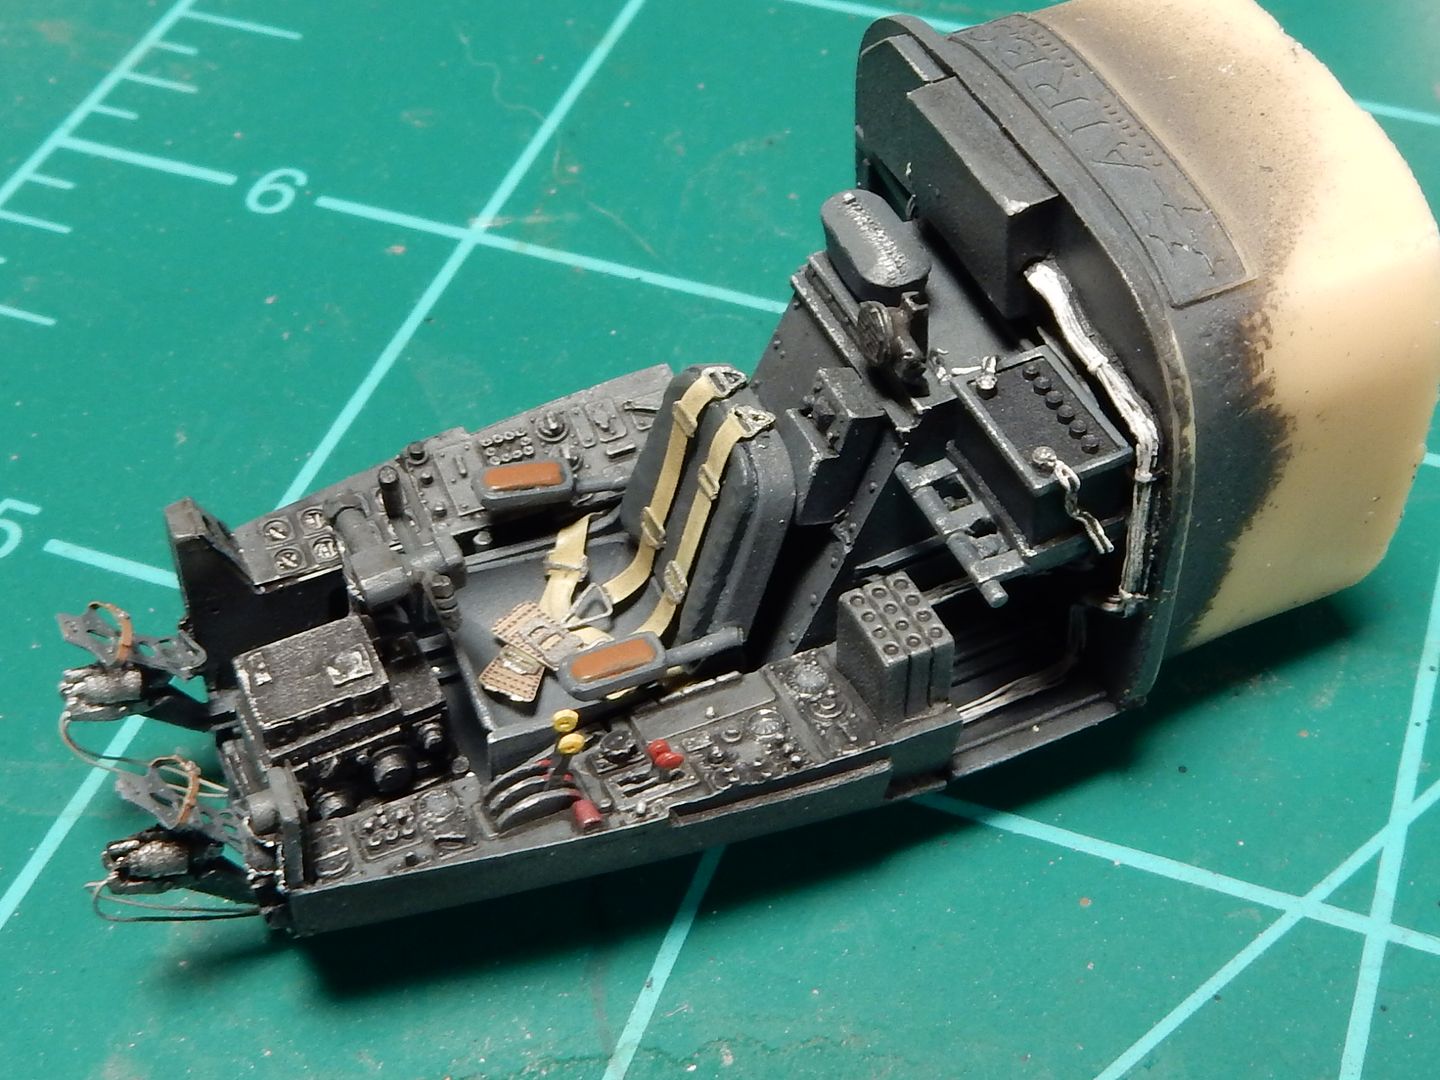
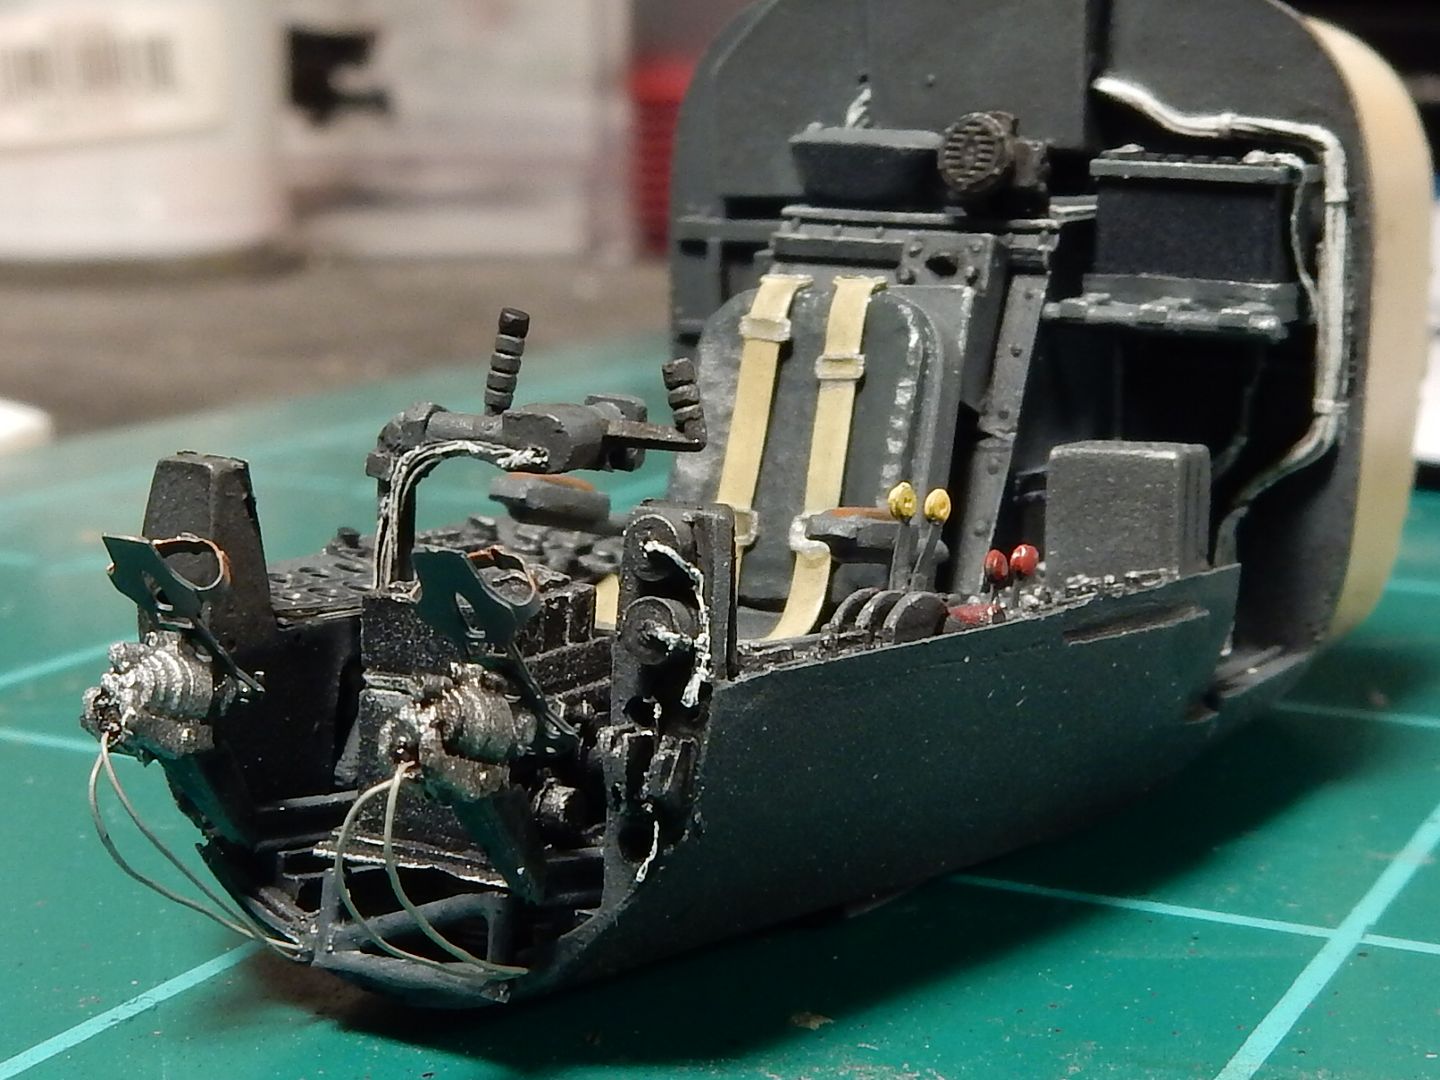
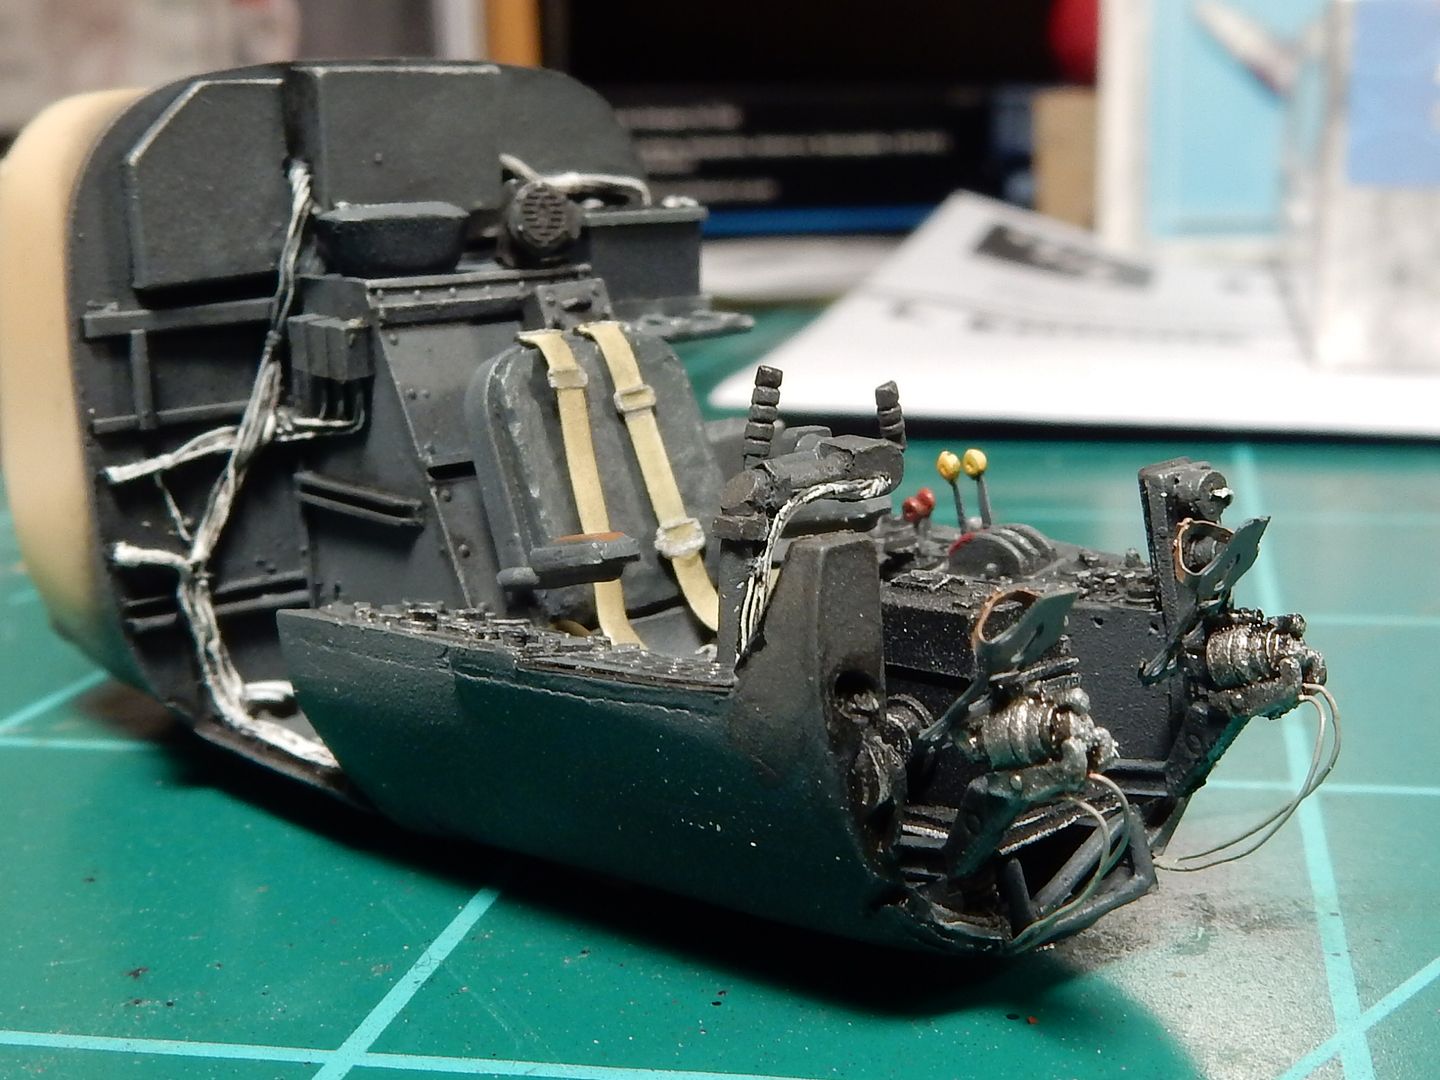
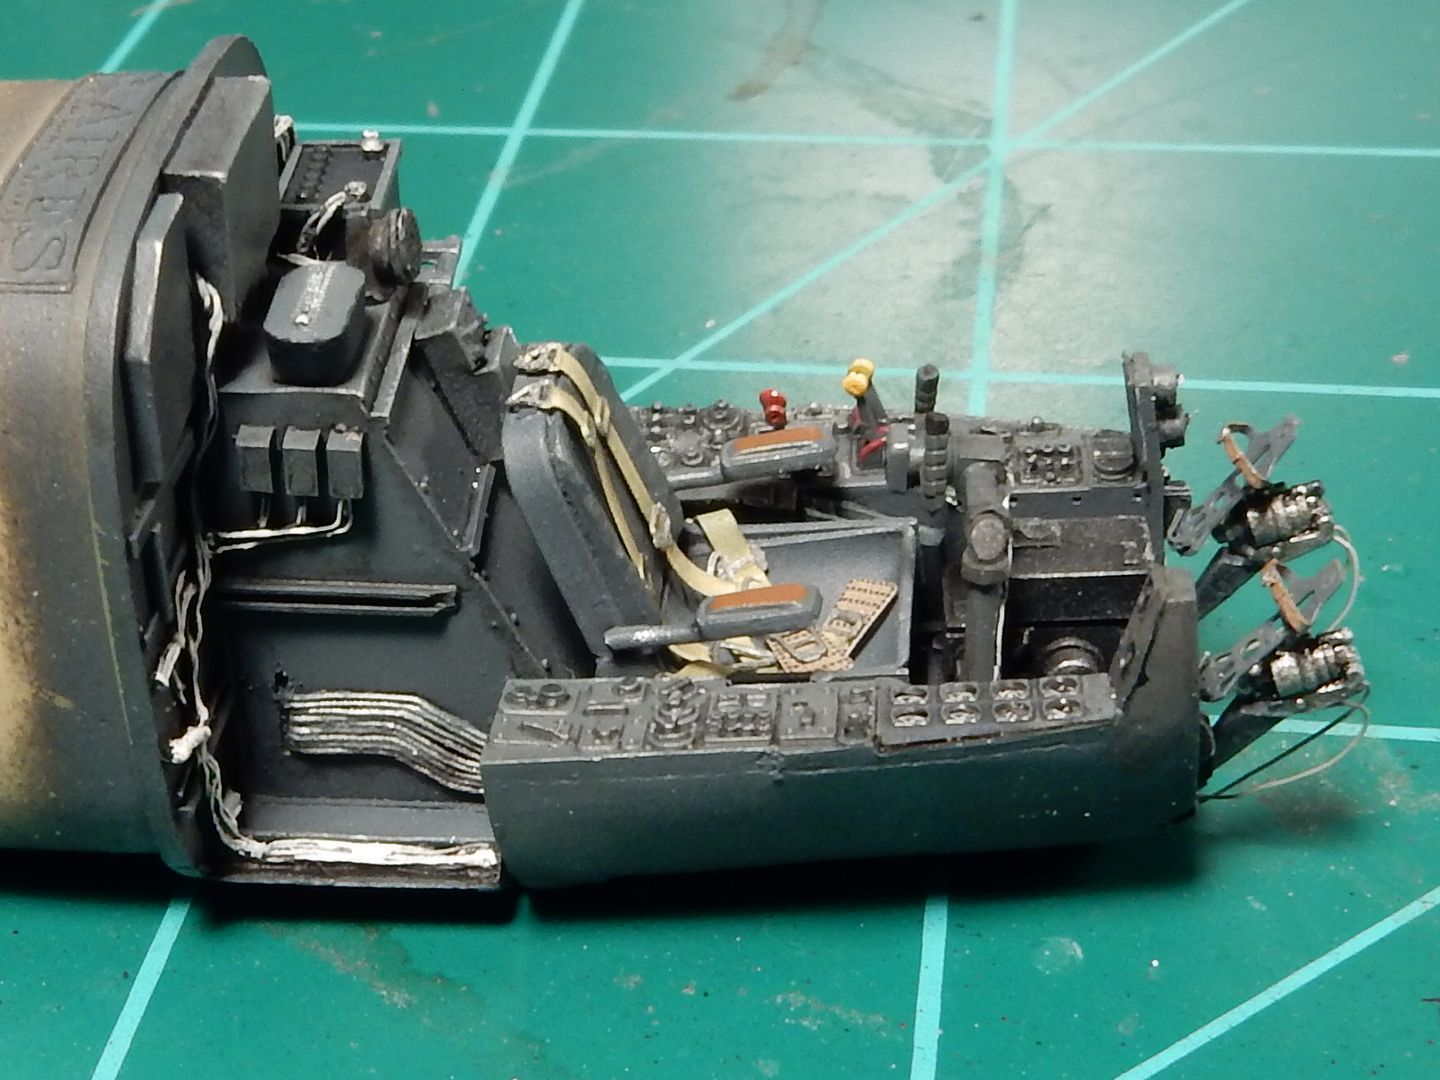
I managed to finish the cock pit tub and am now working on the side panels. After that I'll be working on the glass enclosure, which is a real PIA on this kit. Any ways, here's the completed tub:
|
|
|
|
Post by mustang1989 on Jun 17, 2019 12:02:29 GMT -7
I finished off the side panels before I head off to bed. Just had to get a flat coat on 'em tonight so I could concentrate my efforts on the IP tomorrow. 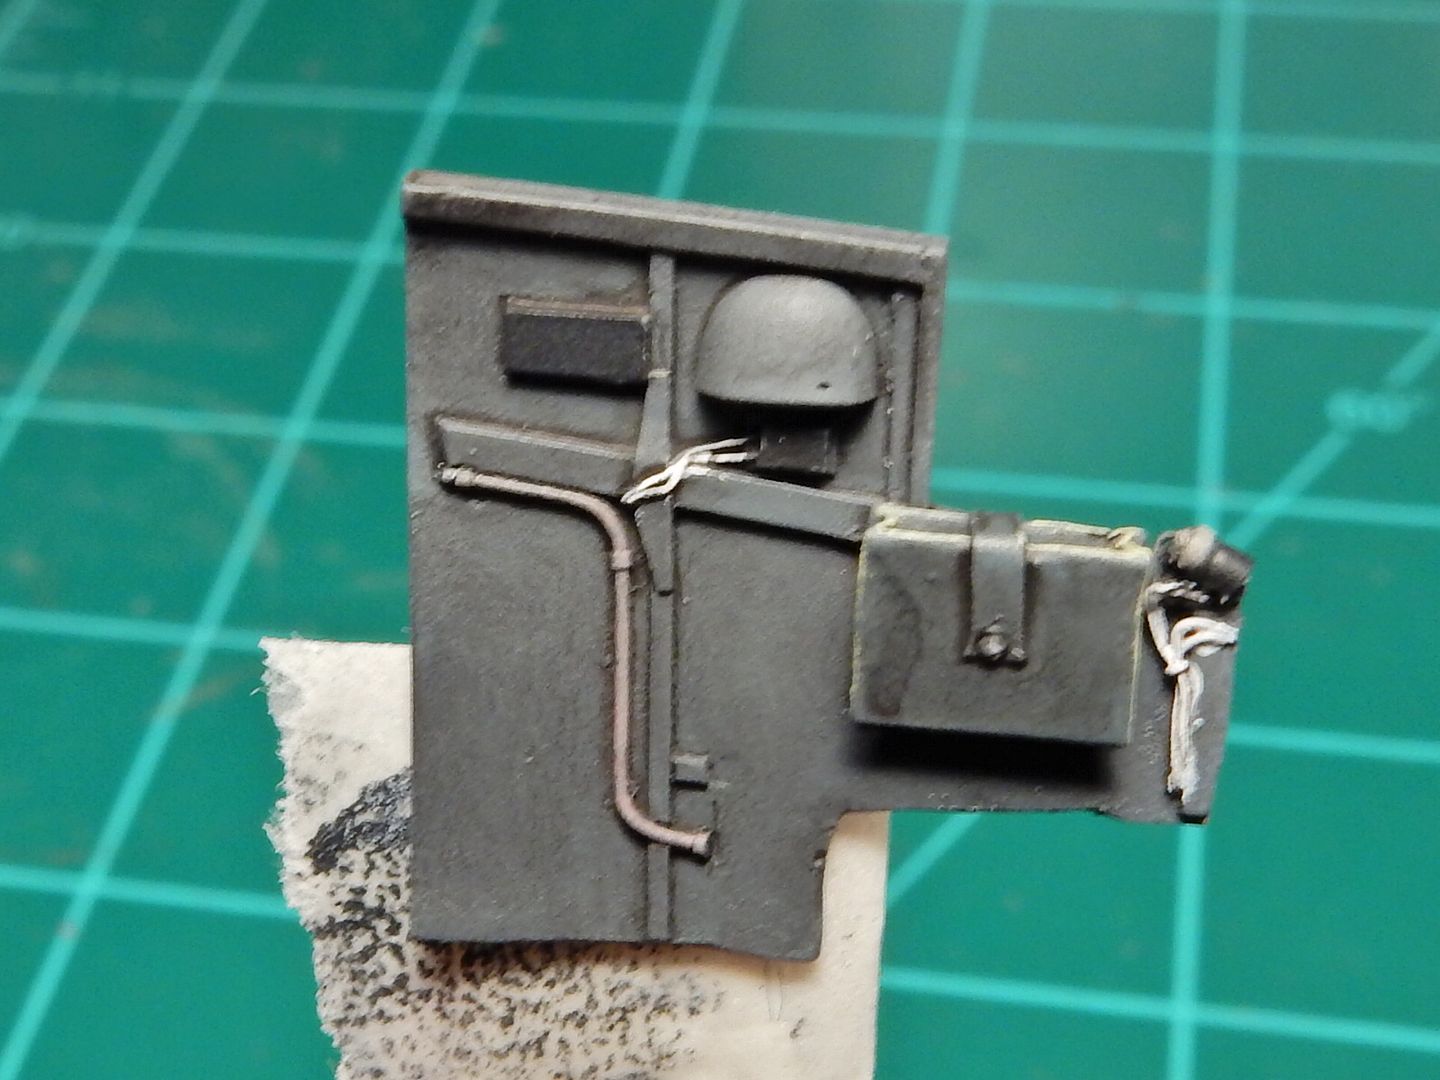 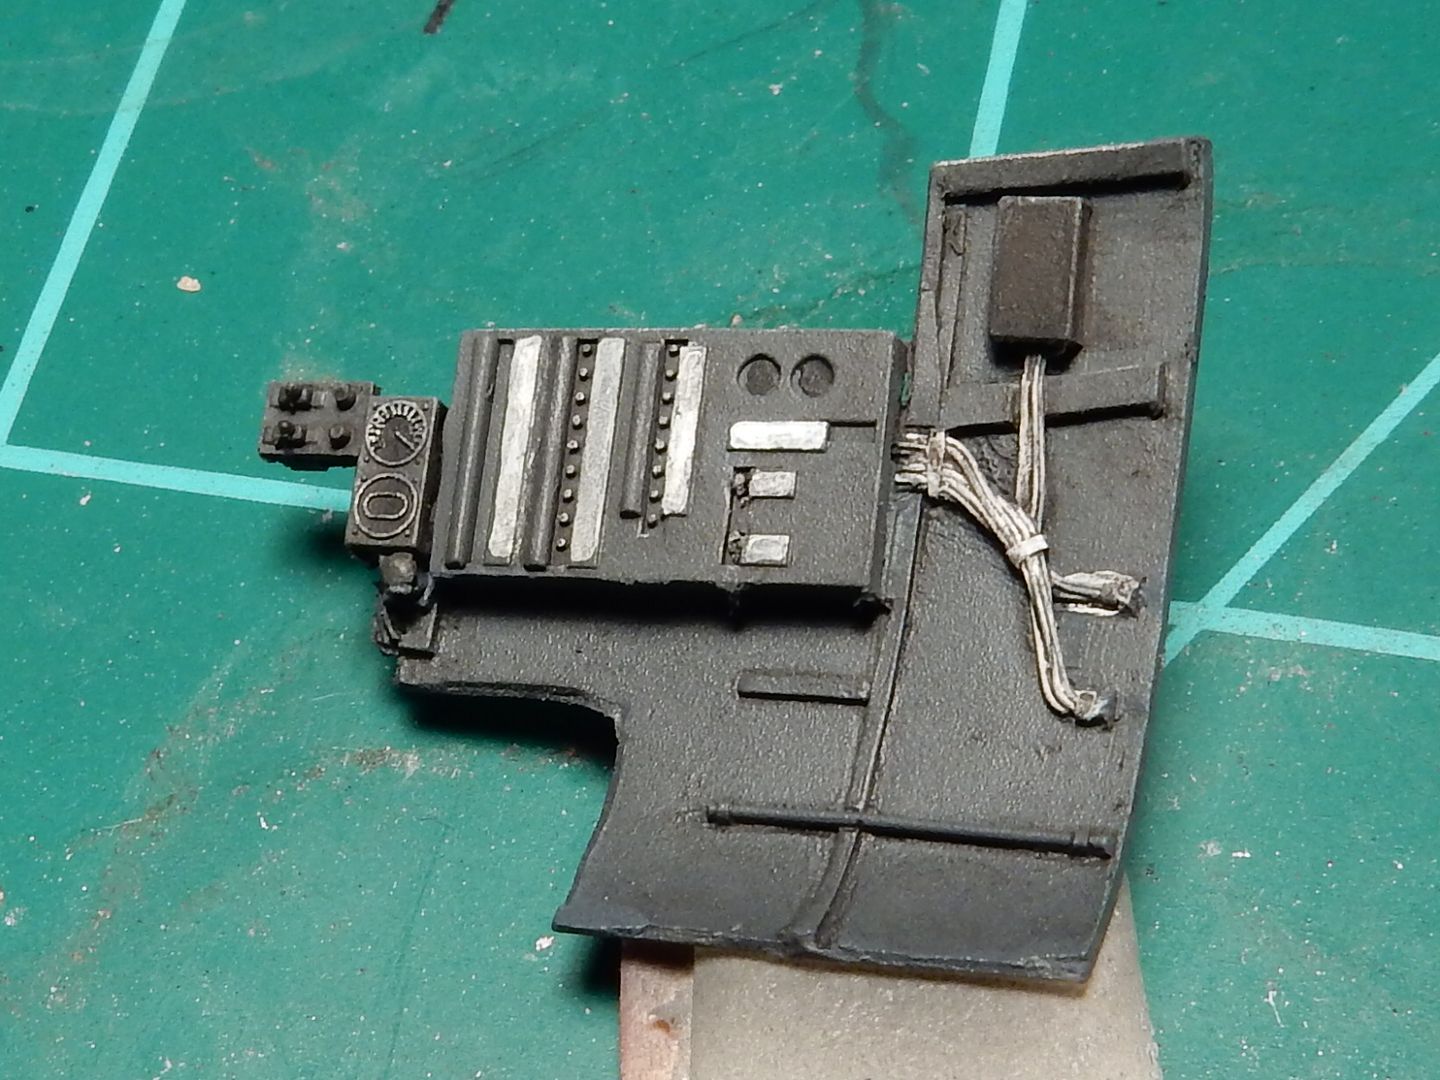 and the Macro Monster strikes again to help out the situation. Looks like I've gotta tidy up those white strips beside ckt breakers. Man my eyes must be failing me even under the visor. |
|
|
|
Post by kpnuts on Jun 19, 2019 13:24:47 GMT -7
I can't see pics mate (mind you could be our internet)
|
|
malcox477
Loyal Member
   Registered: May 21, 2019 16:19:37 GMT -7
Posts: 1,039
|
Post by malcox477 on Jun 21, 2019 13:04:07 GMT -7
Awesome work body
|
|
|
|
Post by mustang1989 on Jun 30, 2019 5:11:17 GMT -7
I got the fuselage together and the camera upper and lower fuselage clear panels glued into place. A little more progress has seen the installation of the wings. Posted below is the progress with the problematic seams noted in red. Lots of filling and sanding in all four areas.......

|
|
malcox477
Loyal Member
   Registered: May 21, 2019 16:19:37 GMT -7
Posts: 1,039
|
Post by malcox477 on Jun 30, 2019 21:52:03 GMT -7
Amazing work so far my friend...
|
|
|
|
Post by mustang1989 on Jul 1, 2019 8:29:21 GMT -7
Thanks malcox!
I finally opened up the Aires engine set because I'm at that point to where I want to work on the engine mounting for the starboard engine as that's the one I'll be displaying opened up. I was just getting over all the goodies in the kit (these engines look fabulous BTW) when I turned my attention to the instructions of how these beauties mount up to the wing. At first I wanted to put everything back in the box and move on.  You guys know about where I'm at with the build right now so you can imagine how I felt when I saw this in the instructions:
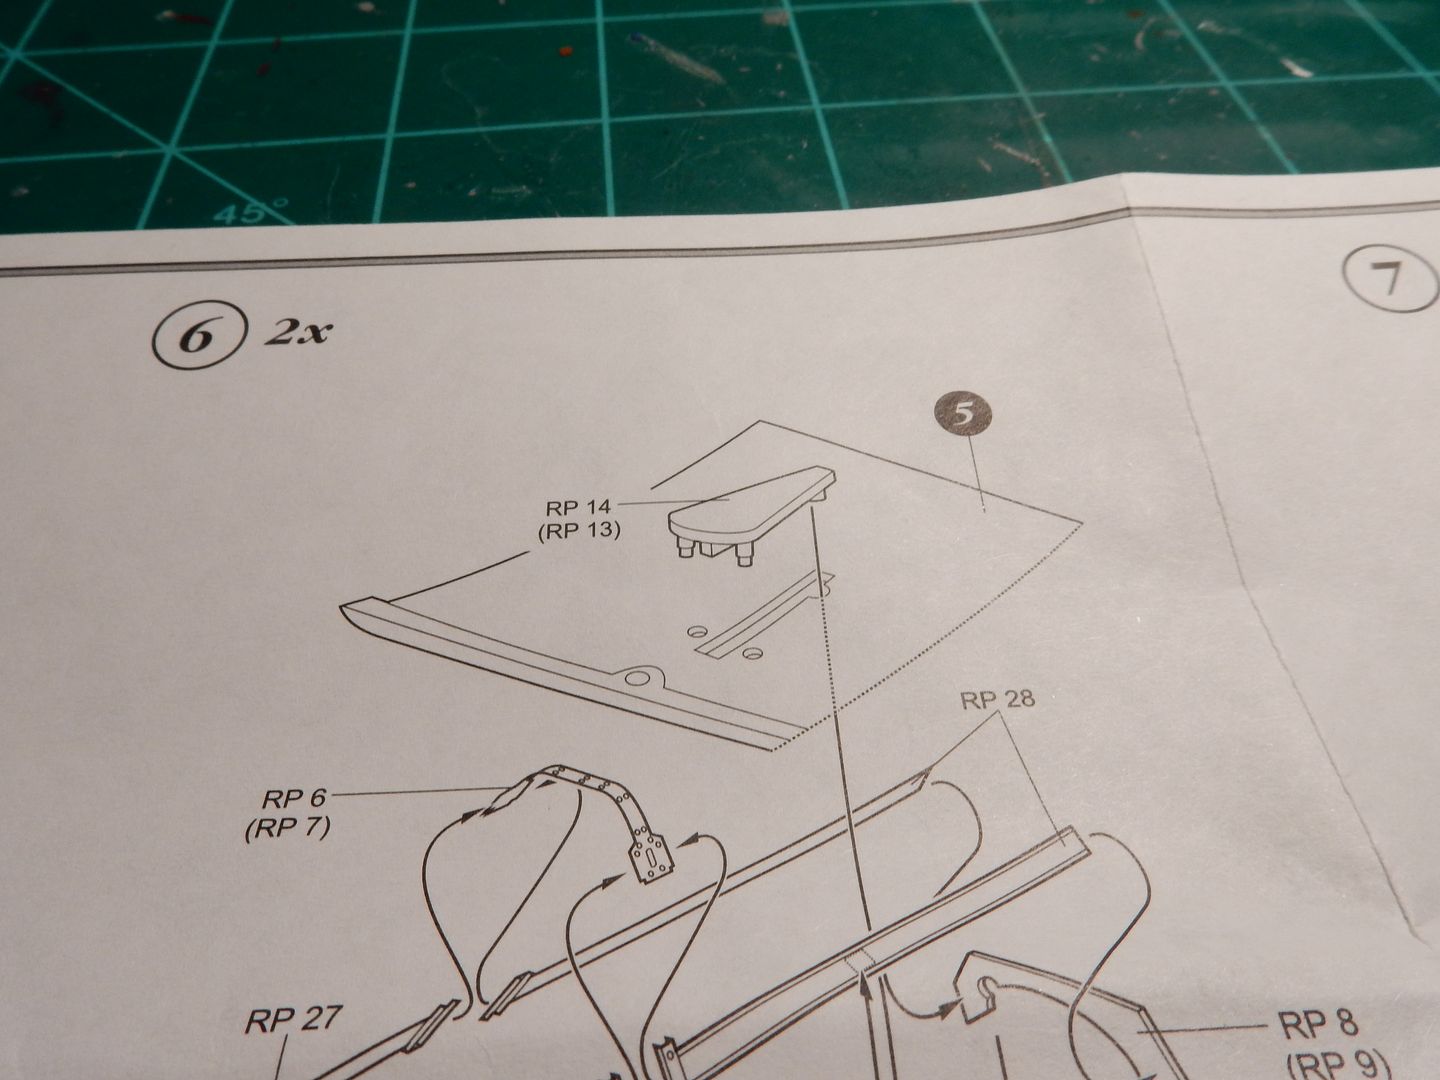
Yeah. That's what I said too.
I did, however , think about it over a cup of coffee and came up with this plan:
I took this:

and cut the locating pins off of the base and sanded the back side down until I was left with the center strip and the offset mounting hole, made all the cuts and holes in the wing like I was supposed to and inserted everything into the openings and holes in the wing from the outside.
The results? Something I think I can live with:

Ok.....made it past that hump! Movin' right along now.................................
|
|
|
|
Post by mustang1989 on Jul 2, 2019 8:53:43 GMT -7
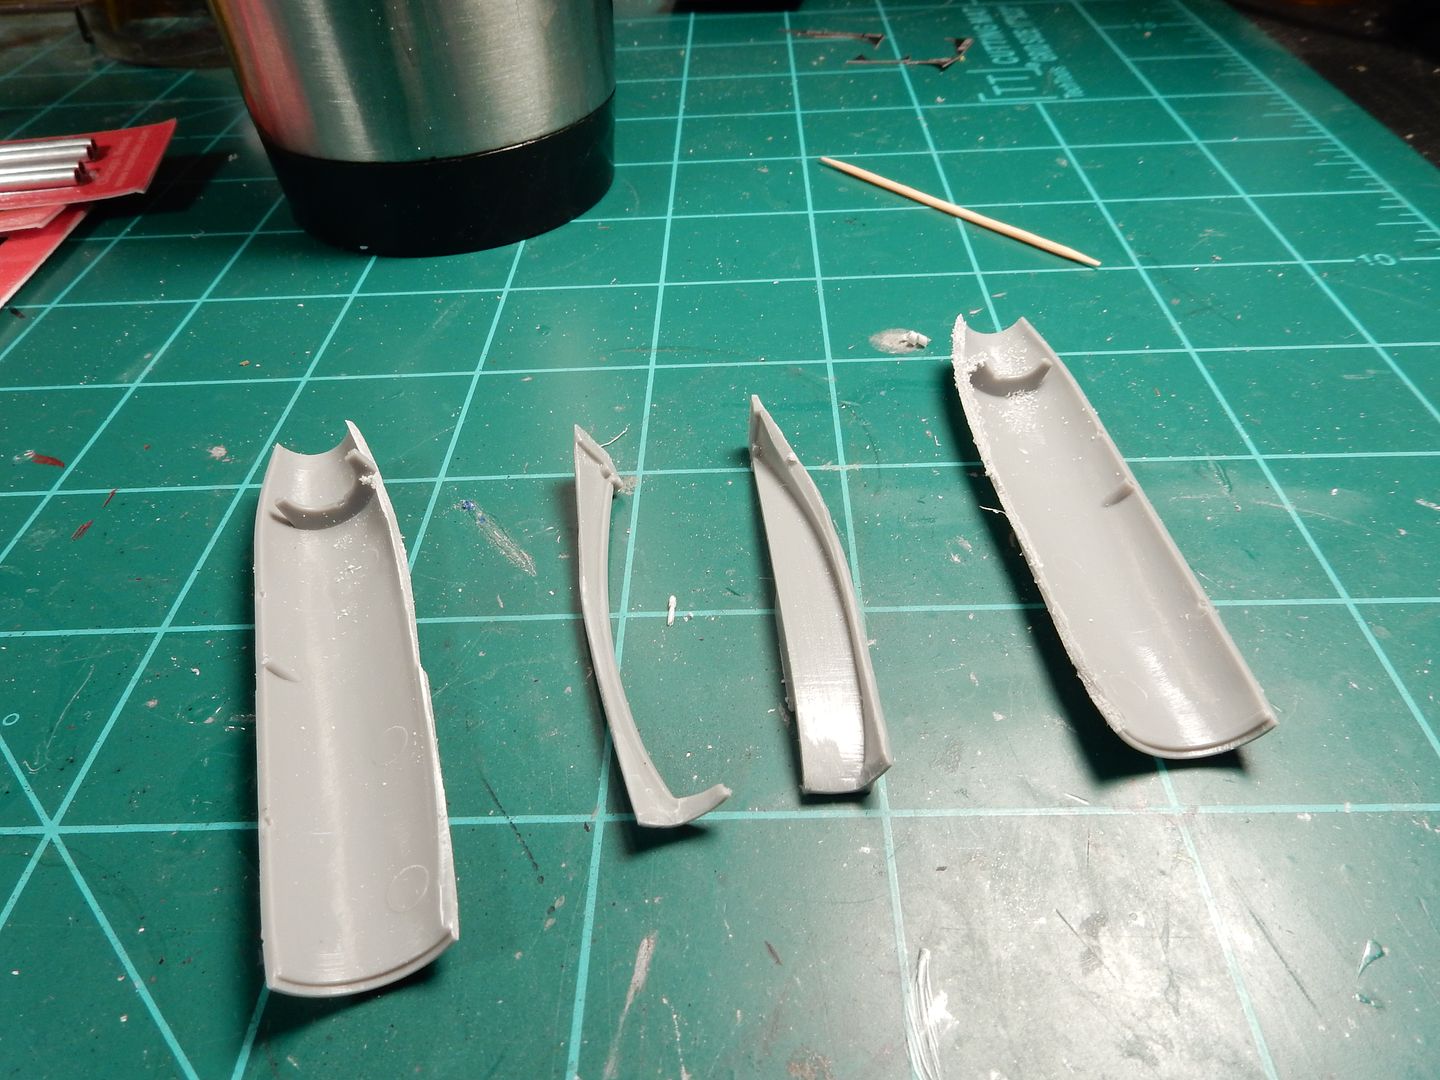
Lot's of cutting and sanding going on as of late. I've got the port side engine pod minus all the panels about ready though. I still have some sanding and filling to do at the front and rear but I feel fairly good about the progress so far.......it's just taking forever to get anywhere past all the cutting. lol
Cut and sectioned out:
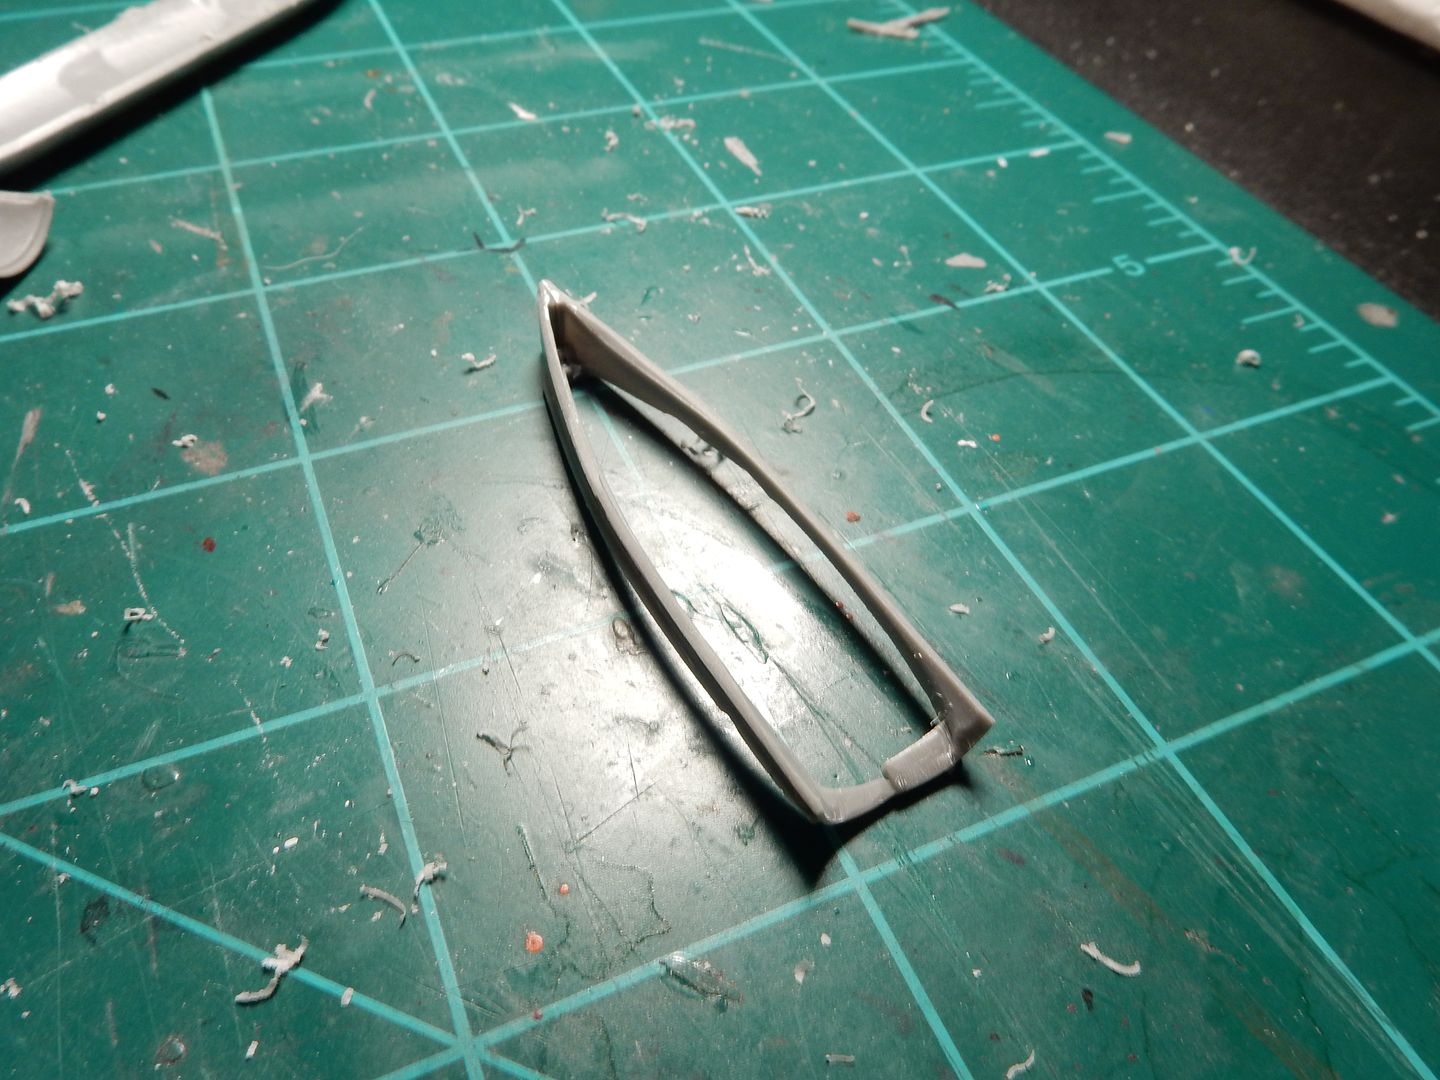
I cut the center strip out of the left over engine pod root and got the halves glued together:
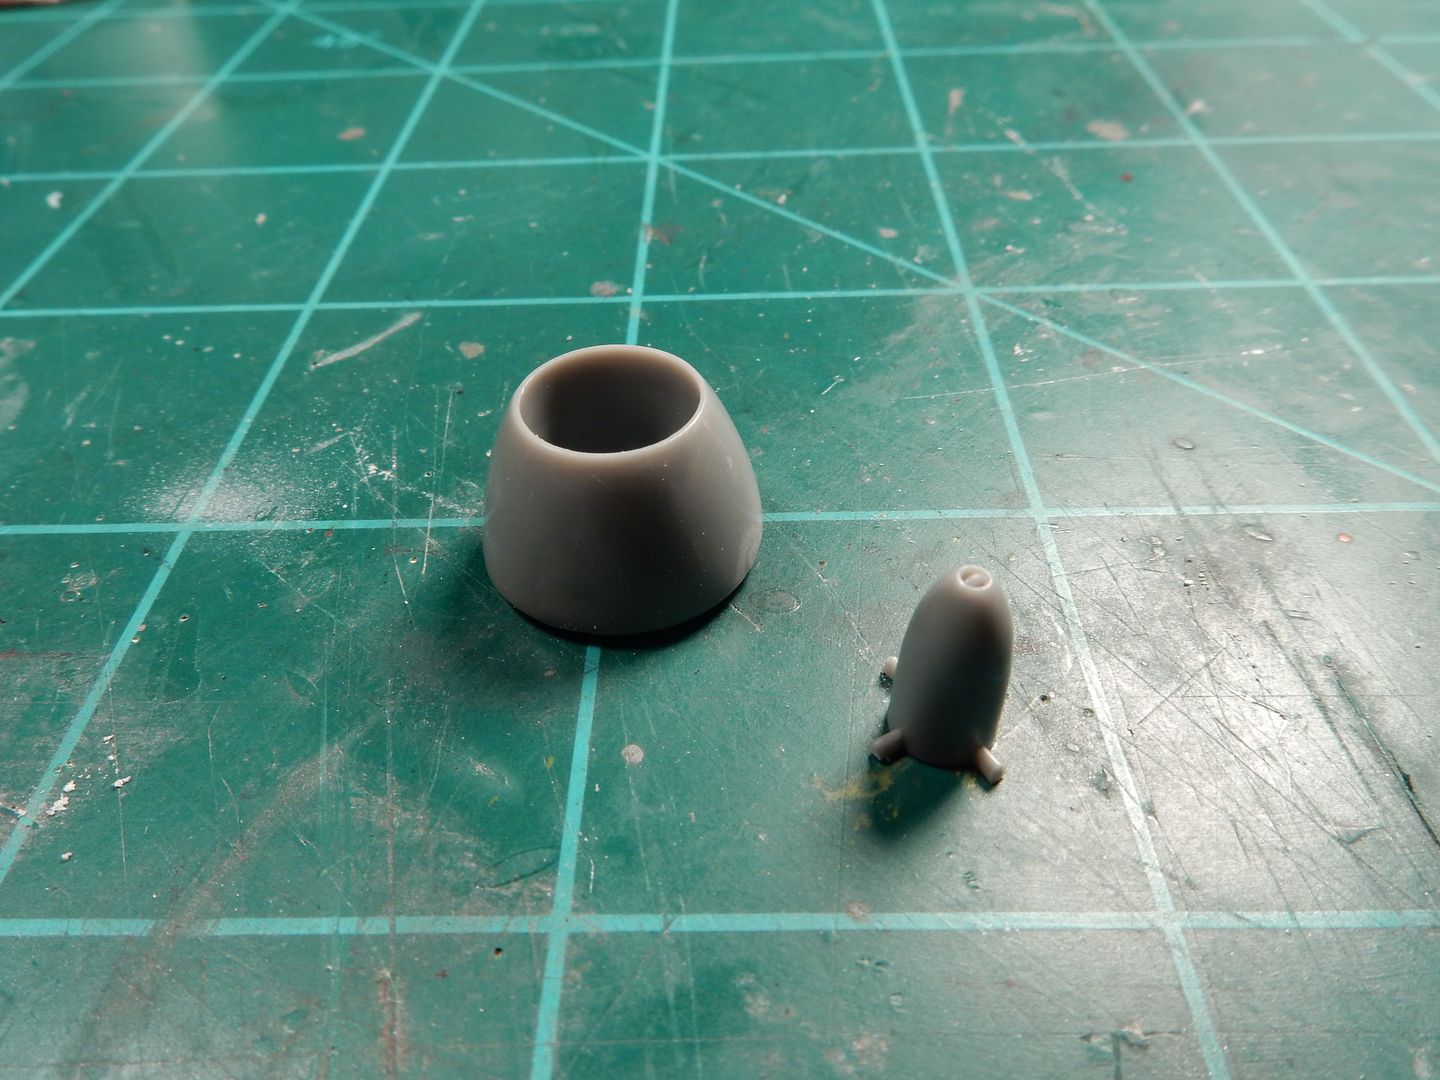
I didn't foresee being able to paint the engine air intake area on the starboard closed up engine uniformly so I cut the starter assy out of the center of the air intake to paint it and will reinstall it after painting.
|
|
|
|
Post by mustang1989 on Jul 15, 2019 12:18:22 GMT -7
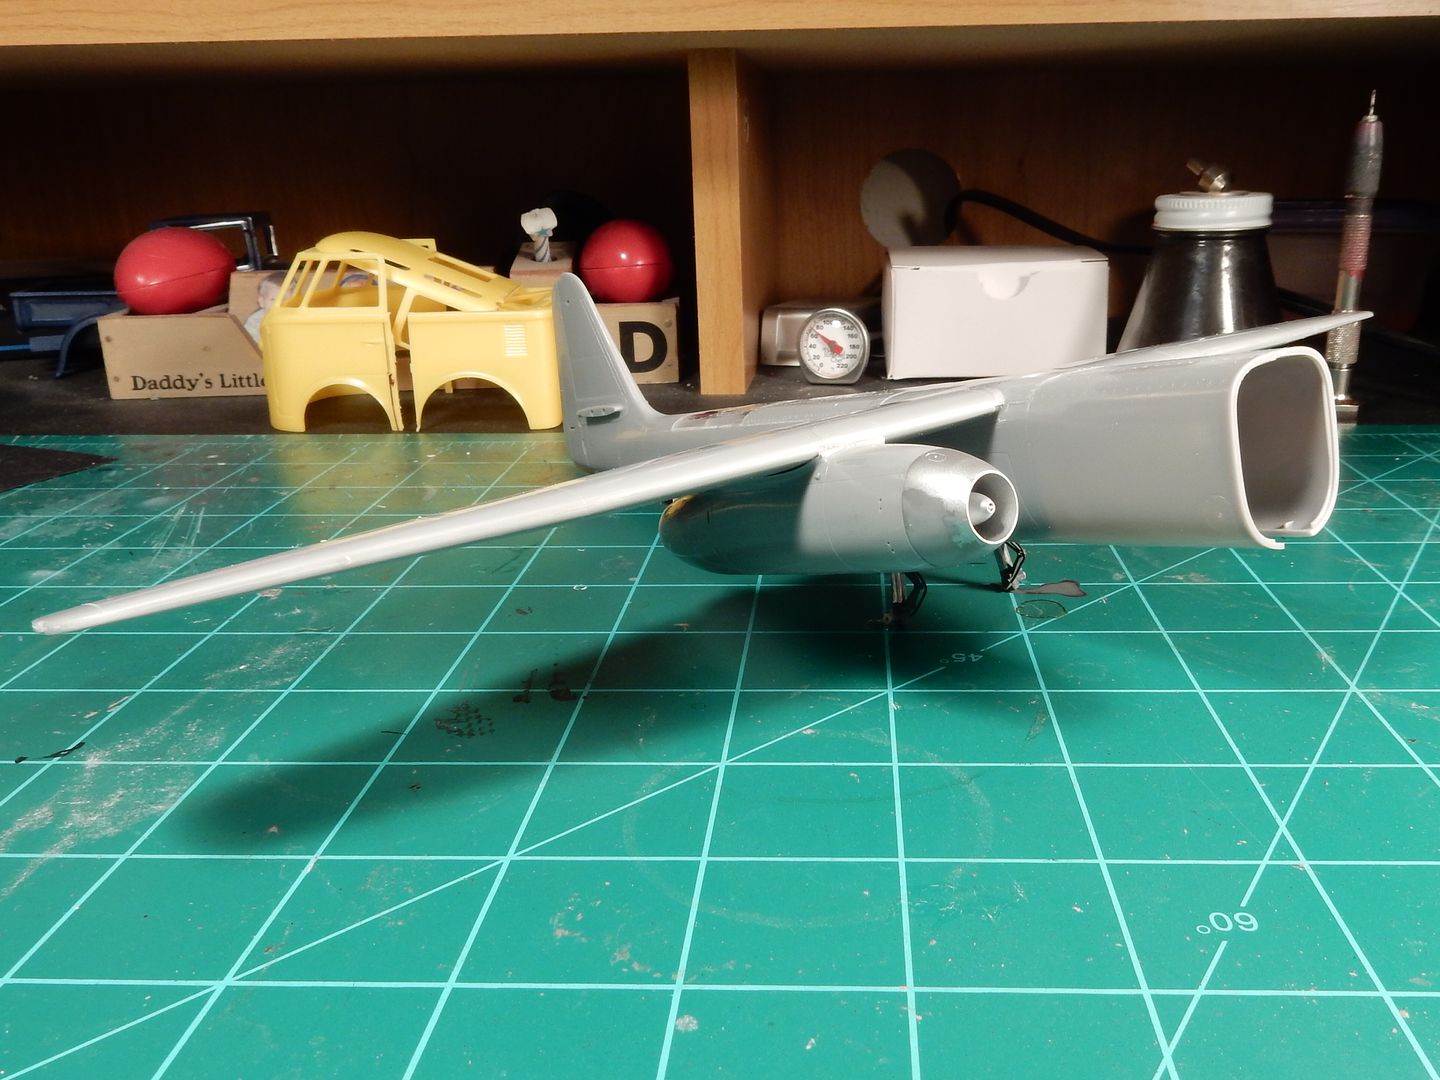
I got the engine nacelle installed on the starboard side and did ALOT of test fitting and trimming for the displayed port side engine.
Here's where we are today.
|
|
malcox477
Loyal Member
   Registered: May 21, 2019 16:19:37 GMT -7
Posts: 1,039
|
Post by malcox477 on Jul 16, 2019 23:43:28 GMT -7
Awesome work so far man, love it
|
|
|
|
Post by mustang1989 on Jul 17, 2019 6:34:09 GMT -7
Thanks Malcox!
I started off by black basing this beast and got a fairly even coat on it. I used the same method I use for my autos that I paint in black using semi gloss black for a base.
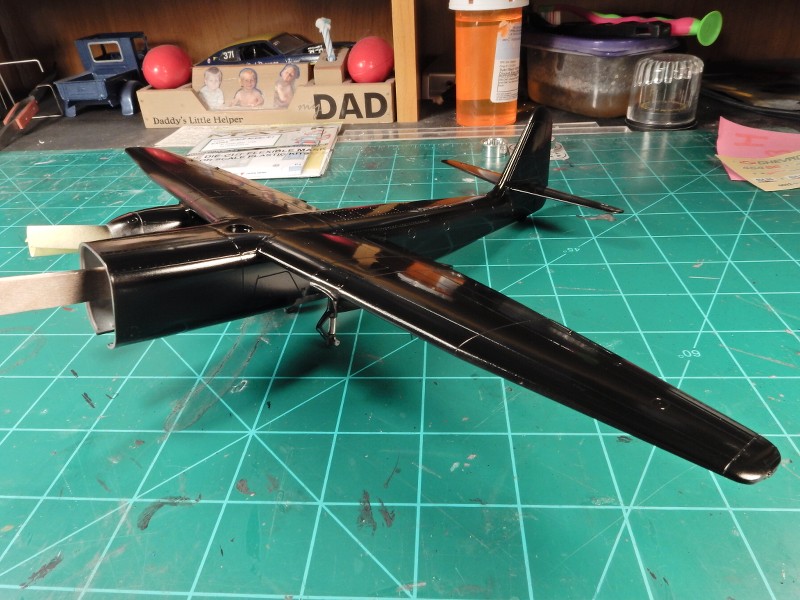
Took a Badger 150 airbrush and went over the whole black base with a marble pattern in grey

|
|
|
|
Post by mustang1989 on Oct 15, 2019 6:24:25 GMT -7
Ok gang. I spent the better half of 3 hours applying the initial color splinter pattern coat. I already know I'm going to hear it from somebody because I've been telling myself all morning long that I must like to make things difficult. I have applied these colors in patches rather than go over most of the bird with the predominant color. I made the mistake of applying the predominant color once on my Stuka and I didn't much care for it because when I went back over the base color with the second camo color it looked to thick. So I opted to do things this way. I've also opted not to put the cockpit on just yet. I'll get to that in due time and in my own fashion...……..the hard way. I do like the benefits of the marble pattern and will more than likely continue that trend. There is a couple of touch ups that I need to do between the camo colors but I do like this way even though it is time consuming. I spend more time masking than I've spent on any other area of the model. 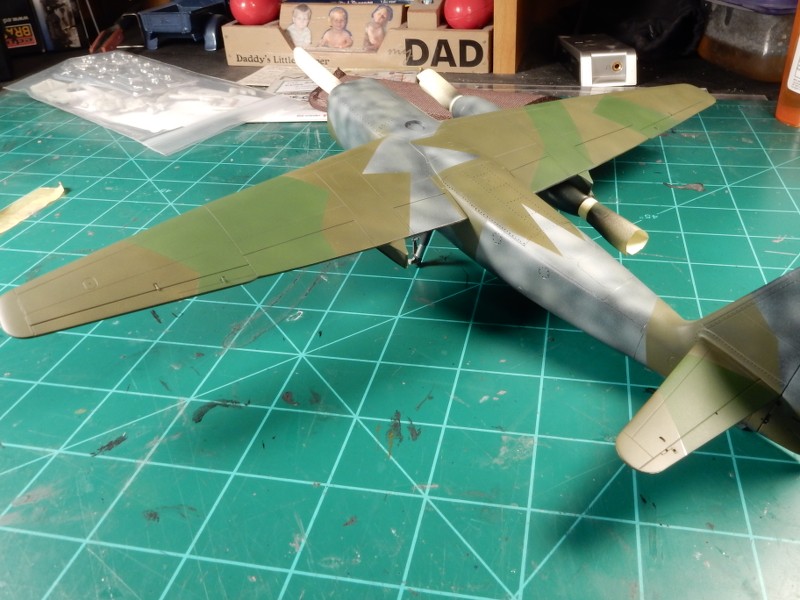 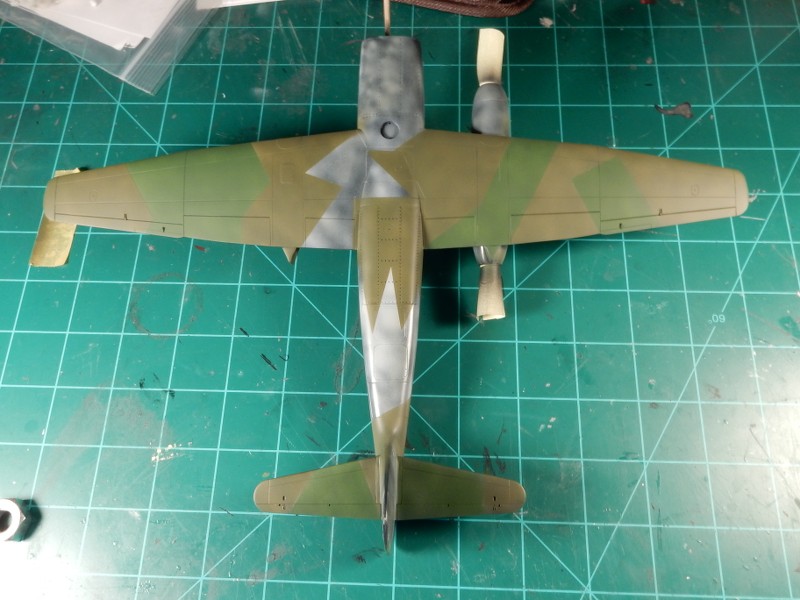 |
|
|
|
Post by kpnuts on Oct 15, 2019 12:53:26 GMT -7
Superb work my friend
|
|
|
|
Post by mustang1989 on Nov 12, 2019 15:01:16 GMT -7
|
|
|
|
Post by kpnuts on Nov 12, 2019 15:12:03 GMT -7
Superb work mate.
|
|
|
|
Post by mustang1989 on Nov 12, 2019 15:21:23 GMT -7
Thanks Ken!! I can't tell you how glad I was to have finally gotten that one finished. Man that one was a toughy!!! |
|