|
|
Post by mustang1989 on Sept 4, 2017 4:44:31 GMT -7
Ok folks , this'll be my first official post of the Ebay Challenge engine build up. What we have here is AMT's version of the famous Chevrolet 409. I must say that I knew nothing of this engine until now. If anybody is interested there's a great article from Super Chevy on the 348/ 409 engine line up here: i1061.photobucket.com/albums/t469/bf109g430mm/Miscellaneous%20stuff/Ebay%20Chevrolet%20409%20Build/001_zpsklgxw9pu.jpg
I've been doing all kinds of research on this historic powerplant and am learning a lot on what I'm building here. I'm going to stay as close to the "book" as possible on this build and use most of the OOB parts that I have.
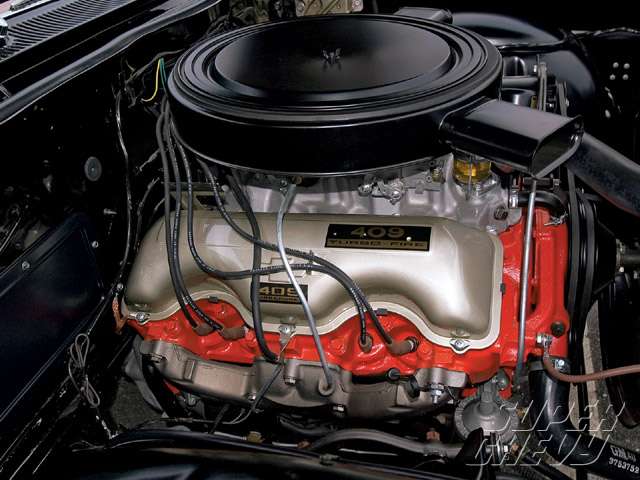
A couple of shots on what I'm going to be aiming for.
Although they look about the same between these next two photos, this one here is the 360 hp version that could be added for an option at about $320 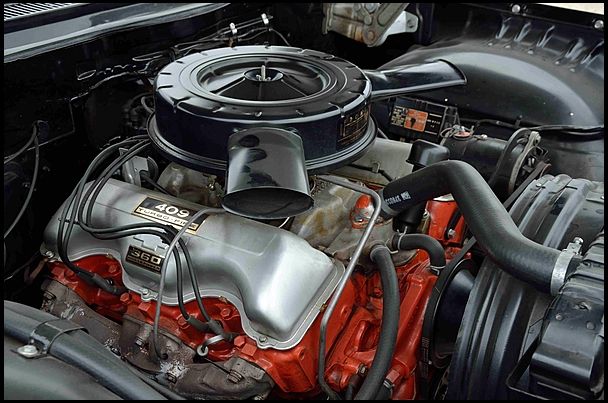
and the 409hp version that could be added for about $379
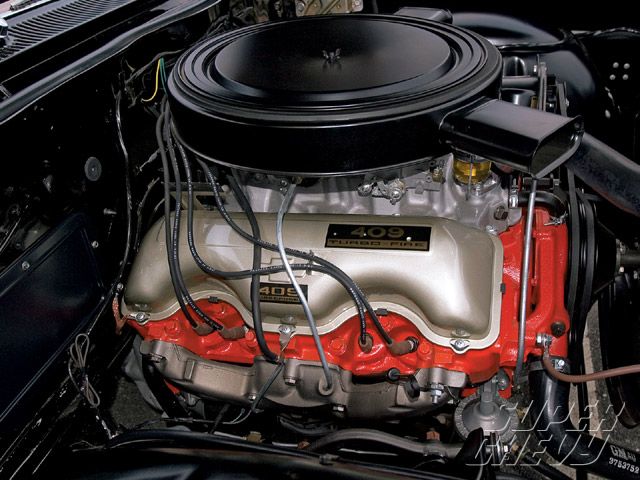
and a shot from underneath the vehicle.
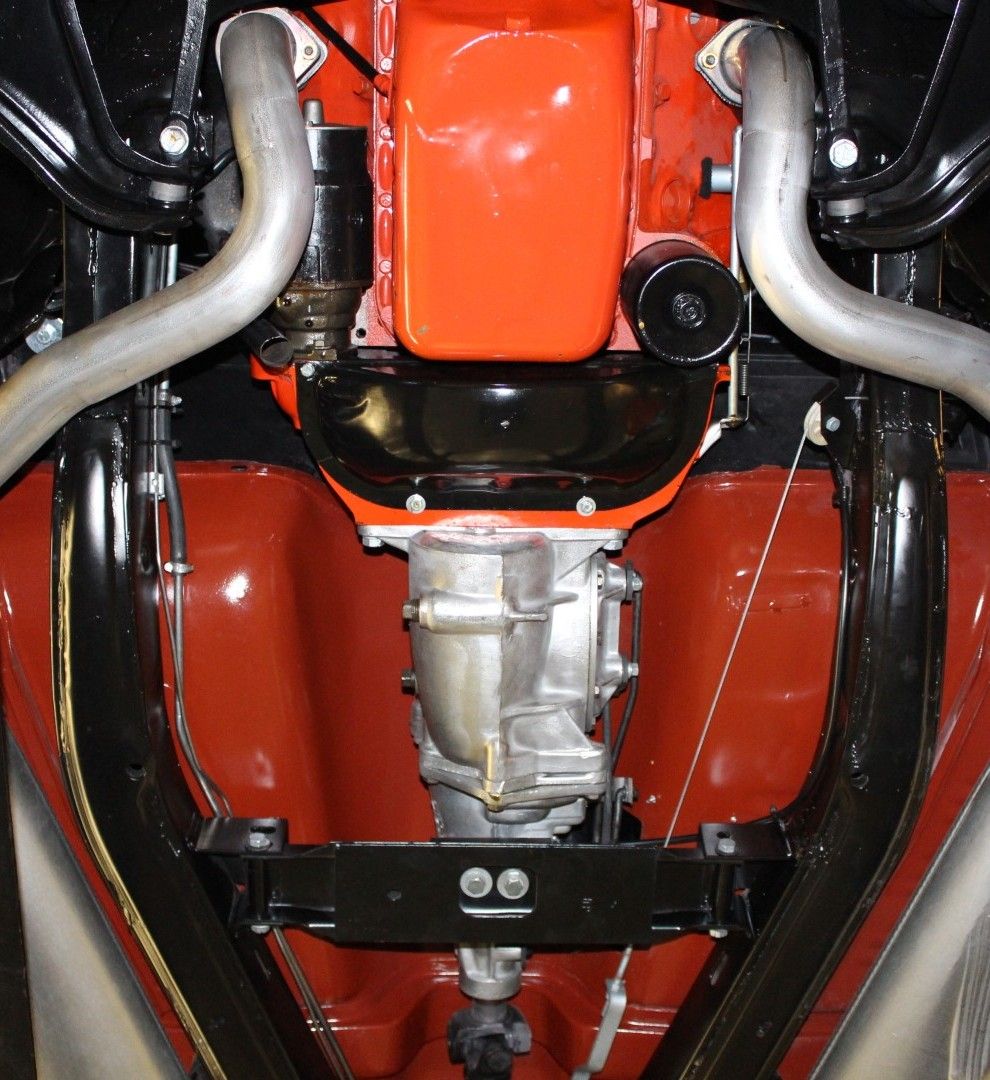
|
|
|
|
Post by mustang1989 on Sept 4, 2017 4:49:36 GMT -7
At first I thought about Alclading the rocker covers to a chrome look but the chrome rocker covers didn't come into being until 1963. For the 61-62 year they were painted a silver/ gold color which I'll be going with here.
To start things off I got the halves together and after a lot of clean up had it ready for black basing:
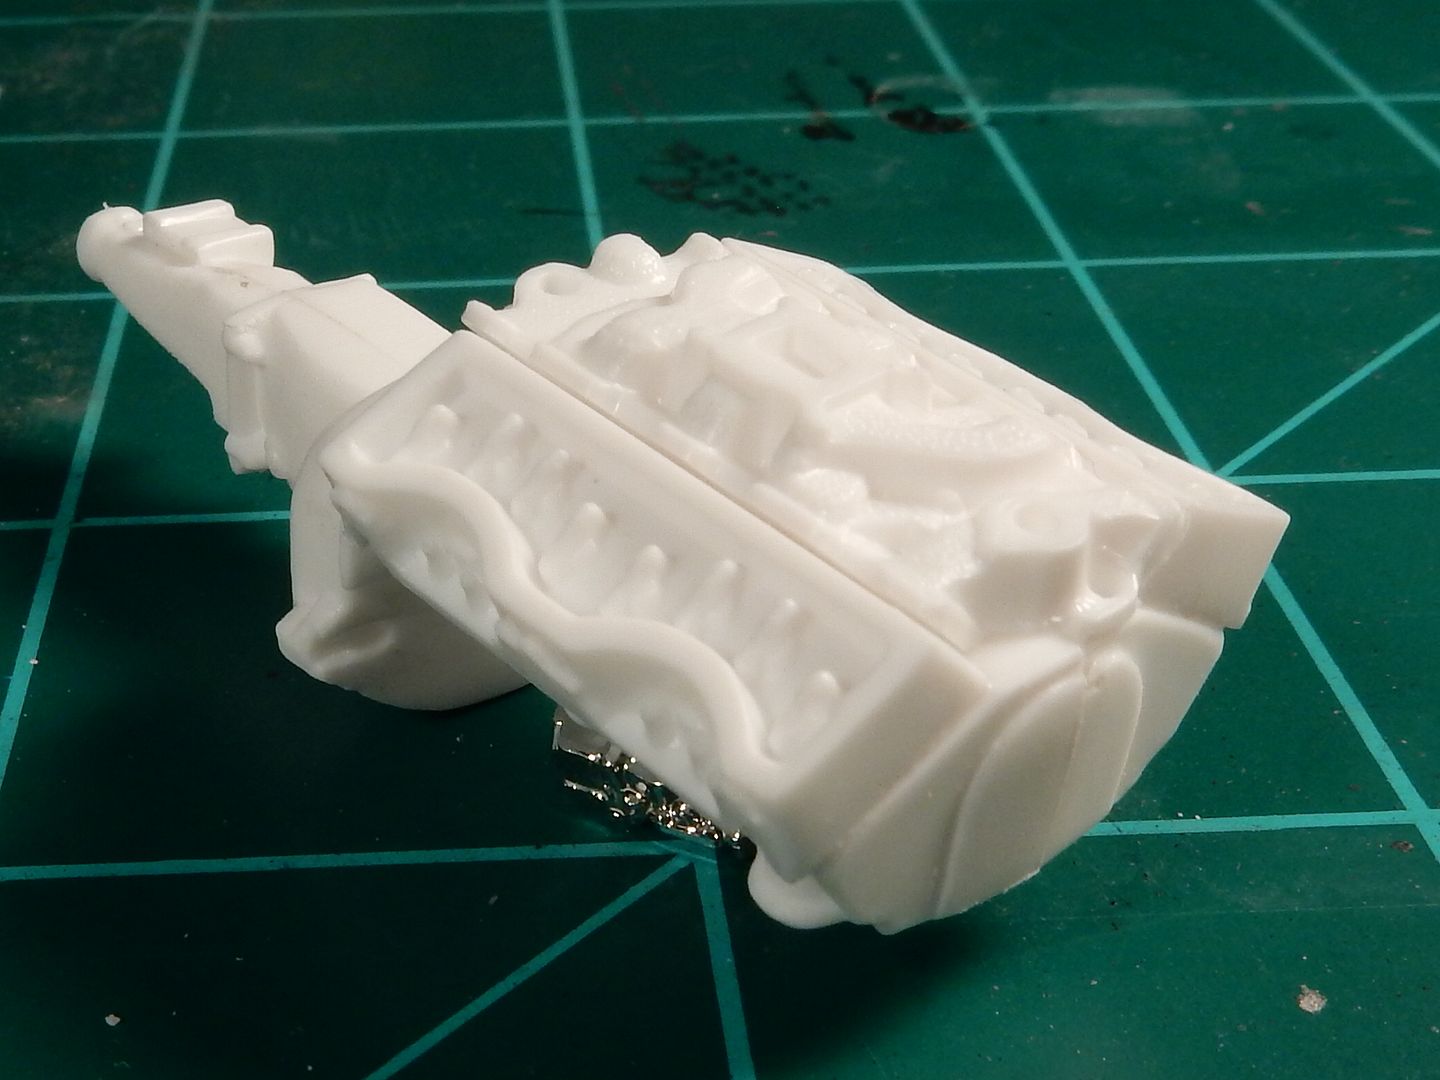
Here we are after my usual black basing on all the engines I paint except for the fluorescent colored ones.....................those get primered in white.

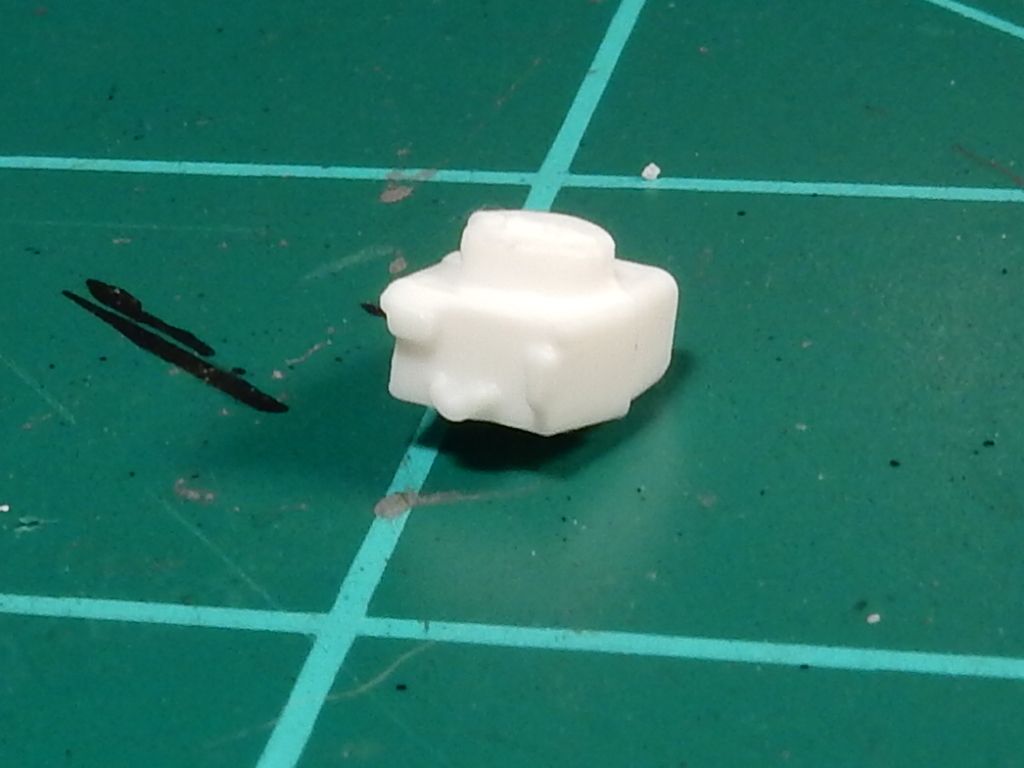
Now...................THIS is supposed to be a Carter AFB carburetor. Yeah..............................I'm gonna have to figure something else out. 
|
|
|
|
Post by sharp on Sept 4, 2017 9:04:24 GMT -7
I agree on that carb,I'm gonna look through my stash,I'll let you know Joe.
|
|
|
|
Post by sharp on Sept 4, 2017 9:13:32 GMT -7
Ok folks , this'll be my first official post of the Ebay Challenge engine build up. What we have here is AMT's version of the famous Chevrolet 409. I must say that I knew nothing of this engine until now. If anybody is interested there's a great article from Super Chevy on the 348/ 409 engine line up here: i1061.photobucket.com/albums/t469/bf109g430mm/Miscellaneous%20stuff/Ebay%20Chevrolet%20409%20Build/001_zpsklgxw9pu.jpg
I've been doing all kinds of research on this historic powerplant and am learning a lot on what I'm building here. I'm going to stay as close to the "book" as possible on this build and use most of the OOB parts that I have.
A couple of shots on what I'm going to be aiming for.
Although they look about the same between these next two photos, this one here is the 360 hp version that could be added for an option at about $320 
and the 409hp version that could be added for about $379

and a shot from underneath the vehicle.

Hey JOE, I didn't mail your decals out yet, I could but a resin Holley in there if you want to use that instead. |
|
|
|
Post by poet on Sept 4, 2017 9:29:12 GMT -7
Nice choice!!
|
|
|
|
Post by mustang1989 on Sept 4, 2017 10:40:03 GMT -7
I agree on that carb,I'm gonna look through my stash,I'll let you know Joe. I was hoping you'd chime in Mike!!! I have some pretty Bad A looking Holleys but that's not what came on this engine. All my AFB's look like crap.  |
|
|
|
Post by mustang1989 on Sept 4, 2017 11:03:00 GMT -7
|
|
tubbs
Loyal Member
   Registered: Jul 24, 2013 5:02:43 GMT -7
Posts: 1,017
|
Post by tubbs on Sept 5, 2017 6:42:20 GMT -7
|
|
tubbs
Loyal Member
   Registered: Jul 24, 2013 5:02:43 GMT -7
Posts: 1,017
|
Post by tubbs on Sept 5, 2017 6:43:20 GMT -7
sorry for yelling....
|
|
|
|
Post by mustang1989 on Sept 5, 2017 7:44:00 GMT -7
No worries Al. lol
I thought I remember seeing some of these somewhere. I'll wait on Mike first but I'll be checking into these for my own builds. Thanks, Joe
|
|
|
|
Post by sharp on Sept 6, 2017 19:24:10 GMT -7
Hey Joe,how about this carb? just found it in my parts box I put a little black wash on it so you could see the detail. Let me know if it will work for you. ![]() 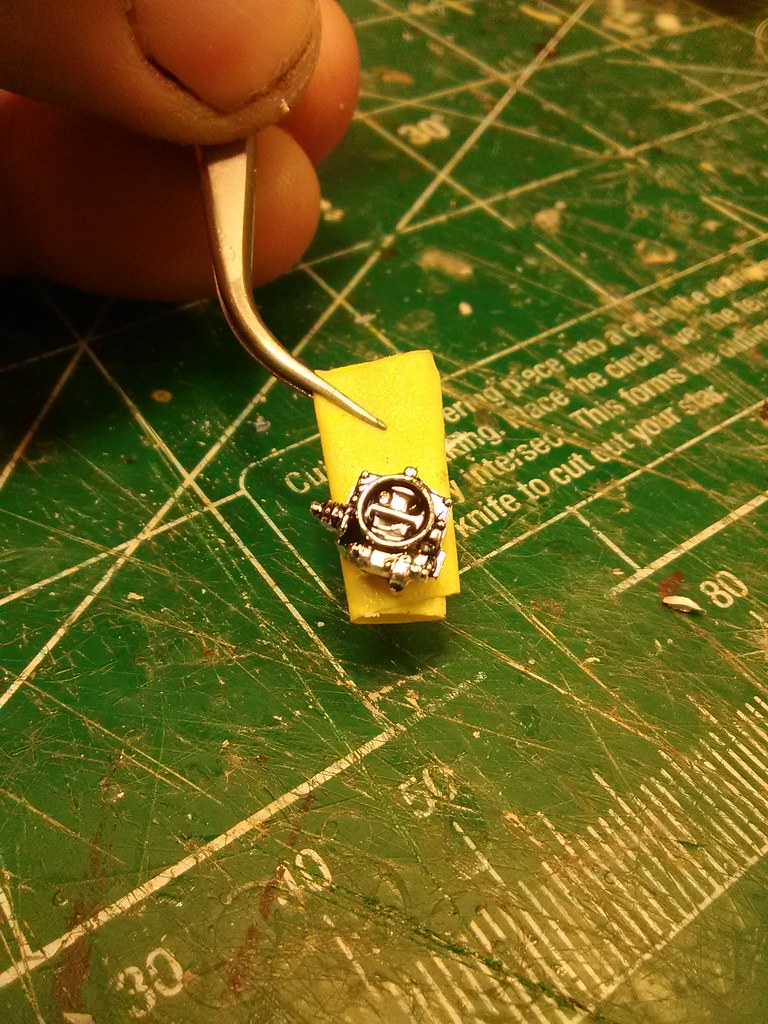 |
|
|
|
Post by mustang1989 on Sept 7, 2017 5:10:02 GMT -7
Hey Joe,how about this carb? just found it in my parts box I put a little black wash on it so you could see the detail. Let me know if it will work for you. ![]()  That'll do just fine there Mike and thanks man. PM Sent.............. |
|
|
|
Post by mustang1989 on Sept 9, 2017 3:44:07 GMT -7
Okeedokee folks. It's update time. I've got the block and timing cover/ water pump painted Chevrolet Orange, the starter and generator painted black (will pick out the details shortly) , exhaust and intake manifolds painted an aluminum silver (will apply a subtle wash to those to bring out the detail and tone them back down to a more realistic look) and the rocker covers painted the most closest I could get to the silver/ gold finish that was available in 61/62. I received the decals for the engine yesterday from Mike. Thank be to Mike. I've already sprayed a mixture of Tamiya Gloss and Smoke over the block and rocker covers.
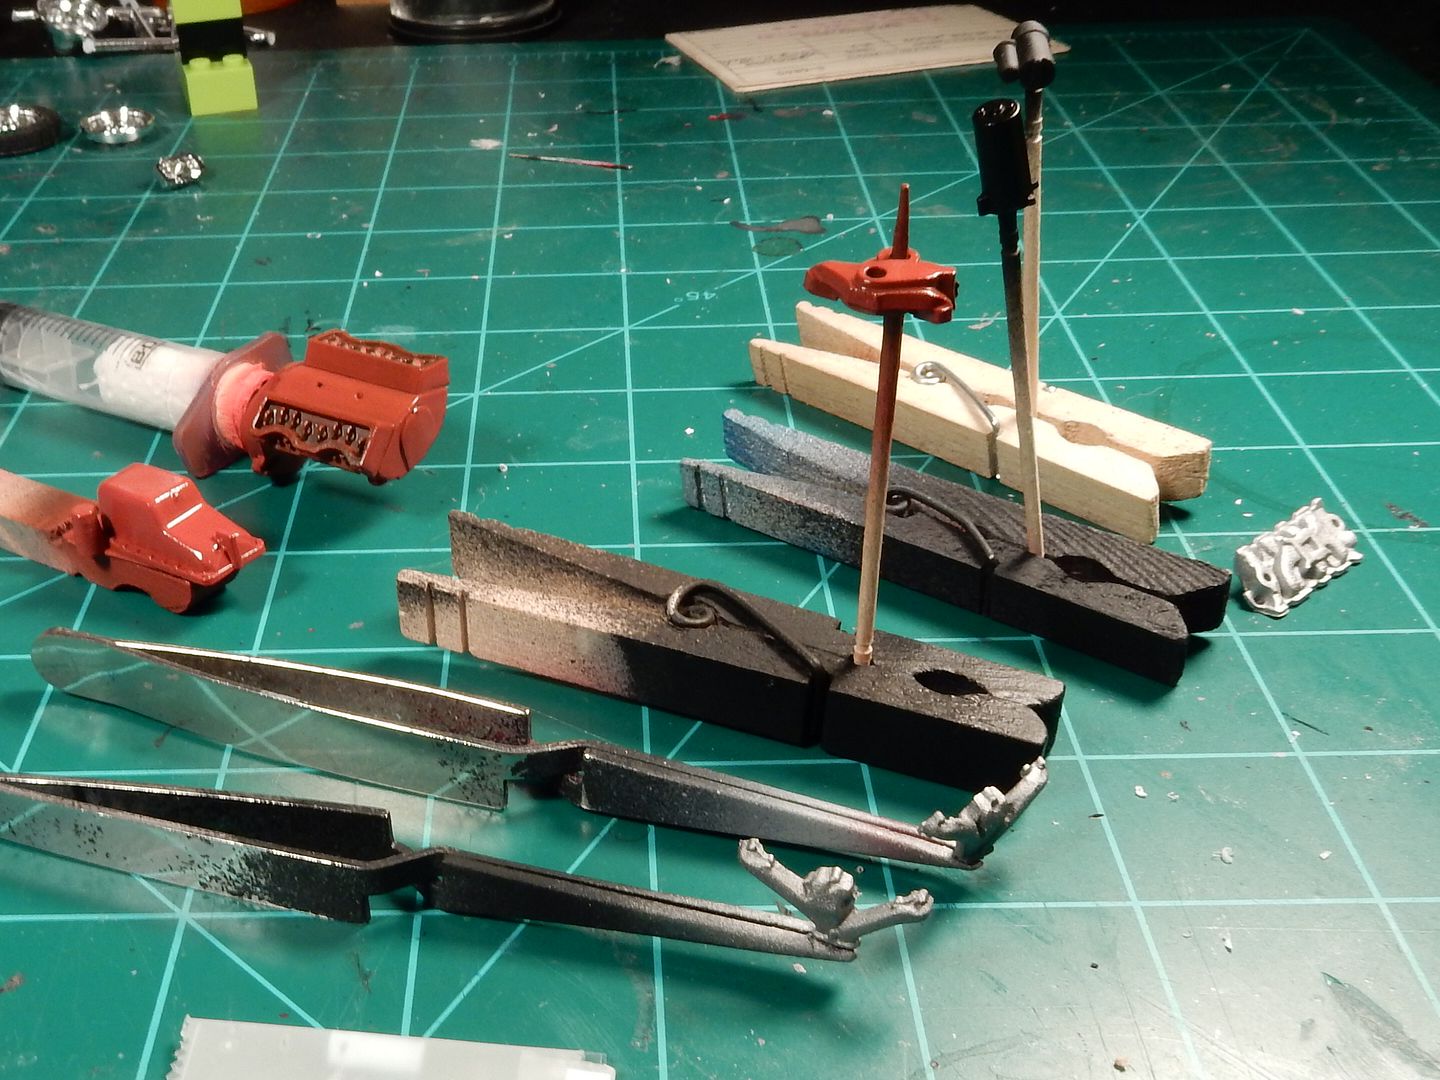
Here's the rest of the parts I've got for the build. The distributor is missing but I think I can come up with one of those. Additionally I've got a couple of options for the radiator hoses. I can either use what's on the sprues here:

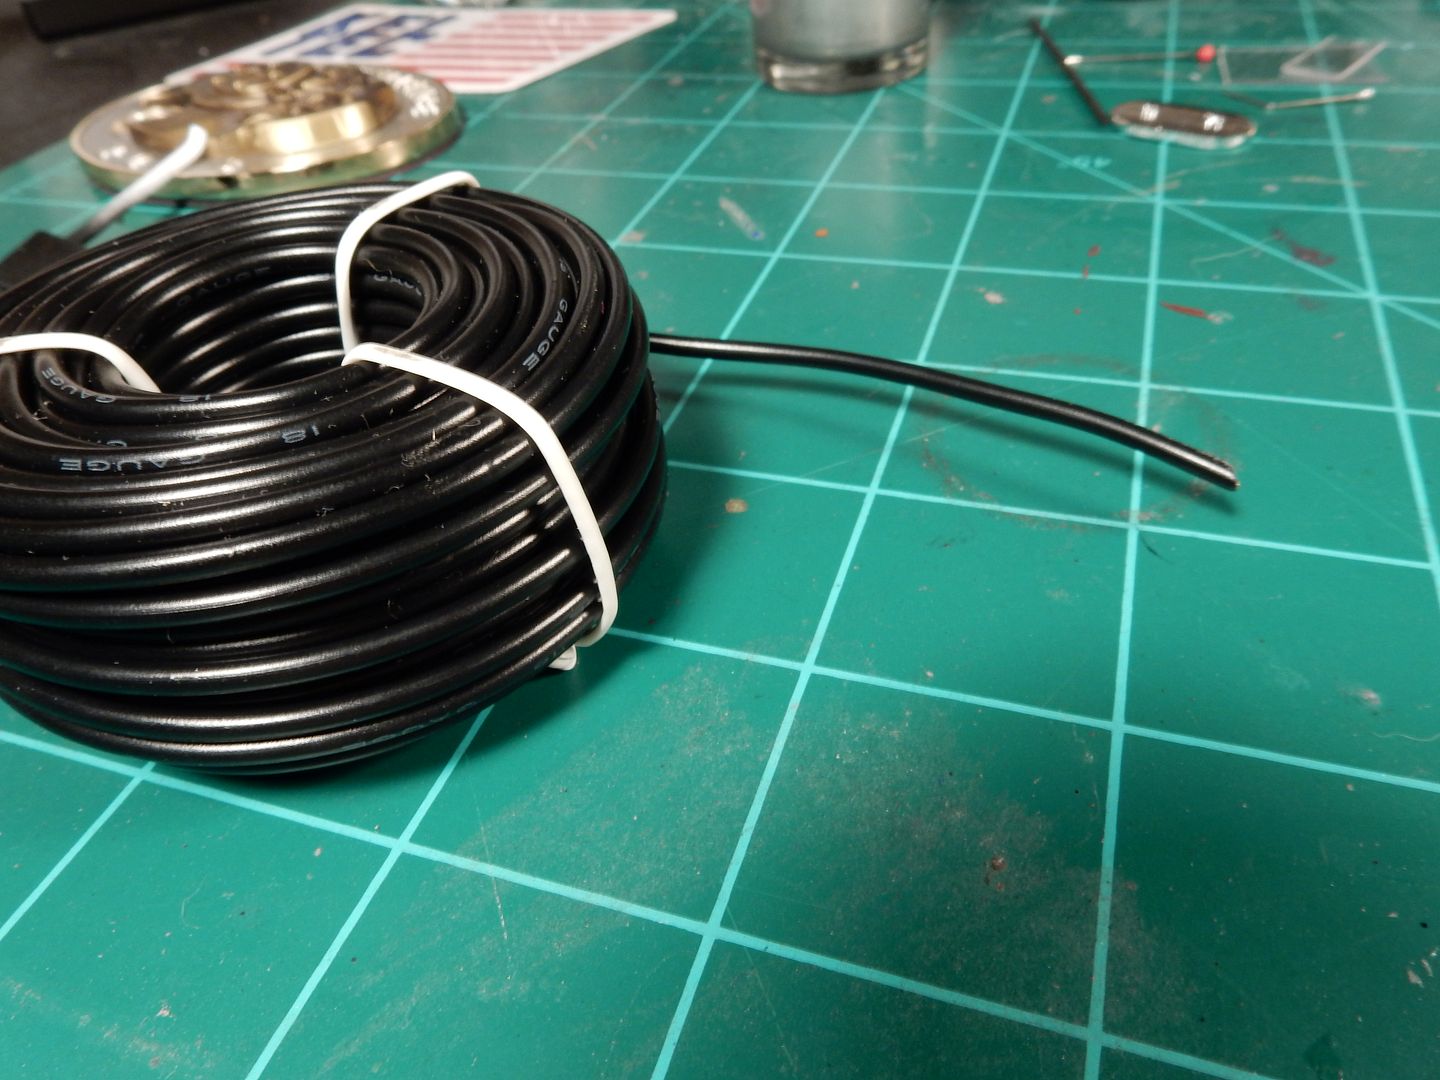
or I can use some 18 guage black insulated wire that I've got, form the radiator hoses and paint a coat of dull coat with a drop or so of grey mixed in for a worn rubber look. Let me know which way you want me to go with it.
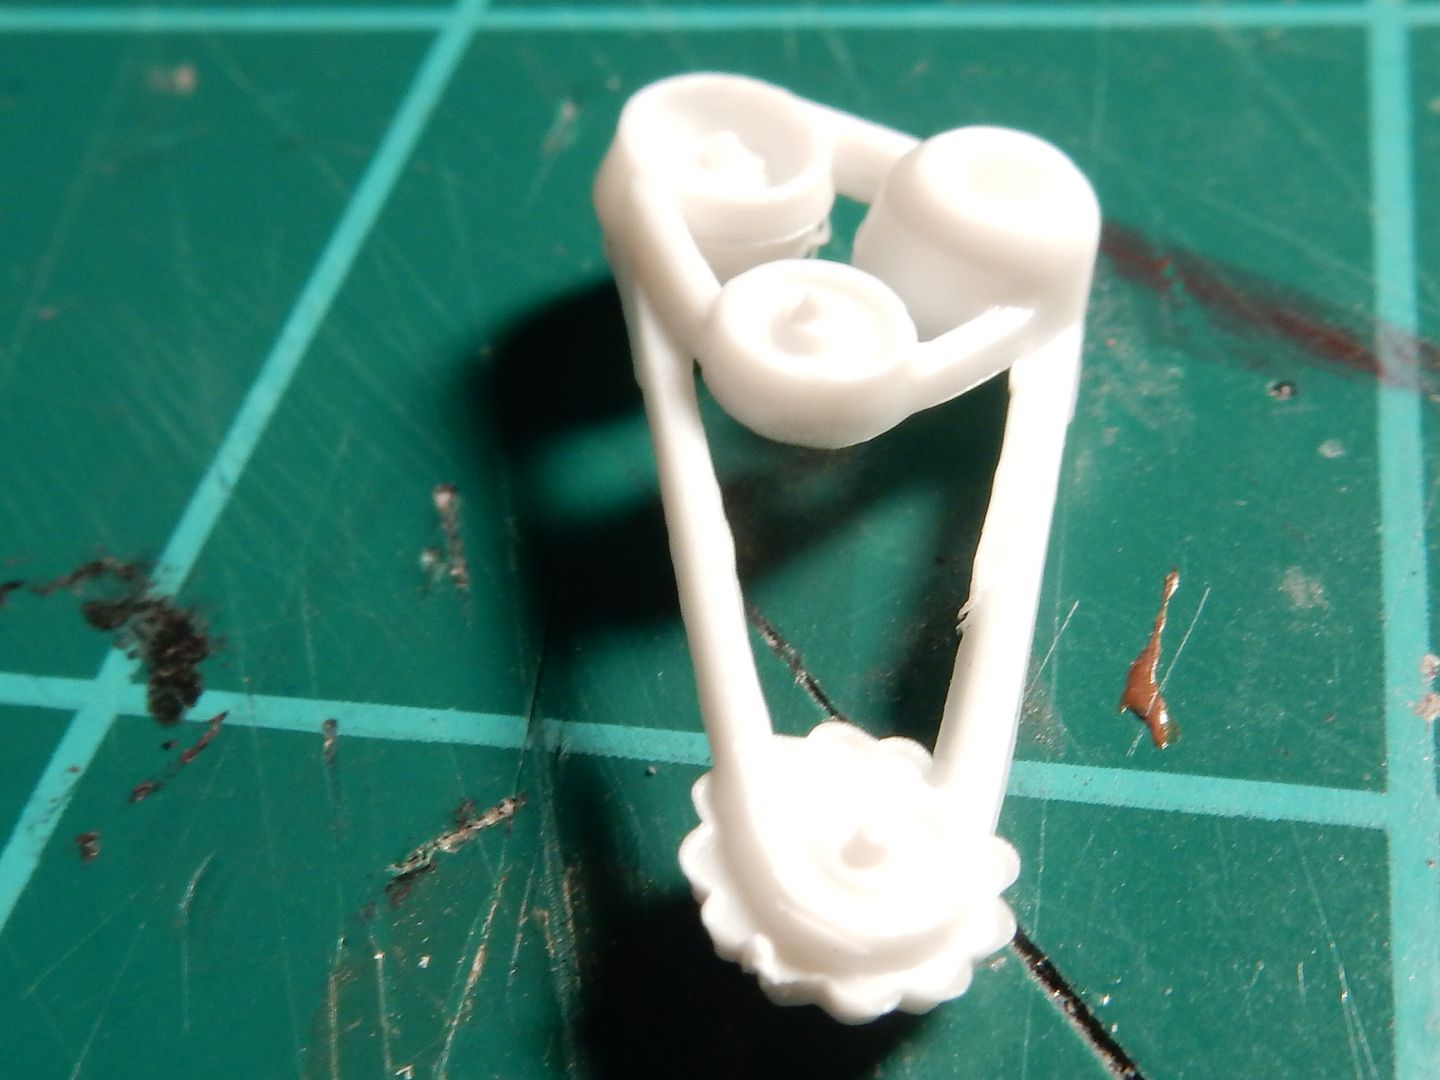
The belts.................need ALOT of cleanup. Working on that one now......................
|
|
|
|
Post by mustang1989 on Sept 10, 2017 5:12:32 GMT -7
Got under way with the engine build this morning. I was applying the rocker cover decals and one of the "380 HP" decals "zinged" off of the tweezers that I was holding it in off into "never-never" land. I managed to cut a black decal about the same size and apply it to the passengers side rocker cover and will see if I can fill it in with any detailing. Any how here we are as of this morning with ALOT more to come.............

|
|
|
|
Post by sharp on Sept 10, 2017 18:10:20 GMT -7
Got under way with the engine build this morning. I was applying the rocker cover decals and one of the "380 HP" decals "zinged" off of the tweezers that I was holding it in off into "never-never" land. I managed to cut a black decal about the same size and apply it to the passengers side rocker cover and will see if I can fill it in with any detailing. Any how here we are as of this morning with ALOT more to come.............

Looking good buddy! I like that black under the orange it really gives it that cast iron look. |
|
|
|
Post by sharp on Sept 10, 2017 19:41:29 GMT -7
I got the carb done Joe,it came out pretty good,I'll mail a few out to you this week here's a pic of the carb with one painted. 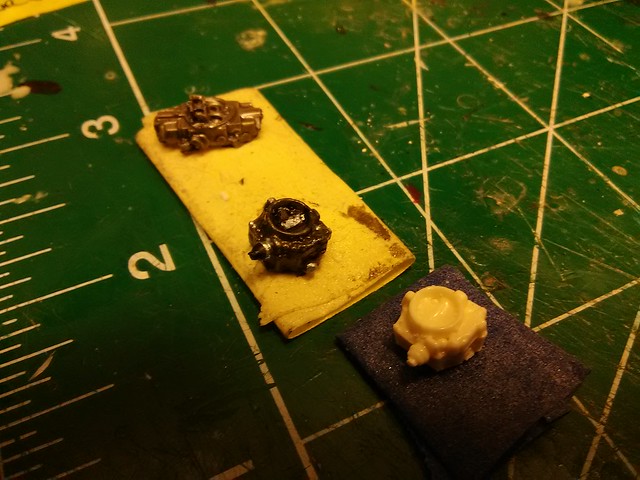 |
|
|
|
Post by sharp on Sept 10, 2017 20:06:10 GMT -7
I think you should go with the wire for the hoses, it would look much more detailed.
Are you going to wire the distributor too?
|
|
|
|
Post by mustang1989 on Sept 11, 2017 7:42:47 GMT -7
I got the carb done Joe,it came out pretty good,I'll mail a few out to you this week here's a pic of the carb with one painted.  That.....................be awesome right there!!!! Can't wait to see it......................and BTW.....................Hell YEAH I'll be wiring the motor up. I aint gonna spend all this time on doing this work and NOT do that. lol |
|
|
|
Post by sharp on Oct 16, 2017 17:30:26 GMT -7
Hey Joe,how are you making out bud?
|
|
|
|
Post by mustang1989 on Oct 19, 2017 18:46:49 GMT -7
Hey Joe,how are you making out bud? Hey Mike. Getting ready to get back on this one. Have been away from the bench for a month trying to sort some home troubles out and we're slowly making some good progress. Aint given up on this one that's for dang sure. |
|
|
|
Post by sharp on Oct 19, 2017 20:00:16 GMT -7
Glad to hear that your ok Joe,can't wait to see that engine!
|
|
|
|
Post by mustang1989 on Oct 29, 2017 5:03:48 GMT -7
Ok folks. I started cleaning the air cleaner up and working with that beautiful carburetor that Mike sent me. Thanks a mil for the extras too bud. I'll be finding time here and there to get this engine underway for this build.
|
|
|
|
Post by mustang1989 on Oct 31, 2017 7:06:53 GMT -7
Installed a throttle shaft into the carburetor this morning. Gonna apply the paint to the carb body, weather and install the linkage next.
|
|
|
|
Post by mustang1989 on Nov 6, 2017 15:53:08 GMT -7
Test...............Making the switch from Photobucket to Image Shack. Looks like it's working good so far.
|
|
|
|
Post by sharp on Nov 6, 2017 18:20:12 GMT -7
looks good to me too Joe
|
|
|
|
Post by mustang1989 on Nov 6, 2017 20:32:36 GMT -7
Hey................ anything beats $500 a year. lololololol |
|
|
|
Post by Grandpabeast on Nov 7, 2017 6:55:24 GMT -7
No strawberry !!!! I cant believe anyone would pay that ! its just sad that we lost all those pictures from our site
|
|
|
|
Post by mustang1989 on Nov 7, 2017 7:03:23 GMT -7
No strawberry !!!! I cant believe anyone would pay that ! its just sad that we lost all those pictures from our site Yeah, I sent PB an email asking what my options were as I've had a paid account for the last three years and they sent me back a rather short message saying that my options weren't many unless I wanted to pay that ridiculous amount for third party sharing and that I had 30 days left on my account until they dissolved it back to a free account. I really don't understand their mindset. Maybe they just want to keep the business small. In any case I'm in the middle of transferring all of my photos, and there's a lot of em, over to ImageShack. |
|
|
|
Post by mustang1989 on Nov 10, 2017 6:18:58 GMT -7
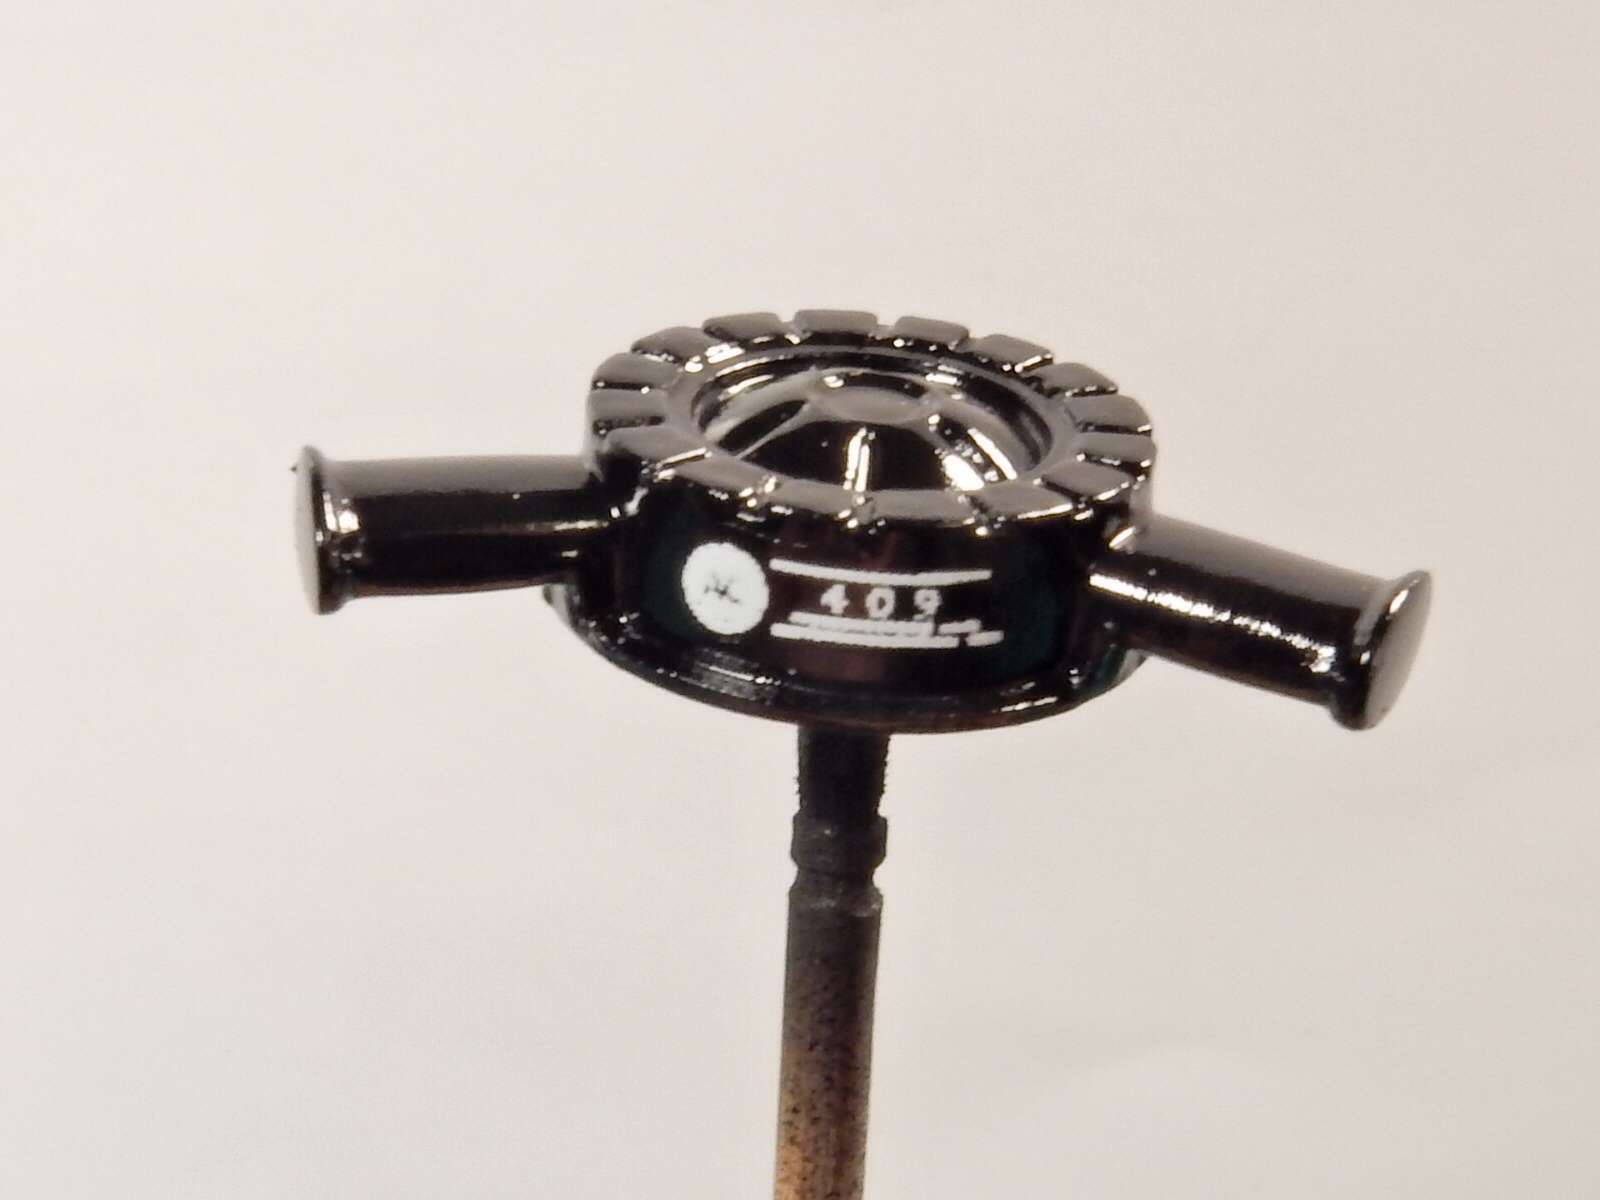
Just a couple of photos to let you all know that there is still progress going on with this motor. First off , thanks be to Mike (Sharp) for the replacement carburetor (as well as the extras). I drilled the hole for the fuel inlet and the throttle shaft. I installed the throttle butterfly lever this morning and will install a return spring made from a 1:1 scale 3157 turn signal bulb filament and the linkage in the coming days. I got the distributor drilled , all the wires and boots made and installed into the distributor which I was able to "stab" this morning. After cleaning all the mold/ seam lines up on the air cleaner housing it seemed to come out nicely and even had a small decal for that added touch.
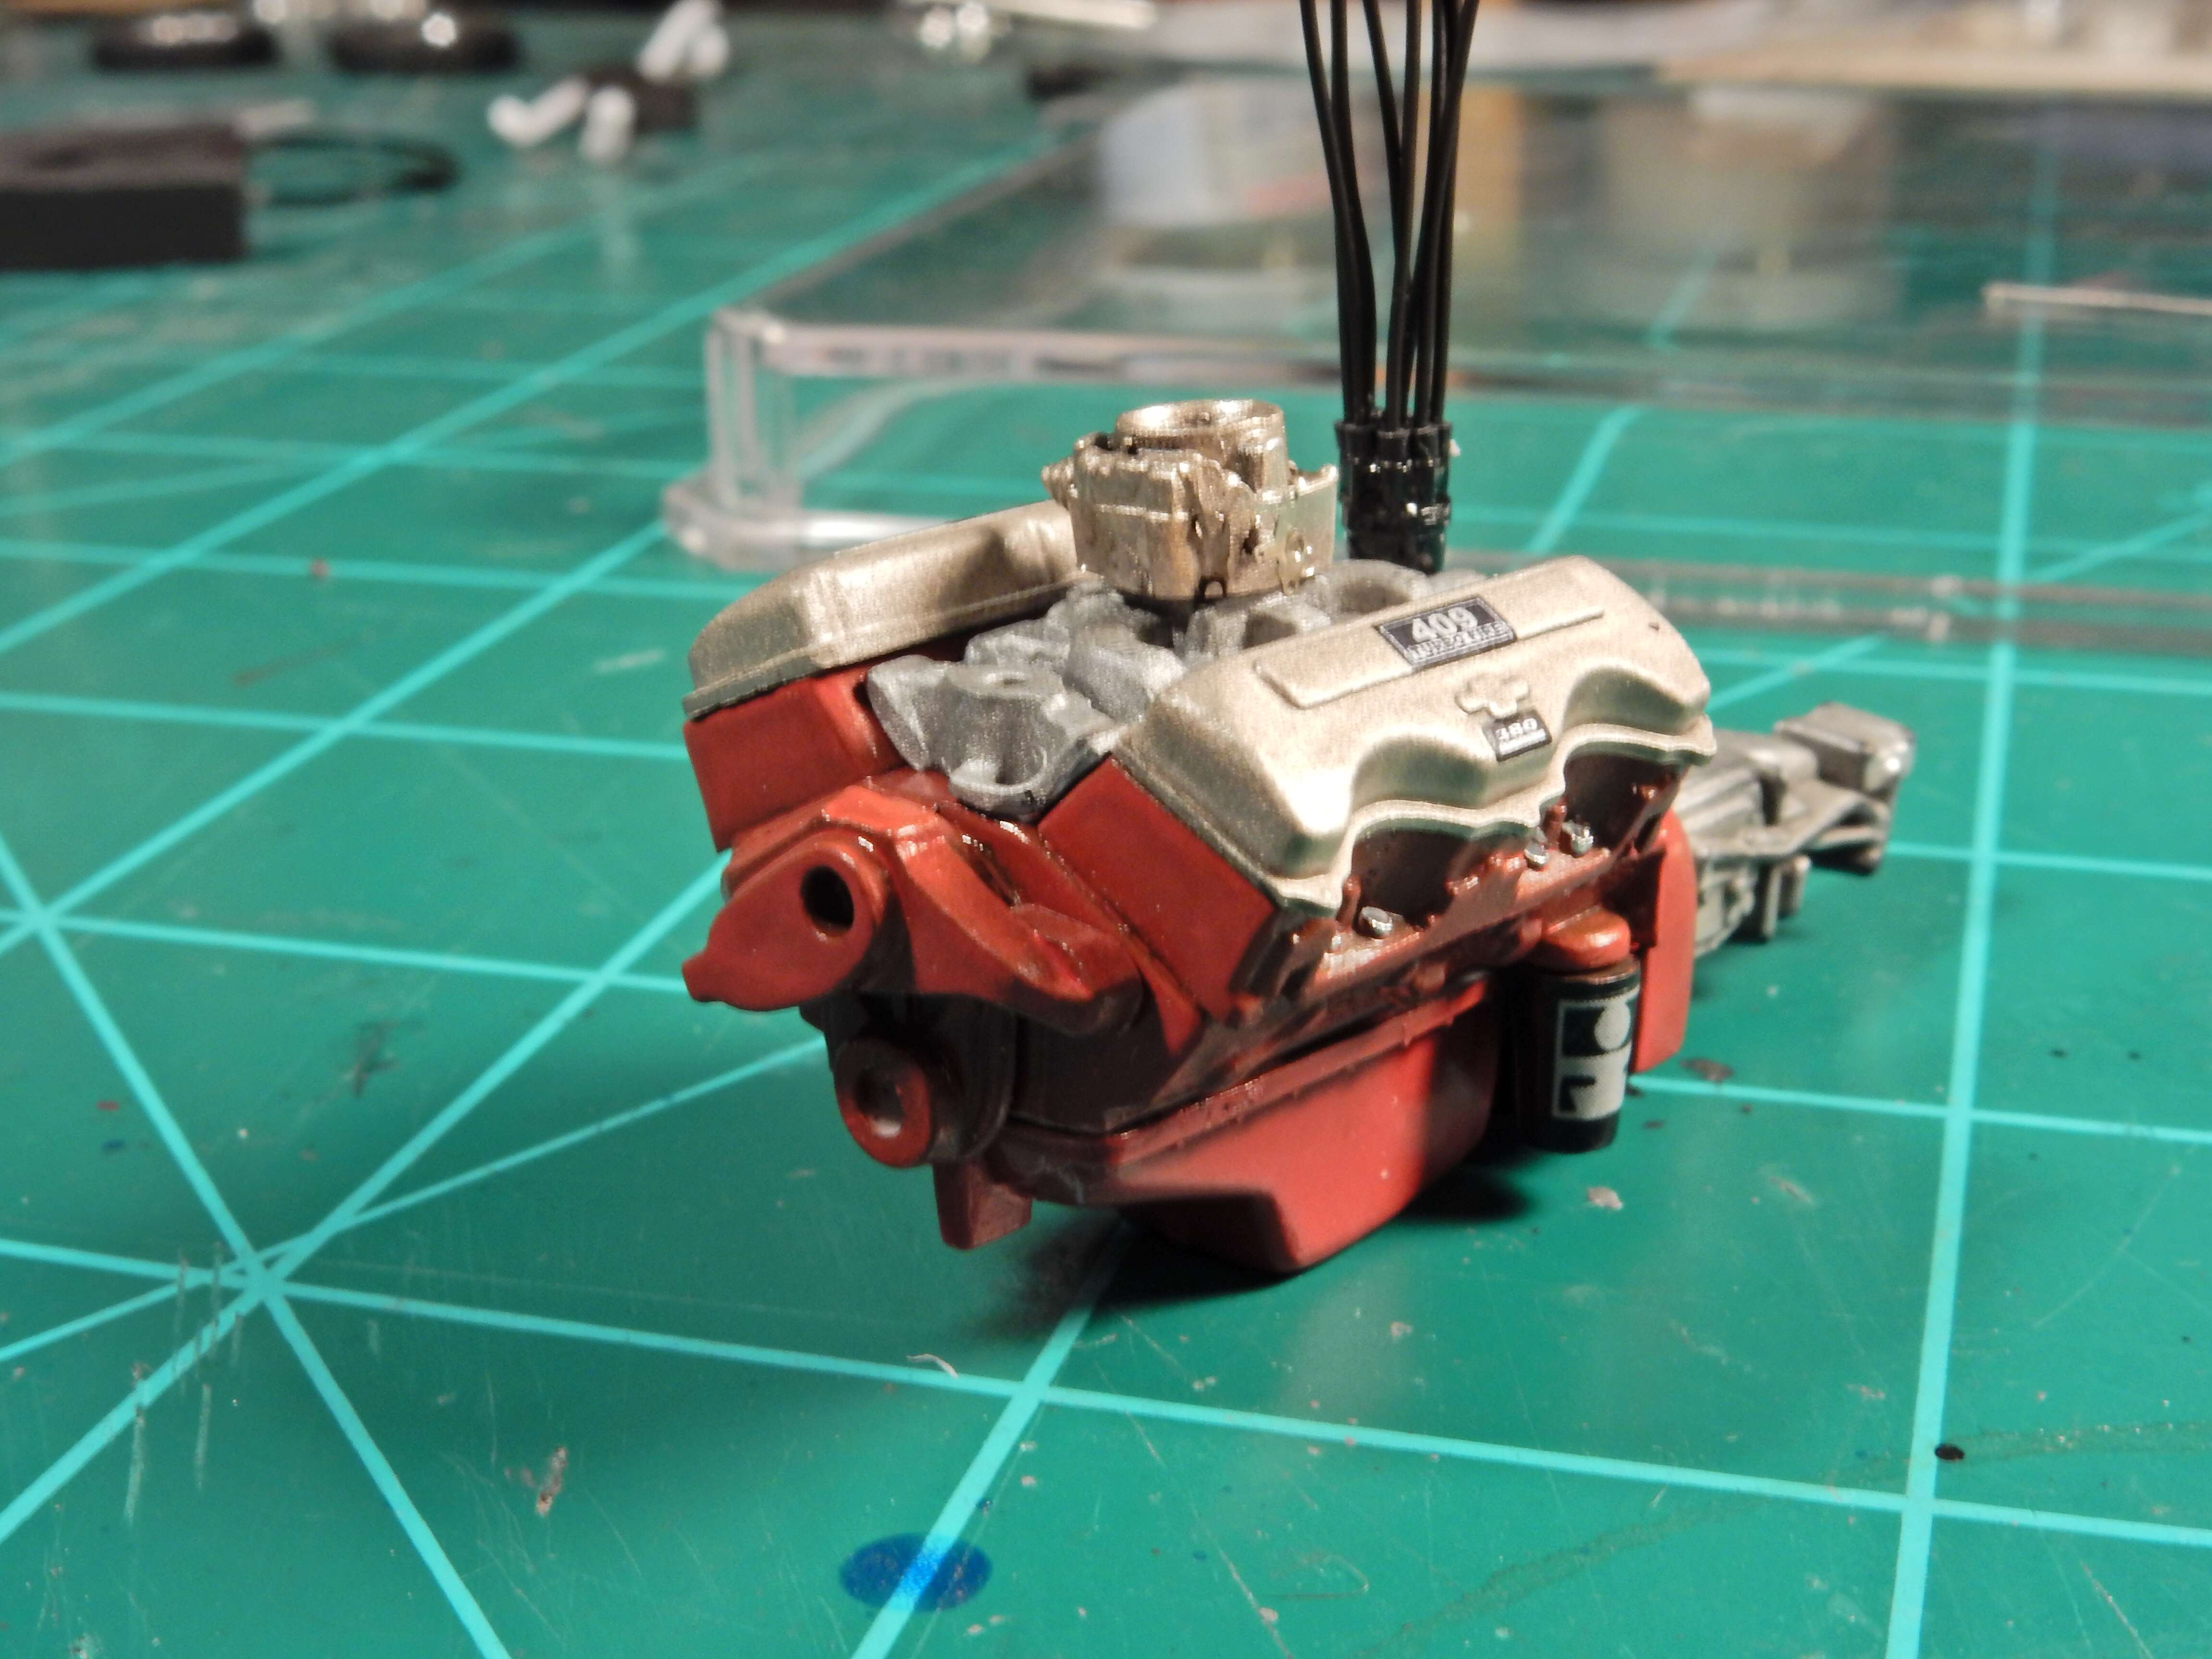
..............................and the air cleaner:
|
|
|
|
Post by Grandpabeast on Nov 10, 2017 13:24:47 GMT -7
looking great !
|
|