Post by AK on Oct 19, 2016 17:48:28 GMT -7
Recently I was reworking a build up of a 55 Chevy that I had opened up the wheel wells on and I thought I would post here how I did it. I am starting with an AMT 55 Chevy sedan body. I have already roughed out the shape by assembling the rear axle and chassis then placing the body on it and marking where the rear tire will be. I removed this material with a dremel tool. Here I am remocking up the build so I can double check the exact location of the rear wheel.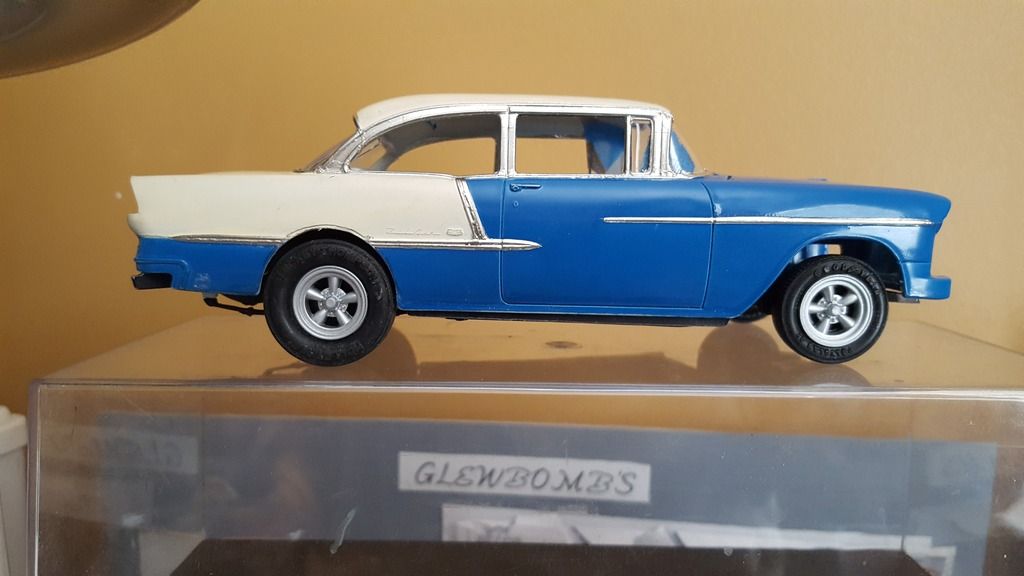
Next you'll want to find something round that is slightly larger than the rear tire you'll be using. I happen to find a plastic tire in my parts box that I could use. I wrapped a piece of sand paper around the tire with the abrasive side out. I then sanded the radius to made it smooth and a half round shape.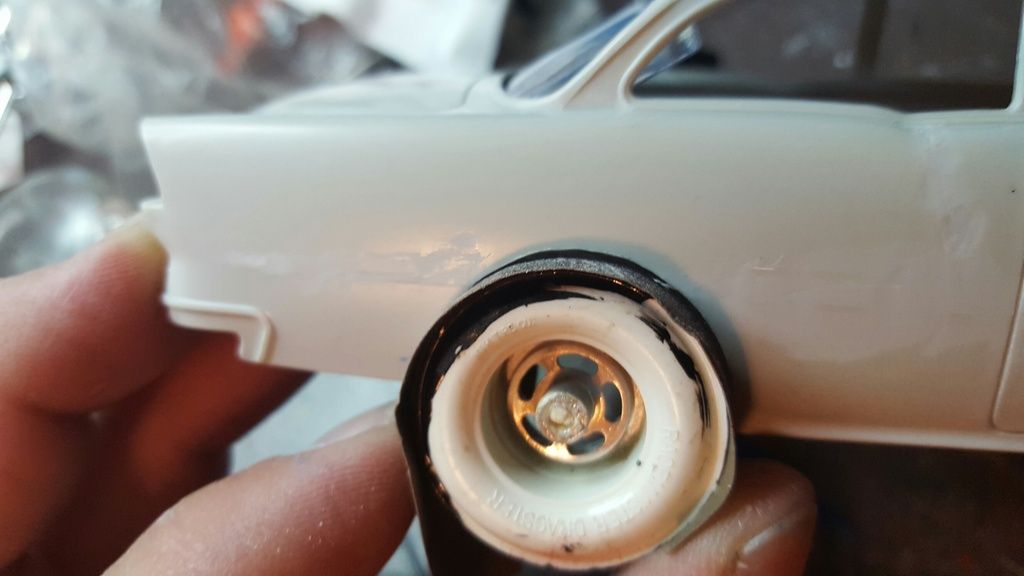
After sanding recheck the location again. This is VERY important because there isn't much clearance around the wheel and if it is not centered it would stand out on the finished model. Also if the opening isn't perfectly round is will look sloppy. This is what the wheel well should look like when it is smooth. But it still looks unfinished because there isn't a lip around the opening.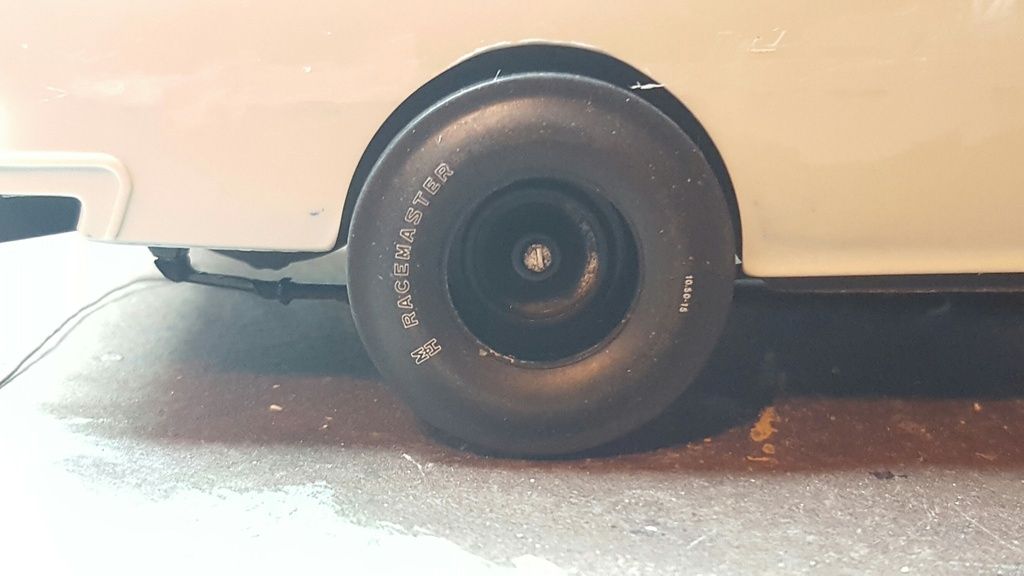
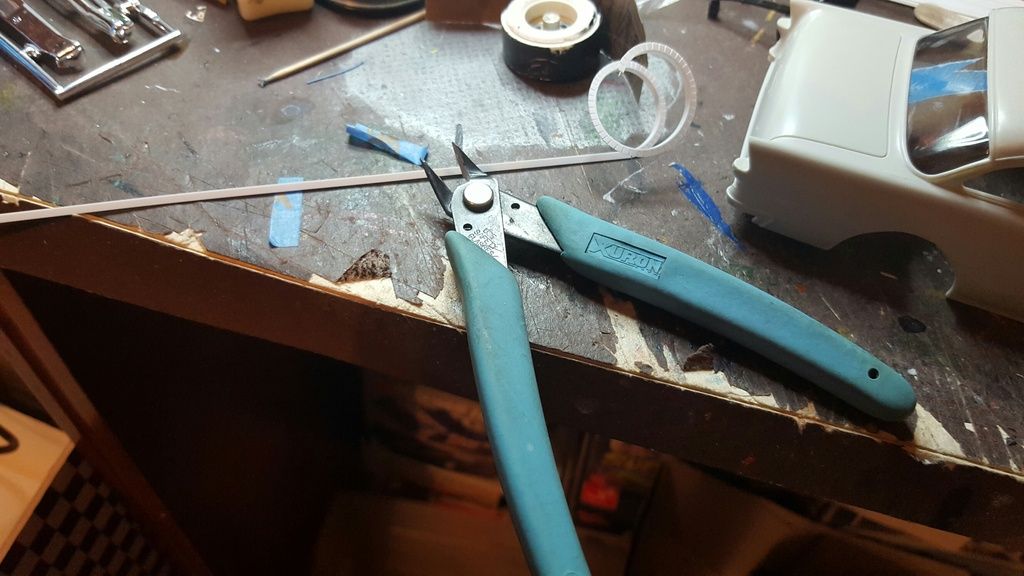
Now the "secret" is to add a piece of angle plasti strut to opening. Use your spruce cutters to make cuts on one of the flanges every 1/16 of an inch or so until you have enough to fit around the whole opening.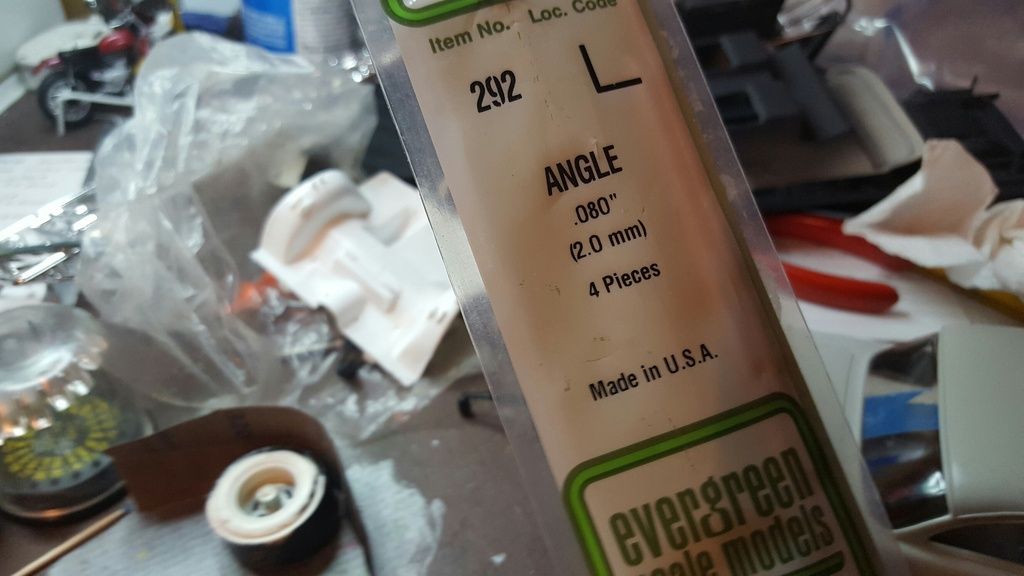
Now glue the plasti strut to the inside of the wheel well opening and set your sanding rod (the plastic tire in my case) in place to hole the shape until the glue is dry.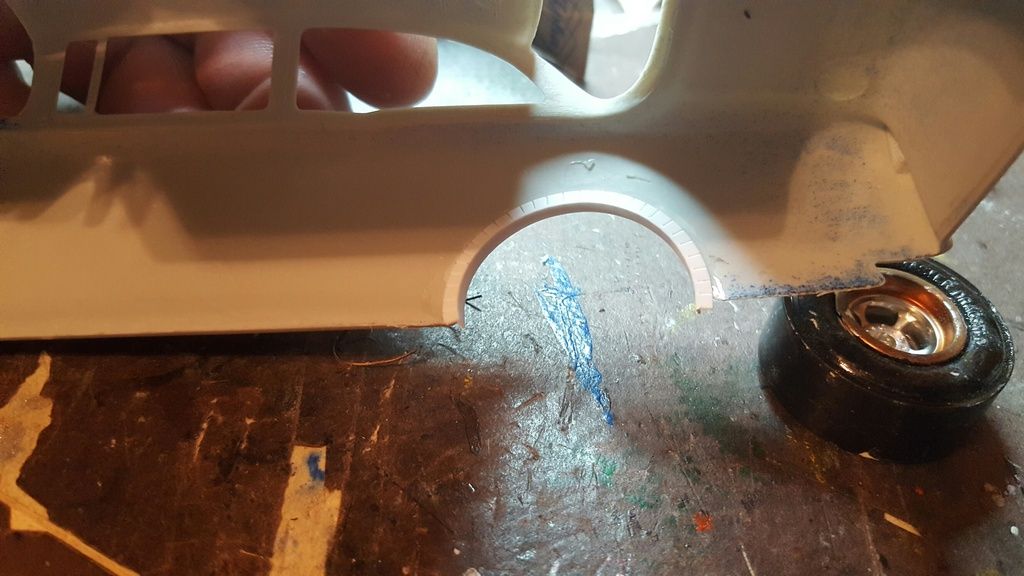
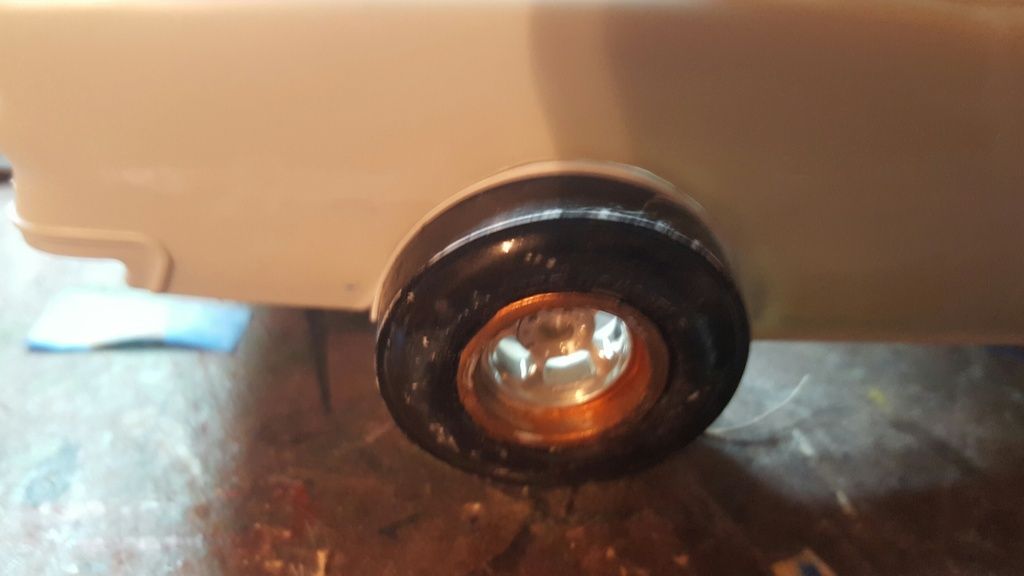
Once this is done all that is left is to use a dab of your favorite spot putty to add a radius between the body and lip sand and paint!
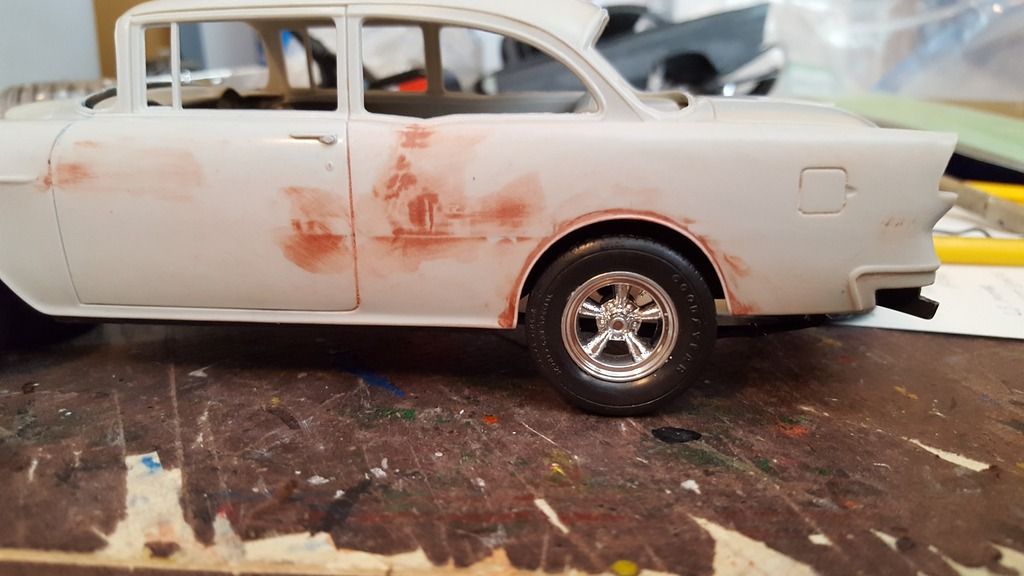
I hope this helps and as always comments or questions are welcome!

Next you'll want to find something round that is slightly larger than the rear tire you'll be using. I happen to find a plastic tire in my parts box that I could use. I wrapped a piece of sand paper around the tire with the abrasive side out. I then sanded the radius to made it smooth and a half round shape.

After sanding recheck the location again. This is VERY important because there isn't much clearance around the wheel and if it is not centered it would stand out on the finished model. Also if the opening isn't perfectly round is will look sloppy. This is what the wheel well should look like when it is smooth. But it still looks unfinished because there isn't a lip around the opening.

Now the "secret" is to add a piece of angle plasti strut to opening. Use your spruce cutters to make cuts on one of the flanges every 1/16 of an inch or so until you have enough to fit around the whole opening.


Now glue the plasti strut to the inside of the wheel well opening and set your sanding rod (the plastic tire in my case) in place to hole the shape until the glue is dry.


Once this is done all that is left is to use a dab of your favorite spot putty to add a radius between the body and lip sand and paint!

I hope this helps and as always comments or questions are welcome!


