Deleted
Registered: Nov 24, 2024 18:01:15 GMT -7
Posts: 0
|
Post by Deleted on Jan 27, 2016 16:58:01 GMT -7
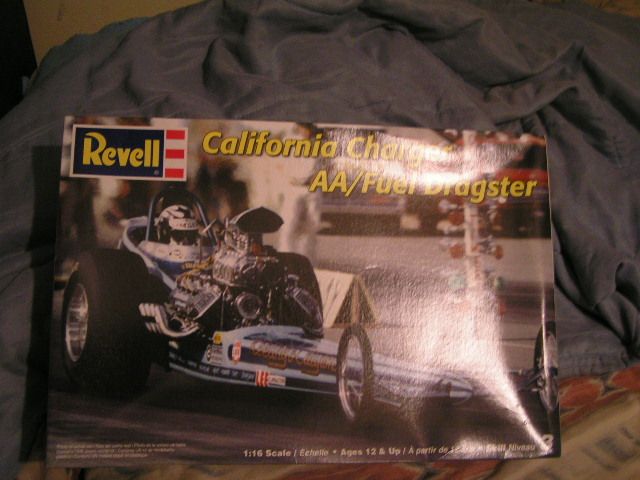
Here is my first 1/16th dragster that I started the first of the year and was able to get some progress done
Box art
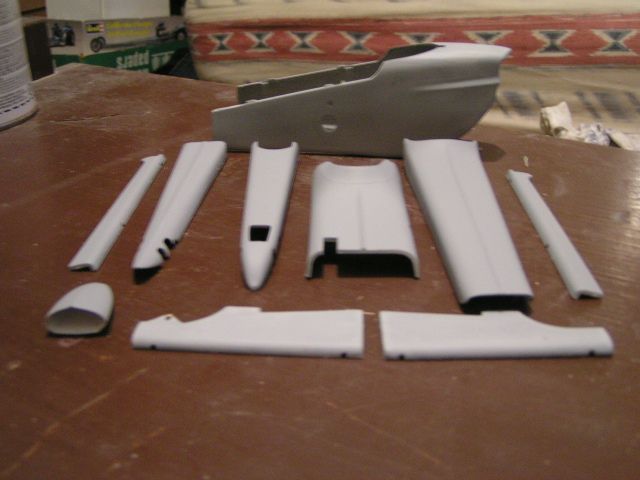
Got the body panels all fitted and primered
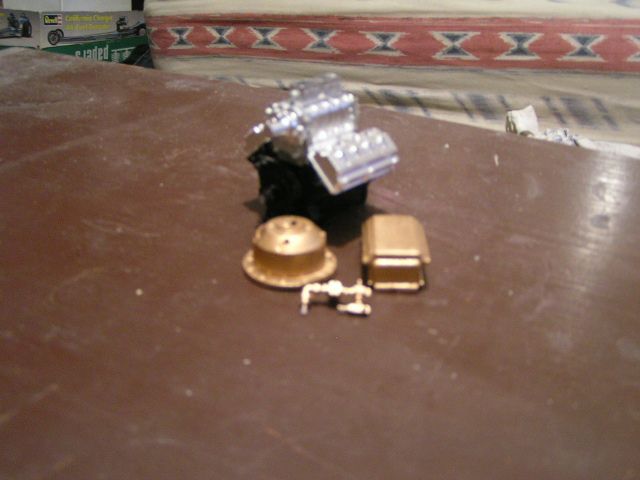
Got the basic engine together and painted the block black, painted the bellhousing,oil pan and fuel pump gold. put the supercharger together and put it on the intake manifold and from the ref. pictures I have there was no port injection on the 392 they ran so I filled the holes in and painted the intake
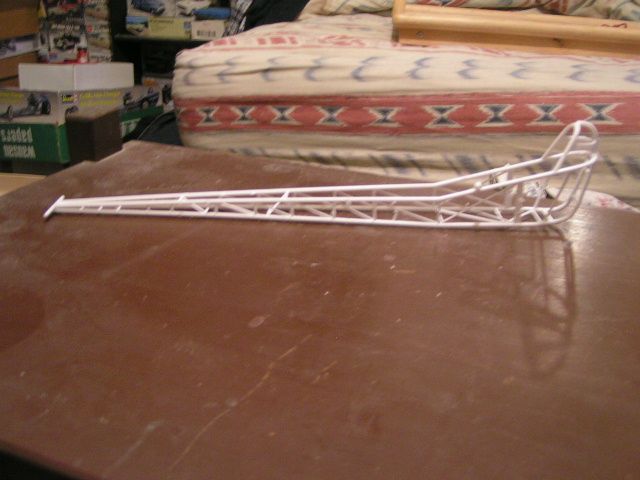
Got the basic frame built and have to super glue the joints for extra strength yet
and while things are drying I put the rear slicks together with a filler in side. This is how I do those soft Revell slicks from the dragster & funny car kits.
First I glue the rear wheels together

then I take two and a half cotton balls and stretch them out
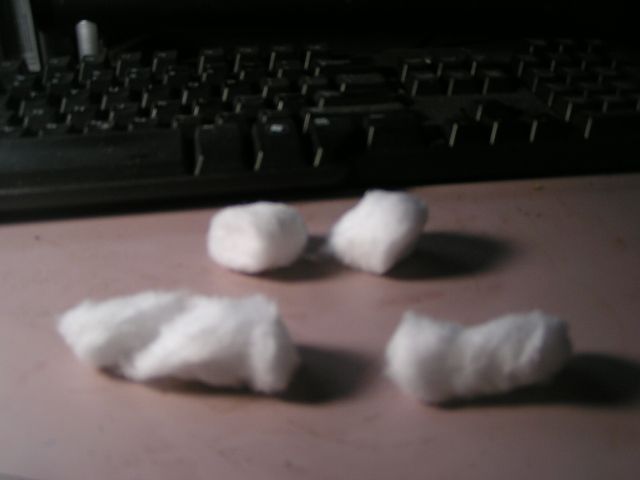
then I stuff the inside of the slick with the cotton balls like so
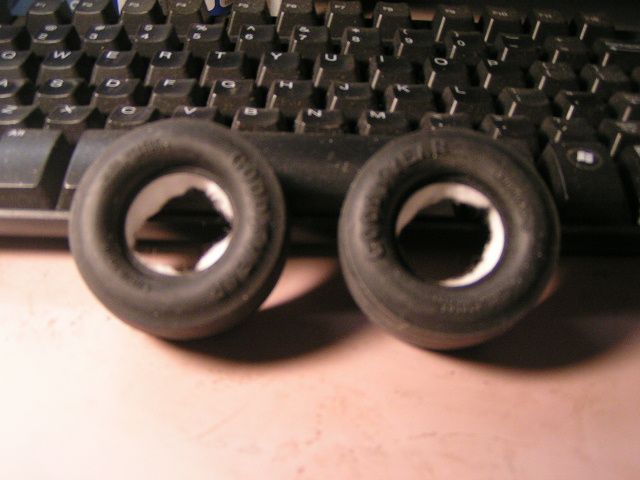
then you slide the rim on and push the cotton back in that came out and you have a firm slick that will hold some weight
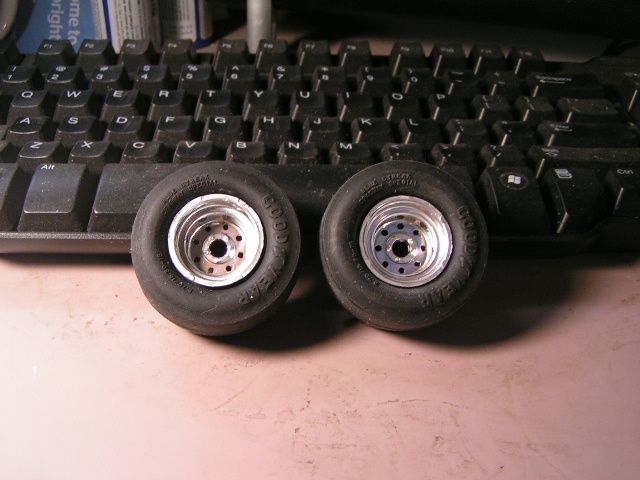
here is the front and rear wheels ready to go on
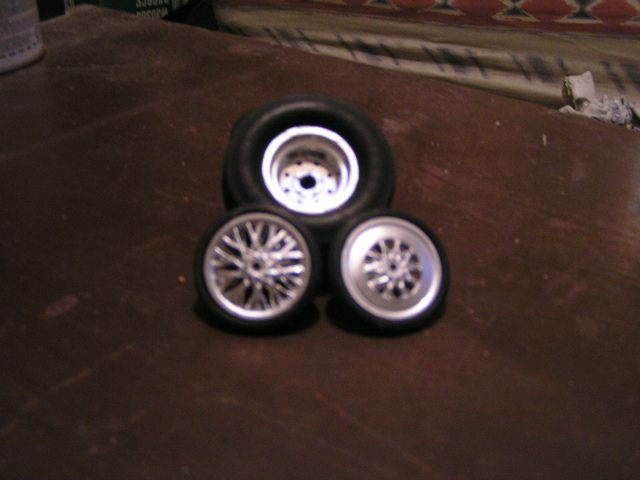
I'm going to be taken' my time on this one just to see how close I can get it to the 1:1 dragster.
Thanks for looking smiley-greet016 |
|
|
|
Post by gardnerpag44 on Jan 27, 2016 17:32:56 GMT -7
Looking good , and great tip on those slicks  |
|
|
|
Post by CoyoteCrunch on Jan 29, 2016 19:24:58 GMT -7
I agree with Paul, that is a great tip for those fat tires, I will definitely give that a go!
popcorn-and-drink-smiley-emoticon
|
|
Deleted
Registered: Nov 24, 2024 18:01:15 GMT -7
Posts: 0
|
Post by Deleted on Jan 30, 2016 17:59:30 GMT -7
Thanks for the comments and those cotton balls make a difference when it's all together and been on the shelf for a while. Here is one of the ref. pictures I have 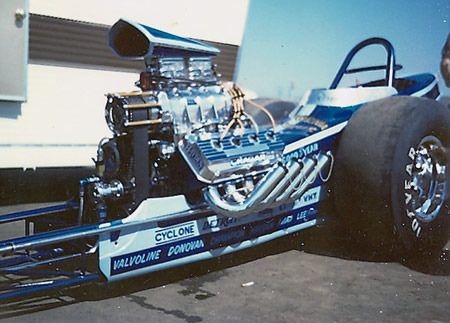 I lightened up the lt. blue I had and got it close, a hair dark I think and painted the body panels 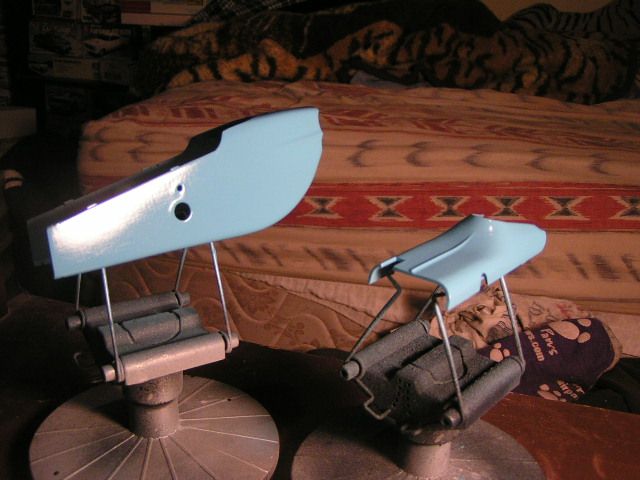 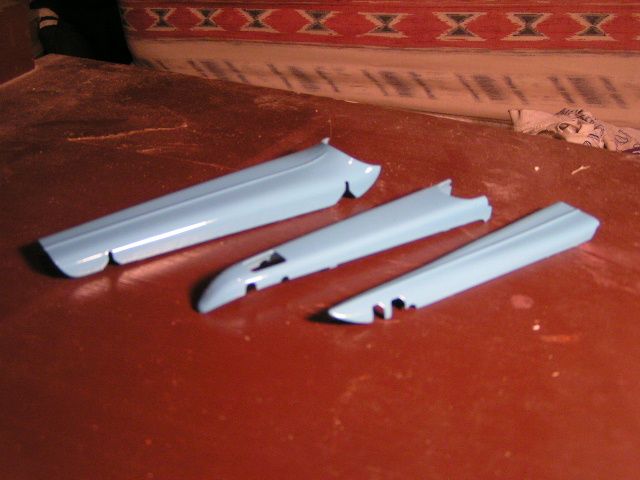 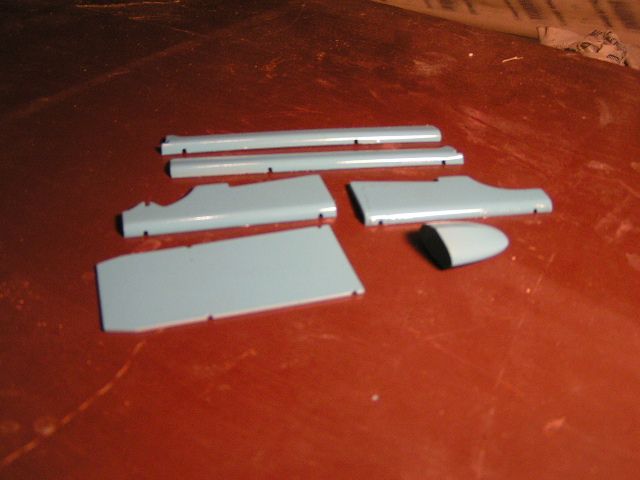 and I got the frame painted dark blue metallic, looks black in the picture but it's not  I'm going to be working on the engine and some other details next so till then smiley-greet016 |
|
|
|
Post by CoyoteCrunch on Jan 31, 2016 8:53:32 GMT -7
Looks good - great progress, the body panel painting laid nicely!!
|
|
Deleted
Registered: Nov 24, 2024 18:01:15 GMT -7
Posts: 0
|
Post by Deleted on Feb 8, 2016 21:18:04 GMT -7
Thanks CC Been working on the engine and here is a ref. picture for it 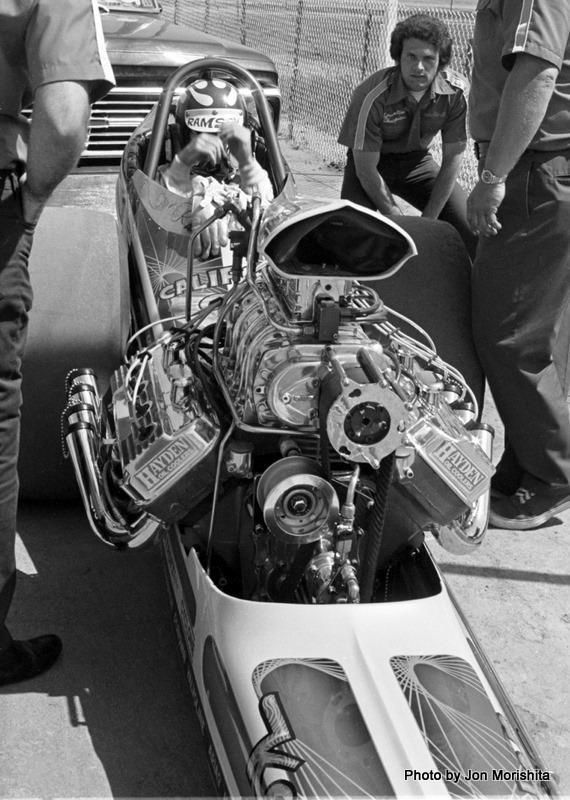 as you will notice the fuel lines are hard lines and not A&N fittings with braided lines so I have to do the hard lines yet but this is where I'm at so far 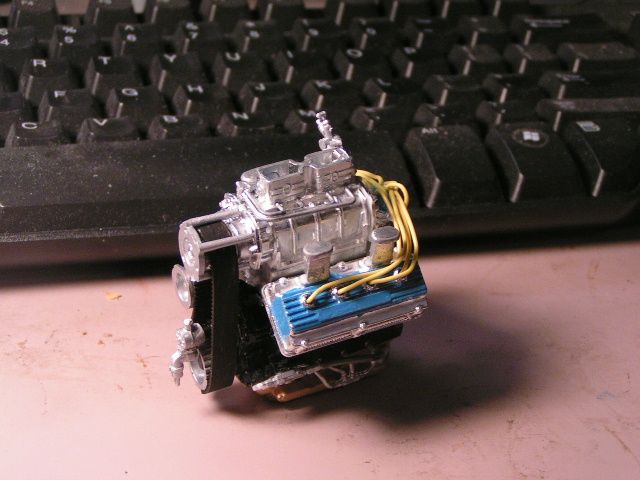 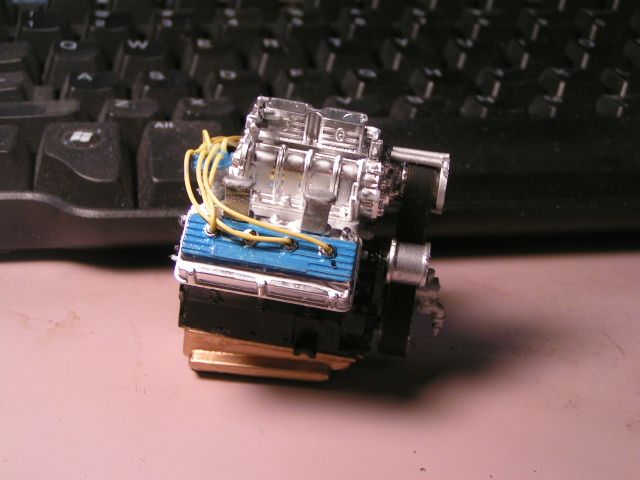 the kit doesn't have an oil pump or system in it so I got one from a funny car parts kit I have and installed it 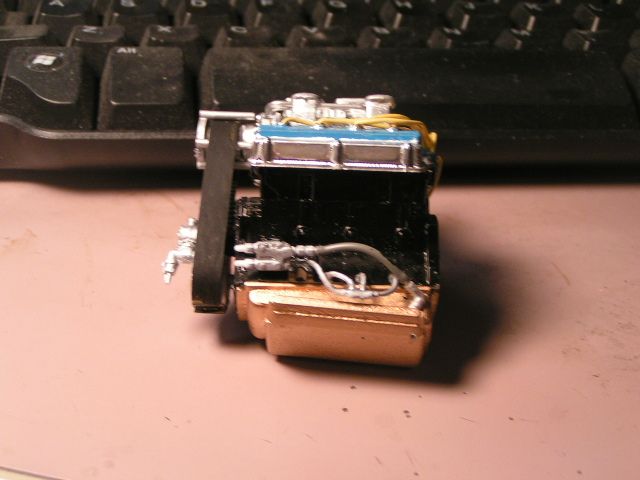 and I did a mod to the fuel pump to look like the one on the engine ( 1:1 in the picture ) 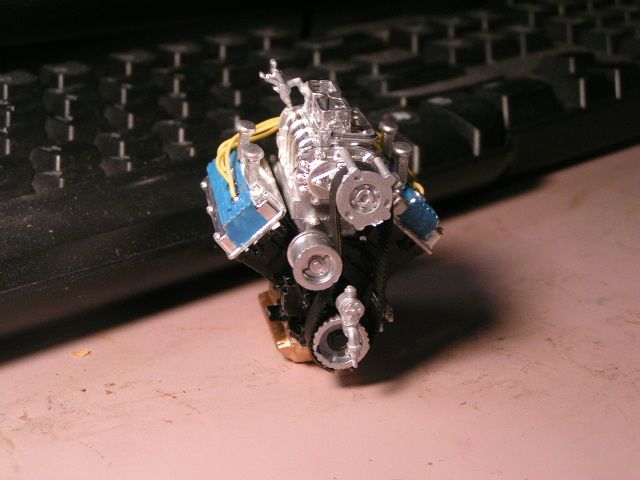 I'm not sure if you can see it but the belt is not the kit belt, it is a cogged belt from a very old printer that I took apart and saved some parts. Going to be working on the chassis next and putting the decals on the body panels. Thanks for looking smiley-greet016 |
|
|
|
Post by CoyoteCrunch on Feb 23, 2016 18:46:19 GMT -7
Alright!! Looking good John. I did notice that belt, old printer huh? I think I remember hearing that idea on here awhile back, looks like it was perfect for this motor!! Very nice work sir....
popcorn-and-drink-smiley-emoticon
|
|