Deleted
Registered: Nov 21, 2024 19:31:28 GMT -7
Posts: 0
|
Post by Deleted on Aug 20, 2015 16:07:11 GMT -7
WOW mate, that is some realistic metal work there bud, love it, great job.., no....SUPERB JOB!!! open-mouth-smiley-emoticon
|
|
|
|
Post by gardnerpag44 on Aug 20, 2015 16:20:20 GMT -7
Looks great Les really great detail on this so far  |
|
|
|
Post by Big D on Aug 20, 2015 23:20:01 GMT -7
That engine looks REAL! Good work.
|
|
|
|
Post by AK on Aug 21, 2015 8:12:50 GMT -7
WOW! Love that weathering! Great looking engine too!
|
|
|
|
Post by mike0157 on Aug 21, 2015 8:19:00 GMT -7
I second ak's thoughts I love that weathering and great looking engine
|
|
|
|
Post by stitchdup on Aug 21, 2015 8:50:44 GMT -7
Thanks guys
|
|
|
|
Post by stitchdup on Aug 23, 2015 13:44:17 GMT -7
Well my engine doesn't fit the hole. Easily fixed though, well two short cuts with my exacto. Next job is to put some more length into the gearbox and a little trimming to the rear body work so the carb will be exposed. 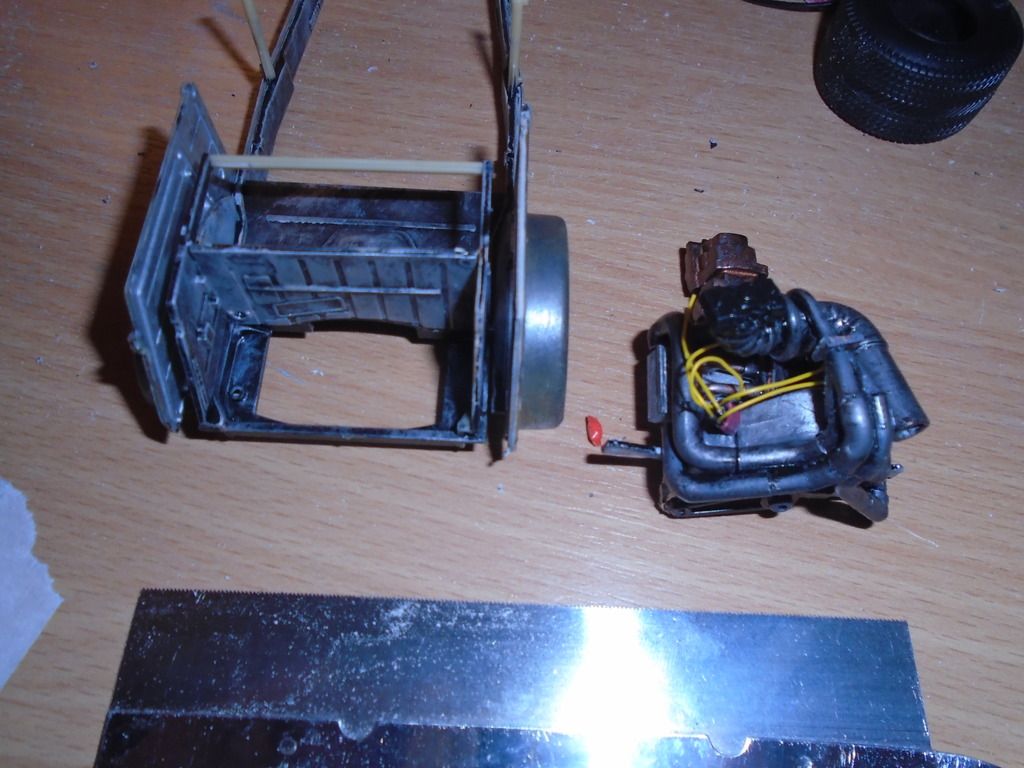 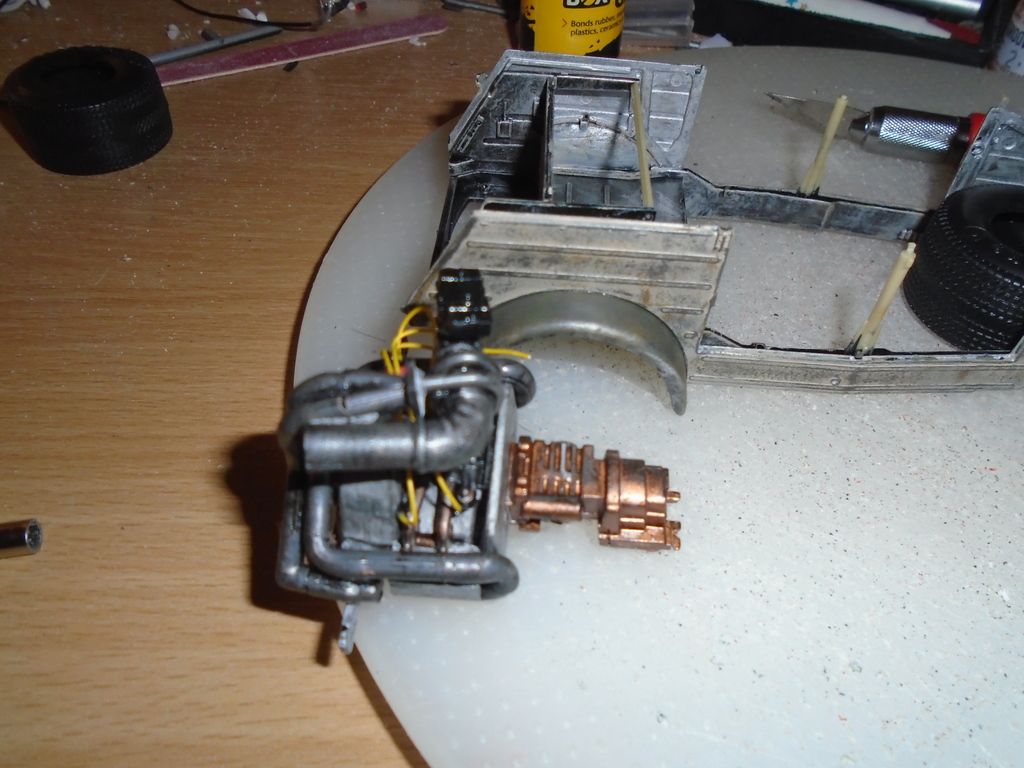 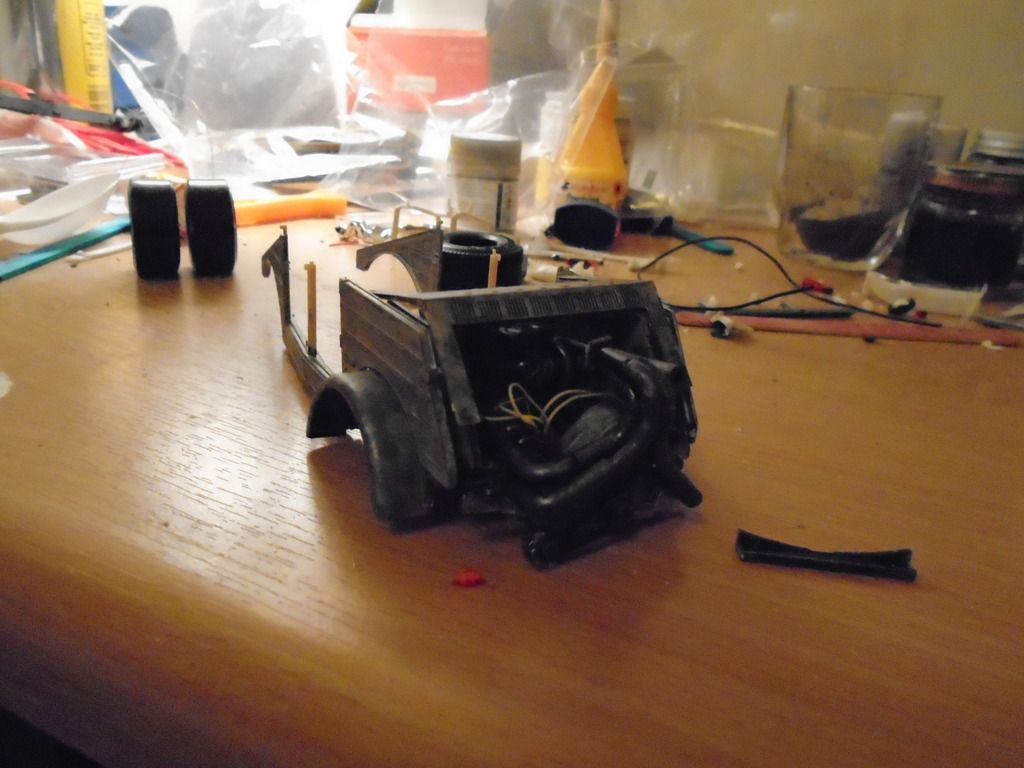 Not sure which tyres to use though as I was going to use the ones from a beretta pro streeter on the back but they might be too tall and wide, while the others I have fir, they're slicks which wouldn't be allowed on the street where I live. 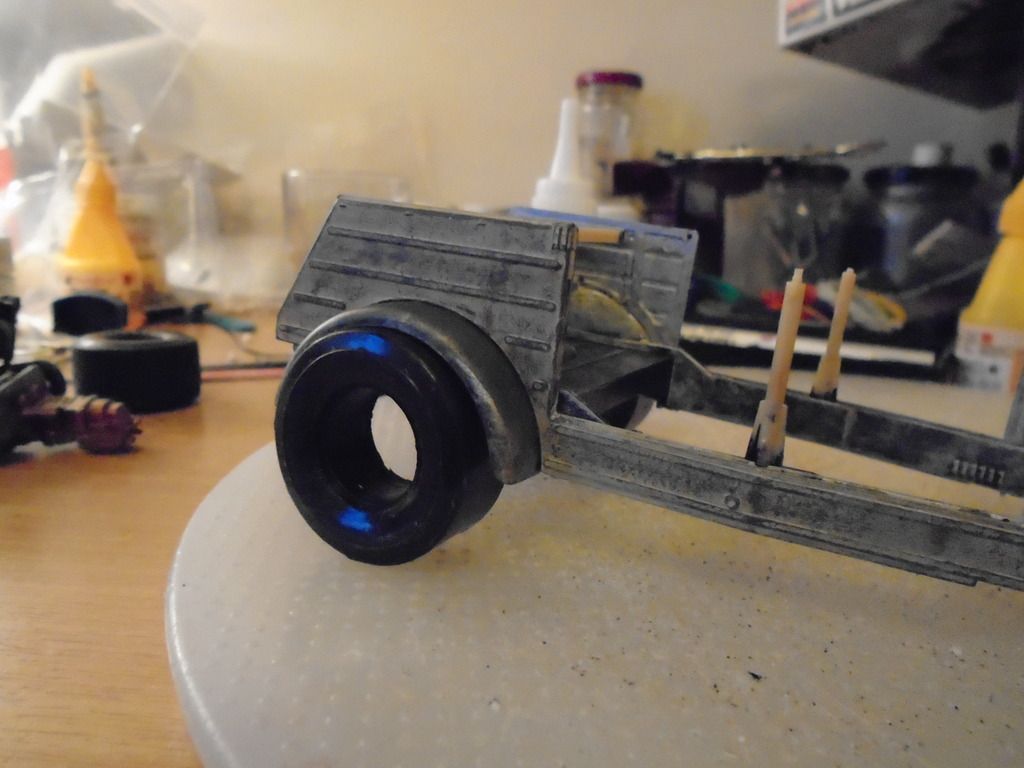 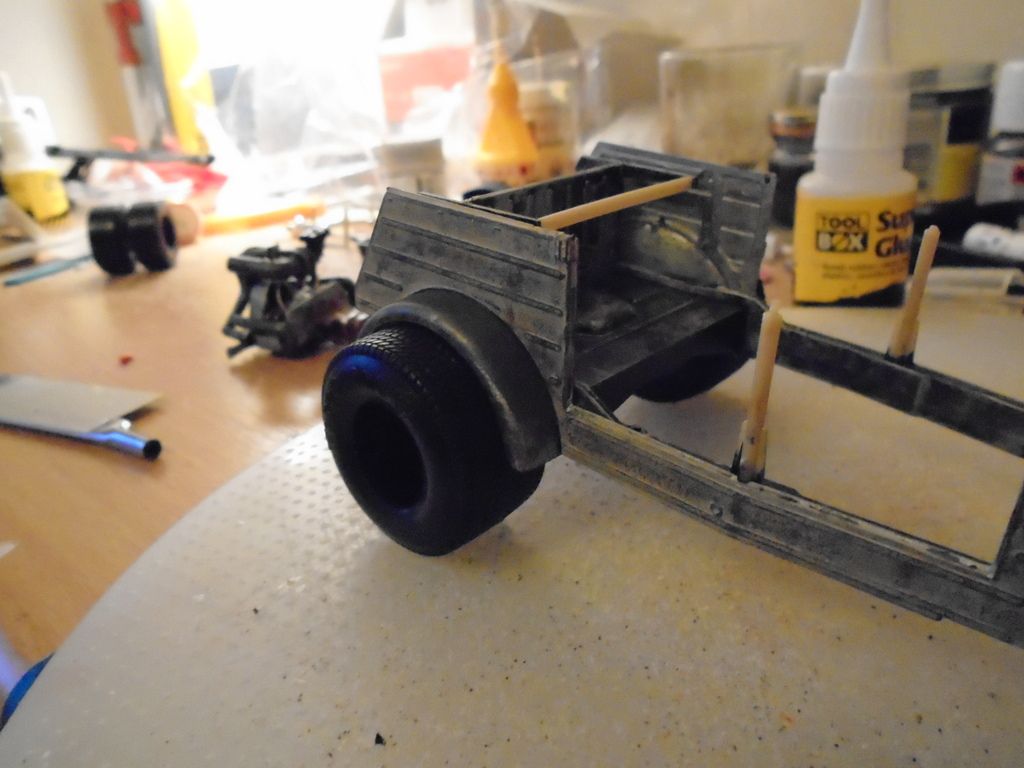 And a little stance test simply so I could see if it works 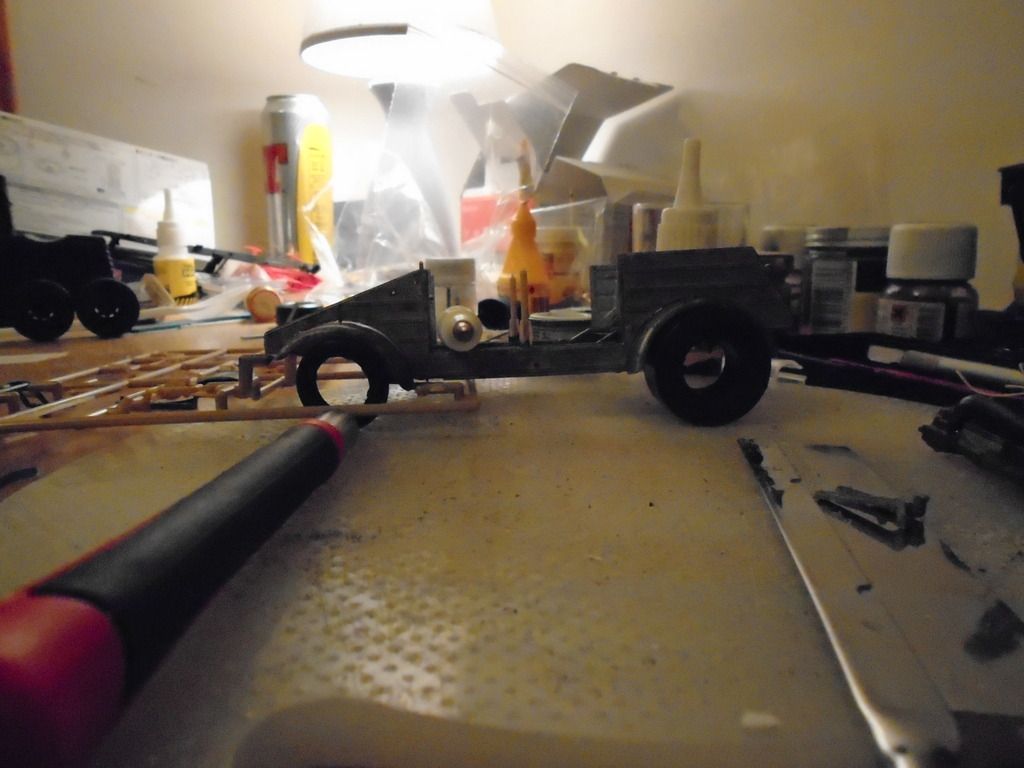 Hopefully have a load more progress tomorrow depending on time |
|
|
|
Post by poet on Aug 23, 2015 15:09:01 GMT -7
Wow!!
|
|
Deleted
Registered: Nov 21, 2024 19:31:28 GMT -7
Posts: 0
|
Post by Deleted on Aug 25, 2015 2:32:26 GMT -7
WORKS FOR ME!!
That body work looks like it is real metal mate, superb weathering..
|
|
|
|
Post by stitchdup on Aug 26, 2015 15:42:52 GMT -7
Some more progress tonight. Ended up using a different gearbox as the one for the engine was too tall for the available space. The new one was shorter but I sorted that with the wheelie bars. Decided to use the narrower slicks rather than the wider tyres. 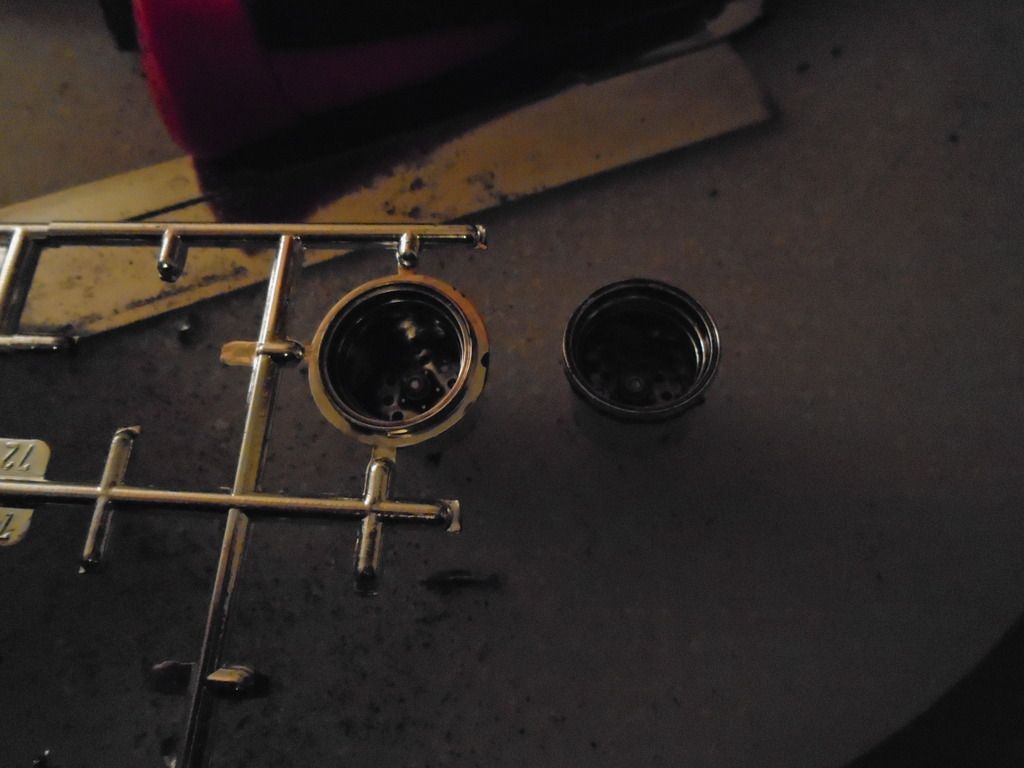 remover the extra ring from the wheels and gave them 3 washes with the tamiya smoke to give them a dirty/oily look 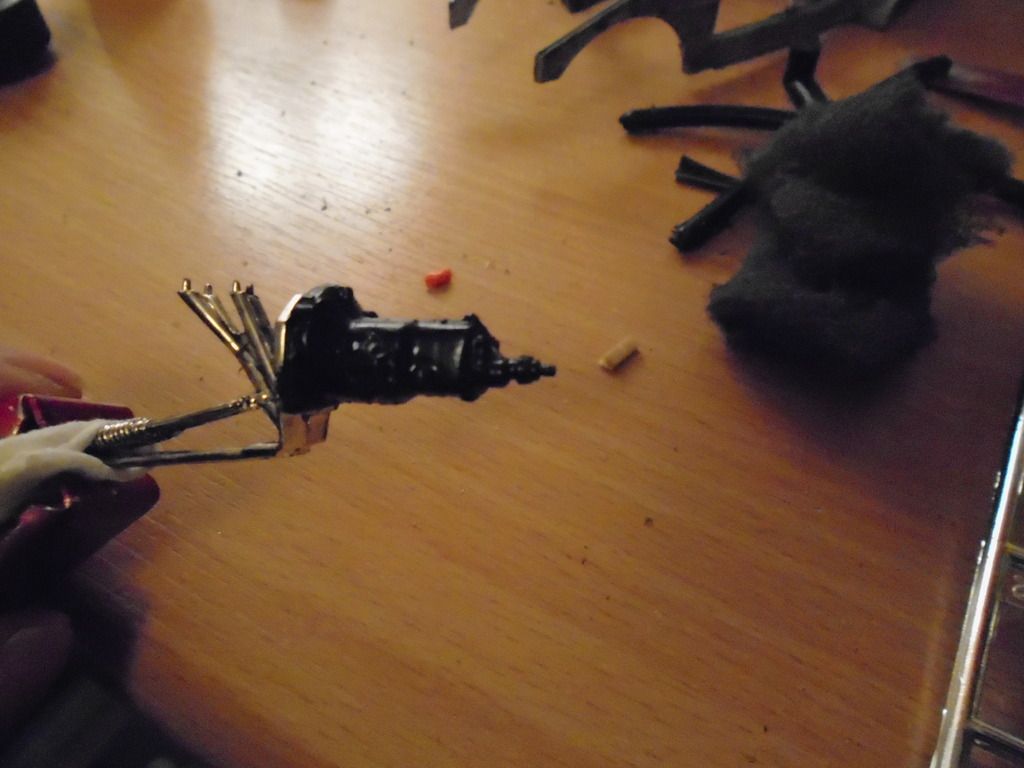 and the engine is fixed in place now 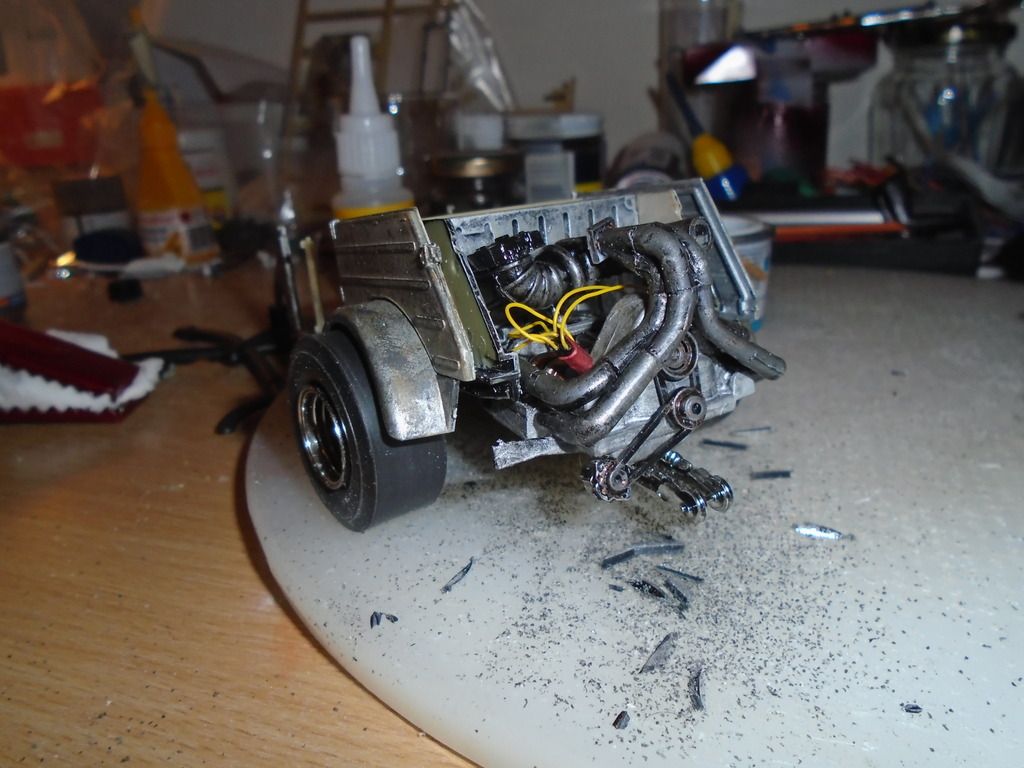 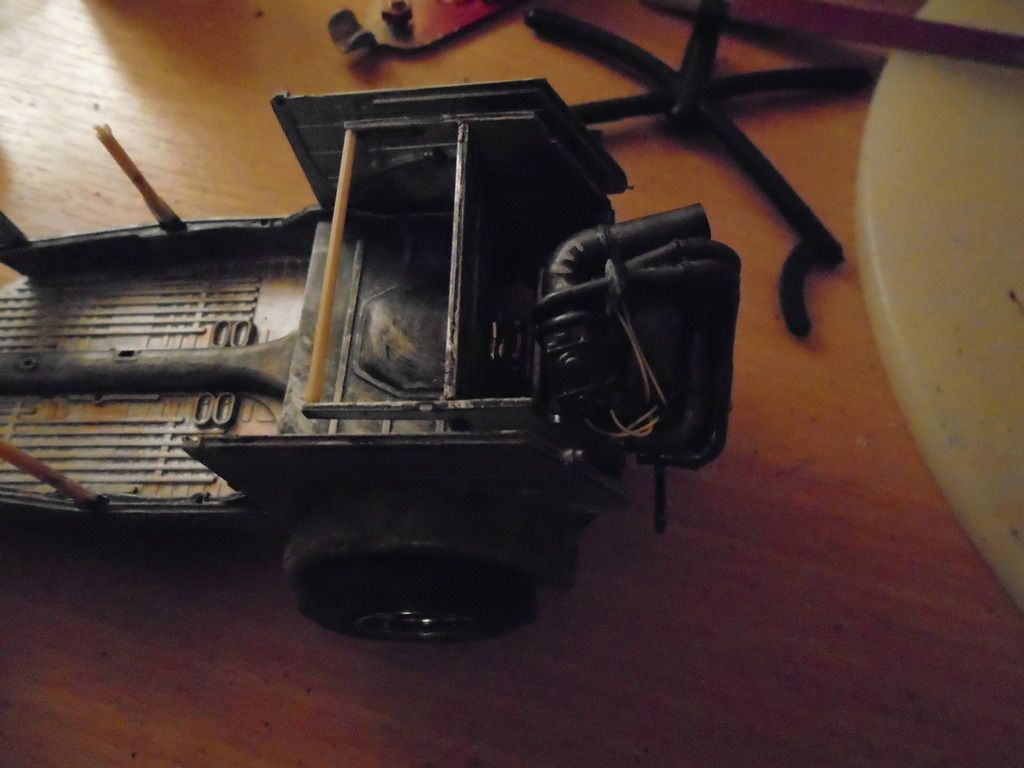 |
|
Deleted
Registered: Nov 21, 2024 19:31:28 GMT -7
Posts: 0
|
Post by Deleted on Aug 26, 2015 17:30:43 GMT -7
hot dam that's kool  |
|
|
|
Post by Big D on Aug 26, 2015 20:32:26 GMT -7
hot dam that's kool  X-2 |
|
|
|
Post by stitchdup on Aug 28, 2015 7:19:50 GMT -7
|
|
|
|
Post by Big D on Aug 28, 2015 12:31:54 GMT -7
This one is going out of the park Stitch! Very, Very nice.
|
|
|
|
Post by poet on Aug 28, 2015 14:13:09 GMT -7
Wicked!!!
|
|
|
|
Post by AK on Aug 28, 2015 14:36:29 GMT -7
OH WOW! The orange cage puts this one over the top! Im diggin it!
|
|
Deleted
Registered: Nov 21, 2024 19:31:28 GMT -7
Posts: 0
|
Post by Deleted on Aug 28, 2015 17:32:40 GMT -7
OH WOW! The orange cage puts this one over the top! Im diggin it! x2 |
|
|
|
Post by CoyoteCrunch on Aug 28, 2015 17:59:40 GMT -7
OH WOW! The orange cage puts this one over the top! Im diggin it! x2 X3 Les, this sucker is outstanding - TOP SHELF MAN!!!!!!! |
|
|
|
Post by gardnerpag44 on Aug 28, 2015 18:13:58 GMT -7
looking great Les , you done some very cool work on this , Awesome!!! hand-clapping-smiley-emoticon
|
|
Deleted
Registered: Nov 21, 2024 19:31:28 GMT -7
Posts: 0
|
Post by Deleted on Aug 28, 2015 19:01:27 GMT -7
That looks AWESOME!! Instead of putting a spare wheel on the front, you could put a NOS bottle....  |
|
|
|
Post by stitchdup on Aug 29, 2015 1:43:35 GMT -7
That looks AWESOME!! Instead of putting a spare wheel on the front, you could put a NOS bottle....  I'm going to put the nos bottle in the rack on the side where the fuel cans go. Thinking to leave the spare off as I have a plan for a lot of the guns and other extras that were in the box and need the wheels from this for that build |
|
|
|
Post by stitchdup on Aug 29, 2015 1:44:04 GMT -7
Thanks for the kind words guys
|
|
|
|
Post by stitchdup on Aug 30, 2015 8:18:31 GMT -7
It's finished 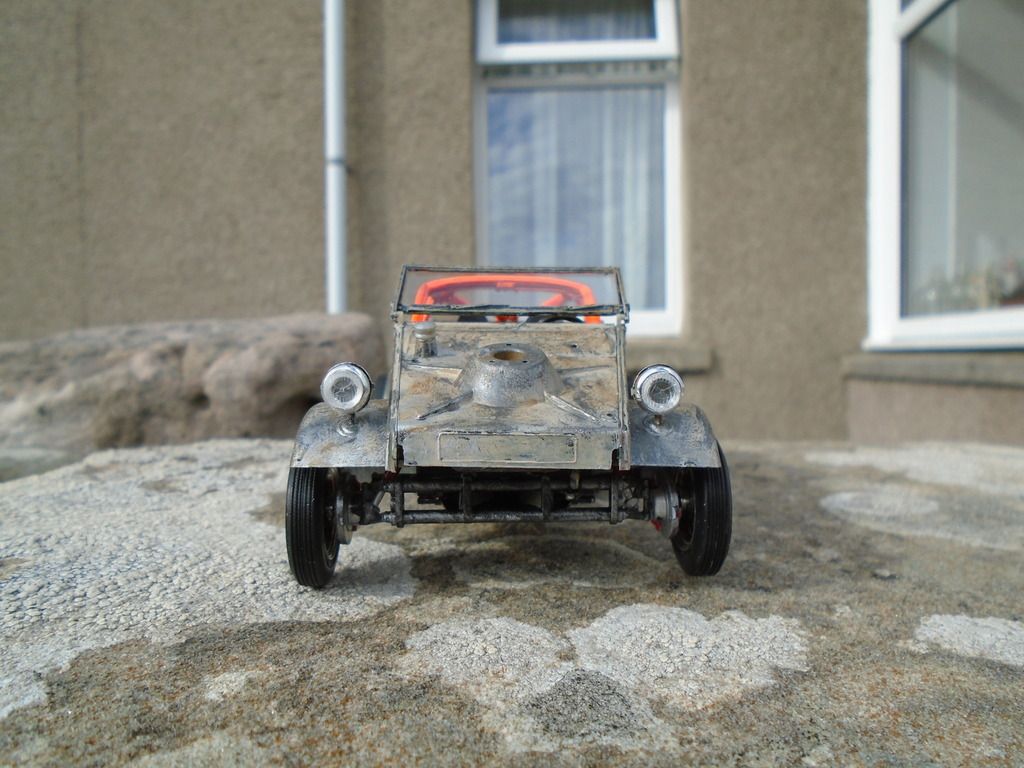 |
|