Post by Deleted on Jun 20, 2013 7:32:36 GMT -7
One tutorial for Bare Metal Foil.
Object: Do the windshield frame all in 1 piece.
Step 1: Cut out a piece of foil with the backing still on it that is oversized to the frame
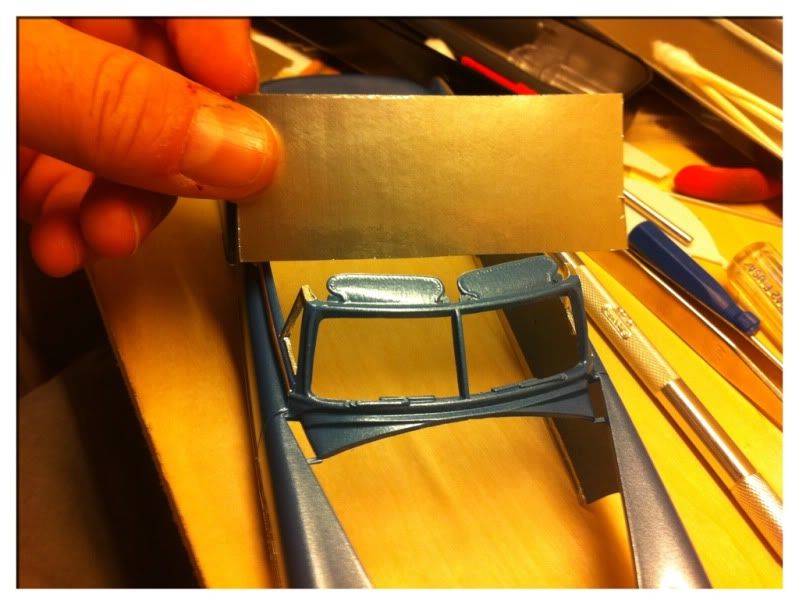
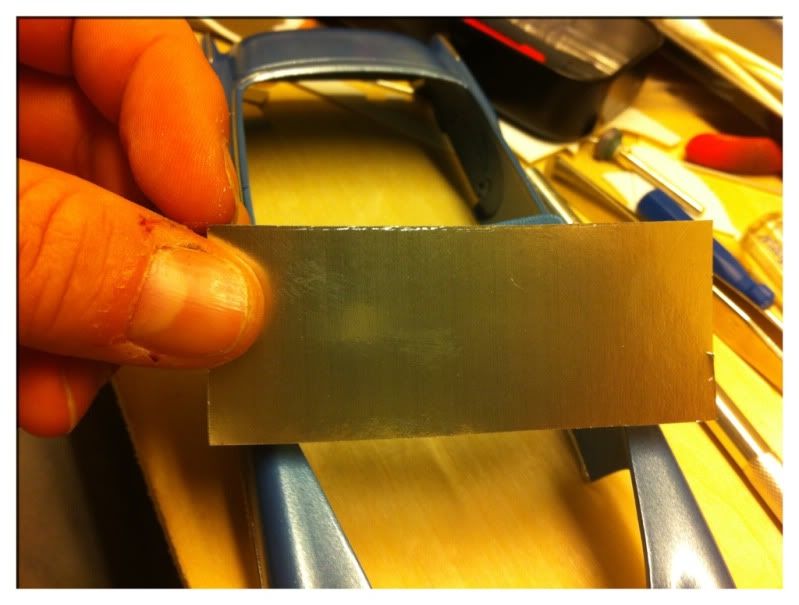
Step 2: Peel off the backing and lay down the foil and lightly press down using a new q-tip. ONLY lightly press it down on the high spots and the outer trim line. Notice that I'm NOT rushing and trying to press it into everything yet. Keep working the high spots and outer edge ONLY.

Step 3: Take a moment and use a little pressure and use the q-tip to polish the foil. It's hard to see in the pic but you will see that the q-tip is turning black from polishing.
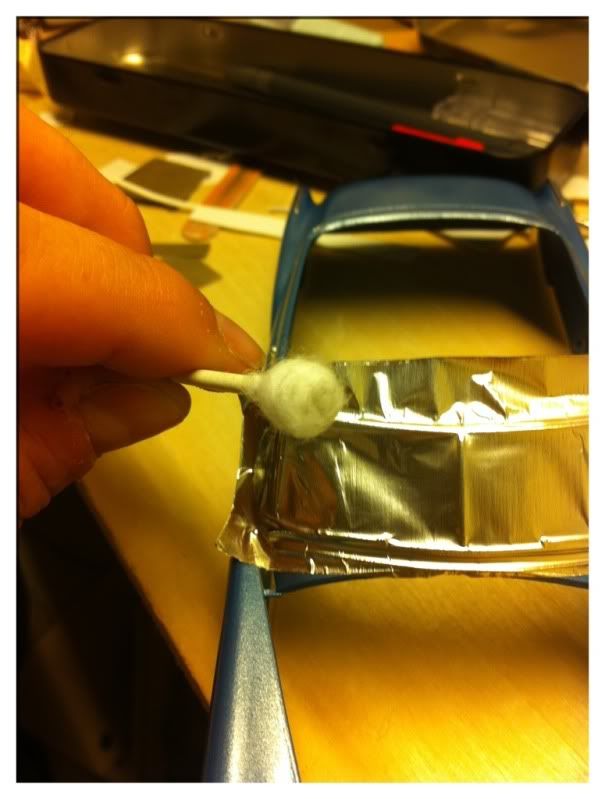
Step 4: take a tooth pick and a filing stick and make sure the tip of the tooth pick is lightly
sanded so it's not so sharp that it will tear the foil. Now work in ONLY the outer trim lines. Again,
DON'T rush.
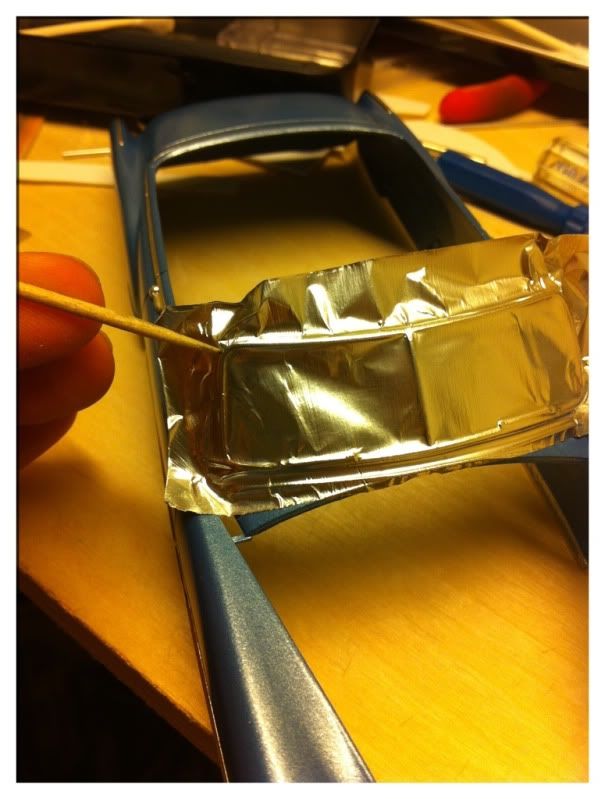
Step 5: Take your xacto with a BRAND NEW #11 blade. To trim I just let the blade rest in the groove between the trim and the body and slide the blade down the channel. Note that I DO NOT press down on the blade at all. I let the weight of the blade resting on the foil do all the cutting. I also hold the blade at a 45 degree angle, so it glides itself. Cut out the outer trim first.

Step 6: Now cut the centers as you see here but do Not cut all the way to the plastic.
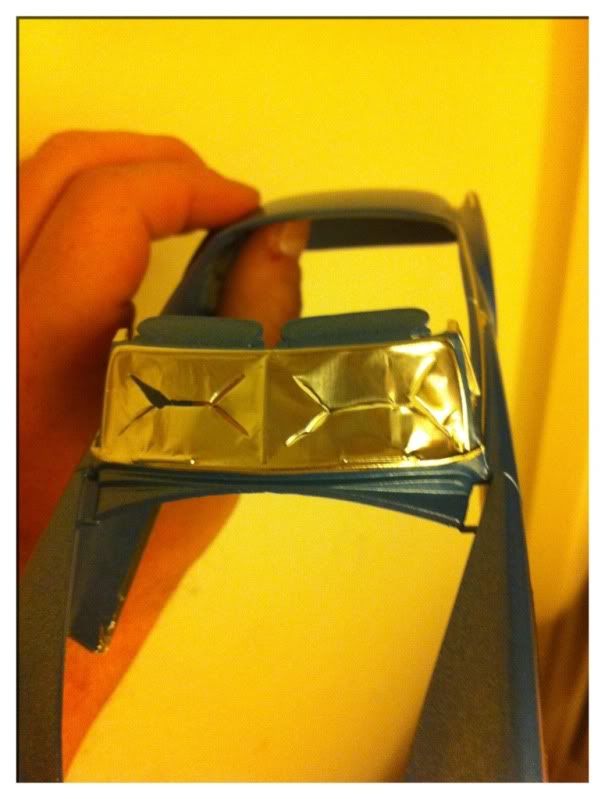
Step 7: Now work your q-tip first just to round the foil over the edge and then your tooth pick slowly massaging a little foil at a time all the way around. Once it's through the front side, use the q-tip to again round over the edge and then stick the foil to the underside.
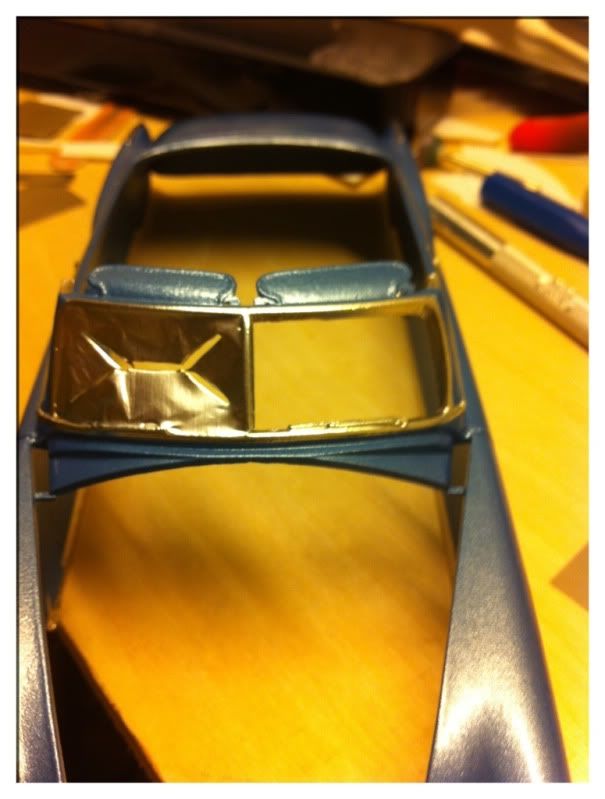
Step 8: Repeat for other side. Put tiny little patches as needed if the corners slightly tear as they do on me sometimes. Now sit back and admire your handy work.
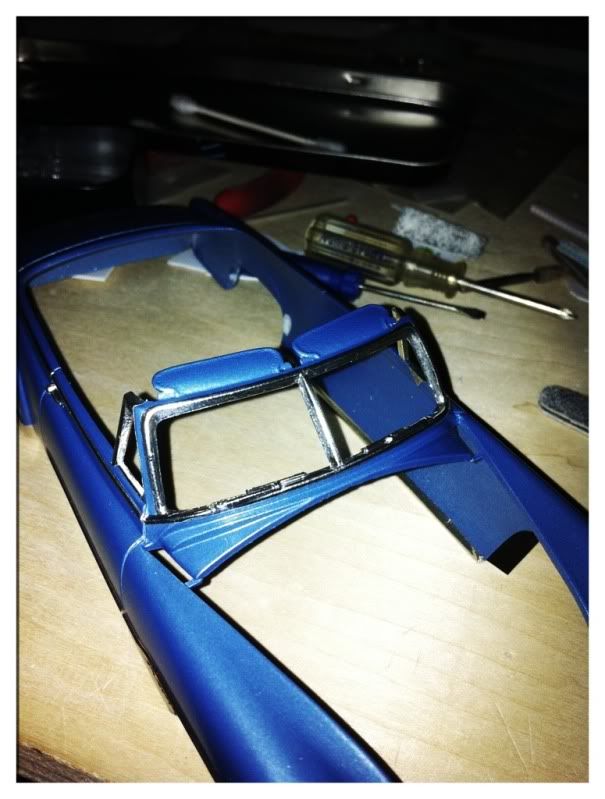
Yes there is some wasted foil, but this will improve the overall look of your finished build. Also, make sure you put a coat of clear over the entire car once foil is done.
Keep in mind that this one piece also took me almost 45 minutes...TAKE YOUR TIME!!!
Good luck!
Object: Do the windshield frame all in 1 piece.
Step 1: Cut out a piece of foil with the backing still on it that is oversized to the frame


Step 2: Peel off the backing and lay down the foil and lightly press down using a new q-tip. ONLY lightly press it down on the high spots and the outer trim line. Notice that I'm NOT rushing and trying to press it into everything yet. Keep working the high spots and outer edge ONLY.

Step 3: Take a moment and use a little pressure and use the q-tip to polish the foil. It's hard to see in the pic but you will see that the q-tip is turning black from polishing.

Step 4: take a tooth pick and a filing stick and make sure the tip of the tooth pick is lightly
sanded so it's not so sharp that it will tear the foil. Now work in ONLY the outer trim lines. Again,
DON'T rush.

Step 5: Take your xacto with a BRAND NEW #11 blade. To trim I just let the blade rest in the groove between the trim and the body and slide the blade down the channel. Note that I DO NOT press down on the blade at all. I let the weight of the blade resting on the foil do all the cutting. I also hold the blade at a 45 degree angle, so it glides itself. Cut out the outer trim first.

Step 6: Now cut the centers as you see here but do Not cut all the way to the plastic.

Step 7: Now work your q-tip first just to round the foil over the edge and then your tooth pick slowly massaging a little foil at a time all the way around. Once it's through the front side, use the q-tip to again round over the edge and then stick the foil to the underside.

Step 8: Repeat for other side. Put tiny little patches as needed if the corners slightly tear as they do on me sometimes. Now sit back and admire your handy work.

Yes there is some wasted foil, but this will improve the overall look of your finished build. Also, make sure you put a coat of clear over the entire car once foil is done.
Keep in mind that this one piece also took me almost 45 minutes...TAKE YOUR TIME!!!
Good luck!


 OK guys I'm trying aluminum foil on a scrap bumper. Its not sticky like bmf so I laid down white glue. THIS IS THE THIRD ATTEMPT. I try to let it dry and then cut but it all pulls off. It doesn't look bad as far as shine but I would be hesitant to try it on a finished paint job because you will have white glue dried all over where you don't want it. Unless you guys know if it can be cleaned off without hurting anything else

