|
|
Post by jbailey on Jan 9, 2014 8:28:36 GMT -7
Hi folks, this is what I've been working on the last week or so. It will be a 20'x40' shop with some yard around it and a gravel drive. The base is 3/4 inch pink foam insulation and is about 33x18 inches. The garage/shop will be 10x20 inches and built using basswood. I found free printable plans online for a 20x20ft (scale is 10x10 inches) and will be building 2 extra side walls to make it bigger. Here's a link to the site in case you'd like to build one also s114607778.onlinehome.us/html/free_plans.htmlI'm using railroad scenicing supplies for the "grass" and gravel. The "concrete" pad for the shop is 1/4 inch thick cork that I got from Walmart, they sell it in 12 inch squares. I painted it a grayish color with acrylic art paint. 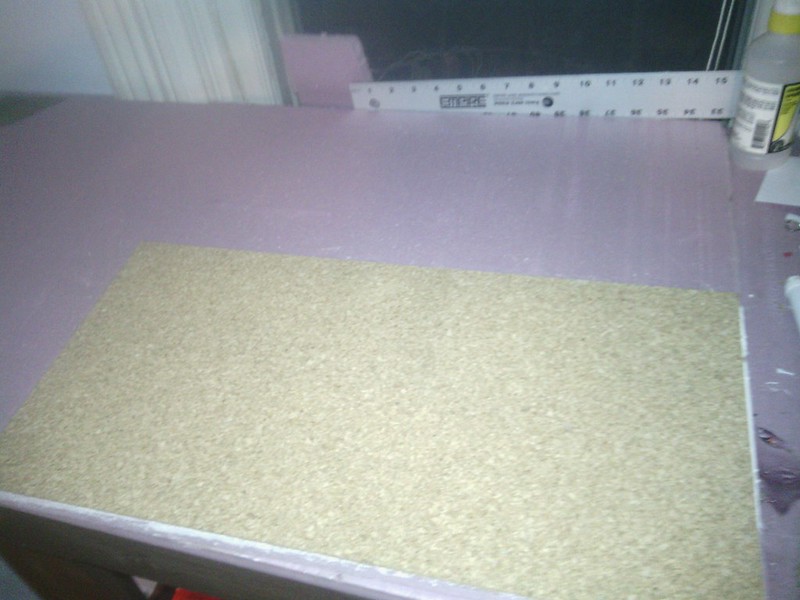 Untitled Untitled by ratrodfanbobcat, on Flickr  Untitled Untitled by ratrodfanbobcat, on Flickr 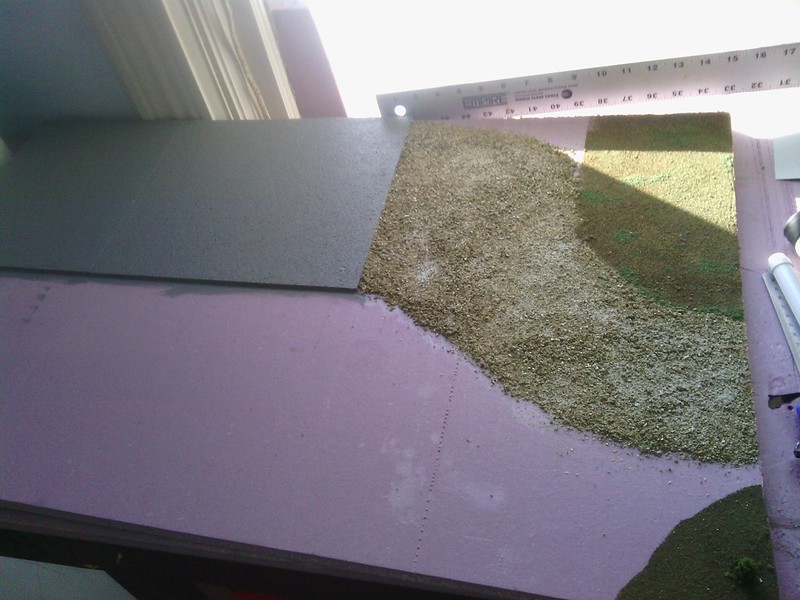 Untitled Untitled by ratrodfanbobcat, on Flickr A pic with my sedan to show the size a little better.  Untitled Untitled by ratrodfanbobcat, on Flickr My "lumber" came in yesterday morning and you can see it laying there in this pic. I hope to get the shop walls framed up this weekend. 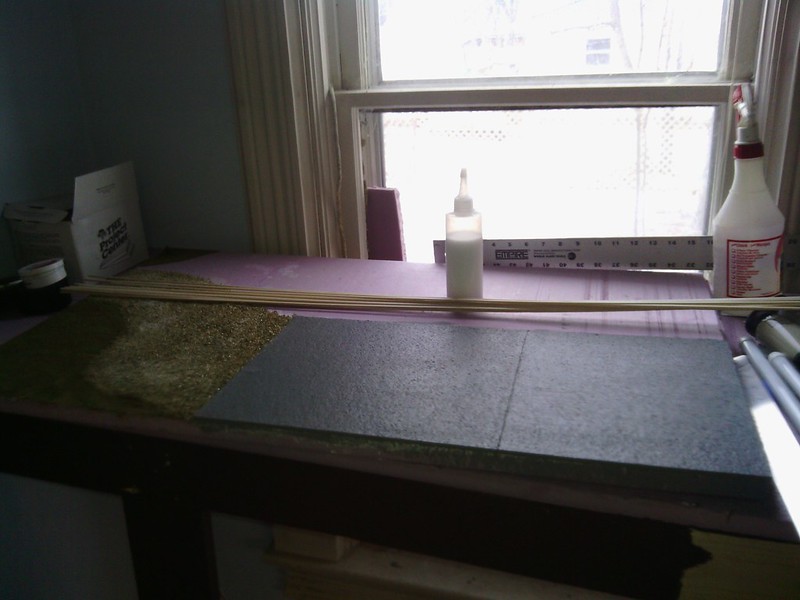 Untitled Untitled by ratrodfanbobcat, on Flickr  Untitled Untitled by ratrodfanbobcat, on Flickr That's where I'm at so far, let me know what you guys think and thanks for lookin. |
|
|
|
Post by jbailey on Jan 10, 2014 23:52:00 GMT -7
Well I got 120 8ft 2x4's cut and 15 20ft 2x6's cut so hopefully tomorrow I can get some walls framed up and standing. 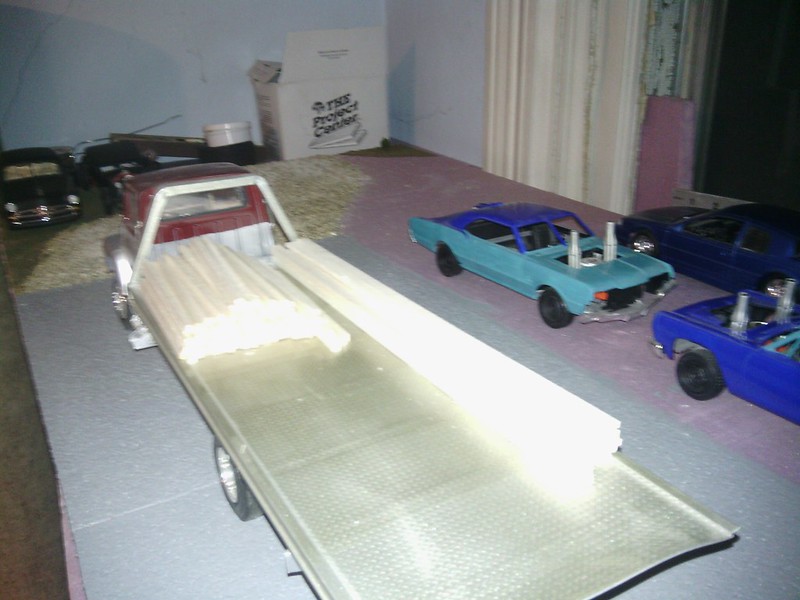 Untitled Untitled by ratrodfanbobcat, on Flickr 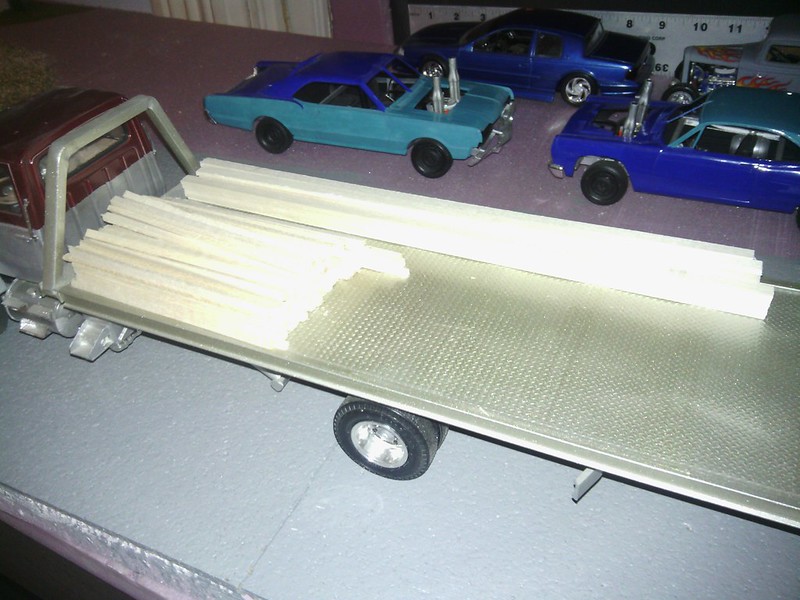 Untitled Untitled by ratrodfanbobcat, on Flickr Its a good thing I had the rollback to get the lumber with and will make it easier to unload lol. |
|
Deleted
Registered: Nov 21, 2024 14:04:11 GMT -7
Posts: 0
|
Post by Deleted on Jan 11, 2014 4:35:54 GMT -7
Thank you for the link! I will be following this closely! It will be a while before I can do a diorama.
Paul
|
|
|
|
Post by gardnerpag44 on Jan 11, 2014 8:43:00 GMT -7
Great job on this , yea rollbacks are real handy . I really like your demo cars would like to see more of those Thanks  |
|
Deleted
Registered: Nov 21, 2024 14:04:11 GMT -7
Posts: 0
|
Post by Deleted on Jan 11, 2014 12:36:07 GMT -7
This is looking cool. Keep it coming.
|
|
Deleted
Registered: Nov 21, 2024 14:04:11 GMT -7
Posts: 0
|
Post by Deleted on Jan 11, 2014 14:25:33 GMT -7
i'm likin this!
|
|
|
|
Post by jbailey on Jan 11, 2014 15:02:04 GMT -7
|
|
|
|
Post by jbailey on Jan 11, 2014 15:09:34 GMT -7
Thank you for the link! I will be following this closely! It will be a while before I can do a diorama. Paul This is looking cool. Keep it coming. Thanks guys |
|
|
|
Post by gardnerpag44 on Jan 11, 2014 15:09:33 GMT -7
These are WWAAAYYYY cool nice detail !! , now I'm going have to finish mine I started a 75 Impala 4 door a 76 Impala 2 door along with others I want to build now I'm motivated to finish them Thanks  |
|
|
|
Post by jbailey on Jan 11, 2014 19:44:47 GMT -7
These are WWAAAYYYY cool nice detail !! , now I'm going have to finish mine I started a 75 Impala 4 door a 76 Impala 2 door along with others I want to build now I'm motivated to finish them Thanks  You're welcome, I'm glad I could help remotivate you to finish yours. I got one wall finished, the rear wall and starting the side walls. The walls are taking longer than I anticipated to assemble lol. 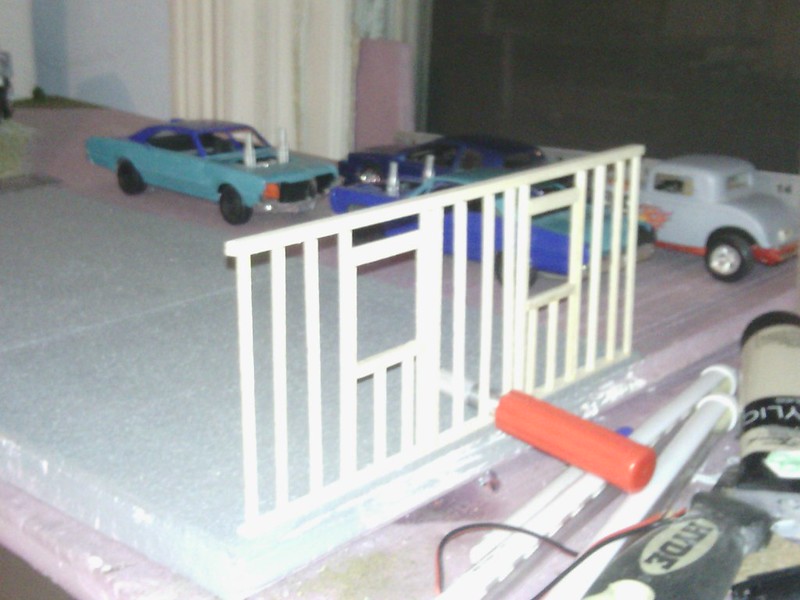 Untitled Untitled by ratrodfanbobcat, on Flickr Then I played around with the rollback for a bit cause I was board lol. 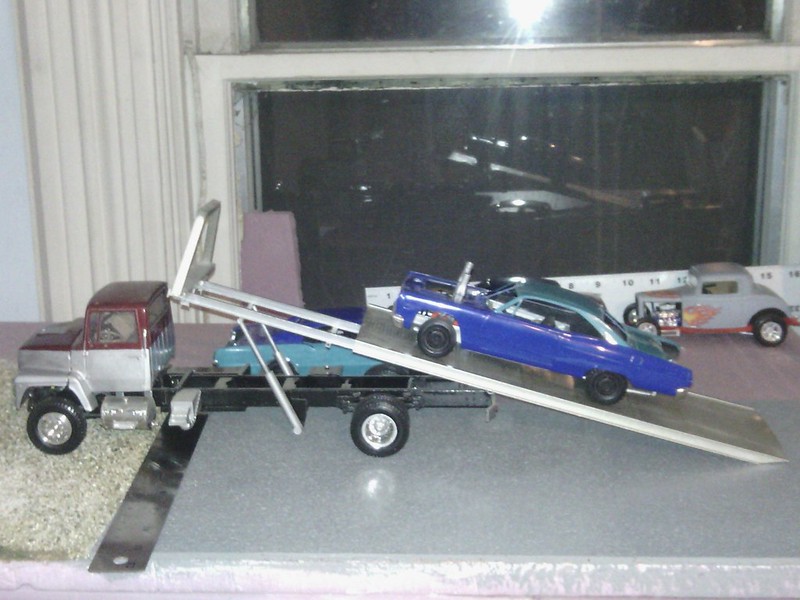 Untitled Untitled by ratrodfanbobcat, on Flickr Thanks for looking! |
|
|
|
Post by gardnerpag44 on Jan 11, 2014 19:52:47 GMT -7
Looking good  |
|
|
|
Post by jbailey on Jan 13, 2014 20:32:50 GMT -7
Thanks Gardner! I got a little but more done on this, I'm changing some of the walls and adding windows as well as moving the door to get it to work better for being extended. Here's some pics of where I'm at now, but I took Thursday and Friday off so hopefully I can get all the walls completed then I just need to decide how I'm going to finish the outside of the building. This wall is almost done but I think I'm going to pull some studs and add another window in there. 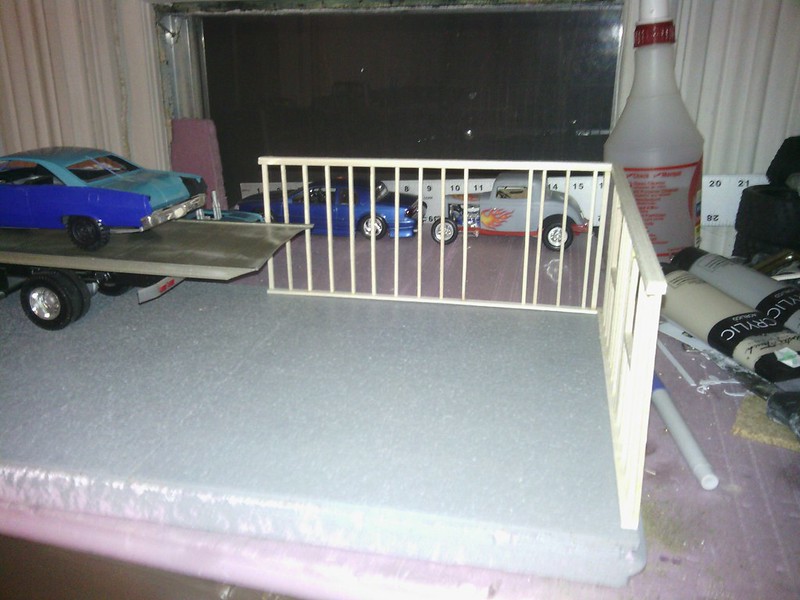 Untitled Untitled by ratrodfanbobcat, on Flickr And this wall is almost finished as well just need to add the headers for the door and window. 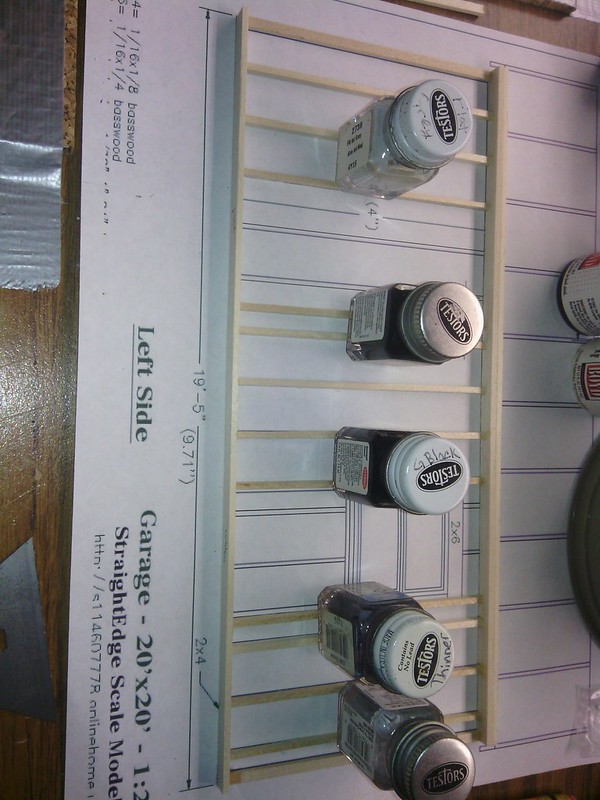 Untitled Untitled by ratrodfanbobcat, on Flickr Thanks for looking. |
|
|
|
Post by gardnerpag44 on Jan 13, 2014 21:07:57 GMT -7
Looking good can't wait to see it done  |
|
|
|
Post by jbailey on May 15, 2015 4:22:08 GMT -7
It's time to dig this one back up I think. I ordered a few things to do lights inside. This was pretty much an experiment, as I had no clue how it would work out. I wanted working 4 to 8 foot fluorescent light fixtures and I think I will achieve the look I was going for! I bought some 1/16 inch acrylic rod and some warm white smd leds. The leds won't be here for a couple more weeks since they're coming from China lol. Here's some pics of the rod then some test shots with a bright white led. 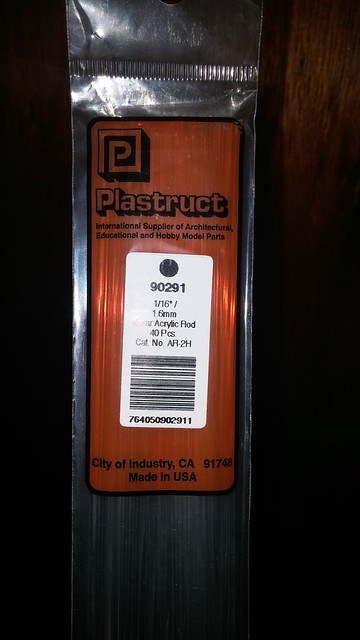 20150514_212703 20150514_212703 by ratrodfanbobcat, on Flickr With the led on rest of the lights off... 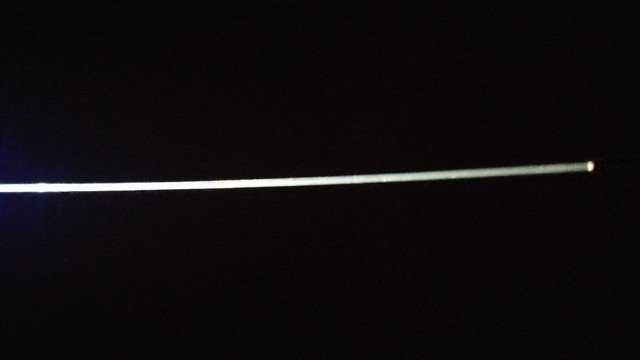 20150514_212555 20150514_212555 by ratrodfanbobcat, on Flickr I'm thinking 4 foot scale fixtures with leds on each end should give me the look of working fluorescent lights. Let me know what you think or if you have a better idea. I did find actual 1/24 scale fluorescent lights, but man they're expensive lol. |
|
Deleted
Registered: Nov 21, 2024 14:04:11 GMT -7
Posts: 0
|
Post by Deleted on May 15, 2015 4:41:06 GMT -7
That is an incredible effect mate, brilliant idea.
|
|
|
|
Post by jbailey on May 15, 2015 9:55:32 GMT -7
Thanks Dale! I gotta figure out how and what to build the fixtures out of now. Here's a link to the scale fluorescent lights if anyone wants the expensive alternative... www.microstru.com/Flourescents.htmlMy way will give me at least 20 light bulbs for about $30. |
|
Deleted
Registered: Nov 21, 2024 14:04:11 GMT -7
Posts: 0
|
Post by Deleted on May 15, 2015 10:08:26 GMT -7
Very Cool build ..
Will defiantly be following along . Great Job so far , keep it coming ....
|
|
|
|
Post by jbailey on May 15, 2015 11:19:02 GMT -7
Thanks Tom! With the weather like it is, raining almost daily, I figured this could use some attention and doesn't require painting in the rain lol.
|
|
Deleted
Registered: Nov 21, 2024 14:04:11 GMT -7
Posts: 0
|
Post by Deleted on May 15, 2015 11:23:59 GMT -7
I wonder if painting it and taking out to the rain would give it a run down look....or just ruin the whole thing. Lol. Don't try it. Just thinking out loud.
|
|
|
|
Post by stitchdup on May 15, 2015 11:49:50 GMT -7
If you want the aged look, kids watercolour paints(the cheap round ones in sets), wet tea bags, instant coffee, hard pastels and charcoal are handy on bare wood. Once you get it looking how you want just varnish over it. I learnt the teabags and coffee tip from reading about a Dutch art forger during ww2 who sold Vermeers to the nazis
|
|
|
|
Post by jbailey on May 26, 2015 19:32:40 GMT -7
Joel, I'm leaning towards ruin the whole thing lol. So far it's all water soluble glue. No aged look here boys, it'll get sided with something haven't decided if I want metal siding or regular old clapboard yet. I got my LEDs, and wishing I'd bought larger ones lol. 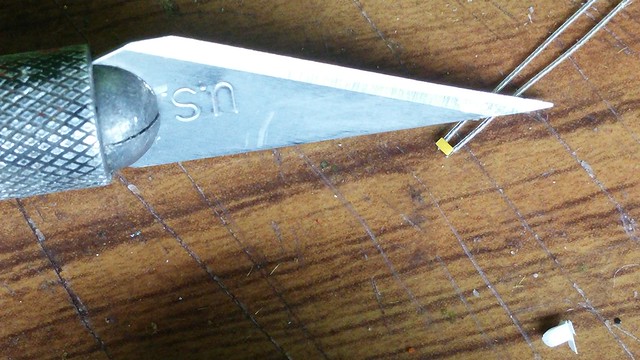 20150526_205647 20150526_205647 by ratrodfanbobcat, on Flickr Here's how bright they are just off of two AA batteries, which is 3 volts. 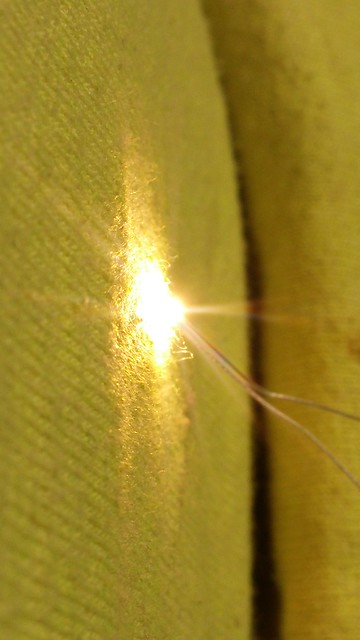 20150526_211504 20150526_211504 by ratrodfanbobcat, on Flickr And here's one I experimented with on the acrylic rod, I also lightly sanded the outside of the rod to give it an almost frosted look to try and diffuse the light. 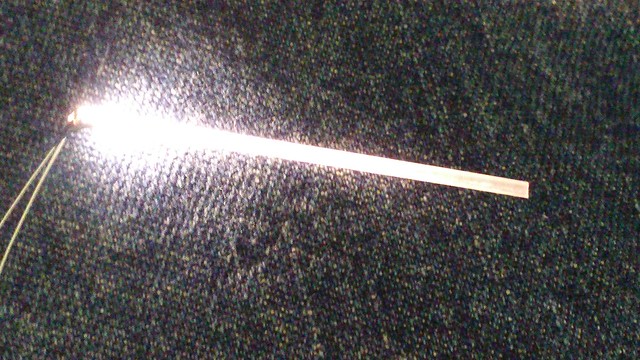 20150526_211600 20150526_211600 by ratrodfanbobcat, on Flickr I think I'm gonna have to experiment with some resistors to tone them down some. I've also had 2 burn out already, not real impressed about that lol. |
|
|
|
Post by CoyoteCrunch on May 27, 2015 6:14:11 GMT -7
Holy crap man - those are really freakin tiny!!!!
And I know what you mean by the rain - UNREAL |
|
|
|
Post by gardnerpag44 on May 27, 2015 8:58:05 GMT -7
Those are looking great Jesse , I hope you get this all figured out , gonna be a very cool shop when done  |
|