Deleted
Registered: Nov 24, 2024 11:26:19 GMT -7
Posts: 0
|
Post by Deleted on Dec 24, 2013 12:26:57 GMT -7
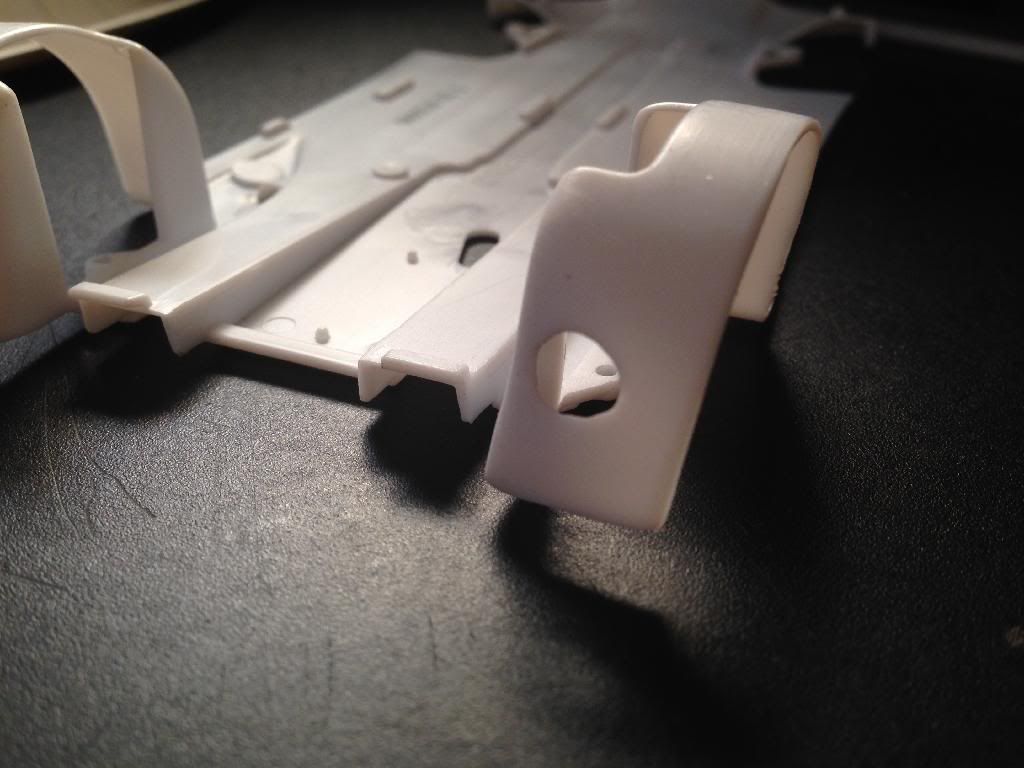
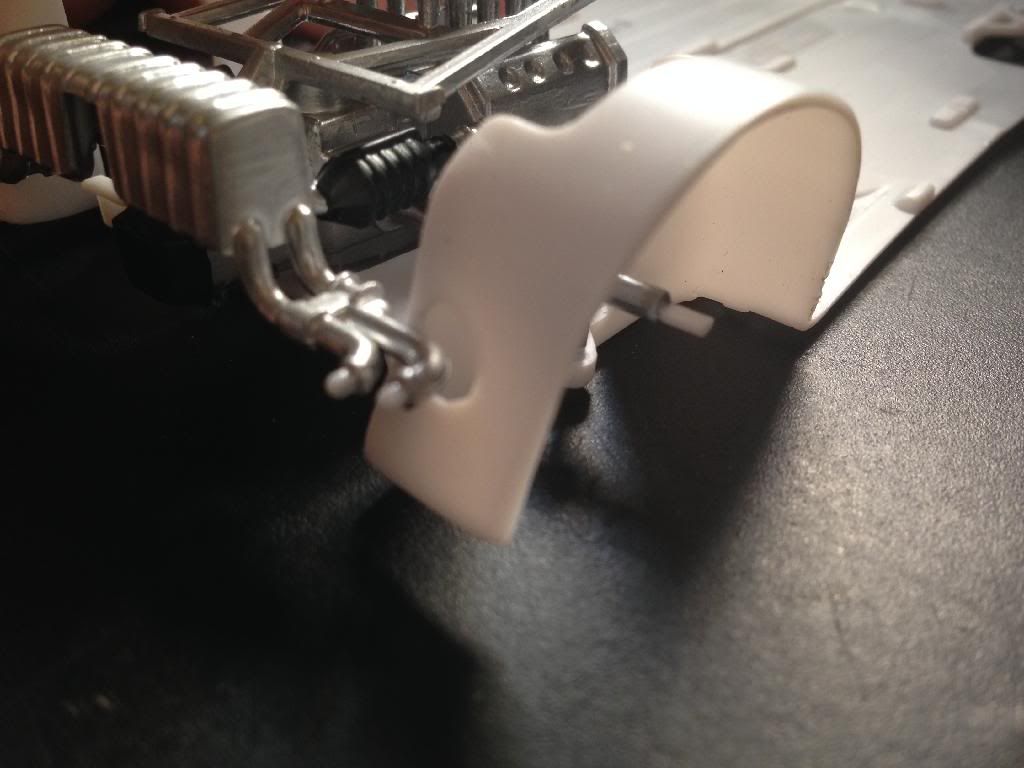
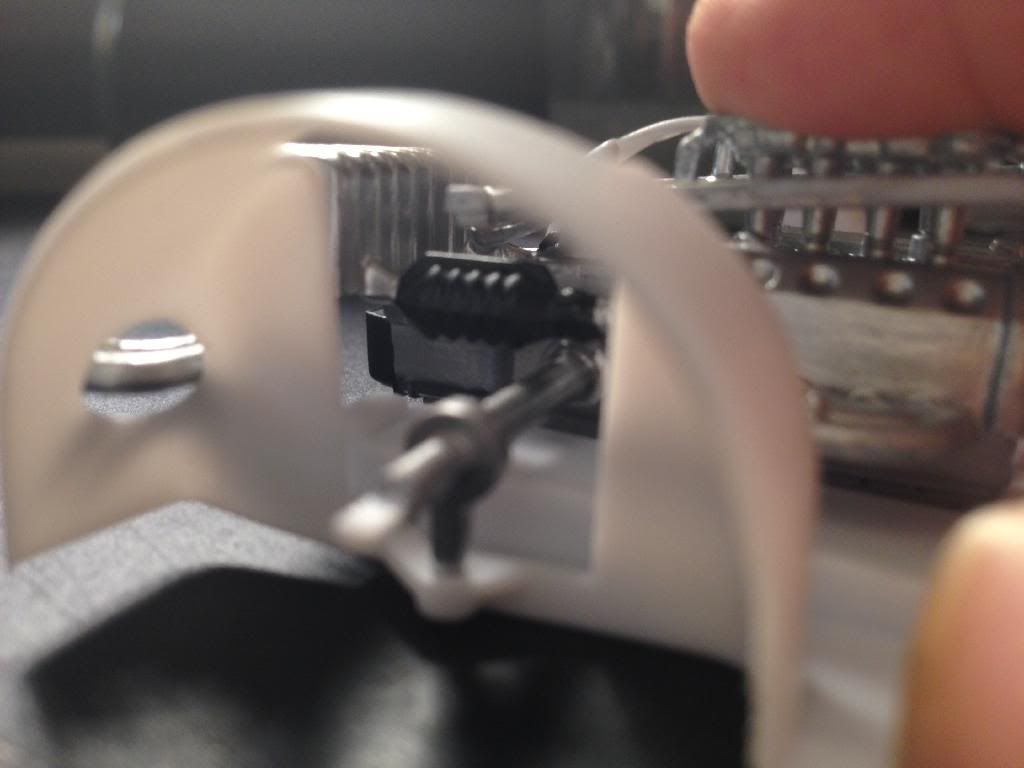
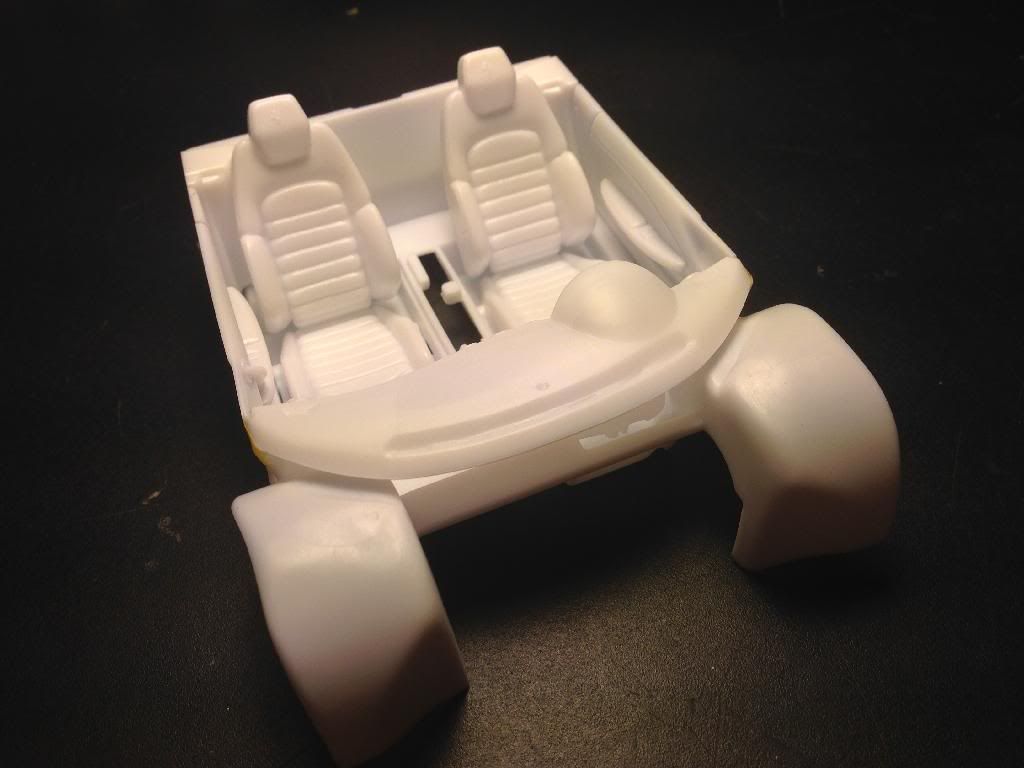
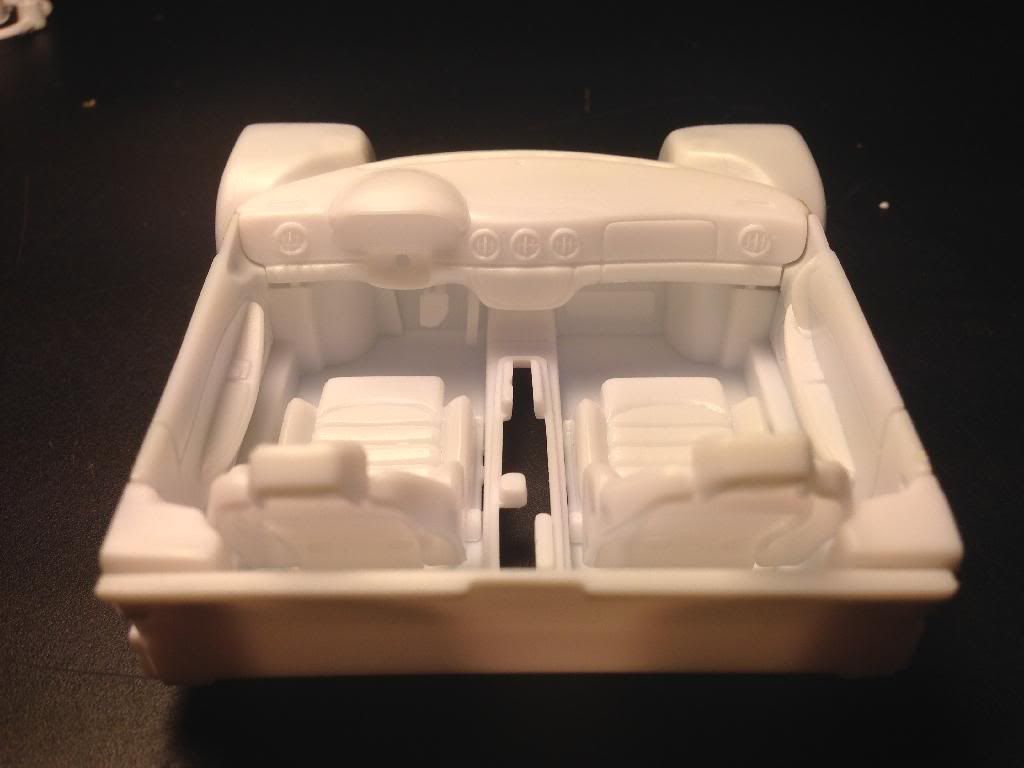
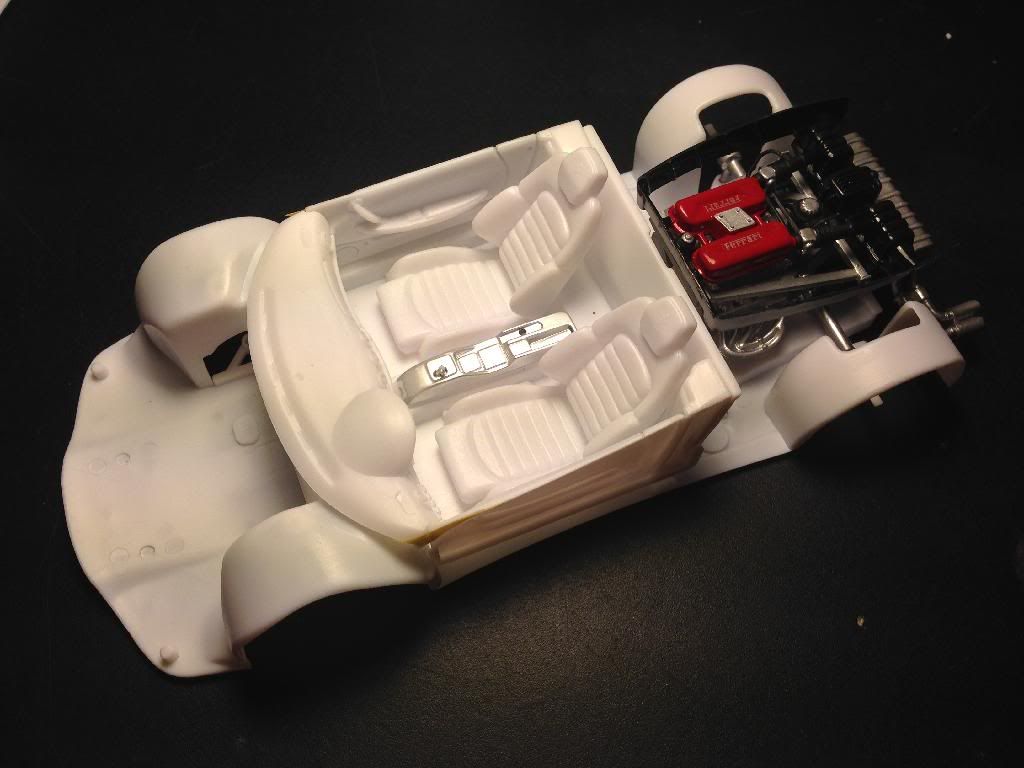
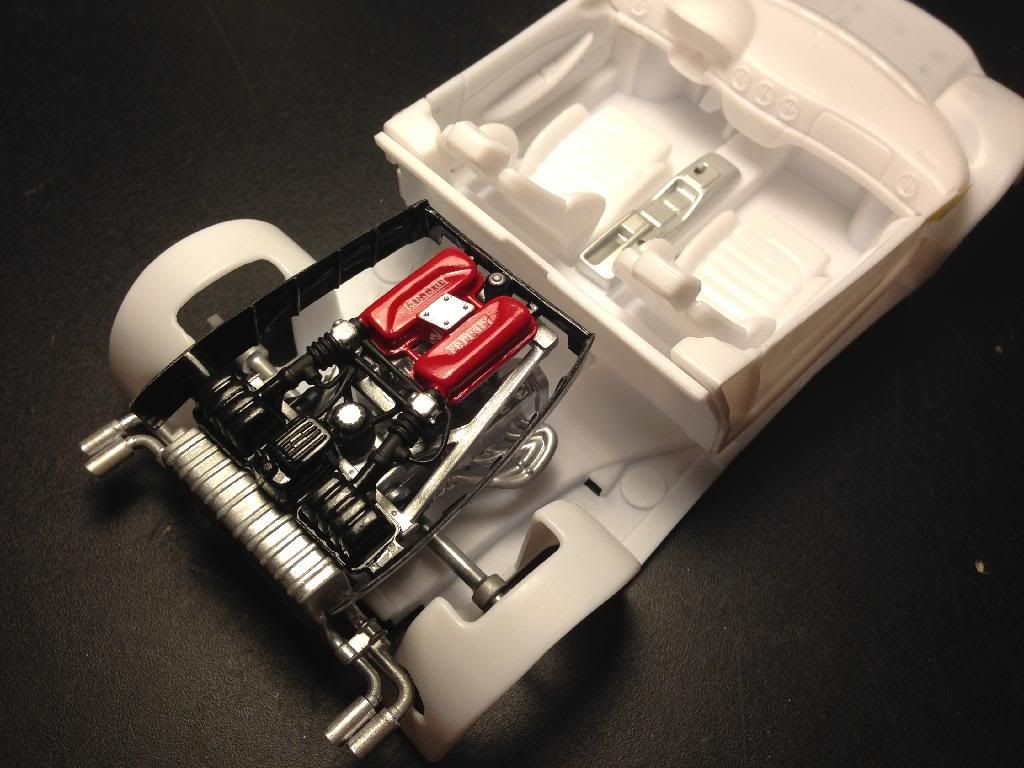
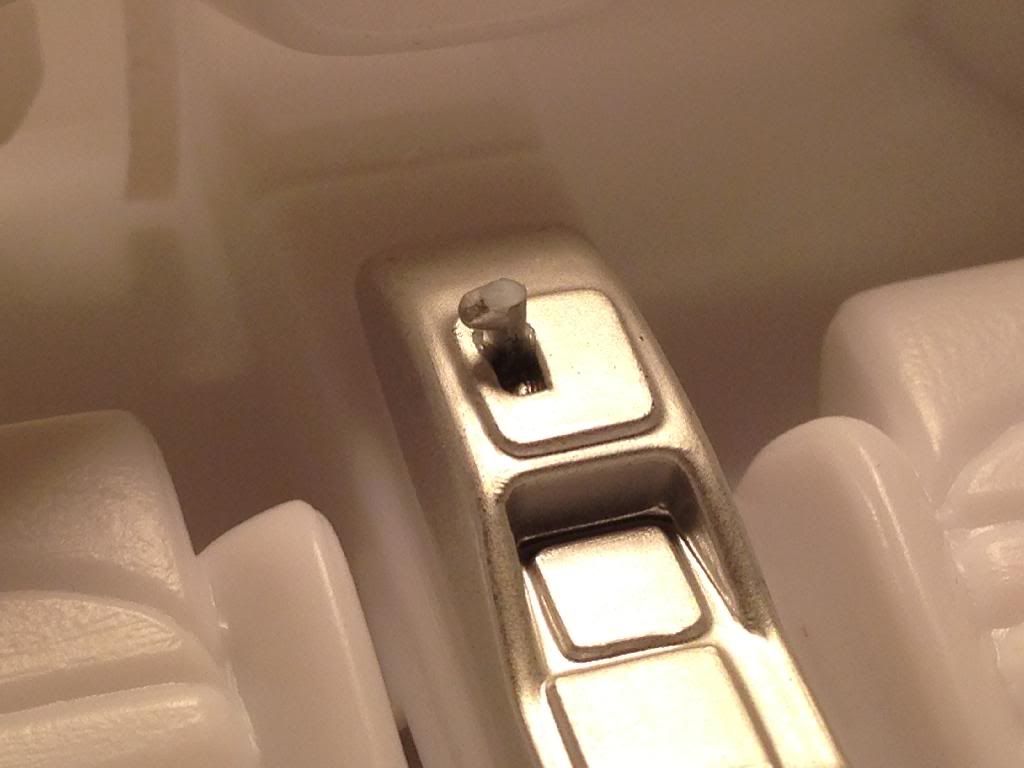
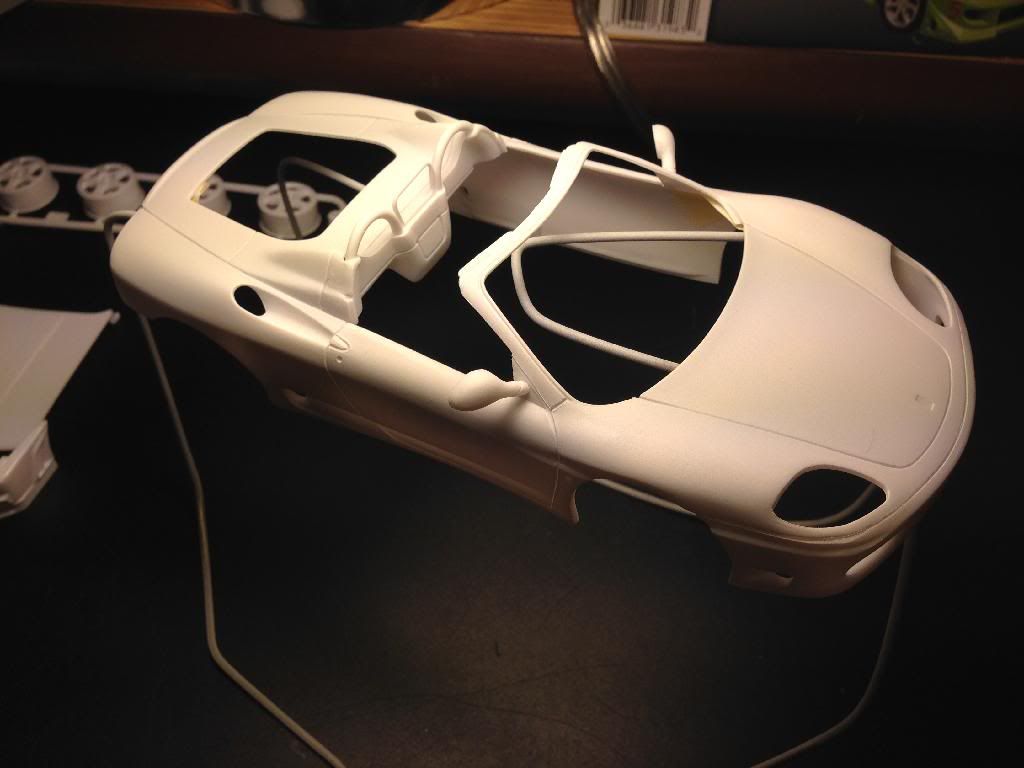
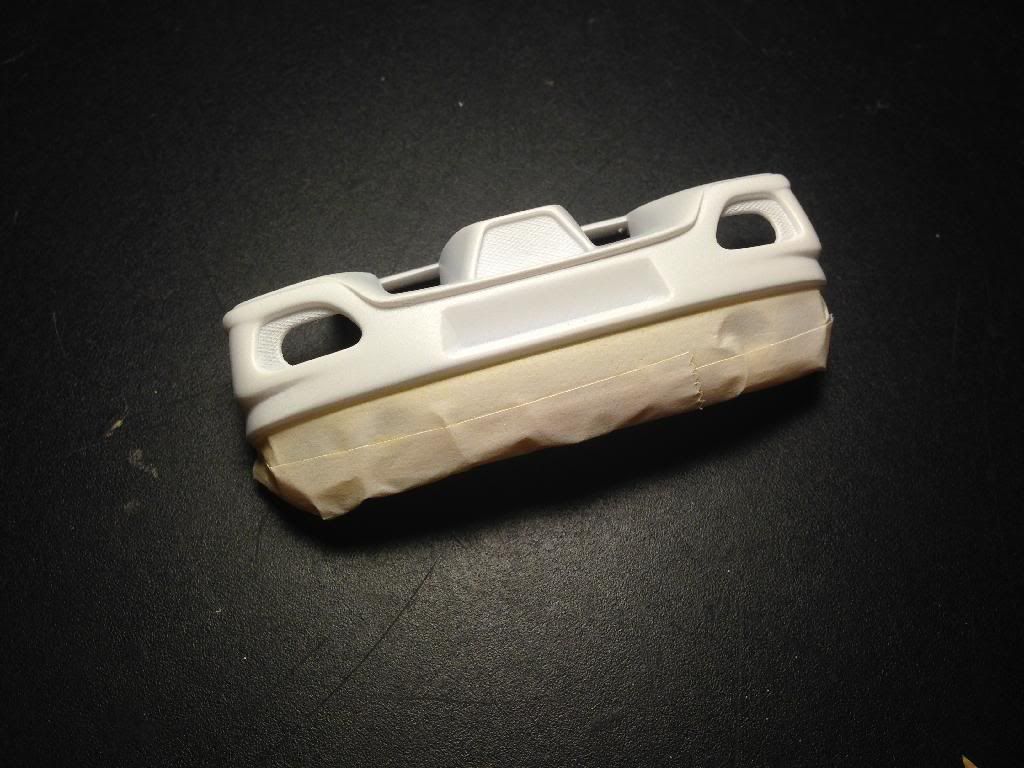
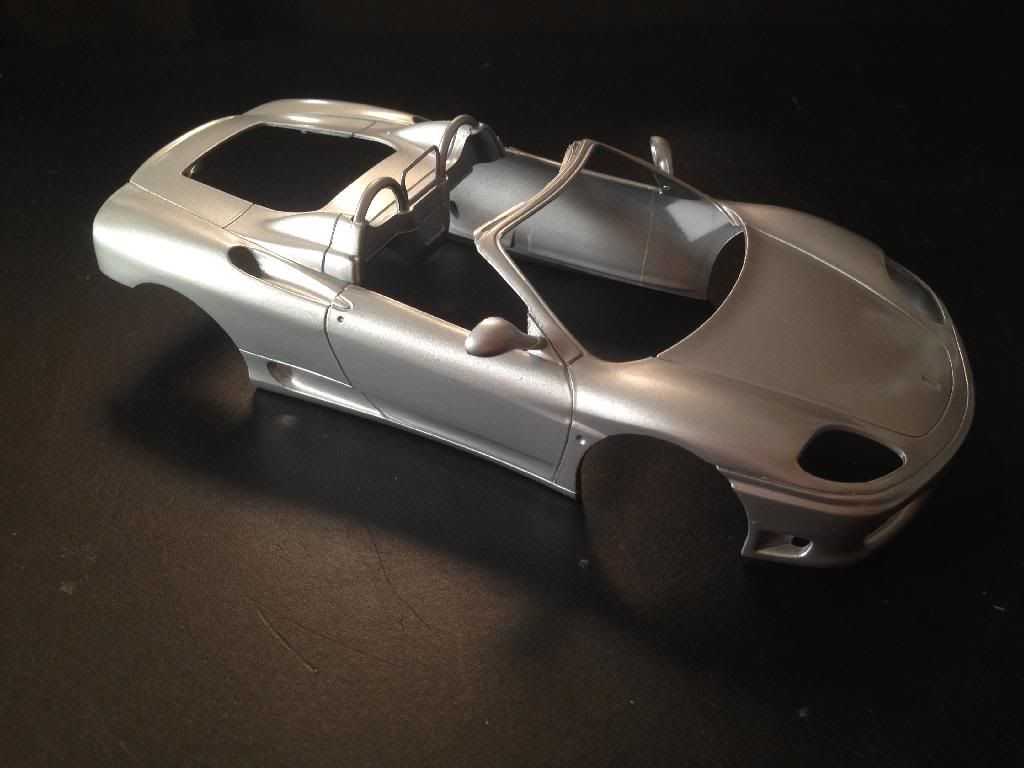
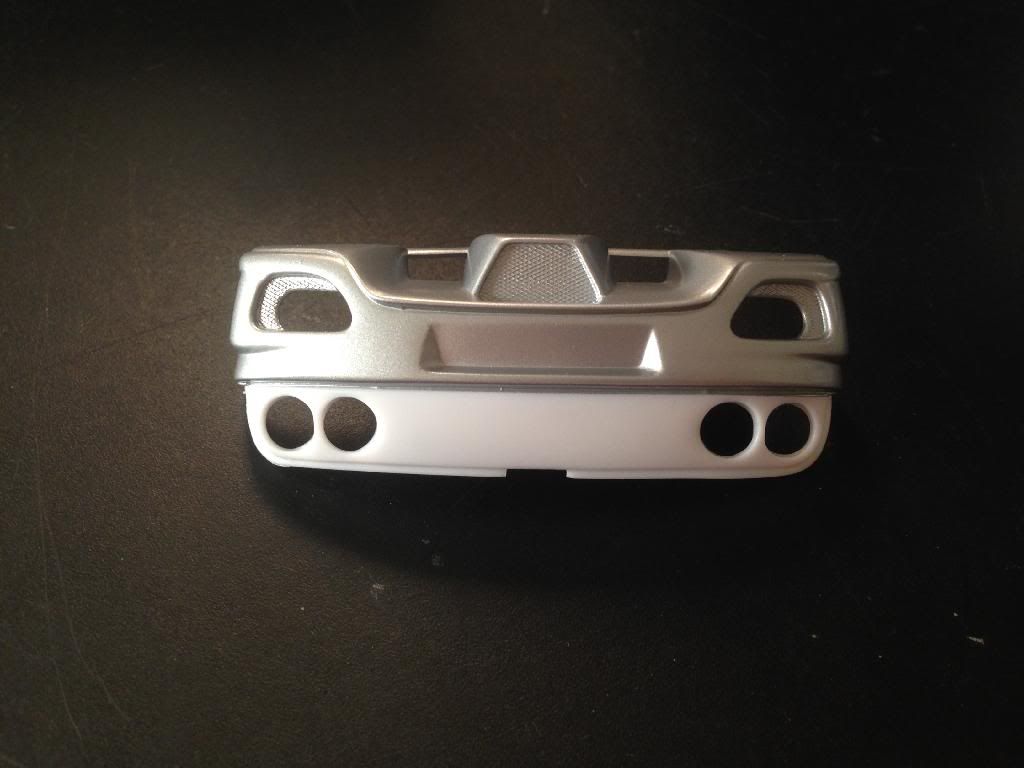
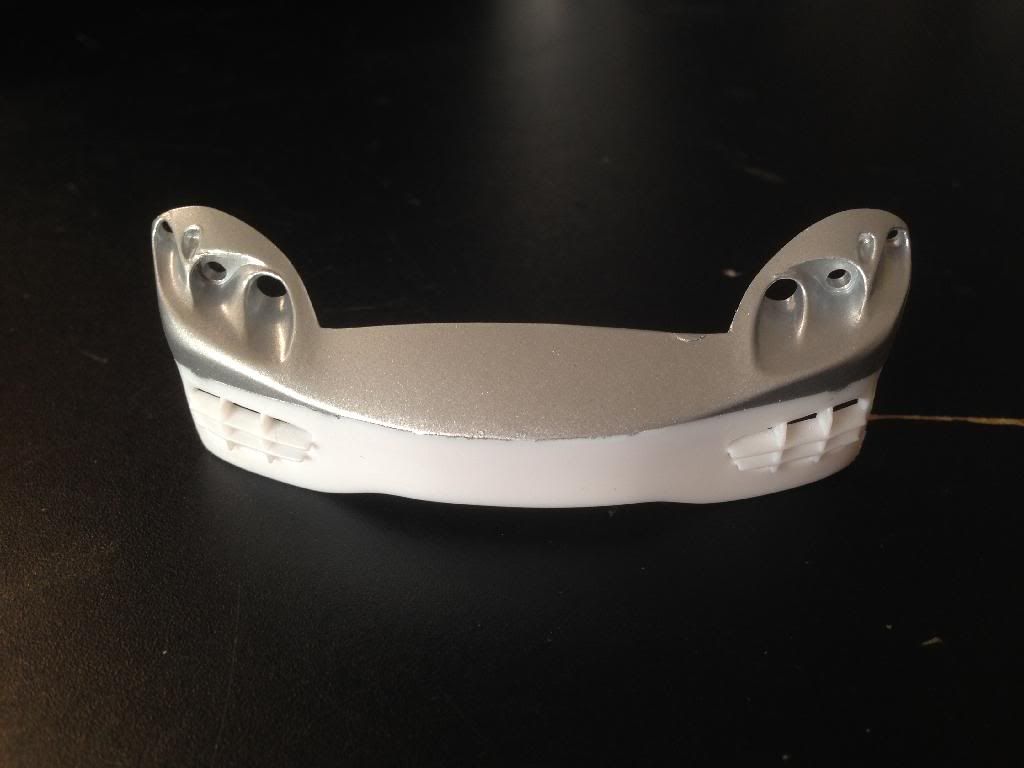
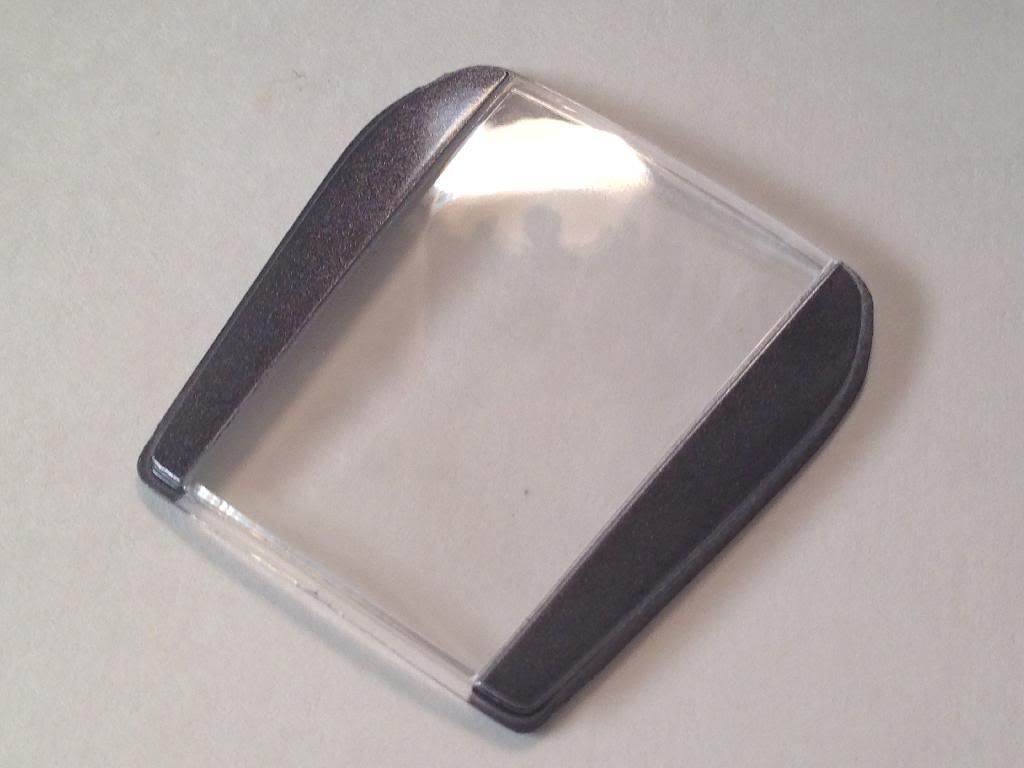
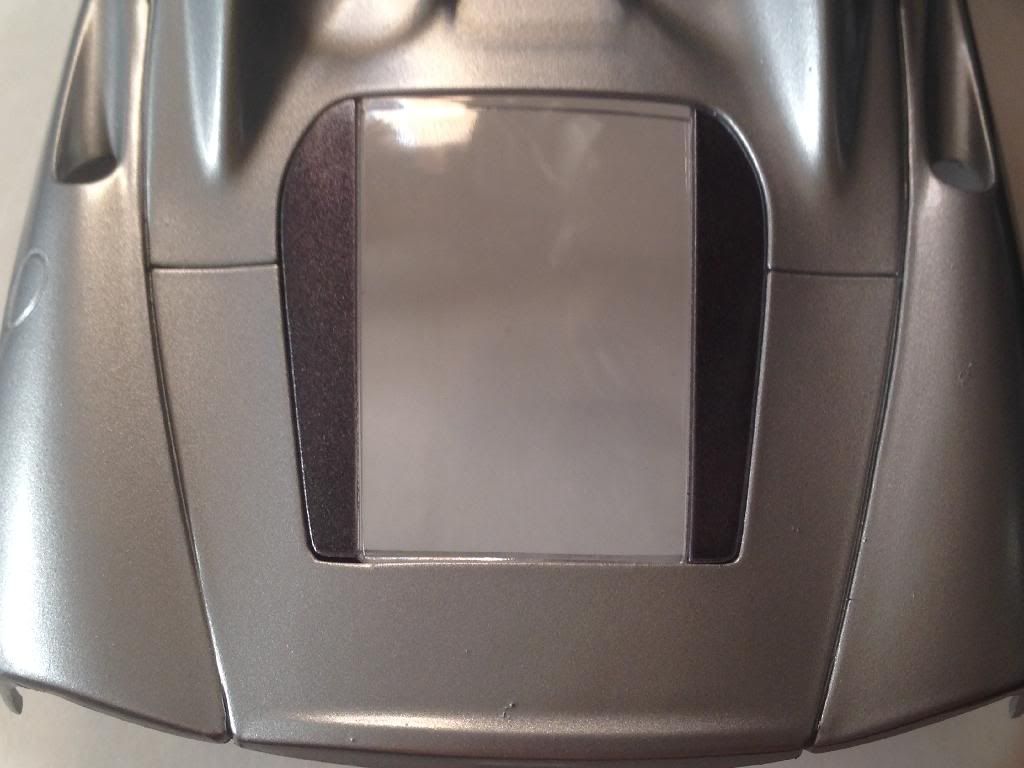
Hello everyone! Wanted to stop in and start a thread for my little project here. Its a Revell kit from 2003 I got for an insanely low price! It was still in the factory shrink wrap but of course its vented and it appears to have been stored in a very damp climate. Ill have some example pictures below. Some history: This will be my first build in well over 5 years, so it's going to be a slow one guys. I plan to use this kit as a refresher for some various techniques I've had on the brain for a little time now. I picked this kit in particular because when I was about 14 I built one in 2 days, it was gnarly bad. That... And it was CHEAP, I think I paid less than $10 shipped. I've seen a lot of these kits built, so I'm hoping to do something just a little different. ::Plans:: -Exterior: Silver or Ferrari Azzuro California -Interior: 2 Tone Black & Dark Grey -Faux Challange Stredale Rear Insert -Satin Black or Gunmetal Wheels.http://jerryscherrys.freeforums.net/thread/edit/1267 And here she is! (Ruined box because of moisture) 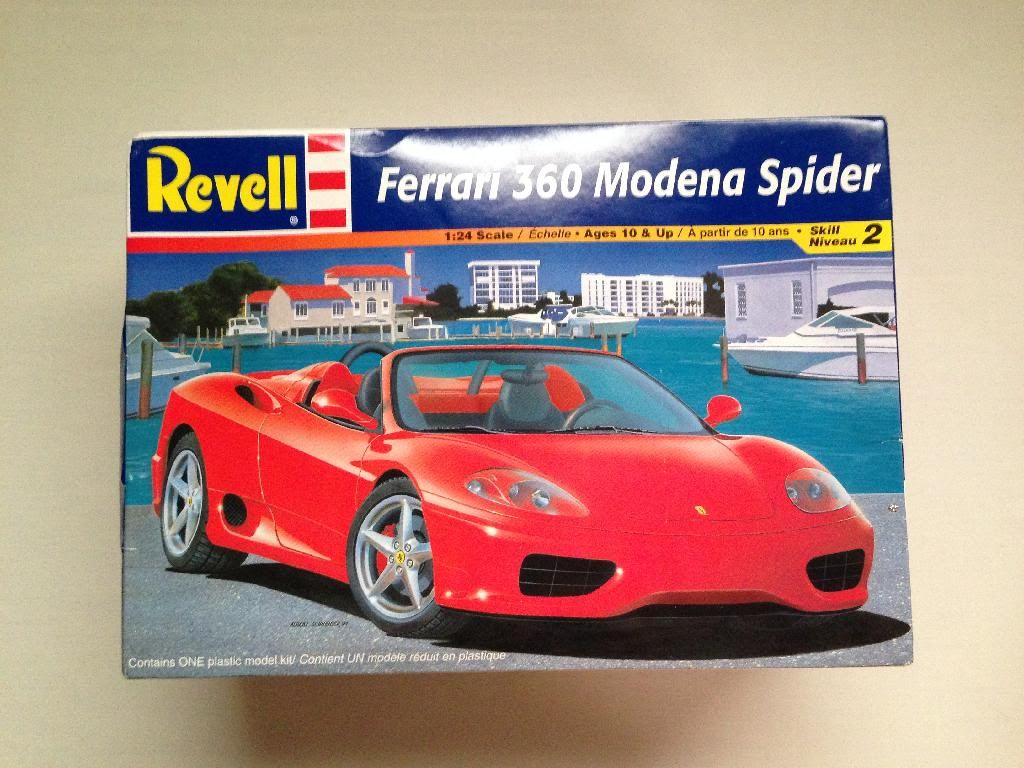 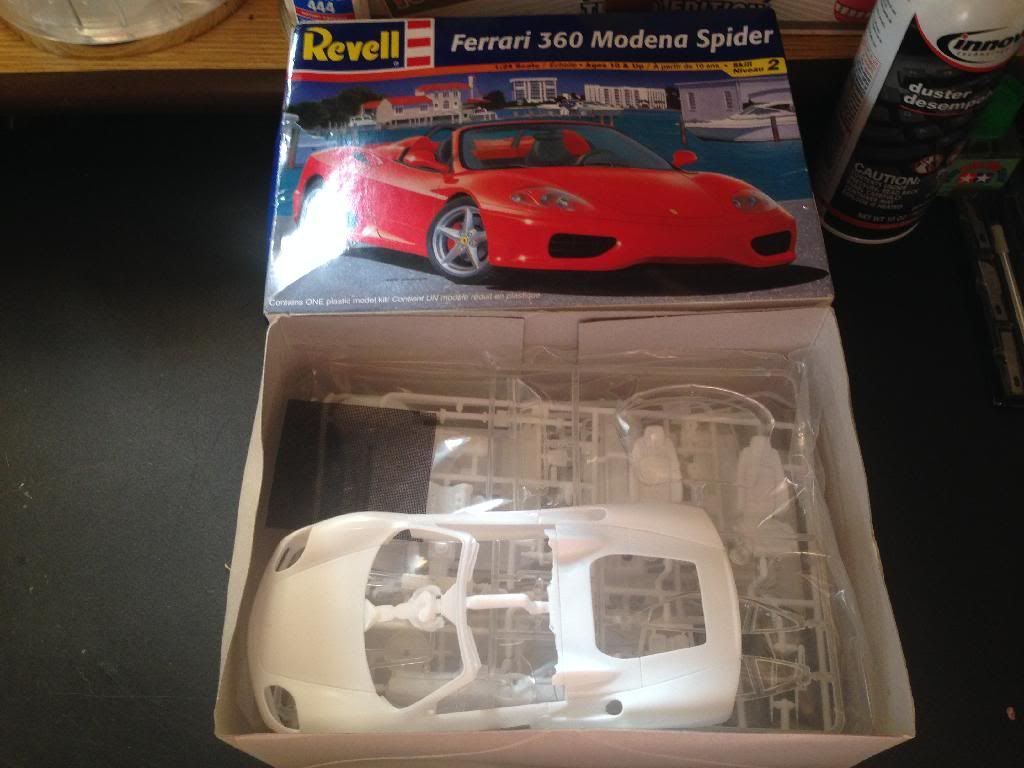 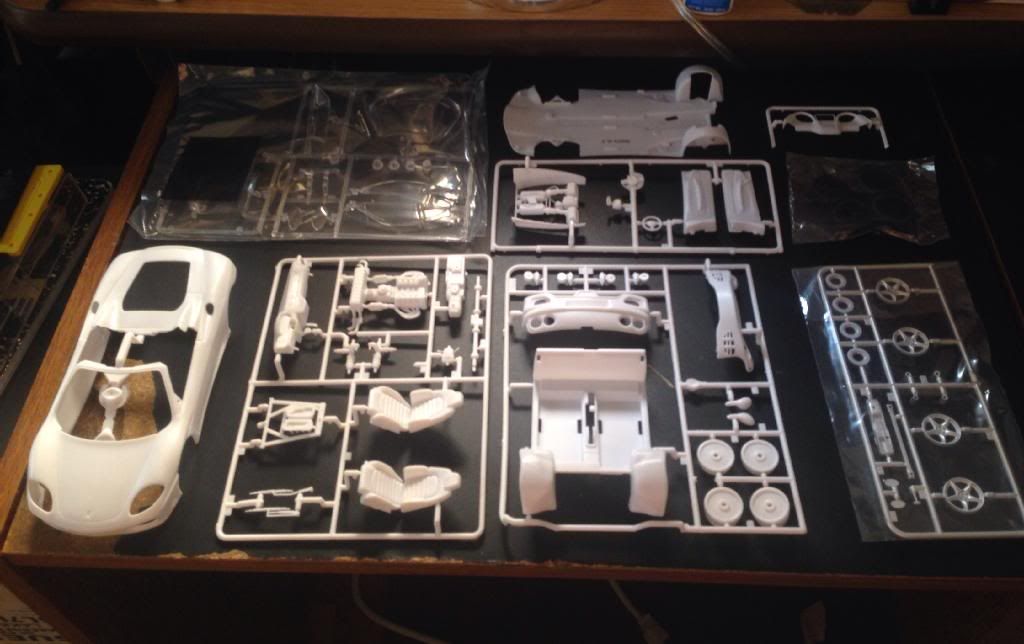 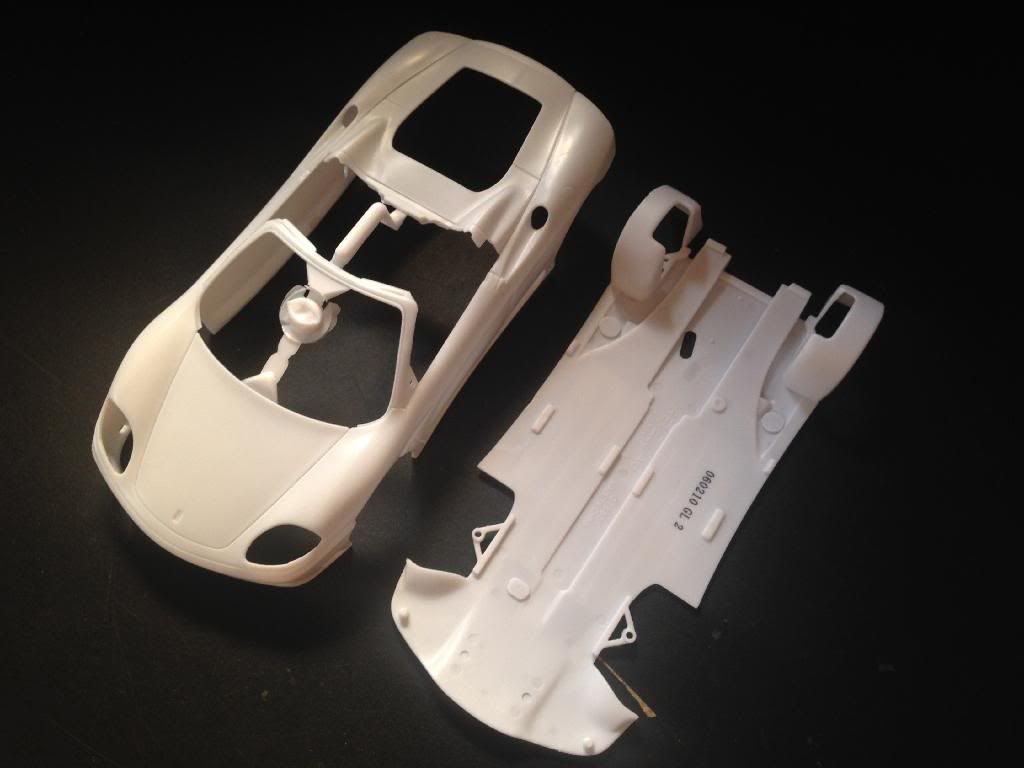 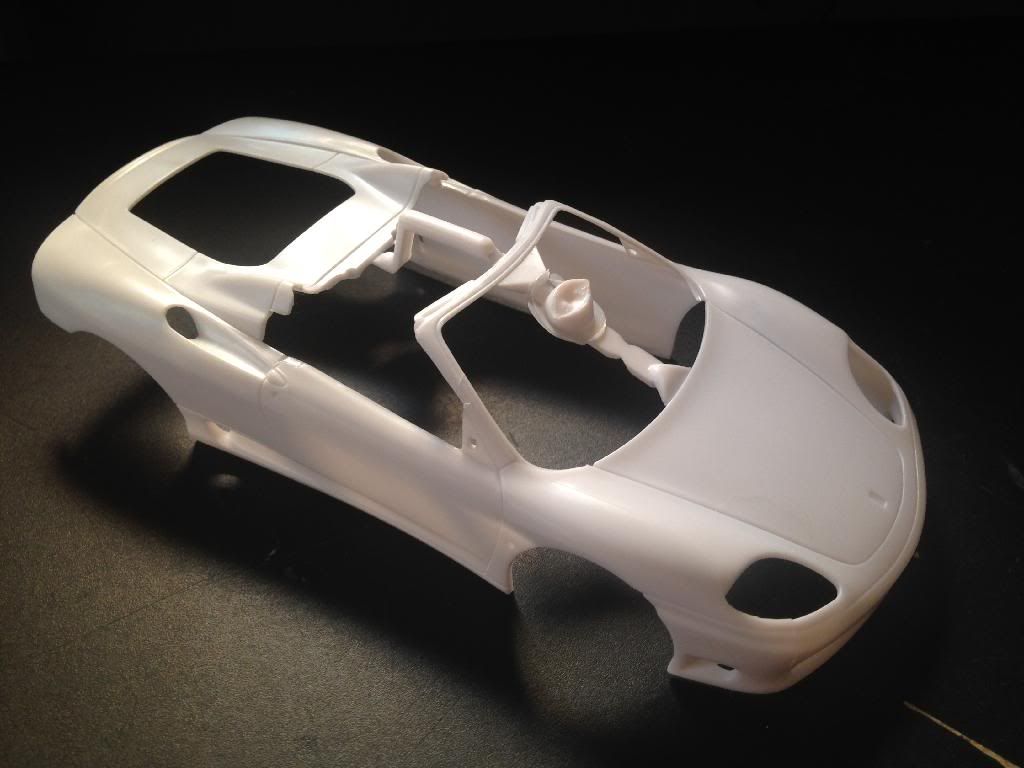 What also gave away the moist storage (Besides the stained and collapsed box) is that the chrome pieces lost their luster. All medium gloss grey now. 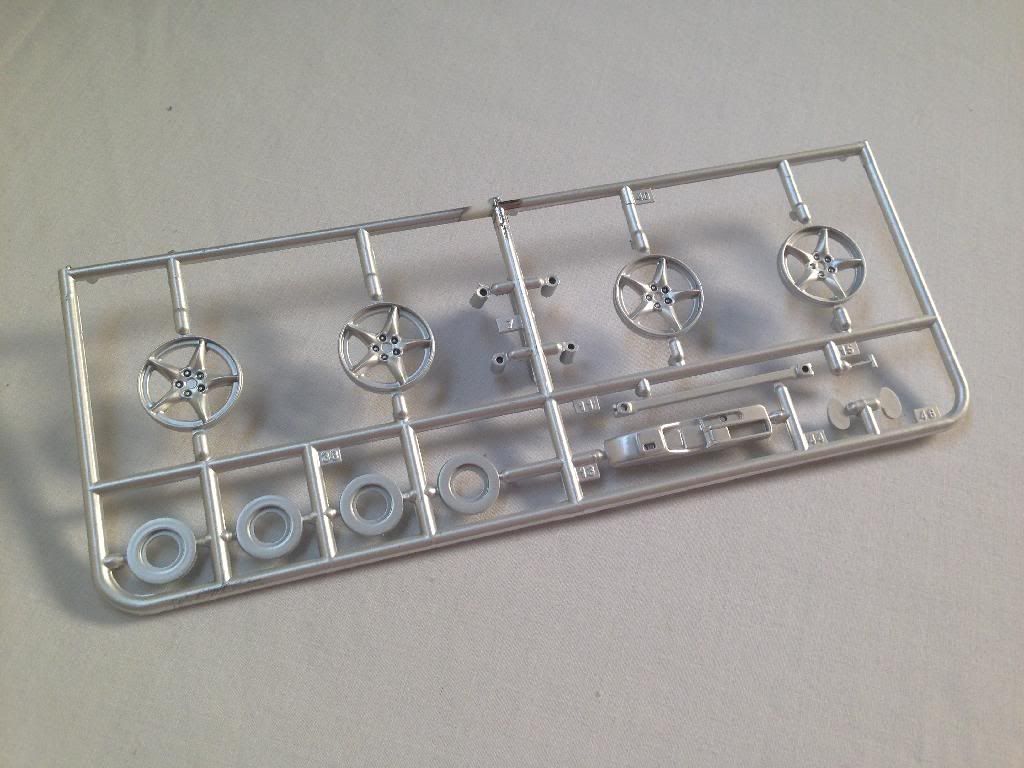 Im waiting on a few more supplies before I really dig into it, but ill keep this thread updated along the way. Thanks for looking! *UPDATE* 12-22-13 Couldn't resist the open kit sitting on my station. Did the trim job on the engine bay surround since these pieces are shared with the Modena hard top kit, as well as trimmed excess plastic and dry mocked everything to test fitment. 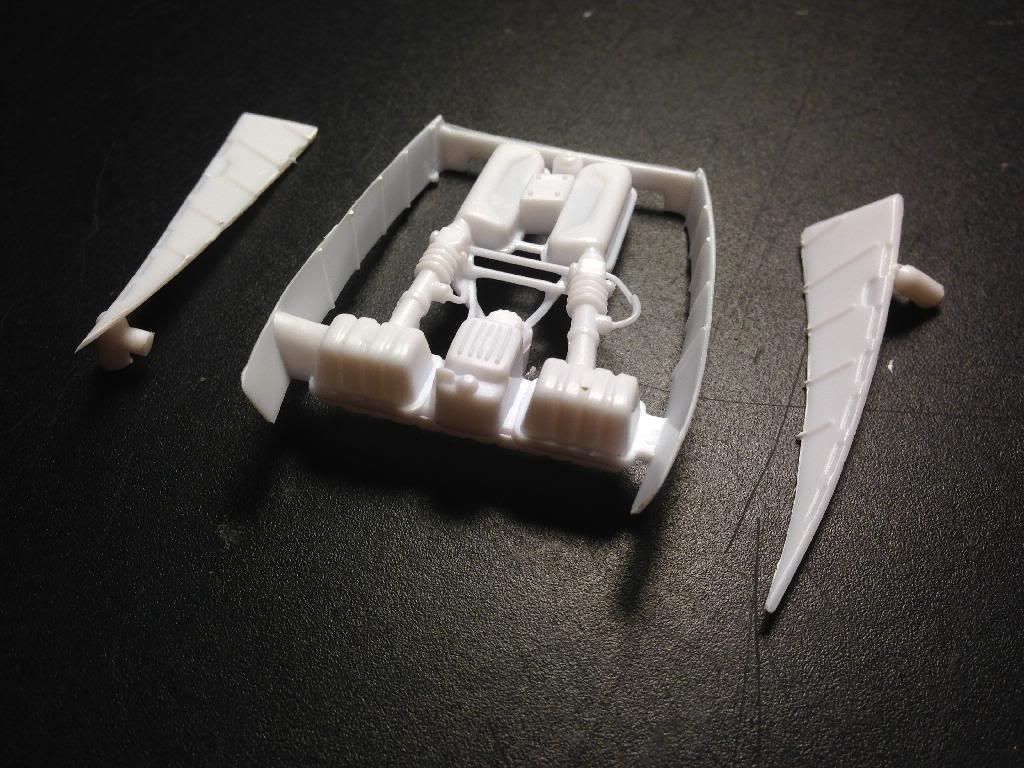 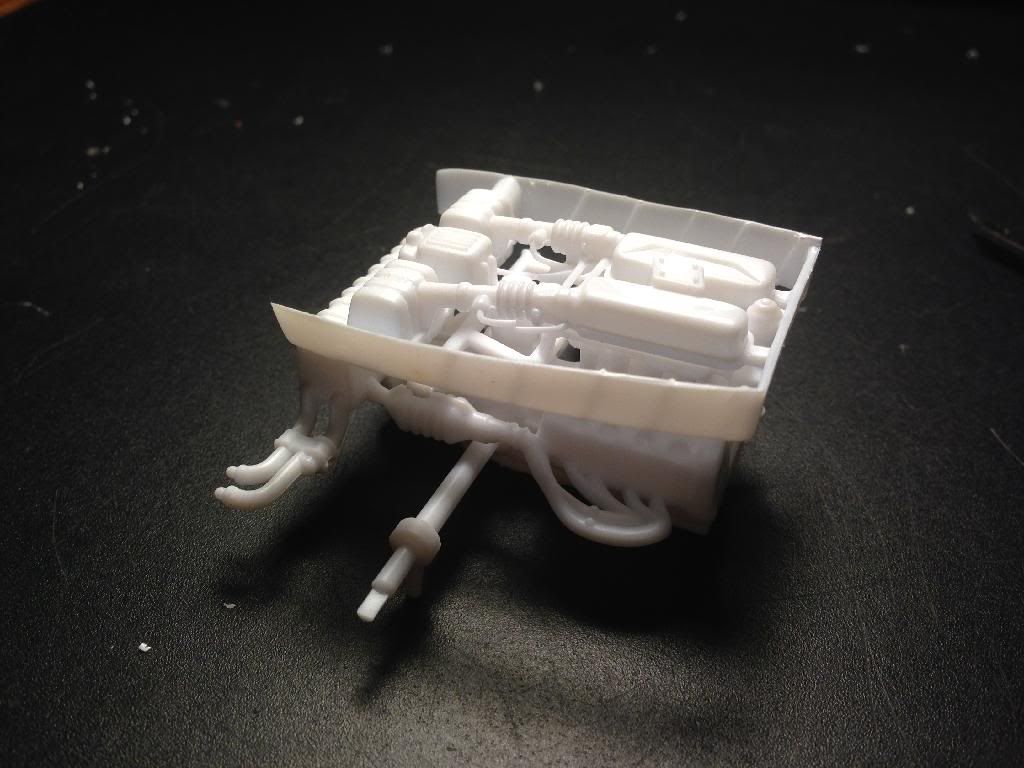 |
|
Deleted
Registered: Nov 24, 2024 11:26:19 GMT -7
Posts: 0
|
Post by Deleted on Dec 24, 2013 16:50:19 GMT -7
Nice. This is going to be interesting. I'll be watching...
|
|
Deleted
Registered: Nov 24, 2024 11:26:19 GMT -7
Posts: 0
|
Post by Deleted on Dec 24, 2013 21:24:06 GMT -7
I found the interior I want to replicate! 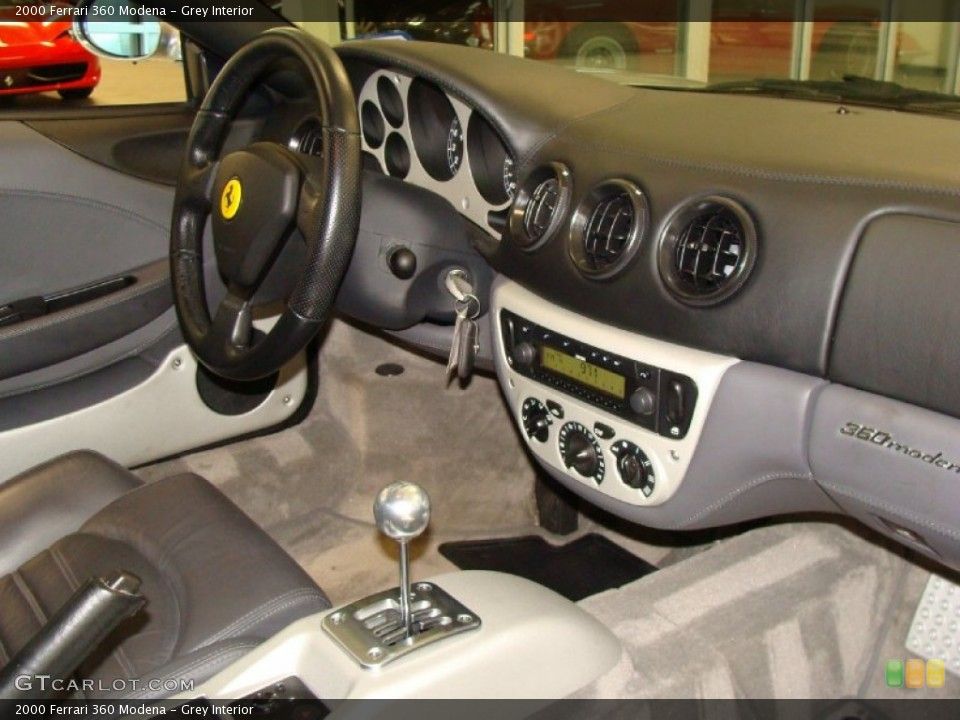 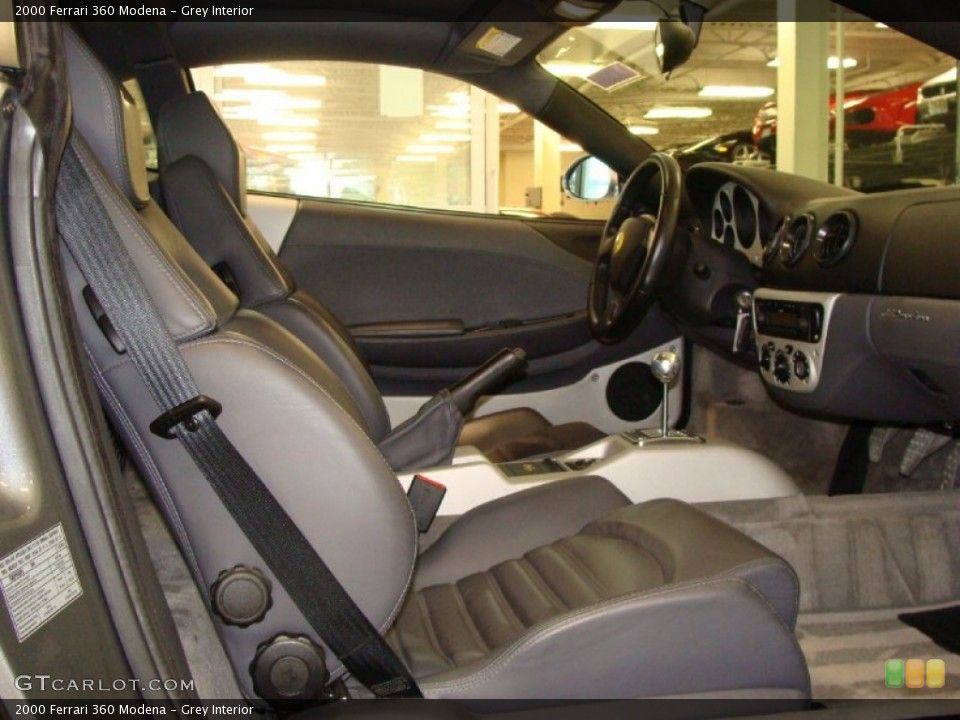 And here is an example of the rear insert i refer to in the OP. 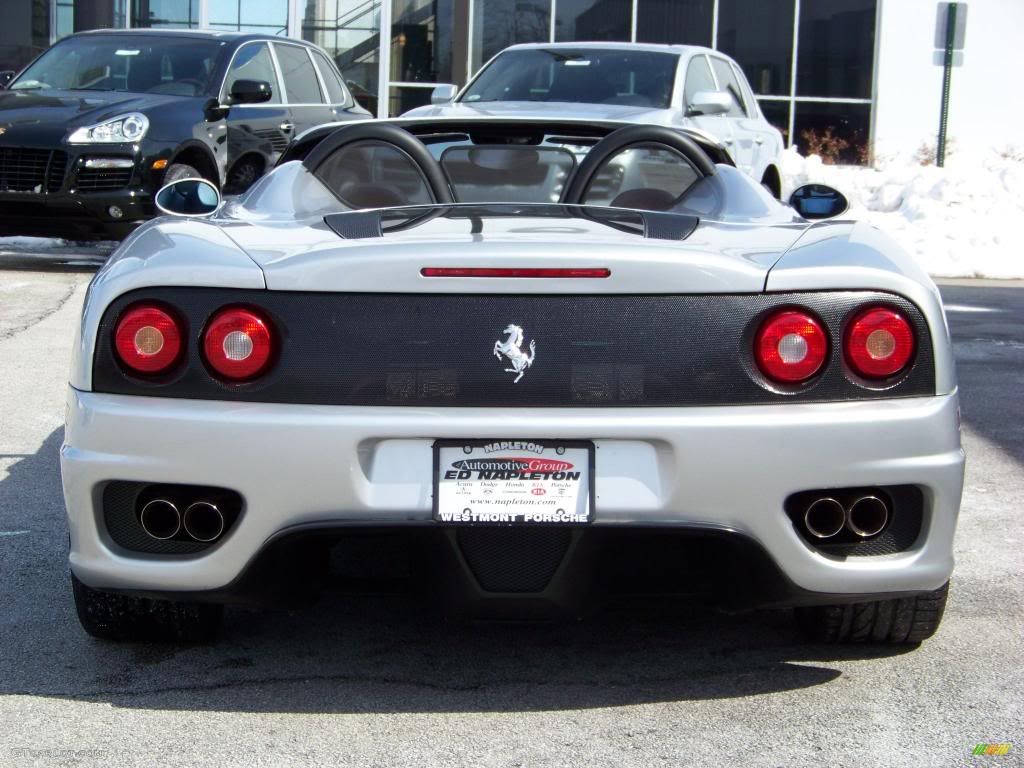 Just a little update until the rest of my tools and junk come in. |
|
Deleted
Registered: Nov 24, 2024 11:26:19 GMT -7
Posts: 0
|
Post by Deleted on Jan 1, 2014 19:44:22 GMT -7
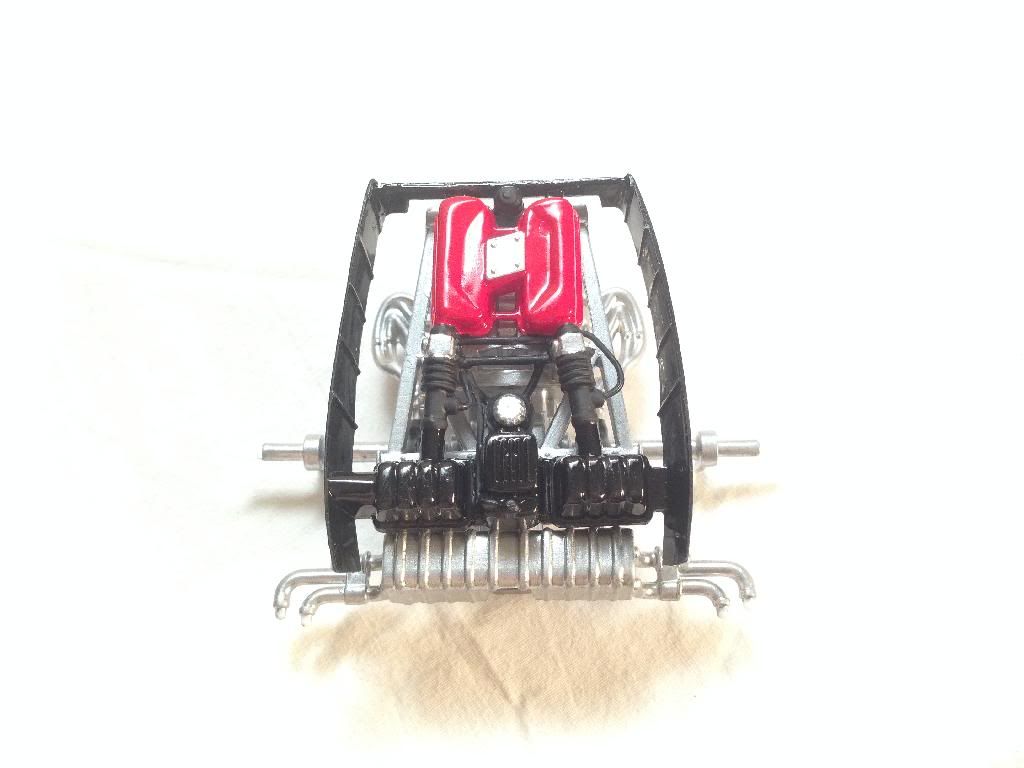
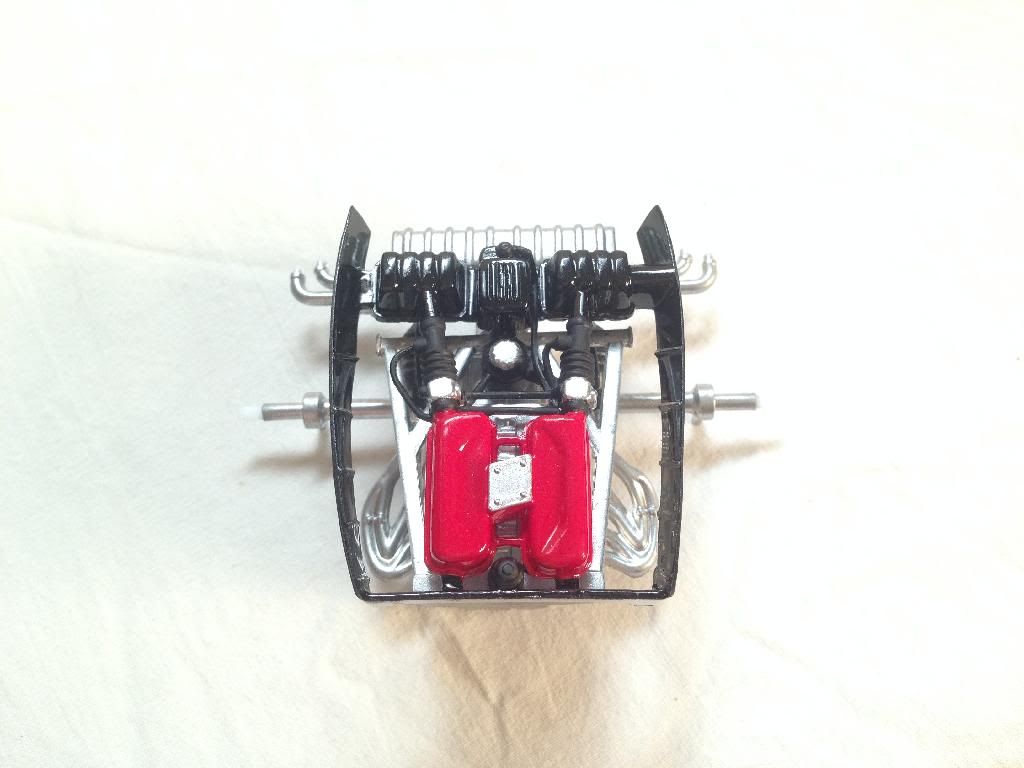
Finally picked up a few of the final things I was waiting on to start working on paint and assembly. Here is the engine parts in their first stage of paint. 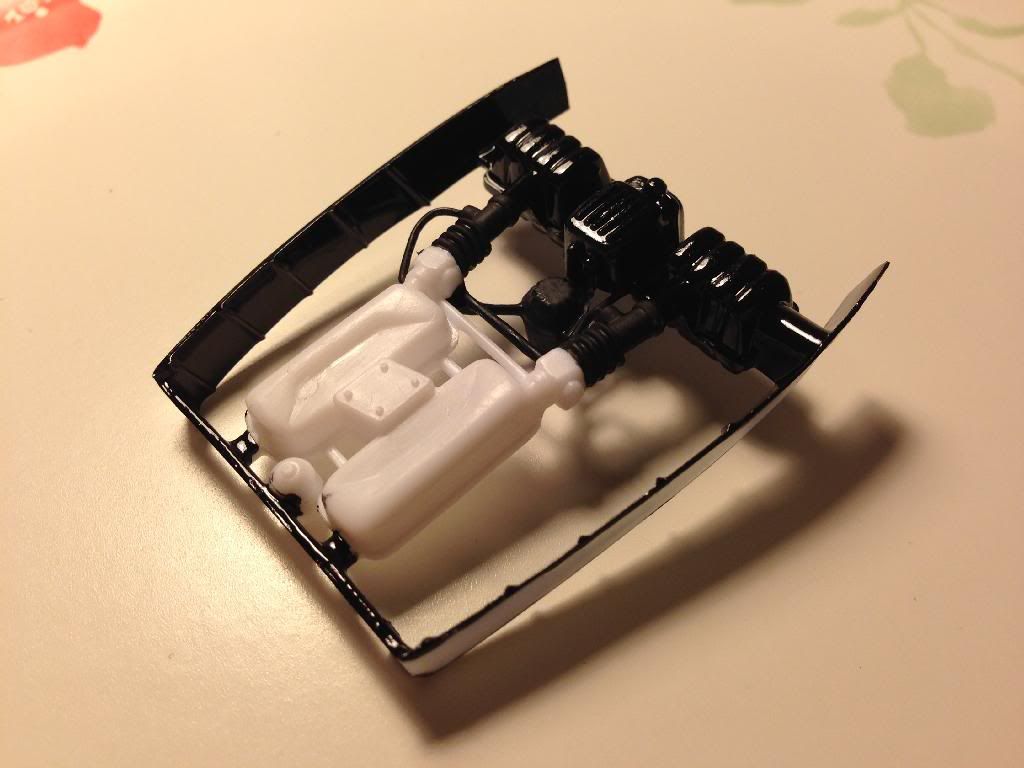 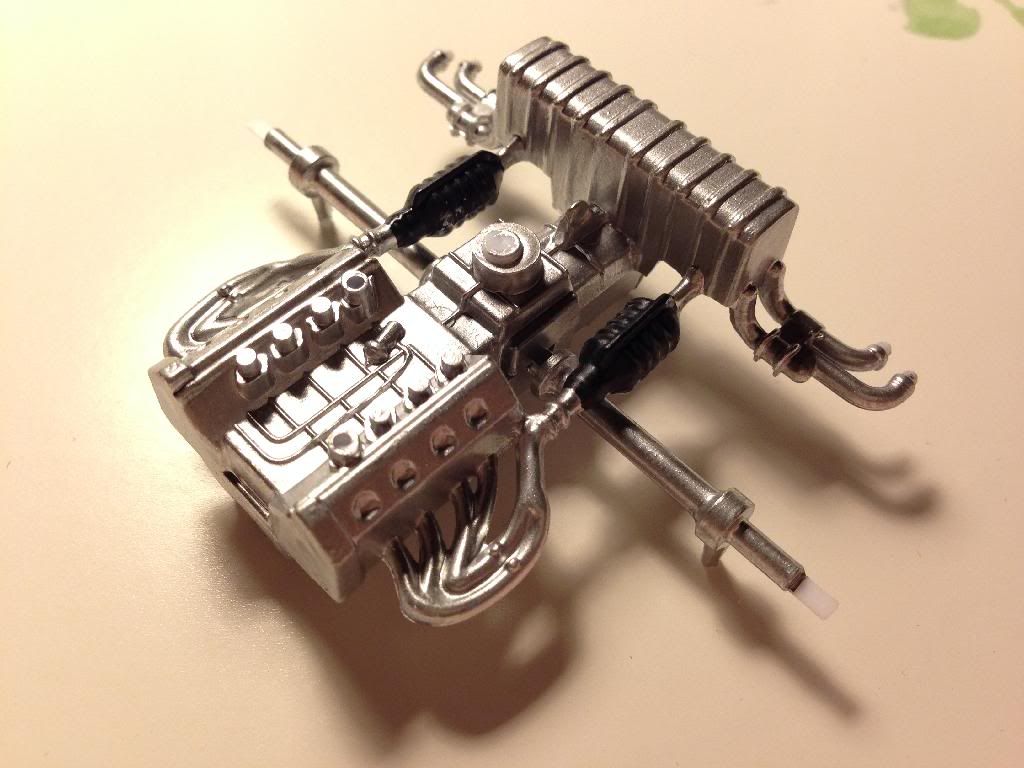 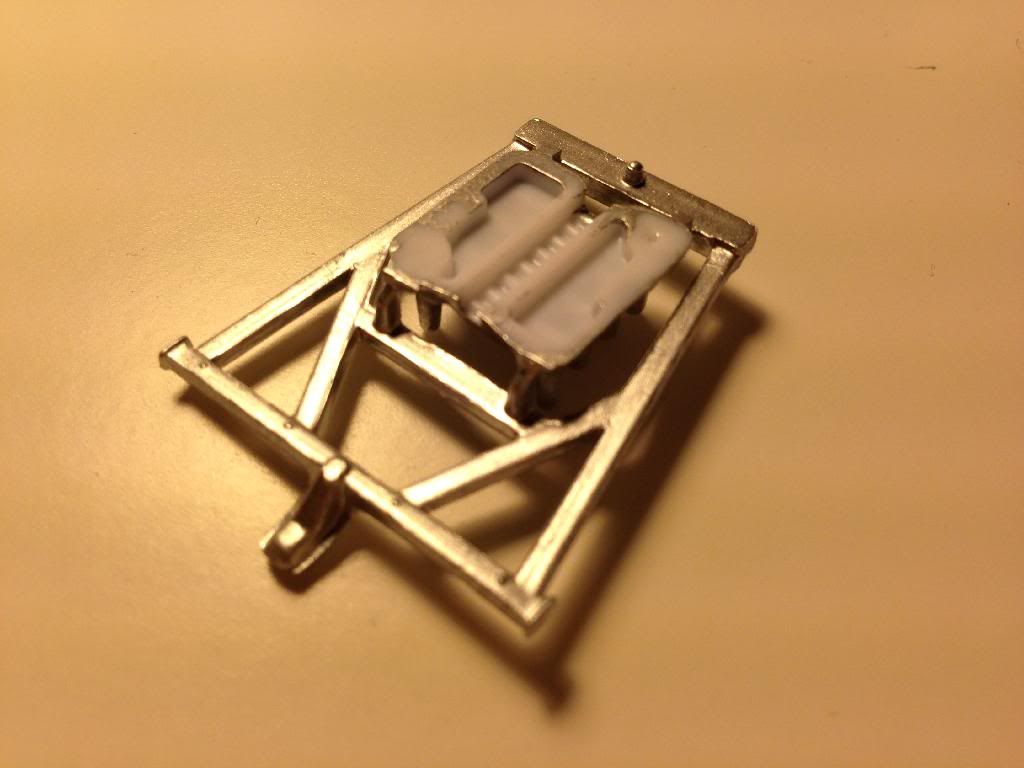 Hopefully final paint, assembly and decals tomorrow night. Stay tuned! |
|
|
|
Post by gardnerpag44 on Jan 1, 2014 19:52:37 GMT -7
Looking good  |
|
Deleted
Registered: Nov 24, 2024 11:26:19 GMT -7
Posts: 0
|
Post by Deleted on Jan 3, 2014 13:36:43 GMT -7
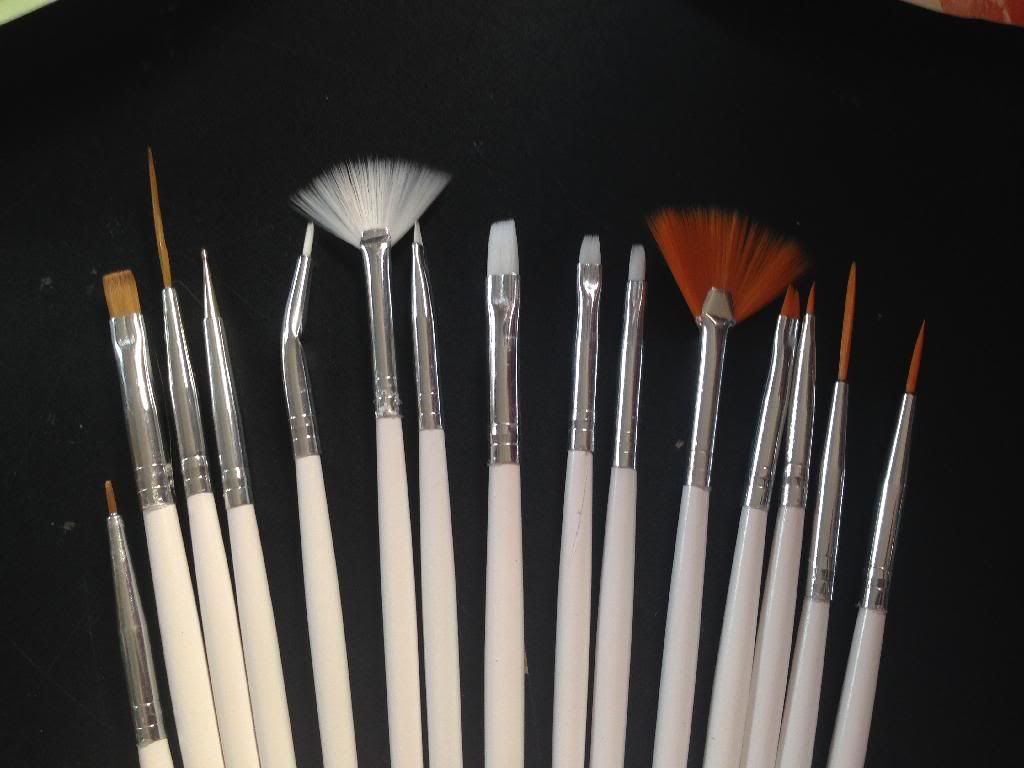
Work is going slow... I'm waiting on a set of fine detail brushes I ordered to arrive, and apparently they got mailed via Burro-Post. But, i painted the throttle bodies and intake plenums. 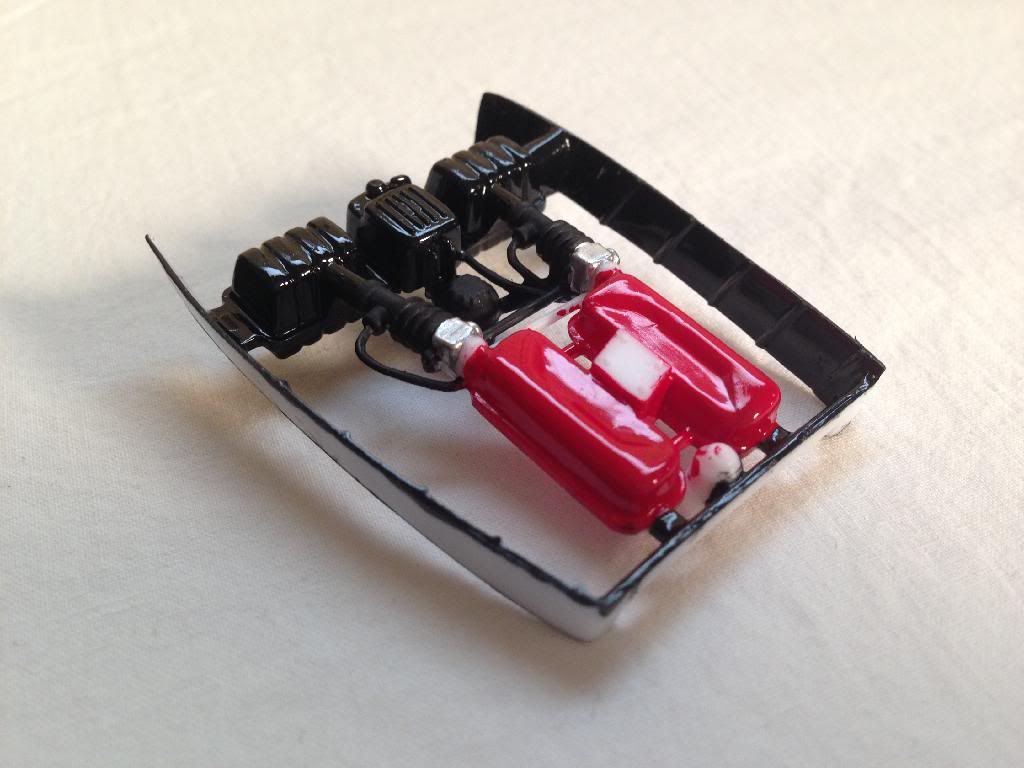 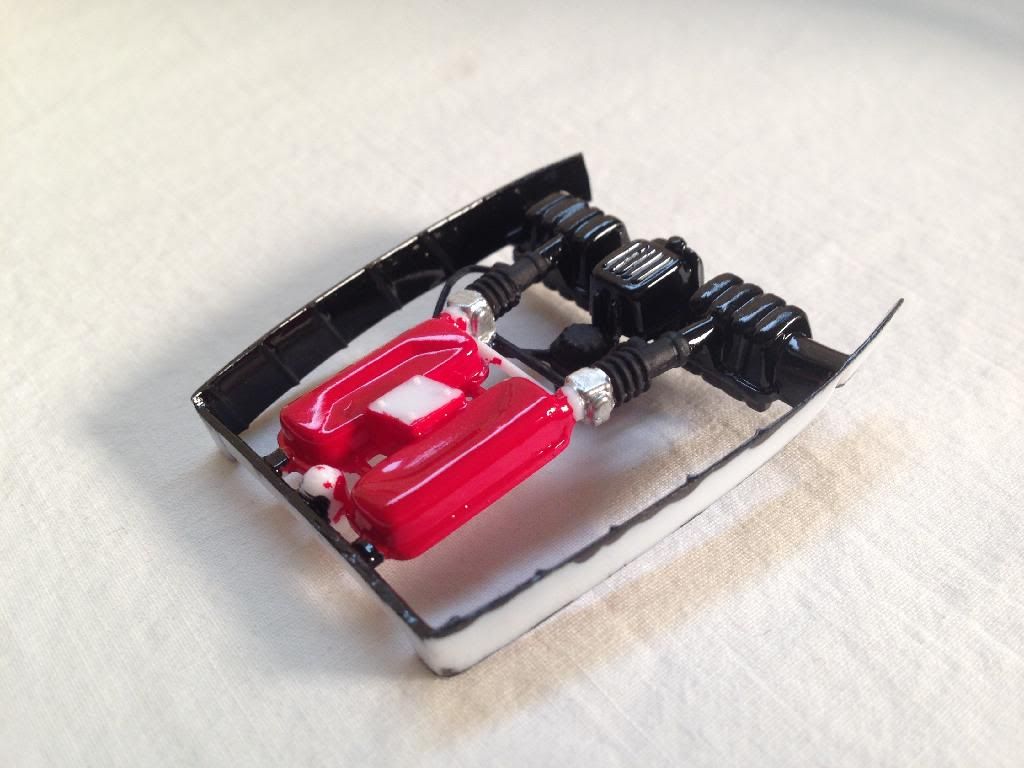 And I attached the bracing/intake manifold to the drive-line. 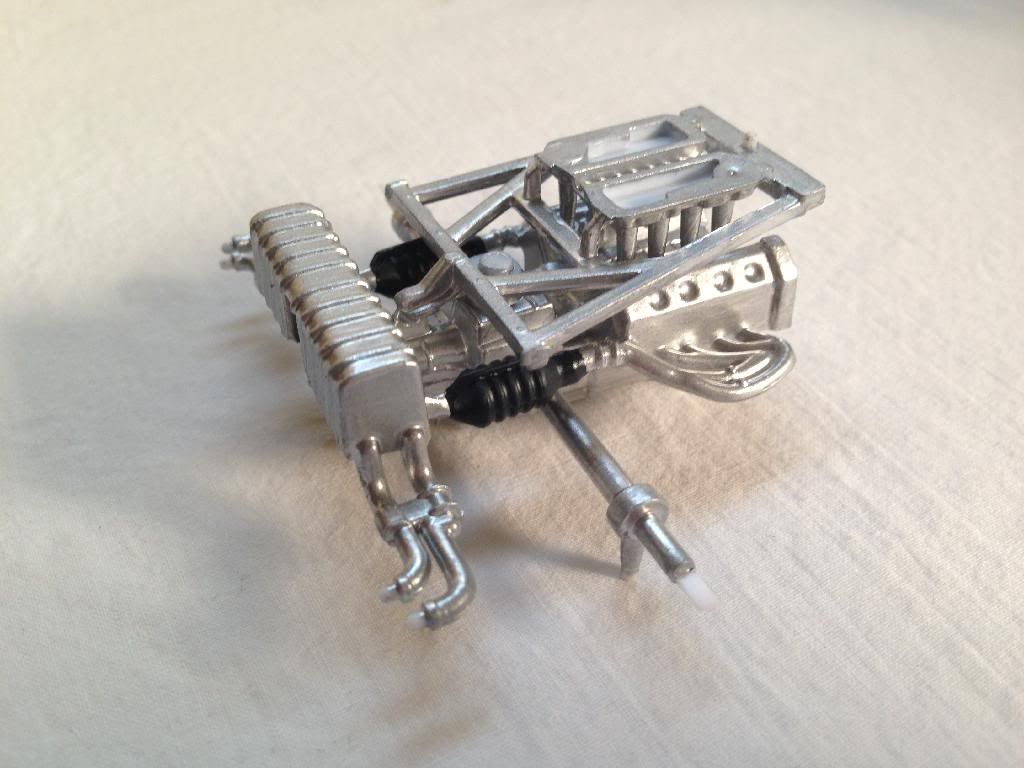 Thanks for looking, stay tuned. |
|
owhite3
Super Member
  Registered: Sept 9, 2013 19:34:07 GMT -7
Posts: 340 
|
Post by owhite3 on Jan 3, 2014 15:23:11 GMT -7
Empty links  |
|
Deleted
Registered: Nov 24, 2024 11:26:19 GMT -7
Posts: 0
|
Post by Deleted on Jan 3, 2014 16:00:45 GMT -7
How's that Oscar? Working now?
|
|
owhite3
Super Member
  Registered: Sept 9, 2013 19:34:07 GMT -7
Posts: 340 
|
Post by owhite3 on Jan 3, 2014 16:25:50 GMT -7
How's that Oscar? Working now? Much better! You might want to test fit body on engine assembly. I remember having some kind of fitment issue on the one I built last year. |
|
Deleted
Registered: Nov 24, 2024 11:26:19 GMT -7
Posts: 0
|
Post by Deleted on Jan 3, 2014 21:29:50 GMT -7
Thanks for the advice. I test fitted that stuff a couple days ago. There does seem to be a slight clearance issue around the rear arches and the exhaust.
|
|
Deleted
Registered: Nov 24, 2024 11:26:19 GMT -7
Posts: 0
|
Post by Deleted on Jan 4, 2014 5:47:45 GMT -7
looking good so far, keep at it.
|
|
Deleted
Registered: Nov 24, 2024 11:26:19 GMT -7
Posts: 0
|
Post by Deleted on Jan 4, 2014 15:23:33 GMT -7
|
|
Deleted
Registered: Nov 24, 2024 11:26:19 GMT -7
Posts: 0
|
Post by Deleted on Jan 4, 2014 16:03:54 GMT -7
looking good. no fair marking the parts after they are off the tree, trying to figure out what goes where is part of the fun, lol.
|
|
Deleted
Registered: Nov 24, 2024 11:26:19 GMT -7
Posts: 0
|
Post by Deleted on Jan 4, 2014 17:12:25 GMT -7
I'm extremely anal about my workstation and builds. I can't not label them, it would hurt my brain. lol Did the final round of touch-ups on this baby. She's all glued together and awaiting "Ferrari" and "Prancing Horse" decals. (Tomorrow) ;-) 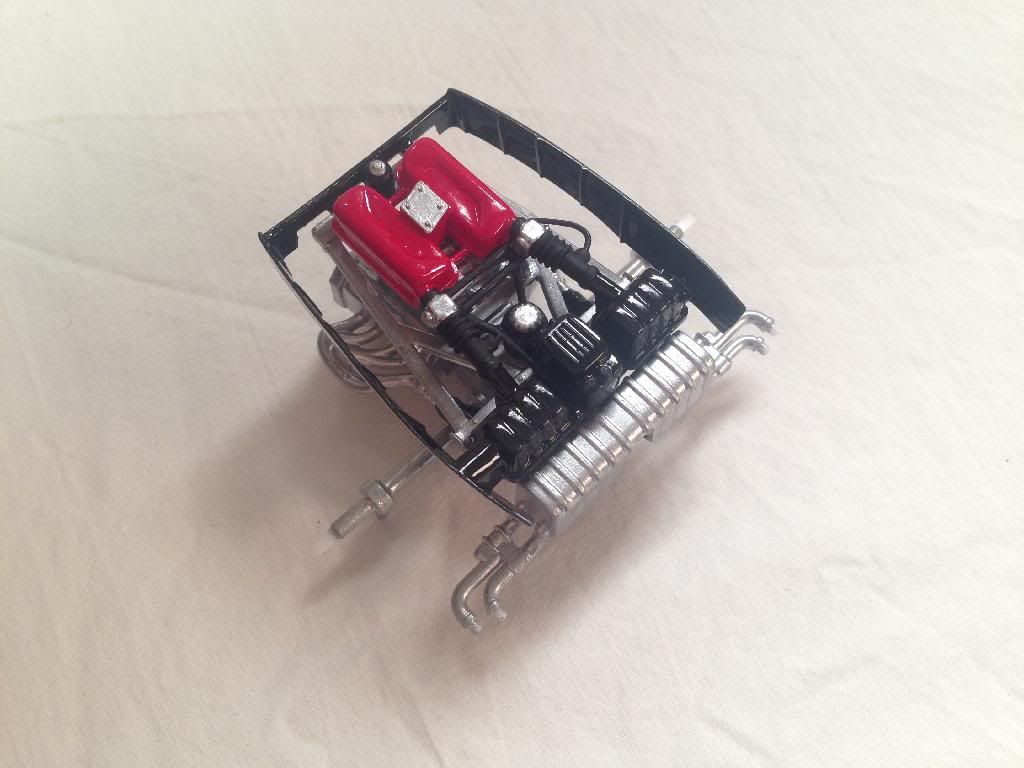 |
|
Deleted
Registered: Nov 24, 2024 11:26:19 GMT -7
Posts: 0
|
Post by Deleted on Jan 6, 2014 19:19:58 GMT -7
Engine done. Ill be working on the rest shortly 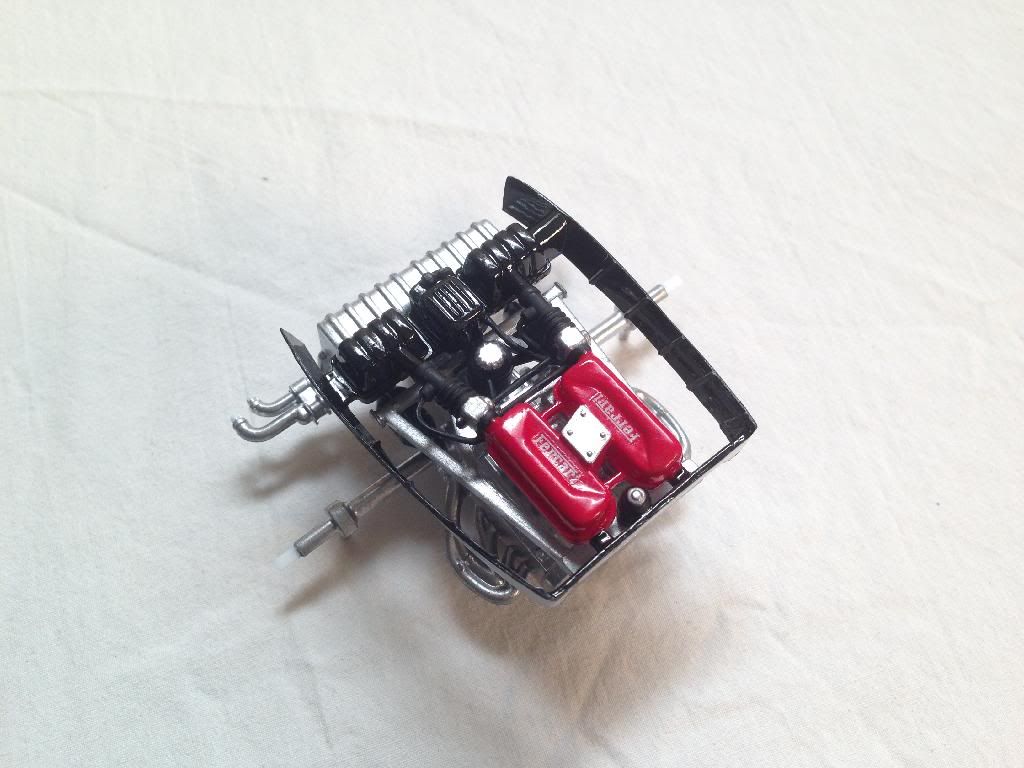 |
|
Deleted
Registered: Nov 24, 2024 11:26:19 GMT -7
Posts: 0
|
Post by Deleted on Jan 7, 2014 17:05:35 GMT -7
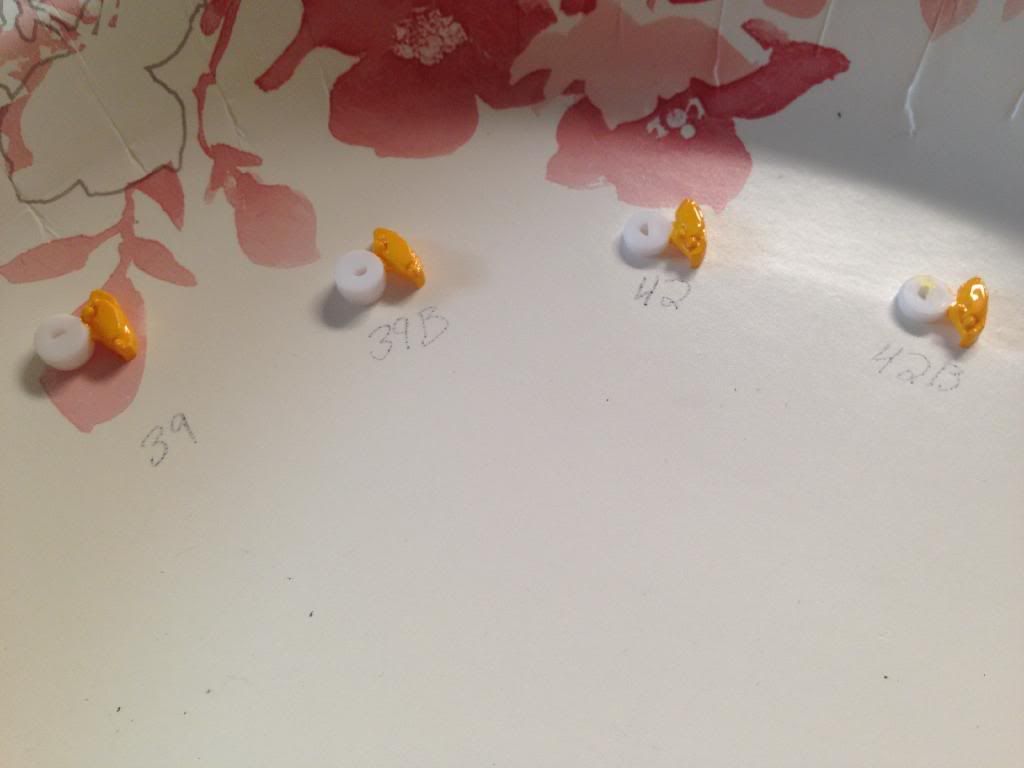
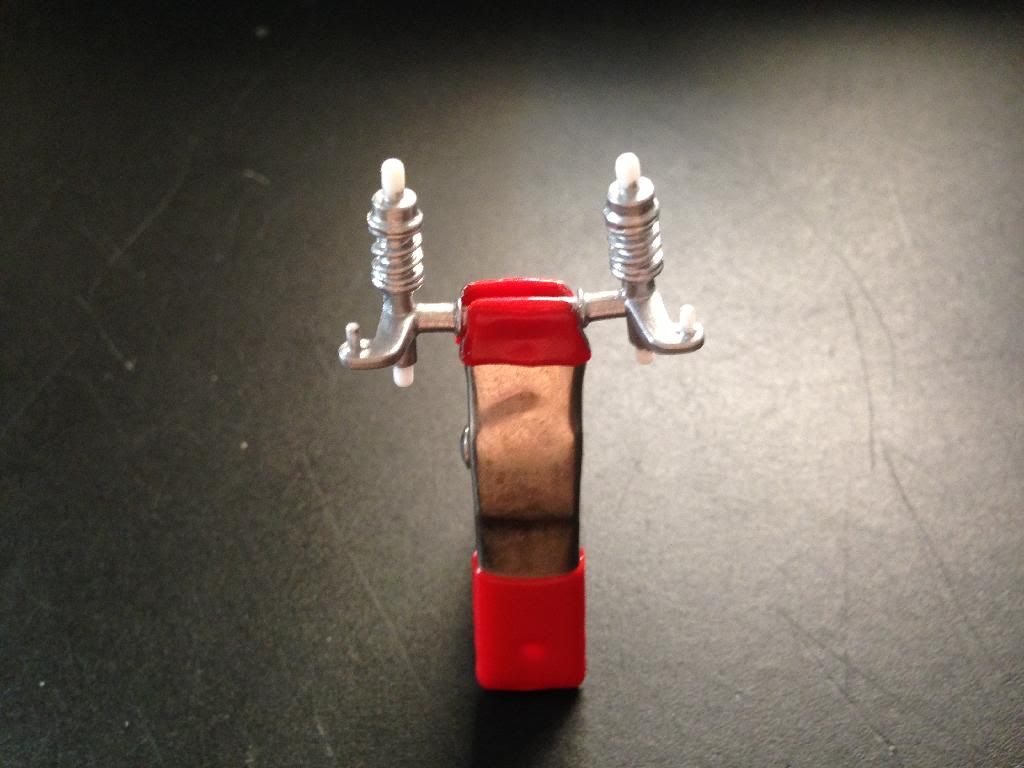
Sat down today and knocked out some more stuff on the 'rrari. Got the front suspension finished up. Went with yellow calipers. (Center cap decals were on... But forgot they dont stick to dullcoat. D'oh!) 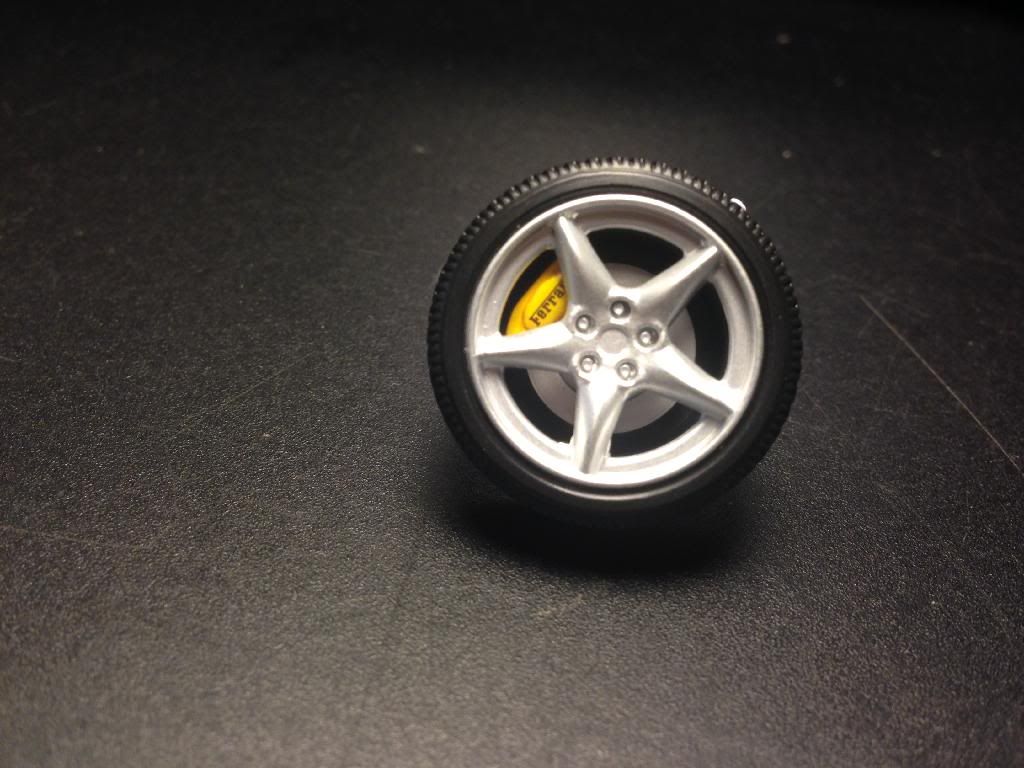 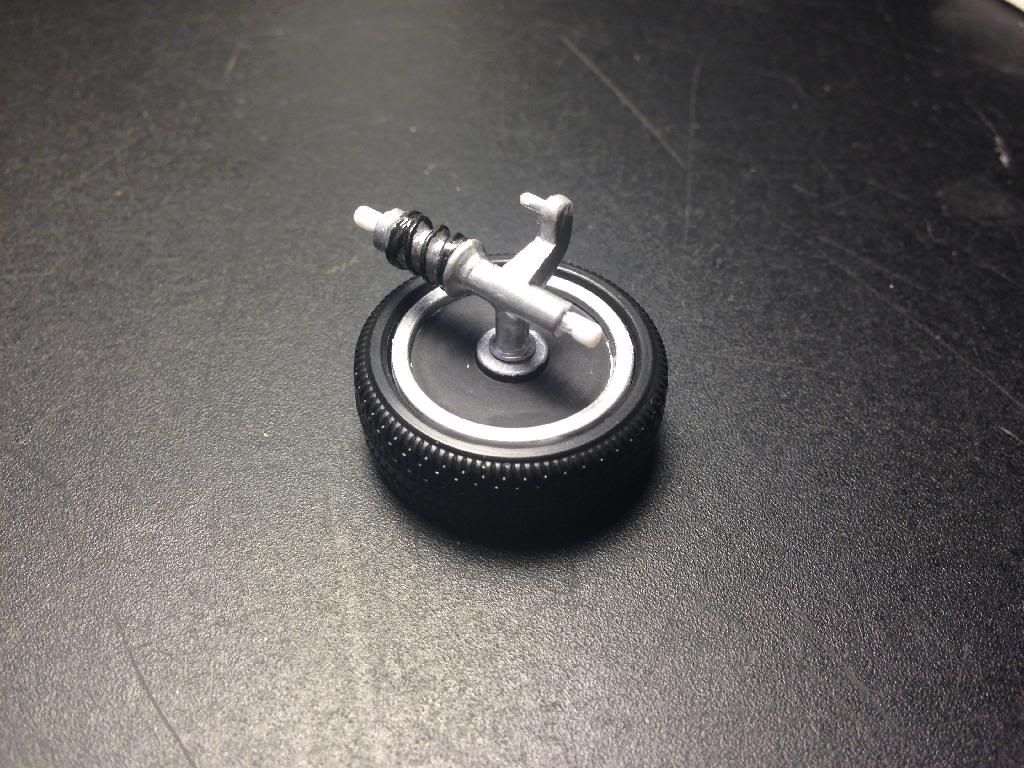 And one thing I've always disliked about this kit is the shear lack of, "Give-a-hoot" surround the factory stock exhaust tips. So I opened them up. 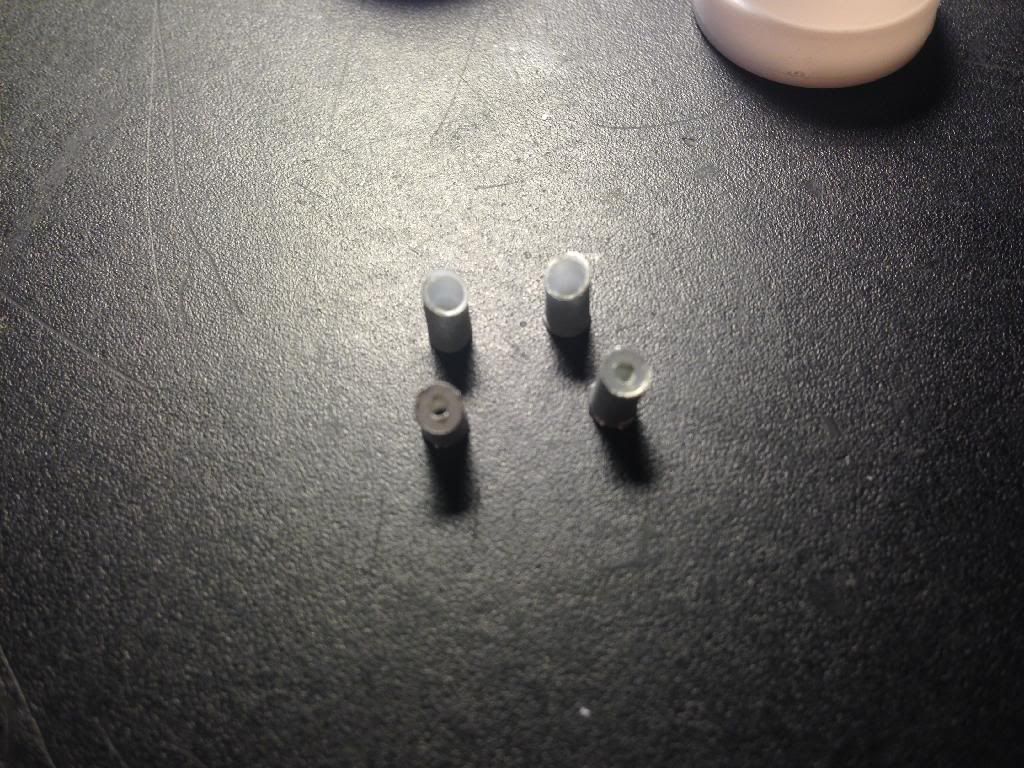 A little test fit. 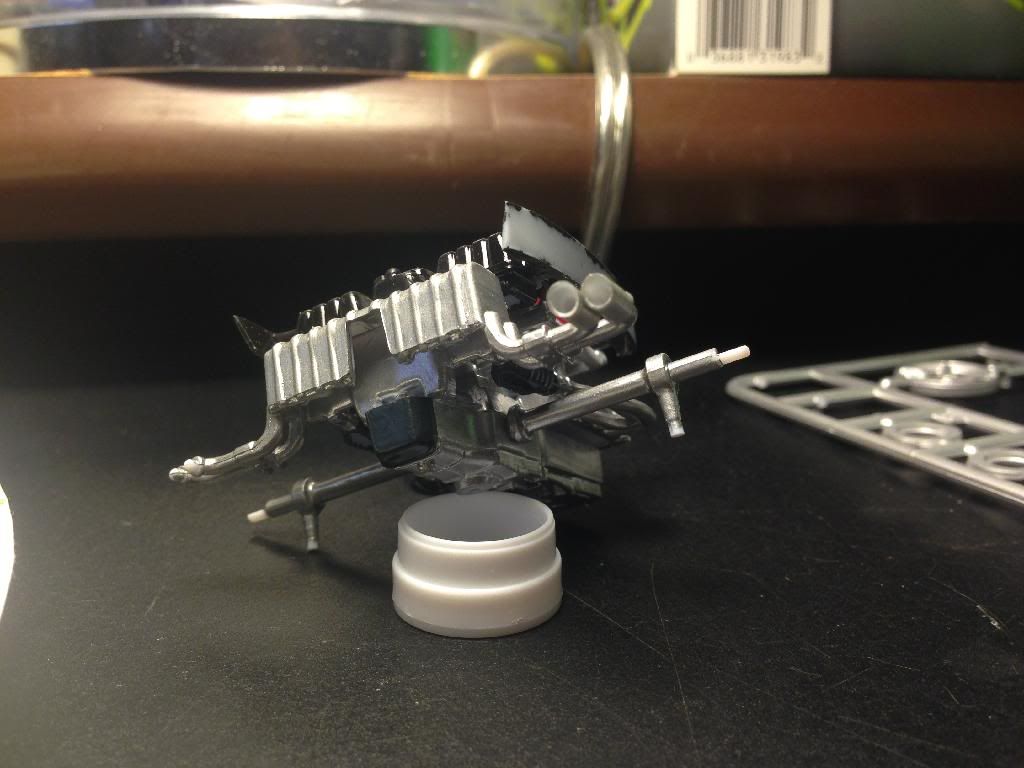 |
|
Deleted
Registered: Nov 24, 2024 11:26:19 GMT -7
Posts: 0
|
Post by Deleted on Jan 7, 2014 17:17:40 GMT -7
looking good!
|
|
Deleted
Registered: Nov 24, 2024 11:26:19 GMT -7
Posts: 0
|
Post by Deleted on Jan 7, 2014 20:04:19 GMT -7
And... Done, painted, and glued. Much better than the originals. 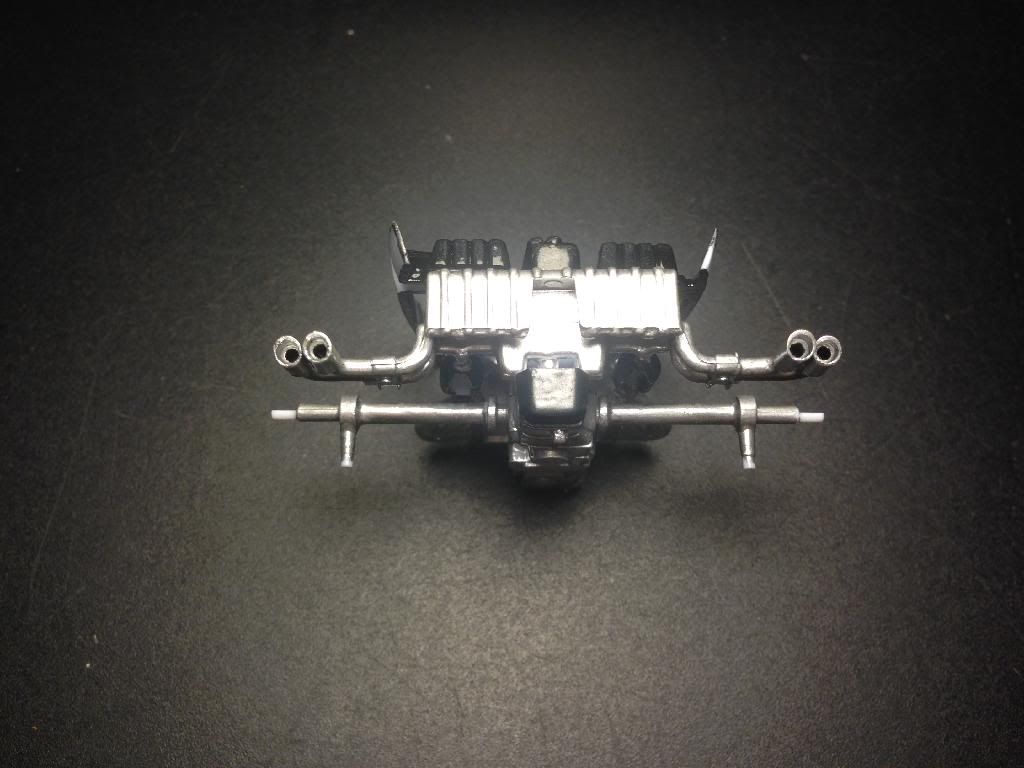 |
|
Deleted
Registered: Nov 24, 2024 11:26:19 GMT -7
Posts: 0
|
Post by Deleted on Jan 11, 2014 19:40:30 GMT -7
Nice little kit and a very good start. Warpage can be a problem in any kit over time and if exposed to heat. Best of luck and remember, Don't worry about small things. You've got a good model there.
|
|
Deleted
Registered: Nov 24, 2024 11:26:19 GMT -7
Posts: 0
|
Post by Deleted on Jan 15, 2014 21:15:00 GMT -7
wow your build is looking very nice man. i love Ferrari's. I have this kit but haven't built it yet. If you come across any more problems with this kit i'd really like to know.
|
|
|
|
Post by gardnerpag44 on Jan 15, 2014 23:02:05 GMT -7
Nice work nice detail  |
|
Deleted
Registered: Nov 24, 2024 11:26:19 GMT -7
Posts: 0
|
Post by Deleted on Jan 16, 2014 0:51:15 GMT -7
Thanks for the kind words man.
Besides the warp issue, this has been a fairly standard quality Revell USA kit. Everything has those circular injection mold marks, and the seams on the body are pretty serious. Obviously though, more tedious than impossible.
I'll also be building the Tamiya Modena Hard-Top as well. Keep you posted.
|
|
Deleted
Registered: Nov 24, 2024 11:26:19 GMT -7
Posts: 0
|
Post by Deleted on Jan 19, 2014 0:35:26 GMT -7
|
|
Deleted
Registered: Nov 24, 2024 11:26:19 GMT -7
Posts: 0
|
Post by Deleted on Jan 19, 2014 8:22:24 GMT -7
looking good! can't wait to see this one done, she's going to be pretty.
|
|
|
|
Post by gardnerpag44 on Jan 19, 2014 9:26:15 GMT -7
Sweet !
|
|
tool
Senior Member
   Registered: Jun 27, 2013 19:34:48 GMT -7
Posts: 557
|
Post by tool on Jan 19, 2014 10:14:31 GMT -7
looks terrific !
|
|
Deleted
Registered: Nov 24, 2024 11:26:19 GMT -7
Posts: 0
|
Post by Deleted on Jan 19, 2014 18:55:24 GMT -7
|
|
Deleted
Registered: Nov 24, 2024 11:26:19 GMT -7
Posts: 0
|
Post by Deleted on Jan 19, 2014 19:04:49 GMT -7
looks great!
|
|
Deleted
Registered: Nov 24, 2024 11:26:19 GMT -7
Posts: 0
|
Post by Deleted on Jan 19, 2014 19:14:27 GMT -7
That is looking good. I know you said silver but have you thought of it as a base color and a transparent one on top?
|
|
|
|
Post by gardnerpag44 on Jan 19, 2014 19:36:24 GMT -7
Looksvery nice  |
|


