|
|
Post by Grandpabeast on May 28, 2023 23:43:15 GMT -7
Amazing. Love the interior and motor ! detail too the max !! Great job
|
|
pete
Super Member
  Registered: Jun 29, 2021 13:48:10 GMT -7
Posts: 409
|
Post by pete on May 30, 2023 12:40:59 GMT -7
Oh WOW. This has really come a long way. Amazing really!! Looking forward to the finished product!!!
|
|
41chevy
Senior Member
   Registered: Jul 1, 2021 9:46:43 GMT -7
Posts: 705
|
Post by 41chevy on May 31, 2023 10:27:23 GMT -7
Fantastic! The weathering and minor wear is perfectly done.
|
|
|
|
Post by CoyoteCrunch on May 31, 2023 10:44:05 GMT -7
Woah.....  |
|
|
|
Post by mustang1989 on Jun 3, 2023 3:34:15 GMT -7
There is indeed a TON of detailing going on with this one Steven. I'm seeing that you opened the air cleaner up and it looks like a washer on the bottom half of the air cleaner housing to depict the raised portion of it in the center but how in the world do you do the air cleaner element itself?? Can you show the processes that you use to open the air cleaner up into the upper and lower halves and how to make the filter? Master class work going into this one.
|
|
goofy62
New Member
 Registered: Dec 24, 2021 10:21:11 GMT -7
Posts: 41 
|
Post by goofy62 on Jun 3, 2023 9:48:52 GMT -7
There is indeed a TON of detailing going on with this one Steven. I'm seeing that you opened the air cleaner up and it looks like a washer on the bottom half of the air cleaner housing to depict the raised portion of it in the center but how in the world do you do the air cleaner element itself?? Can you show the processes that you use to open the air cleaner up into the upper and lower halves and how to make the filter? Master class work going into this one. Thanks guys!
The air cleaner assembly was done using parts from various kits, as well as some improvised parts.
The lowest portion of the air cleaner was just a correctly sized plastic ring that I made from an air cleaner from a Revell '58 Chevy, and the top portion was modified from the Moebius '61 Ventura's air cleaner.
The lid also came from the Moebius kit, and was just ground flat on the bottom side.
The "washer" that you refered to is actually a wheel back from an old Monogram '70 GTX kit, sized and sanded to shape.
I glued the 3 pieces of the air cleaner body together, added a "seam" around the separation with a piece of stretched sprue, and then scratch made a snorkle from various plastic stock.
The air cleaner element is actually the "thumb wheel" from the bottom of a lip balm tube, cut off and hollowed out, with a couple of pieces of thin plastic added to each side for the gaskets.
Sometimes you can find stuff just laying around the house that can work pretty well for certain things! 
Steve
|
|
|
|
Post by Grandpabeast on Jun 5, 2023 4:43:40 GMT -7
Thanks for sharing that info !!
|
|
|
|
Post by CoyoteCrunch on Jun 6, 2023 10:42:00 GMT -7
Woah......  |
|
pete
Super Member
  Registered: Jun 29, 2021 13:48:10 GMT -7
Posts: 409
|
Post by pete on Jun 7, 2023 13:06:12 GMT -7
Simply brilliant...
|
|
|
|
Post by mustang1989 on Jun 8, 2023 20:05:45 GMT -7
Dude, that's how its done right there!! Thank you for showing us the process Steven.
|
|
goofy62
New Member
 Registered: Dec 24, 2021 10:21:11 GMT -7
Posts: 41 
|
Post by goofy62 on Jul 15, 2023 20:01:12 GMT -7
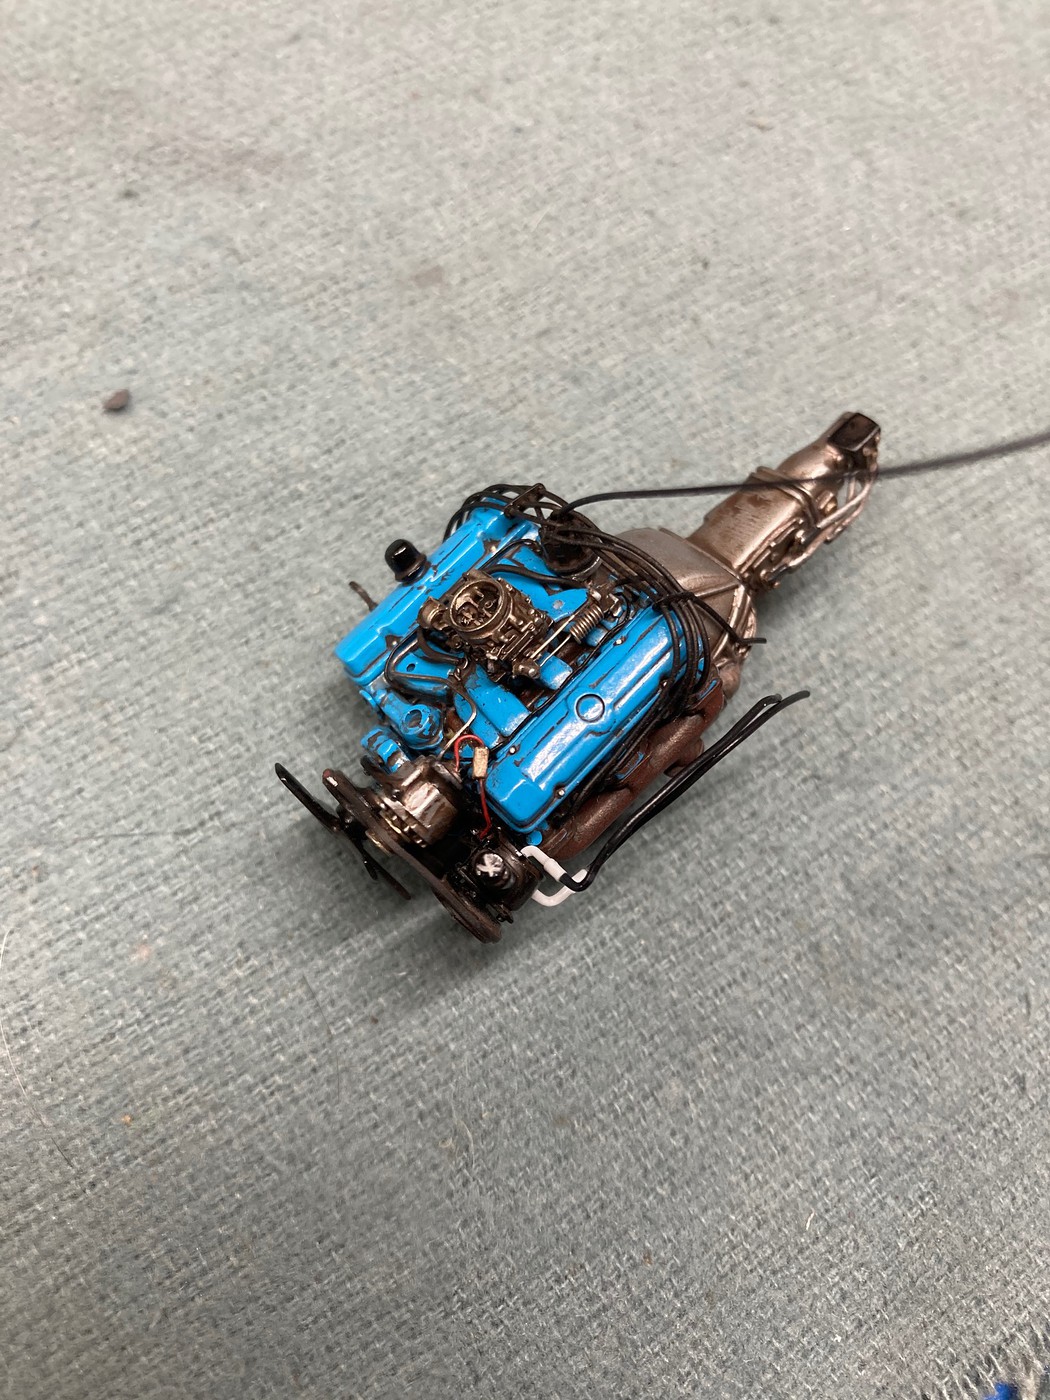
Update. I added some scratch made power steering lines and a battery ground cable to the engine, and then installed the steering box and brake line to the firewall. Then I proceeded to installing the engine, drive shaft and firewall into the chassis and routing the remaining wires and hoses to their terminals. The engine bay is now finished, short of adding radiator hoses once the radiator bulkhead and chassis are mated to the body. 
Steve
|
|
goofy62
New Member
 Registered: Dec 24, 2021 10:21:11 GMT -7
Posts: 41 
|
Post by goofy62 on Jul 15, 2023 20:19:10 GMT -7
Then it was back to work on the interior.
First, I scratch built a batch of window cranks and interior door handles.
Then I sprayed them with Alclad chrome, added them, the arm rests and the carpet to the door panels.
Then on to scratch build a set of floor mats.
Steve
|
|
|
|
Post by sharp on Jul 16, 2023 7:58:24 GMT -7
That engine looks like you could but some gas in it and fire it up! Great job on scratch building those door handles, crank handles and floor mats too! Your work is awesome Steve! Can't wait to see more on this!
|
|
goofy62
New Member
 Registered: Dec 24, 2021 10:21:11 GMT -7
Posts: 41 
|
Post by goofy62 on Jul 19, 2023 11:02:59 GMT -7
That engine looks like you could but some gas in it and fire it up! Great job on scratch building those door handles, crank handles and floor mats too! Your work is awesome Steve! Can't wait to see more on this!
Thanks!
Finished up the "Deluxe" floor mats. 
Steve
|
|
malcox477
Loyal Member
   Registered: May 21, 2019 16:19:37 GMT -7
Posts: 1,039
|
Post by malcox477 on Jul 21, 2023 21:41:43 GMT -7
Amazing detailing skills my friend, looking forward for more updates
|
|
goofy62
New Member
 Registered: Dec 24, 2021 10:21:11 GMT -7
Posts: 41 
|
Post by goofy62 on Aug 16, 2023 21:01:43 GMT -7
Thanks guys!
I've made a little more progress since my last visit.
Since then, I've carpeted the floor with embossing powder, added such parts as the control pedals, dimmer switch, some trim around the shift boot, and a scratch built gear shift.
I dirtied up the driver's side floor mat a little to simulate some use and the proceeded to install the windshield and then add some rubber windshield seals.
Then I installed the interior door panels, dash, rear view mirror, front seats, rear wheels and grille halves, and then was finally able to do my final assembly of the chassis and interior into the body.
Today, I added the radiator hoses, rendering the engine bay complete.
I believe that I'm heading into the home stretch, but it will still take a little while to complete the model.
Steve
|
|
malcox477
Loyal Member
   Registered: May 21, 2019 16:19:37 GMT -7
Posts: 1,039
|
Post by malcox477 on Aug 17, 2023 0:05:59 GMT -7
WOW, amazing work, love your technique on how you do your carpet/floors, some day i'll try that in one of my cars
|
|
|
|
Post by Grandpabeast on Sept 11, 2023 0:31:18 GMT -7
Awesomely realistic !! Man , every time I look at it I see something else ! Great job
|
|
goofy62
New Member
 Registered: Dec 24, 2021 10:21:11 GMT -7
Posts: 41 
|
Post by goofy62 on Sept 14, 2023 12:57:31 GMT -7
I appreciate the kind words gentleman!
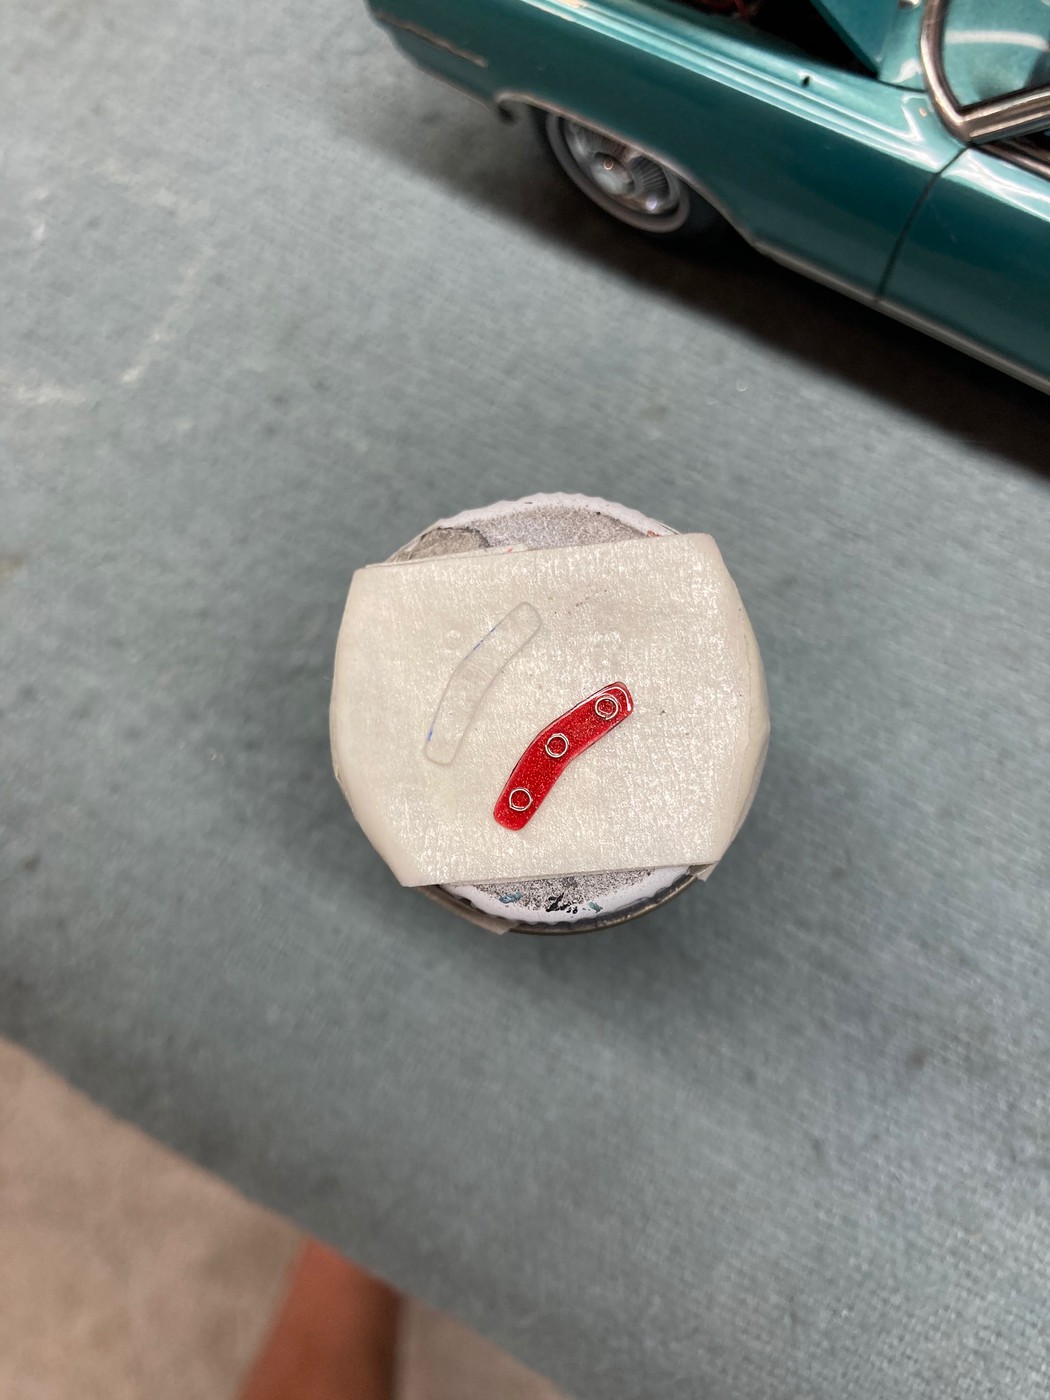
Creeping up on the finishing touches. I wasn't particularly happy with the kit provided tail light lenses, so I made a new set from clear plastic, painted them Testors "Stop Light Red" and added the obligatory reflector rings to the backside using small rings of wire. I also created a chrome molding around the perimeter of the lenses, then added a dull coat to finish them off because I didn't want them so shiny. 
Next, using modified reflectors from the Moebius '61 Ventura kit, I added the reflectors, followed by the bumper, and finally the lenses.
Then I added an inspection sticker to the windshield, followed by 1966 Florida license plates to illustrate a vehicle of a couple of years of age.
Then it was time to add the exterior door handles and door locks, followed by the sun visors.
And Finally, the interior door lock buttons, rear view mirror, and a scratch made antenna.
Now I just need to polish and detail the hood, and then complete some work on the accompanying up top, and this one will finally be in the history books. 
Steve
|
|
|
|
Post by Grandpabeast on Sept 16, 2023 15:24:48 GMT -7
Man oh man Steve. This build is a dream. You have great eyes and a steady hand ! I just love all your little touches. You are building a a world class model sir !
|
|
|
|
Post by CoyoteCrunch on Sept 19, 2023 9:46:46 GMT -7
I am in total awe of the work you have dome on this. So outstanding sir!!
|
|