|
|
Post by stitchdup on May 27, 2015 15:02:58 GMT -7
Made a start on my next build tonight. I know with this one nothing is going to fit first time and it will probably be curbside but I'm going to do my best to detail what is there. I was inspired by a pic I saw on face book of an original done this style but it looked a little out of proportion to me but I still thought it was a cool idea so.........   |
|
Deleted
Registered: Nov 27, 2024 17:41:07 GMT -7
Posts: 0
|
Post by Deleted on May 27, 2015 16:52:05 GMT -7
i'm liking this so far  |
|
Deleted
Registered: Nov 27, 2024 17:41:07 GMT -7
Posts: 0
|
Post by Deleted on May 27, 2015 17:43:24 GMT -7
Come on, keep thrashing bud. This should be a cool build. cant wait to see more!
|
|
Deleted
Registered: Nov 27, 2024 17:41:07 GMT -7
Posts: 0
|
Post by Deleted on May 28, 2015 5:17:31 GMT -7
I CAN SEE YOUR VISION YOUNG MAN!! prayer-hands-smiley-emoticon This should look awesome mate, i have seen a mustang done like this, and it was sweet, little by little Stitch, you WILL run into lots of little problems, but take them one at a time, and before you know it, you will have a MASTERPIECE. I would probably drop the cab down a bit though, but that is just my vision.....  |
|
|
|
Post by stitchdup on May 28, 2015 7:55:58 GMT -7
I'm thinking that might happen as it wouldn't take much to lower it down, just cutting a curve in the front end. I might have found an engine that should fit without too much hassle(famous last words) which will be in the back from the same vw family of cars. Just need to cut out the bottom half engine thats moulded to the chassis.
|
|
|
|
Post by stitchdup on May 29, 2015 13:24:47 GMT -7
Some more progress tonight. Plan is to get the chassis completed before doing much more with the body as the interior tub will need to be cut to fit the chassis to give the final position of the cab area. The engine is nearly fitting in place with just a small area still needing trimmed and then some square sprue glued around the edges of the hole to give a flat area to build a bed floor from. The engine was in a box of parts already built so I'm not sure if I can get the colour changed or not but if I can it will be red. If you look at the pics of the chassis before and after it was cut and after its almost like it was meant to fit there, and I have also found a set of drive shaft that are the correct size which was kinda lucky. Before 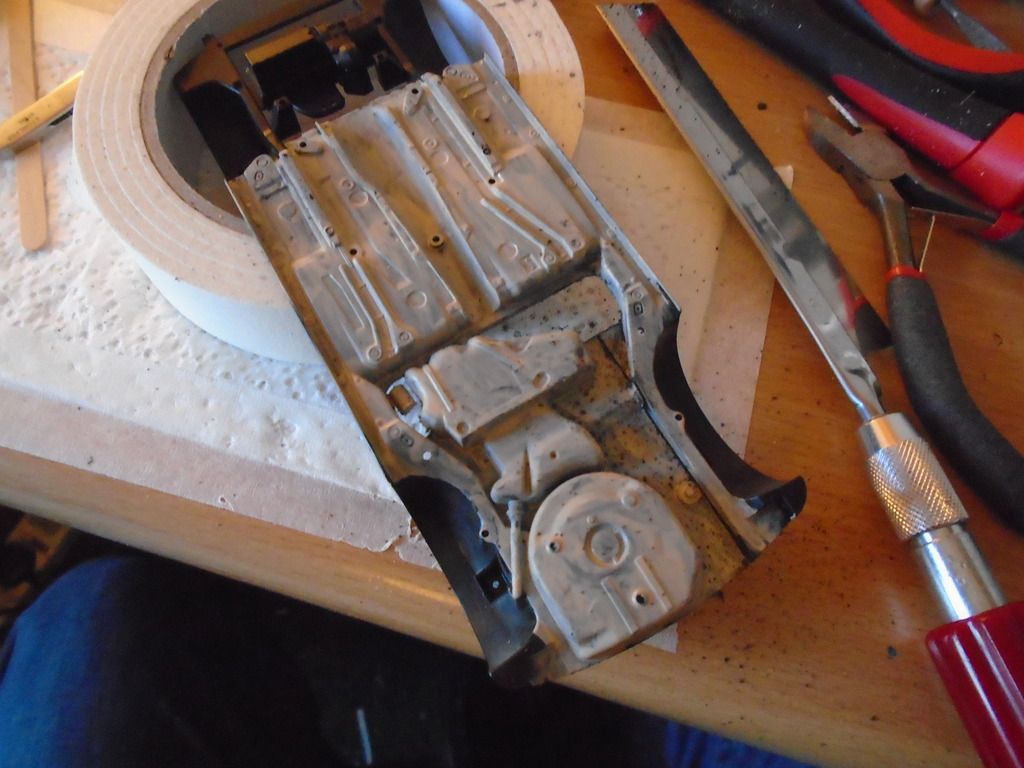 After 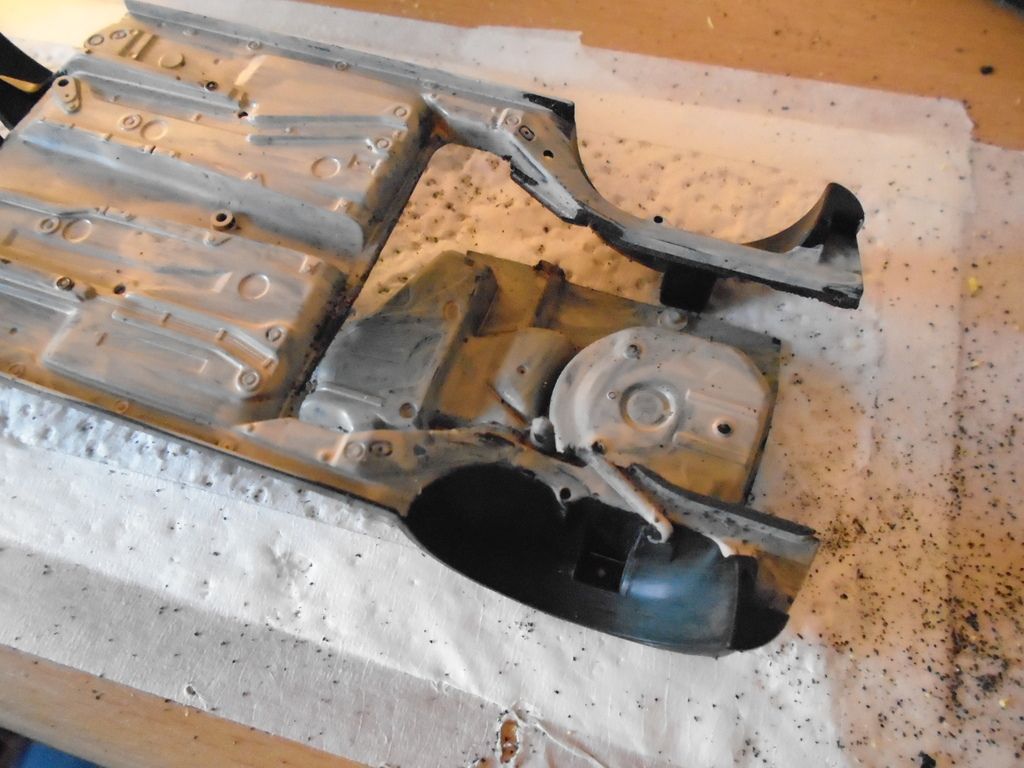 First test fir of engine 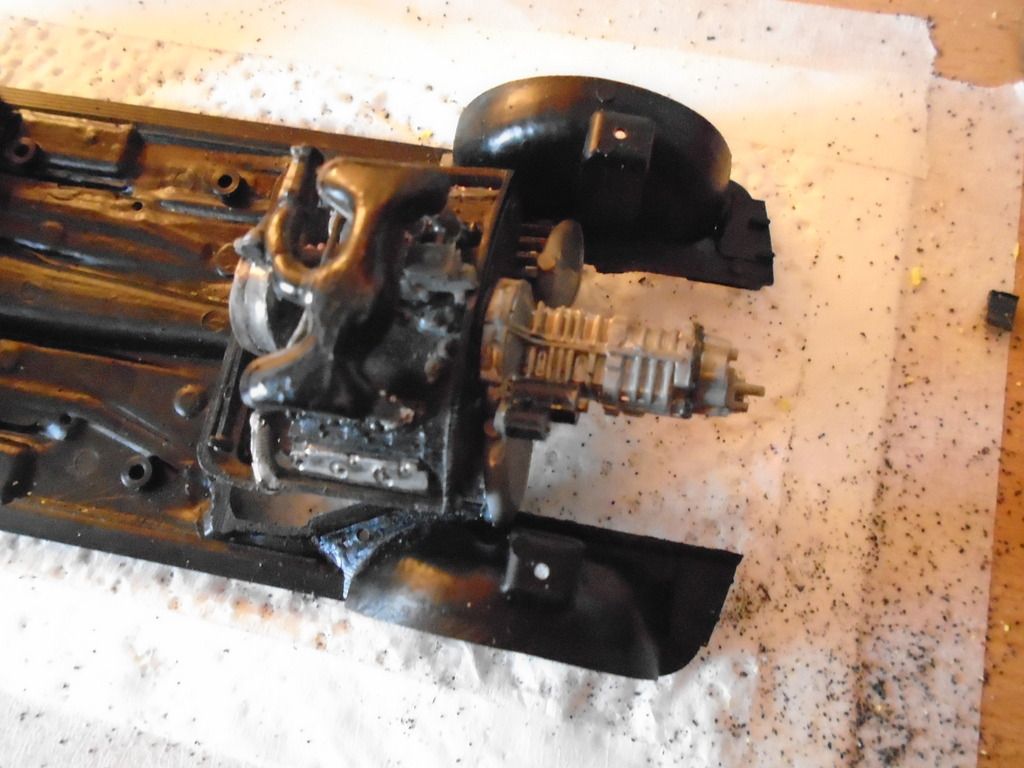 And a couple of rough test fits of the engine with the body in place 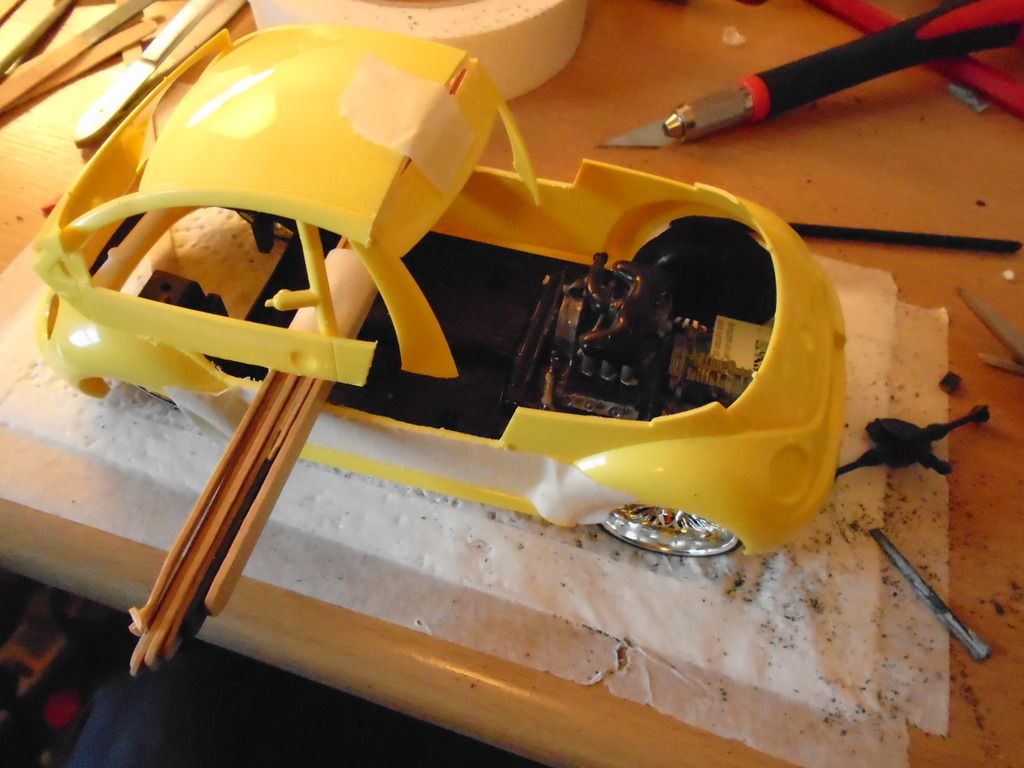 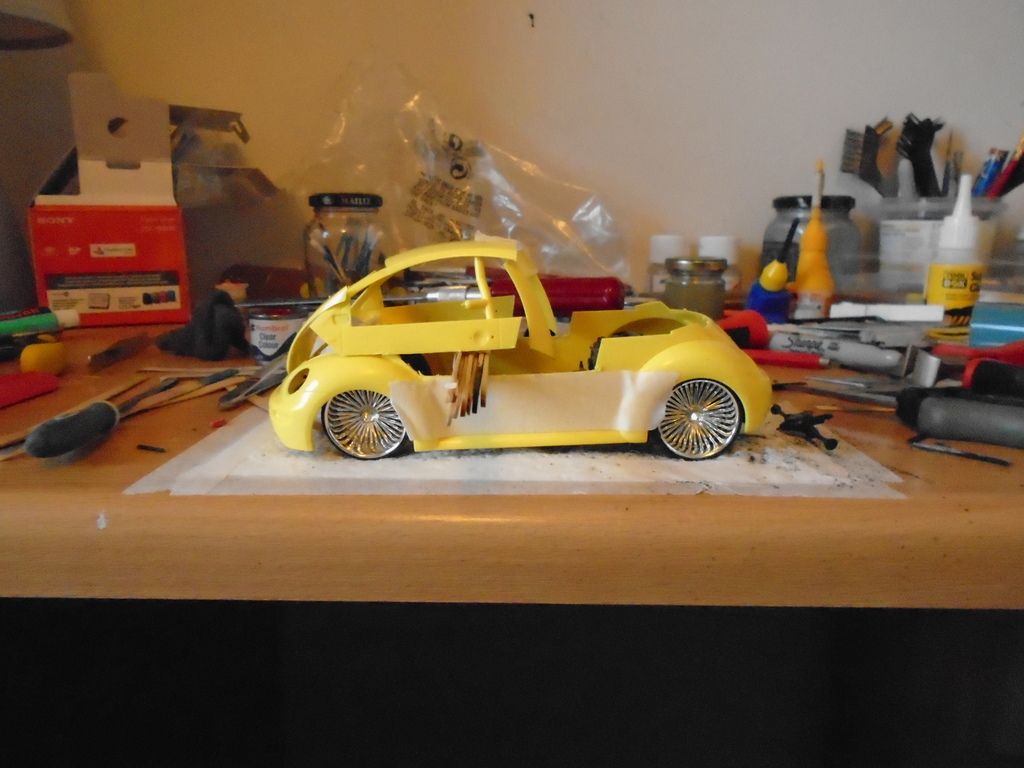 If I can find some steel wheels to fit I will be copying DeeCee's 40 delivery wheels for this (I asked first). The paint on the chassis is just so I could mark the cuts |
|
|
|
Post by jkflash on May 29, 2015 14:03:55 GMT -7
Interesting, the Deora was one of my favorite concept cars. This also reminds me of an old COE truck. I like where you are going with this.
|
|
|
|
Post by stitchdup on May 29, 2015 14:15:04 GMT -7
Interesting, the Deora was one of my favorite concept cars. This also reminds me of an old COE truck. I like where you are going with this. That's part of the inspiration, the rest was an old bug done in a similar style but with what looked to be a modern ford pick up back that I found on google images. |
|
Deleted
Registered: Nov 27, 2024 17:41:07 GMT -7
Posts: 0
|
Post by Deleted on May 29, 2015 19:15:17 GMT -7
SWEET work so far mate, looks like the engine belongs there, but gee, you got some serious work in front of you,
but it will be worth it in the end.
|
|
|
|
Post by gardnerpag44 on May 29, 2015 19:34:21 GMT -7
Been watching this one , some great work you are doing here , looks super cool !!!  |
|
|
|
Post by stitchdup on May 30, 2015 0:46:39 GMT -7
Thanks guys, I think I'm going to raise the engine up a little so I can fit a transfer case on both sides of the gearbox where the driveshafts fit to enable the wheels to turn the right direction. It seems to be the best way to have 5 forward gears instead of 5 reverse but if anyone has a better idea feel free to tell me. I think raising up the engine would look a little better too but it mainly for the driveshafts. Anyway ideas welcome
|
|
|
|
Post by stitchdup on May 31, 2015 15:26:36 GMT -7
Decided against the transfer cases as they would push the wheels out a little too much for my taste. Managed to get a couple of hours this afternoon on the chassis and have built up most of the edges where I chopped the rear out and have a plan formed for the engine mounts and gearbox mount. I have also made the first cut to the interior tub to get it lifted and pushed forward but have to make a couple more cuts to the rear edge of them for the wheel wells so it will sit nicely. Handily there is a raised section at the rear of the original engine bay that is the right height for holding the front of the tub up. The first pic is of the chassis edges being built up ready to be trimmed back so is still messy, and the second is of the engine sitting in the smoothed and leveled edges of it. 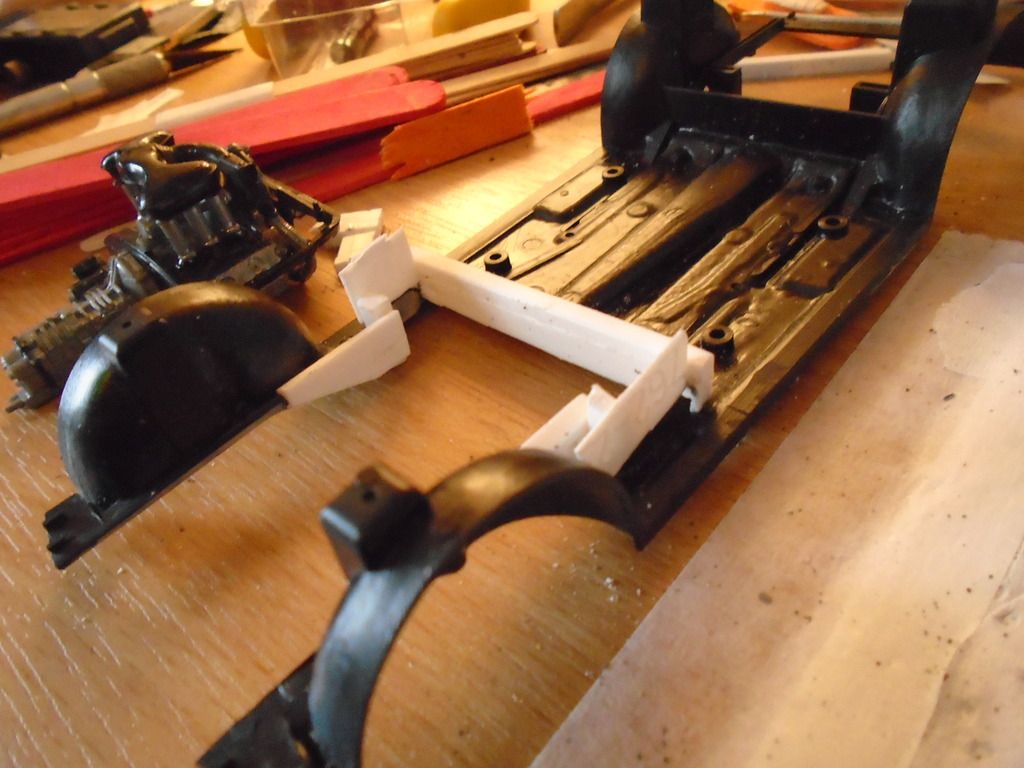 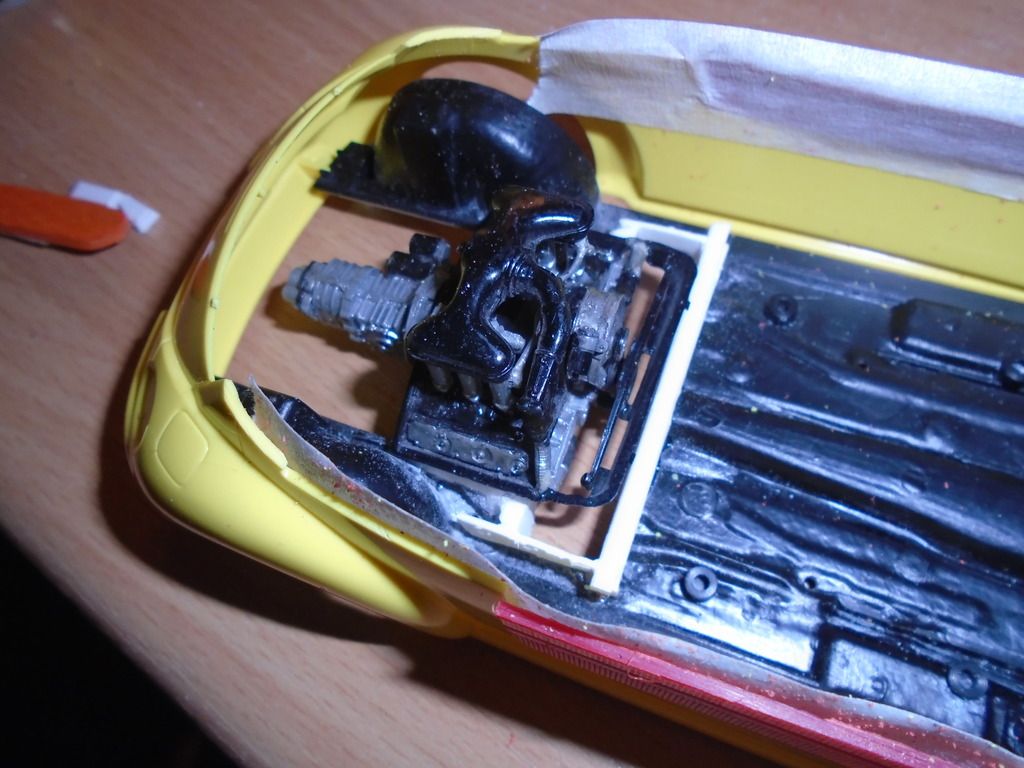 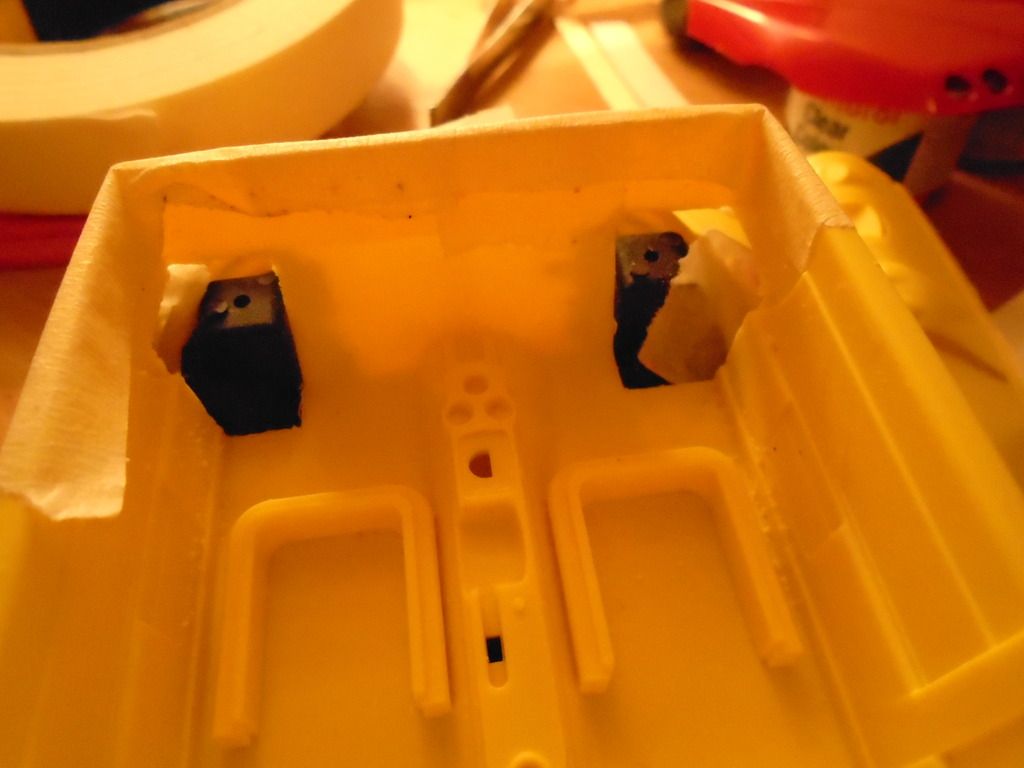 I still have to do a little filler work on the underside of the chassis but I'm hoping to keep as much of the chassis detail that is there to make it look more realistic |
|
Deleted
Registered: Nov 27, 2024 17:41:07 GMT -7
Posts: 0
|
Post by Deleted on May 31, 2015 15:58:07 GMT -7
great progress Stitch  |
|
|
|
Post by CoyoteCrunch on May 31, 2015 16:17:27 GMT -7
Looking real to me Stitch!!!
AWESOME Work man!!!!!
|
|
|
|
Post by stitchdup on May 31, 2015 16:24:00 GMT -7
Thanks guys, I'm going to have to get the body together now so I can get a couple of the last details on the rear of the chassis finished and know how much to trim the tub down. Then it's filler time!
|
|
Deleted
Registered: Nov 27, 2024 17:41:07 GMT -7
Posts: 0
|
Post by Deleted on Jun 1, 2015 1:33:37 GMT -7
More great planning there mate.
|
|
|
|
Post by stitchdup on Jun 3, 2015 13:12:59 GMT -7
A little progress on the body today. Got the rear window frame glued in but still have to fit the top to the bottom before I fill the gaps at the side. Have started cutting up an alfa body for the curves I need as I've already stolen a lot of parts from the alfa kit. Hoping to have the body all roughed in and glued tommorow so I can cut up the interior tub at the back. I can already see the hood/bonnet being trouble due to having to try and keep the edge line but bending it to fit from bumper to window. 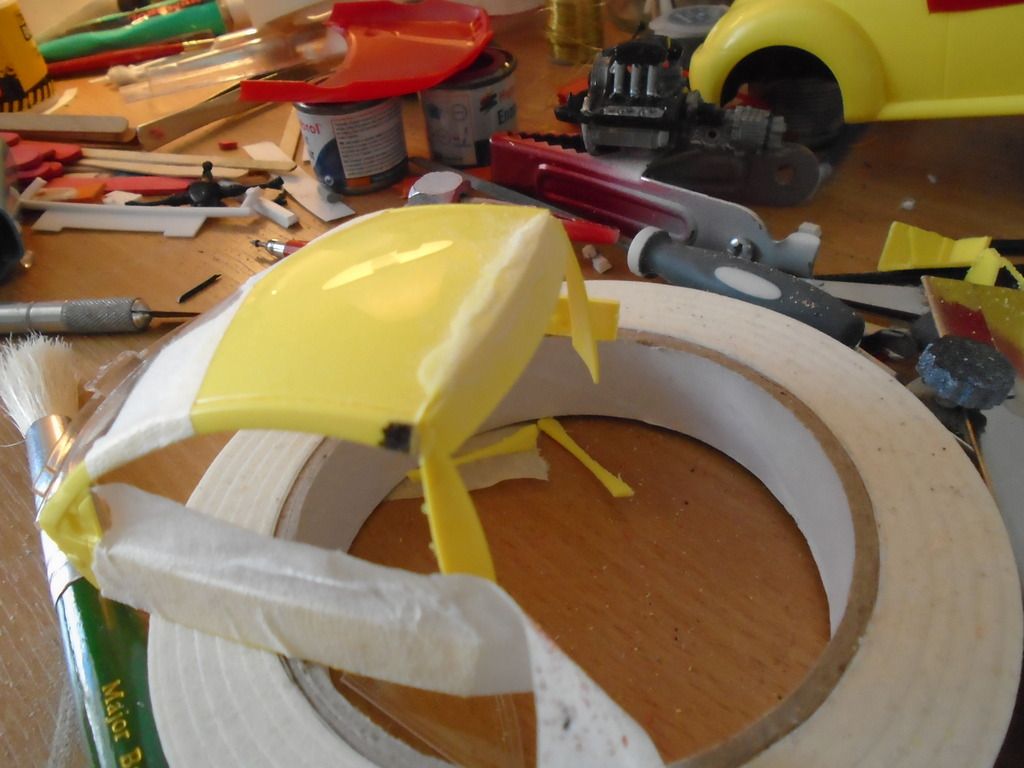 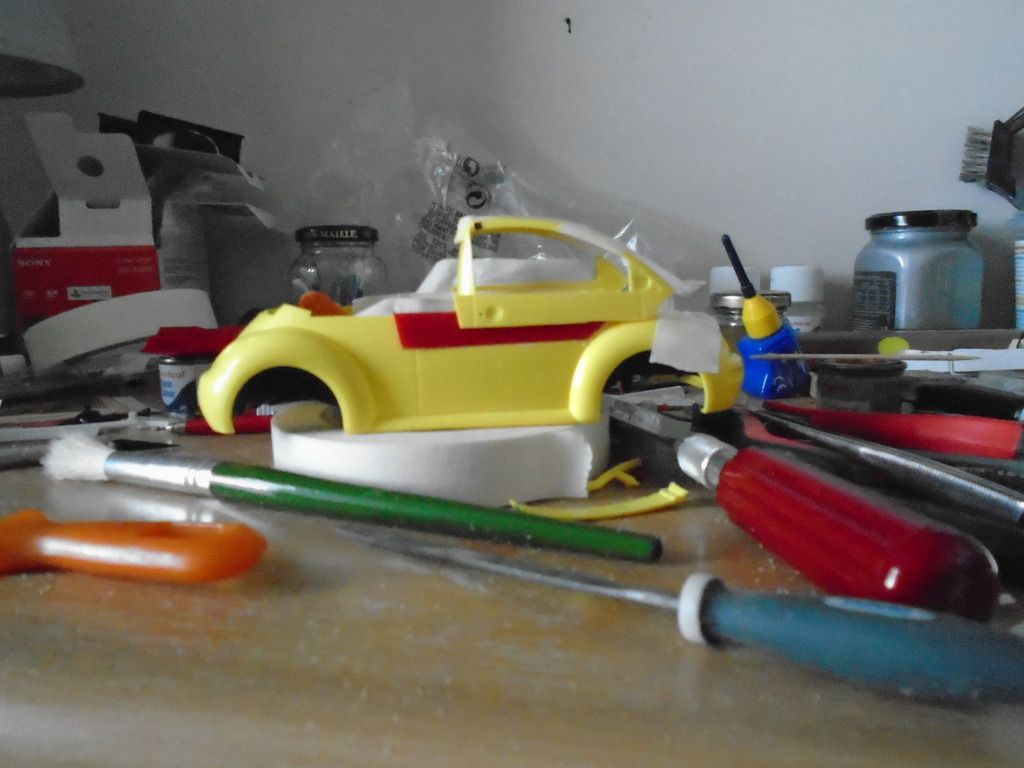 The top isn't glued on yet and will not be until interior tub is cut |
|
|
|
Post by stitchdup on Jun 7, 2015 15:32:49 GMT -7
I'm a little stumped on the back of the cab just now. I'm planning to cut down the kits back window but it has a pretty big curve where it will be cut. I've had a look through my scrap/broken bodies and nothing is close to the curve I'll need so the interior can still be put in after painting. Is there an easy way to bend flat plastic that will allow it to stay in shape or should I just do a flat panel added after the body and tub are put on?
|
|
Deleted
Registered: Nov 27, 2024 17:41:07 GMT -7
Posts: 0
|
Post by Deleted on Jun 7, 2015 17:18:54 GMT -7
Les, this bug is WAY cool. great work going on here. Keep it up bud!!
|
|
|
|
Post by stitchdup on Jun 8, 2015 14:35:12 GMT -7
Body is glued together now. Work starts on the inside of the bed area tommorow hopefully. 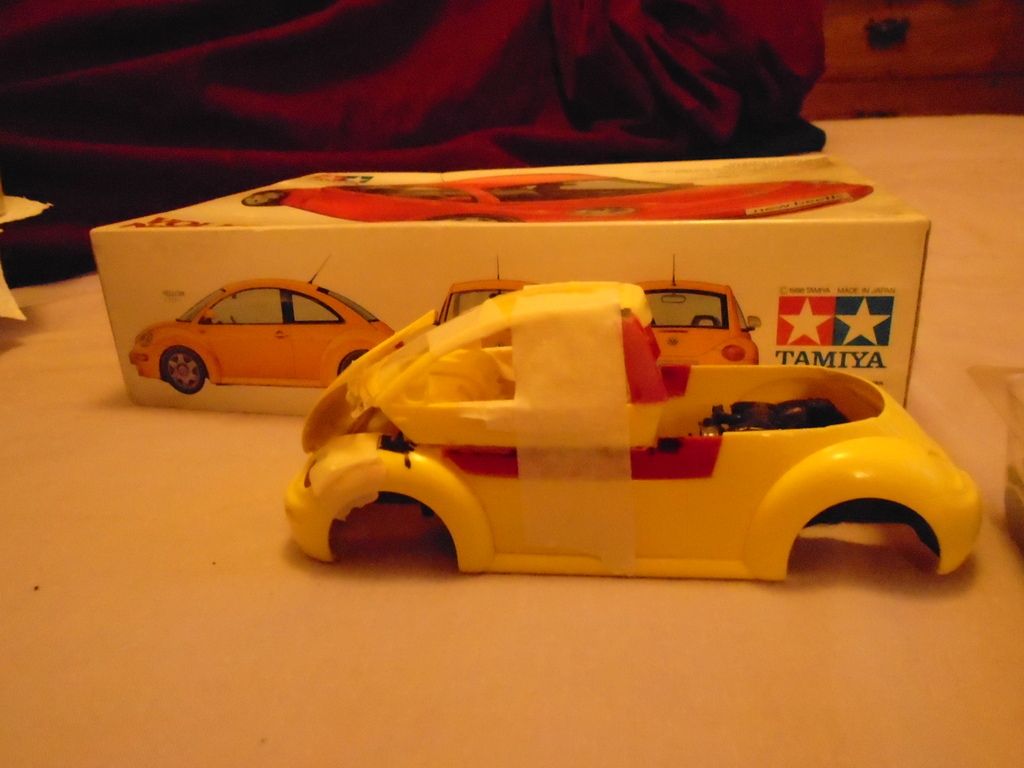 |
|
|
|
Post by Big D on Jun 9, 2015 23:04:59 GMT -7
This is going to be cool. Looks good so far.
|
|
|
|
Post by stitchdup on Jun 10, 2015 0:10:18 GMT -7
|
|
Deleted
Registered: Nov 27, 2024 17:41:07 GMT -7
Posts: 0
|
Post by Deleted on Jun 10, 2015 1:27:18 GMT -7
That is looking way cool mate,
|
|
Deleted
Registered: Nov 27, 2024 17:41:07 GMT -7
Posts: 0
|
Post by Deleted on Jun 10, 2015 3:35:29 GMT -7
excellent progress Stitch  |
|
nyratrod
Senior Member
   Registered: Oct 29, 2014 10:05:30 GMT -7
Posts: 543
|
Post by nyratrod on Jun 10, 2015 4:55:30 GMT -7
Lookin' good stitch. I'll be watching your progress.
|
|
|
|
Post by Gothicz House Of Kustomz on Jun 10, 2015 5:59:48 GMT -7
Pretty impresive, keep it goin
|
|
|
|
Post by stitchdup on Jun 11, 2015 14:44:25 GMT -7
Got the body ready for filler now but since I'm going back to my own house for a few days I haven't applied it yet, so in the meantime I modified a couple of Olds 442 seats to look a little like a bench seat 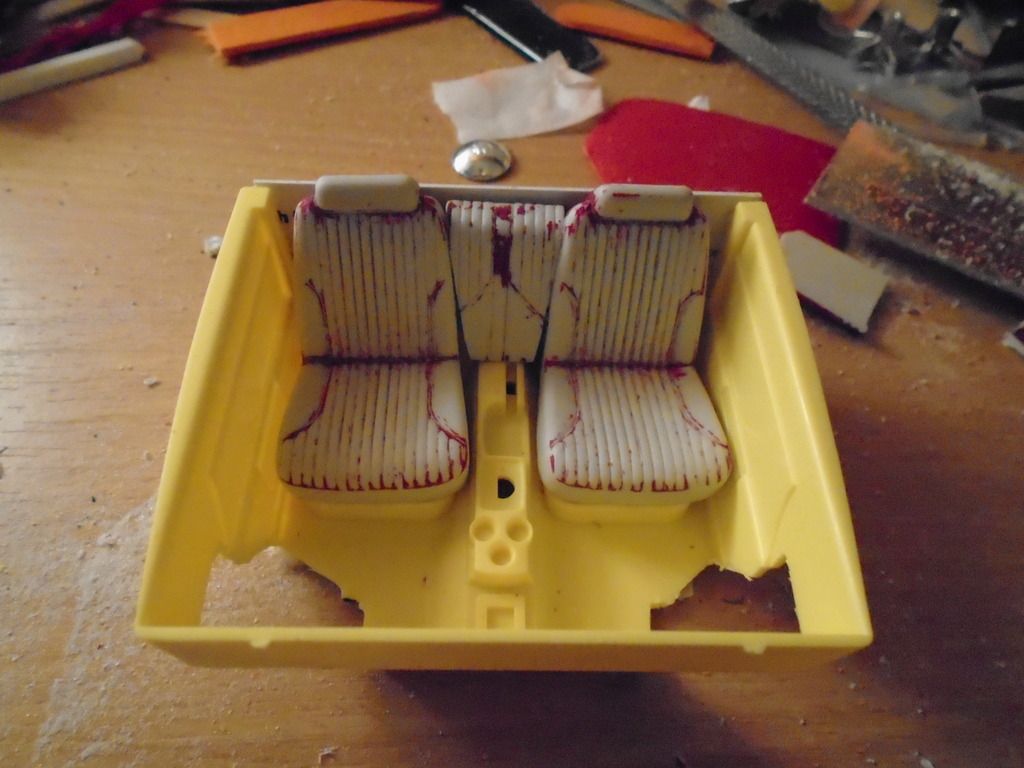 Just need to fill those pesky gaps and it will be time to paint the interior |
|
Deleted
Registered: Nov 27, 2024 17:41:07 GMT -7
Posts: 0
|
Post by Deleted on Jun 11, 2015 16:03:51 GMT -7
great idea on that seat two-thumbs-up-smiley-emoticon
|
|
|
|
Post by stitchdup on Jun 19, 2015 16:58:28 GMT -7
Hope to get the first primer on this tommorow. Getting bored of rubbing down filler now
|
|
Deleted
Registered: Nov 27, 2024 17:41:07 GMT -7
Posts: 0
|
Post by Deleted on Jun 19, 2015 17:12:49 GMT -7
it does get tedious  |
|