malcox477
Loyal Member
 Registered: May 21, 2019 16:19:37 GMT -7
Posts: 1,039
|
Post by malcox477 on Sept 25, 2021 0:44:00 GMT -7
sweet work my friend, always enjoy your engines details
|
|
|
|
Post by mustang1989 on Sept 28, 2021 18:23:00 GMT -7
great detail work. How did you make the hard line fuel line ? Thanks Dave!! The line at the carburetor was made from a needle that I cut and fused together at the front of the carburetor where the front bowl inlet line and the fuel inlet line intersect. The fuel line from the fuel pump to the carburetor is made from .015" solder. |
|
|
|
Post by mustang1989 on Sept 28, 2021 18:23:27 GMT -7
Looks well and truly proper Joe love it!! Thanks Pete!! Glad you're taggin' along both here and abroad brother. |
|
|
|
Post by mustang1989 on Sept 28, 2021 18:23:56 GMT -7
sweet work my friend, always enjoy your engines details 'Preciate it Marcos! Your engine detail is right up there with the best bro. |
|
|
|
Post by mustang1989 on Oct 1, 2021 10:50:33 GMT -7
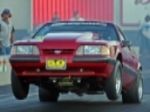
Started with the OOB panel. Got it adhered onto the chassis of my GT-350 mock up car here just to show what we're starting with. 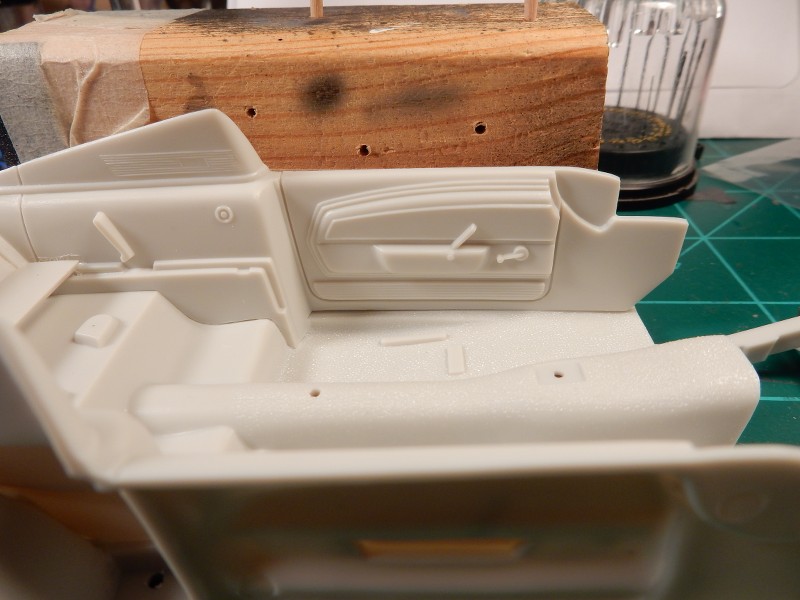 The reference shot:  After 2 attempts at applying the BMF to the brushed aluminum strip on the door and fouling it up right around the door handle area.....I decided to just remove the dang handle altogether and order metal ones from Ted's Modeling Marketplace. I also cut the pocket out of the armrest for the door handle. There....that worked out ALOT better for me in terms of getting the aluminum panel to look right 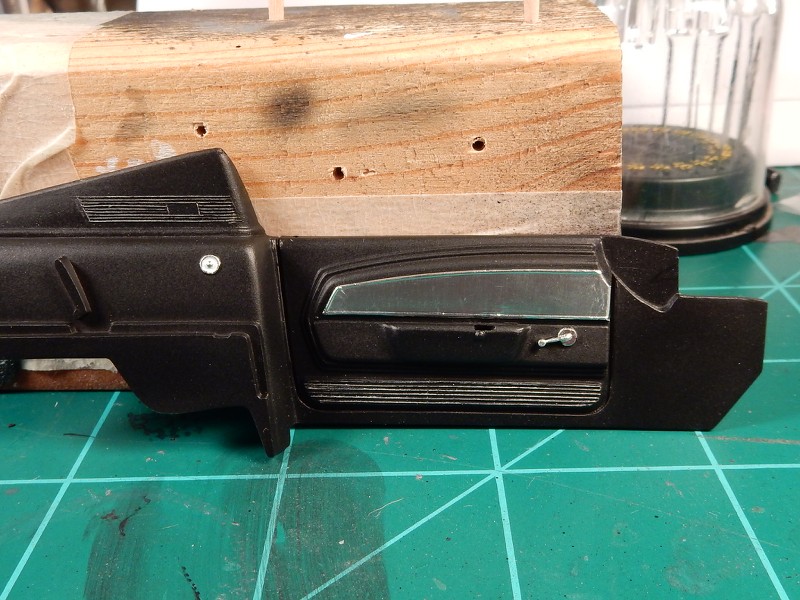 and then with the chrome strip BMF applied around the door panel insert and added the mirror control lever and bezel onto the aluminum strip at the front of the door panel.  |
|
pete
Super Member
Registered: Jun 29, 2021 13:48:10 GMT -7
Posts: 409
|
Post by pete on Oct 1, 2021 12:01:25 GMT -7
Very nicely done...Soo... when do we get the instrument panel update??
|
|
malcox477
Loyal Member
Registered: May 21, 2019 16:19:37 GMT -7
Posts: 1,039
|
Post by malcox477 on Oct 1, 2021 23:06:09 GMT -7
very nice man, those panels turn out beautiful
|
|
|
|
Post by mustang1989 on Oct 10, 2021 5:16:34 GMT -7
Very nicely done...Soo... when do we get the instrument panel update?? Thanks Pete and Marcos!! Well Pete......that'll be 'bout ....now. Moving on to what is normally my favorite part of the interior....the dash. Again.....this one presents very difficult obstacles. How to BMF that bad boy and NOT get any wrinkles. Y'all.....I'm really looking forward to the seats on this one because this dash was a bear to deal with. Deluxe dash panel inserts look like this: 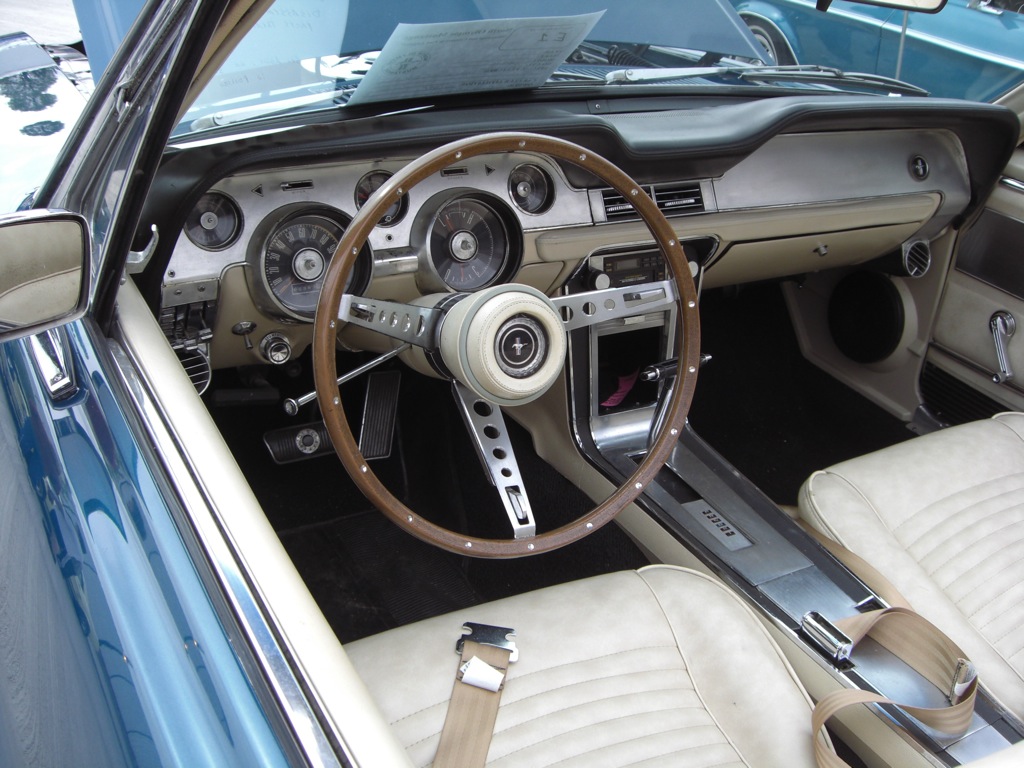 And again....BMF ing this was dang near impossible. I tried chrome silver paint which looked good initially and then over time it did some weird stuff. Set up wrong or something. Anyway it looked like hammered dog crap!!!\ 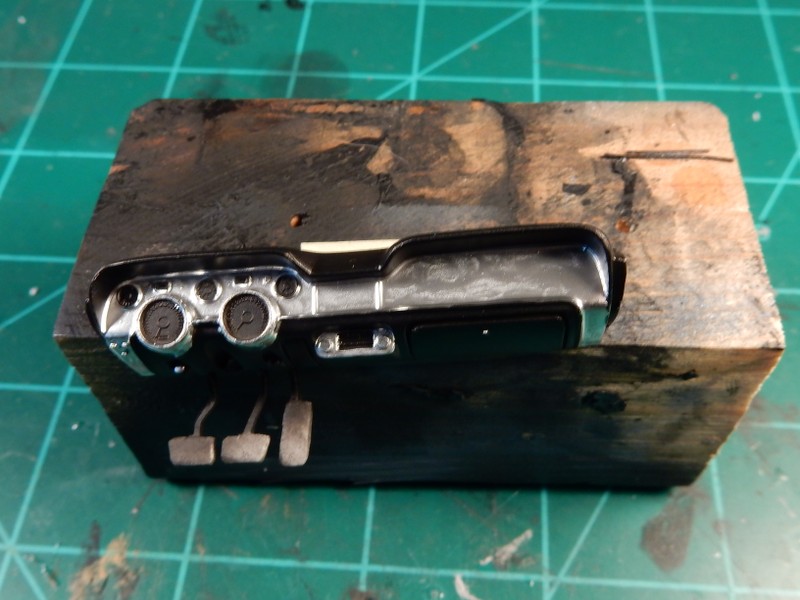 This is where drastic measures are called for. Some may call me crazy for this but hey......ya gotta do what you've gotta do in modeling. I had a spare dash sooooooo. I cut it in half and cut the dash pad/ cover off of it to gain easy access to the outline of the passengers side of the dash for being able to cut a template out of BMF in which to place a perfectly cut BMF piece on that side. 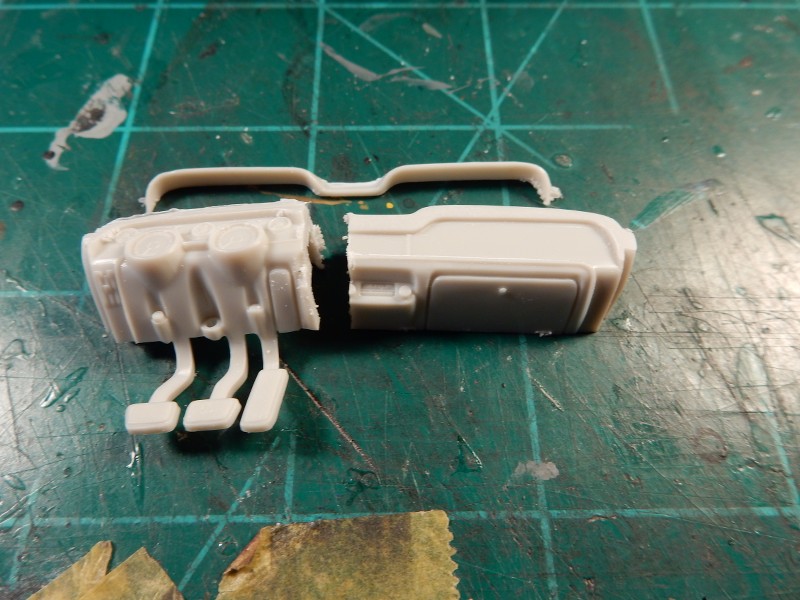 After creating an outline onto the BMF I cut it out to the exact shape and laid 'er into place. Not perfect....but I can live with this alot better than that other job. 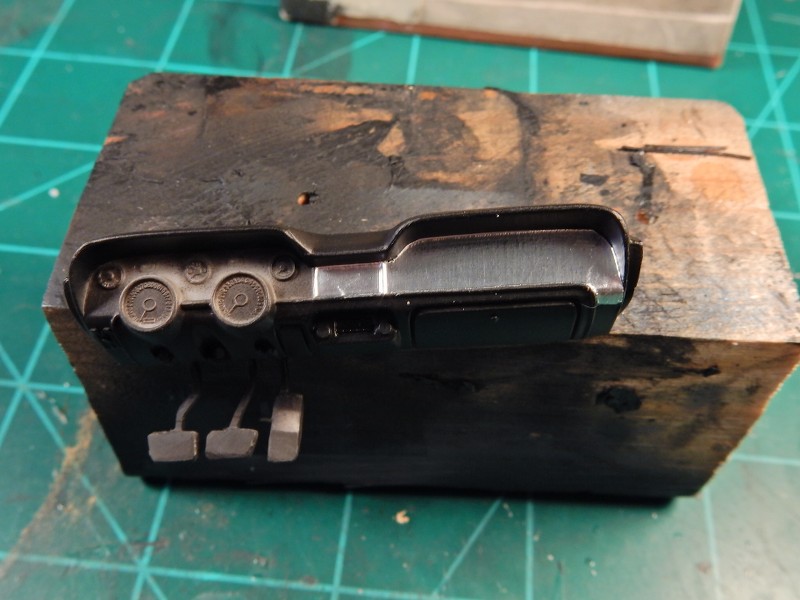 I ended up going over the left side of the dash with Molotow chrome and because of its flow properties it made its way into the nooks and crannys of the gauge clusters corners. After the Molotow had dried I shot a uniform coat of MM Acrylic Flat Coat over both sides of the dash trim bringing everything to a uniform finish. I then applied the Mustang medallion to the left side of the dash. Then the decals for the instruments went on and I painted the radio up, applied the chrome to the radio and light switch knobs. Ignition cylinder bezel went on and I inserted the keys into the ignition switch. PE pedal faces went onto the pedals and I picked out the chrome trim around the pedals. I'm mostly content with this dash despite the difficulties presented with it but....I've had better. 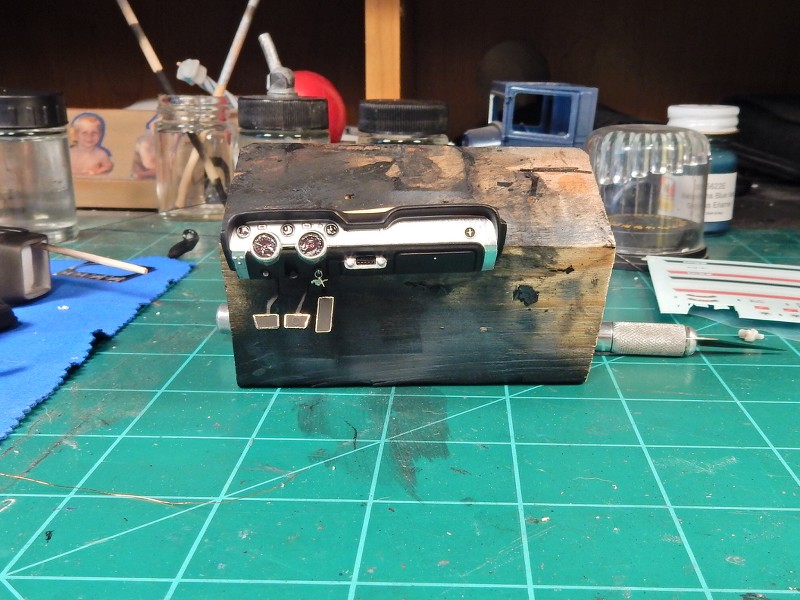 |
|
pete
Super Member
Registered: Jun 29, 2021 13:48:10 GMT -7
Posts: 409
|
Post by pete on Oct 10, 2021 7:57:41 GMT -7
Lots of work there Joe... It paid off in spades though...Dash looks amazing!!!
|
|
malcox477
Loyal Member
Registered: May 21, 2019 16:19:37 GMT -7
Posts: 1,039
|
Post by malcox477 on Oct 11, 2021 0:03:05 GMT -7
Looks awesome Joe, that a lot of work and definitely turn out a lot better
|
|
|
|
Post by mustang1989 on Oct 17, 2021 9:21:22 GMT -7
Thanks fellas!!! Well alot has happened since the last update and had affected my participation here momentarily.
I've had one thing after another hit since last week. Repairs on the cars/ trucks over the last weekend and then on just this past Monday......my sons truck got hit out in front of our house by a hit and run drunk driver. Found it when he was getting ready to leave for football practice at 5:15 in the morning. Long story short....there were enough pieces of their car left in the street for me to pick up, run part numbers and identify the vehicle and the color (silver) that was left on my sons rear bumper. Believe it or not we found the car that hit his truck later that afternoon. So I called the cops, the driver (a younger female) confessed to hitting it, received a ticket for fleeing the scene of an accident, and provided her insurance information. The truck was still driveable after I replaced the R/H tail light. It looked like Hell but at least he had wheels UNTIL....Wednesday when the transmission (which we had recently replaced with a freshly rebuilt unit) stopped pulling. In looking at it further it appears that the impact shoved the differential forward which caused the driveshaft to put excessive pressure on the output shaft which transmits all the way forward to the input shaft. This caused the torque converter to be pushed into the pump causing damage to the pump. It wasn't immediately noticeable because the truck was initially driveable but after a couple of days it finally just quit. Sooooo......we've got driveline issues now too. After I get the tranny out I'm going to have to check the crankshaft end play too because there's a very good chance that same impact force got transmitted to the crankshaft which'll put excessive pressure on the crankshaft thrust bearing. Being a 93 Silverado it'll probably be "totaIled" so I doubt the insurance company is going to give us any real money for the vehicle but I'll be hanging on to the fact that the whole truck was recently gone ALL the way through by my son and I. Man we put ALOT of work over the last two years into that truck.
While we were waiting for my buddy to show up with his wrecker to get it towed back to our house on Monday my son dropped his phone (face planted it on asphalt) rendering his phone useless. Well....the kids gotta have a phone so we can reach him so off to the repair shop that went. Good LORD man!!!! When will it stop???
|
|
|
|
Post by mustang1989 on Oct 17, 2021 9:42:09 GMT -7
I've been working with the steering wheel and column for the last couple of days and have stripped the wheel twice and repainted. Finally came up with something that I thought I could live with.......but that since has changed. Take I: 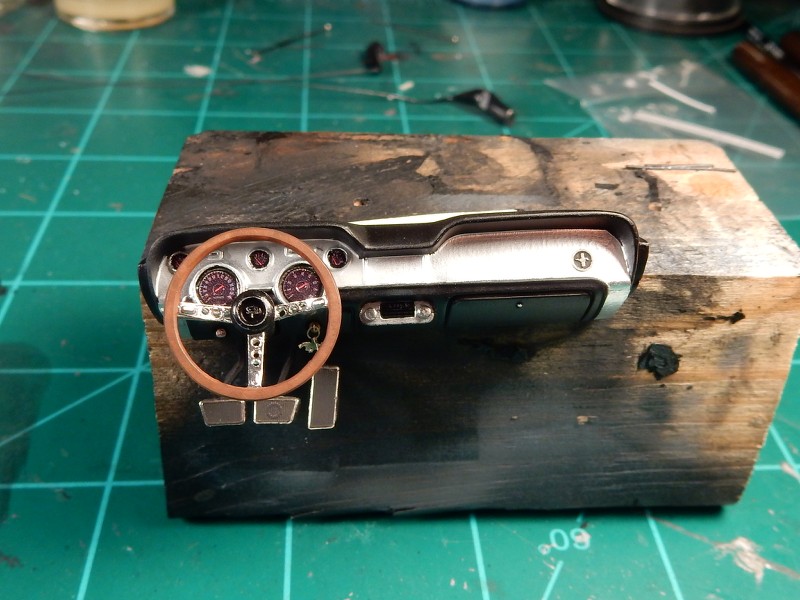 |
|
pete
Super Member
Registered: Jun 29, 2021 13:48:10 GMT -7
Posts: 409
|
Post by pete on Oct 17, 2021 10:26:42 GMT -7
Good grief!!! Hopefully the phone was the end!!! Yeah, I'm with you on the thrust bearing being pounded out too. It has to be considering the trans damage...  Not too shabby...Cant wait to see what you decided on...  |
|
malcox477
Loyal Member
Registered: May 21, 2019 16:19:37 GMT -7
Posts: 1,039
|
Post by malcox477 on Oct 18, 2021 22:40:38 GMT -7
Love the dashboard man, look nice and clean
|
|
|
|
Post by mustang1989 on Oct 31, 2021 5:11:14 GMT -7
Bench time has NOT been at a premium these days but I'm making my way through this one. Ok guys. It's "Take II" time on the steering wheel. I had a cheater template for marking the rivet holes from a dollhouse clock. After I cut it to fit inside the steering wheel ring I was able to mark the rivet hole position holes really easy. FYI...if anybody wants free (and cool) print off stuff for 1/25 scale builds....here ya go: www.printmini.com/printables/ph.html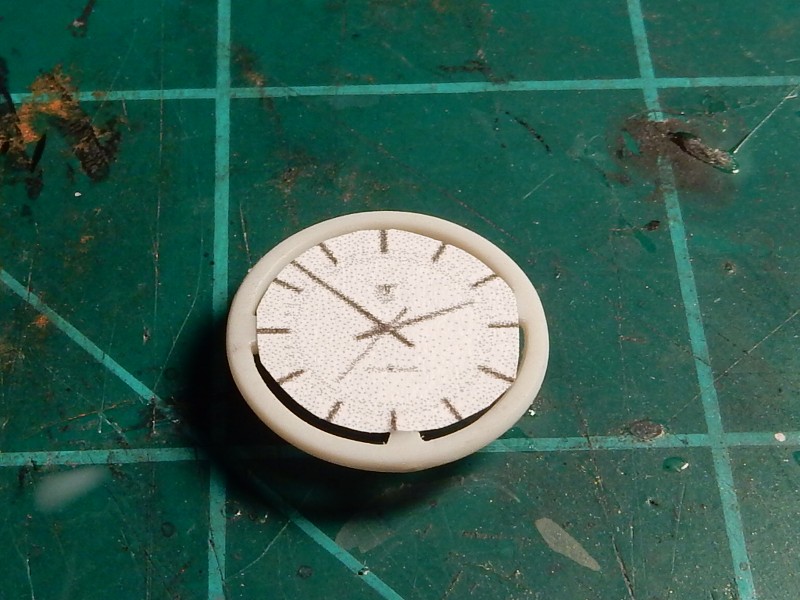 and then with the holes drilled for the rivets later on... 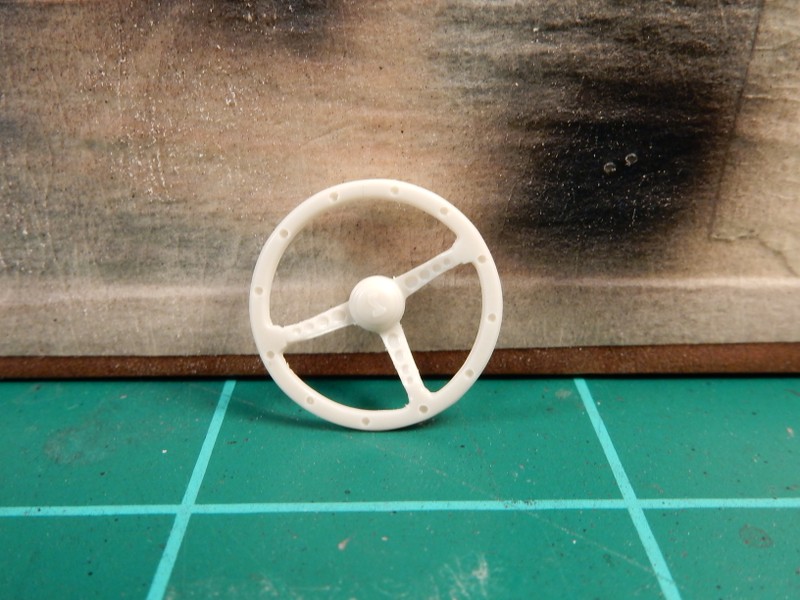 I wasn't going to go this far but ......Ya know....if I've tried my best on something then I can sit back and be content with it but when I look at something I've done and see what I view as substandard and I know I can do better then I'll usually figure a method out on how to acheive the results I want. I've let stuff go in the past and always end up regretting it so I try to handle it when I see it now. Any how..... I knew this was going to be alot of work so I worked really hard late at night laying the groundwork for the steering column and wheel completion just to get it out of the way. I managed to get this to a point to where I'm going to be okay with it. I used some scale PE rivets that I have from the Model Car Garage that I inserted into each one of the cavities once I had everything painted up. To compare. My first attempt: ..............and Take II. I'm MUCH happier with this: 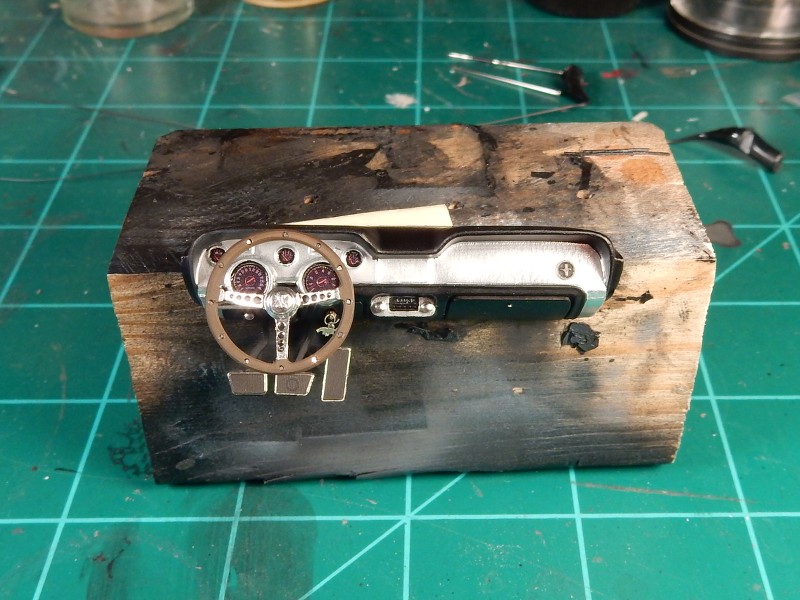 |
|
pete
Super Member
Registered: Jun 29, 2021 13:48:10 GMT -7
Posts: 409
|
Post by pete on Oct 31, 2021 8:26:26 GMT -7
  That's just amazing Joe!! Gonna really set this one apart from the crowd.
|
|
malcox477
Loyal Member
Registered: May 21, 2019 16:19:37 GMT -7
Posts: 1,039
|
Post by malcox477 on Nov 1, 2021 23:55:10 GMT -7
 no words, amazing detail
|
|
|
|
Post by mustang1989 on Nov 2, 2021 3:02:40 GMT -7
Thanks fellas. Fell into a bit of a modeling/ forum slump for a little bit but coming back around. Crazy stuff happening on the home front that's taking alot of my time to include getting a frickin' cold over the weekend. Man......
|
|
|
|
Post by mustang1989 on Nov 3, 2021 8:24:24 GMT -7
Been working on the console, seats and seat belts and I finally have some pics worth showing. 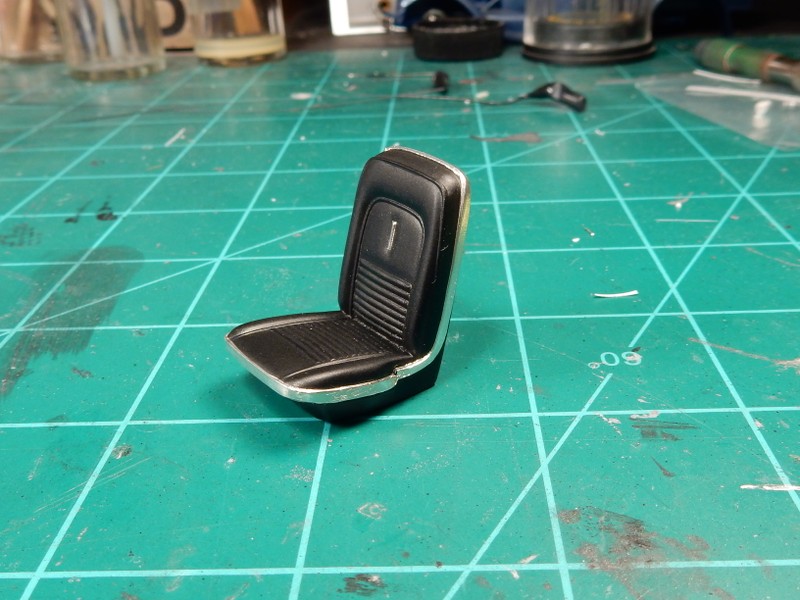 Still have the back seat, front floor mats and shifter to go in this picture.....  and THEN......I got my license plates in the mail today...juuuuuust like the one's on my old car...... 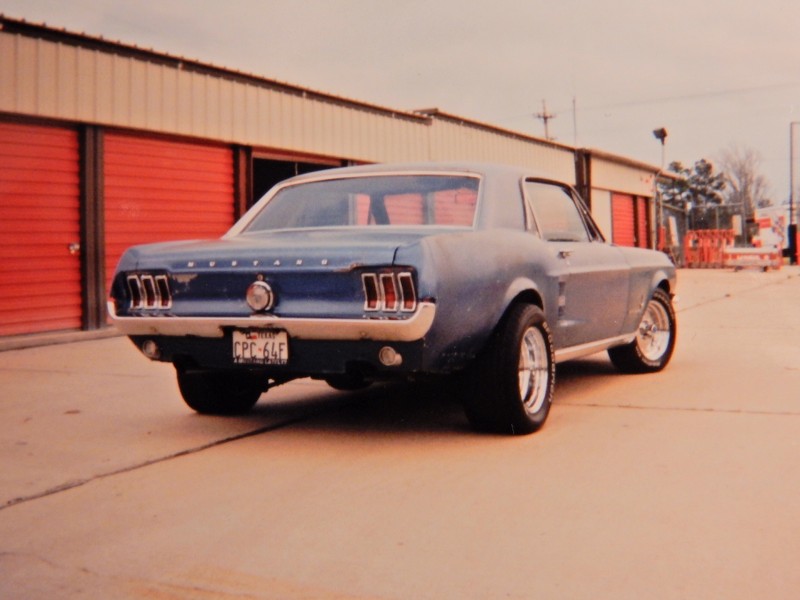 Even got the "Have you chased a Mustang lately" tag frame on it. 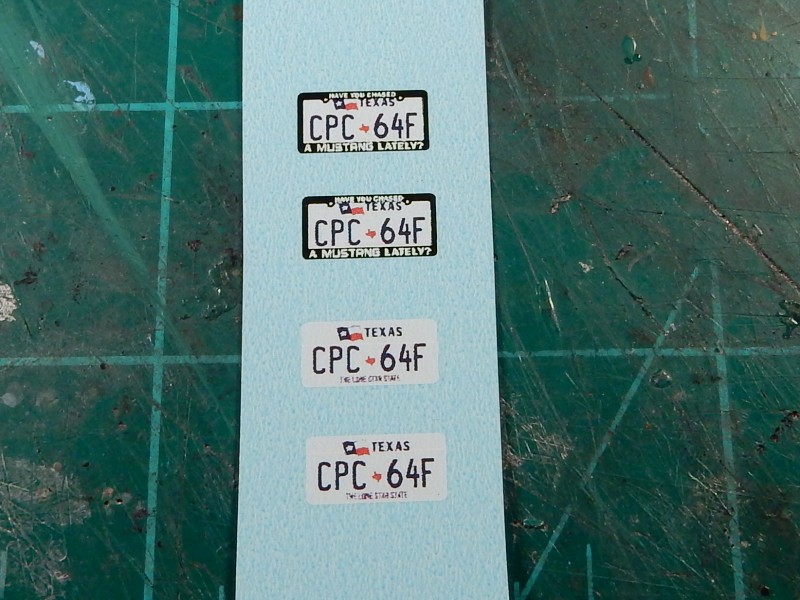 |
|
malcox477
Loyal Member
Registered: May 21, 2019 16:19:37 GMT -7
Posts: 1,039
|
Post by malcox477 on Nov 6, 2021 1:51:15 GMT -7
Nice man, love the plates
|
|
pete
Super Member
Registered: Jun 29, 2021 13:48:10 GMT -7
Posts: 409
|
Post by pete on Nov 6, 2021 7:45:18 GMT -7
Looks teriffic Joe!! Love the plates/frames...Too cool!!
|
|
|
|
Post by mustang1989 on Jan 2, 2022 17:47:55 GMT -7
Thanks Marcos and Pete!!! Dudes.....it has been too long since I've posted anything on this build so I'll start with the interior completion. 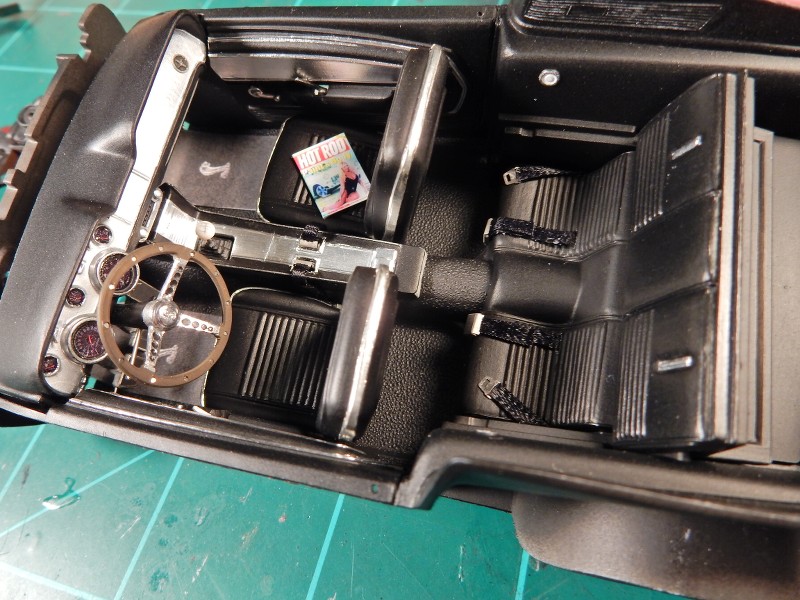 |
|
pete
Super Member
Registered: Jun 29, 2021 13:48:10 GMT -7
Posts: 409
|
Post by pete on Jan 2, 2022 21:19:02 GMT -7
That interior is looks amazing!! So real. The tones and textures really bring it to life. The chrome foil work is outstanding...Love it!
|
|
|
|
Post by mustang1989 on Jan 3, 2022 9:02:47 GMT -7
Thanks Pete!!! Hope you had a good Christmas and an awesome new year!!!
|
|
pete
Super Member
Registered: Jun 29, 2021 13:48:10 GMT -7
Posts: 409
|
Post by pete on Jan 3, 2022 13:18:06 GMT -7
Thanks Joe! A good time was had by all! Hope yours was good too!
|
|
malcox477
Loyal Member
Registered: May 21, 2019 16:19:37 GMT -7
Posts: 1,039
|
Post by malcox477 on Jan 8, 2022 1:49:24 GMT -7
looks so real Joe, love it man
|
|
|
|
Post by mustang1989 on Feb 12, 2022 7:37:01 GMT -7
Thanks fellas. It's been a pretty hard past few weeks but getting through it all. Things are starting to get back to some normalcy after moms passing and now dad is dealing with the medical and financial fall out that goes along with any death in the family. My brother and I are helping him through it emotionally as well as financially. Moving on to the wheels..... Every now and then people in business will take the time to listen to a consumer and make necessary changes. I spoke with Eric Oberhofer at Round 2 at the beginning of September in regards to the AMT 67 Mustang Fastback issues. One of the issues involved the tires that came in the kit which were Firestone Super Sports tires instead of the Firestone Wide O Oval tires that were on the box top. He had mentioned that he was going to bring this issue up in the next board meeting. Meanwhile I had received a set of Wide O Oval decals from a friend of mine on the forums. After removing the Super Sports logos from the sides of the tires and had applied those, however, they looked too big and I was left scratching my head at what I was going to do next. I decided to go down to Hobby Lobby and purchase another kit and use the Super Sports tires...........BUT............when I opened the box of the newly purchased kit I found..........a set of Wide O Oval tires now in the box!!!!!! A BIG shout out goes to Eric and the Round 2 team involved in making this change. Before the change this is what came in the box....  and this is now what comes in the box. Here mounted on my newly painted & detailed wheels. This may not seem like a big deal to some but these tires look so much better than the others with just a lettering font size and different name on the tires to me. 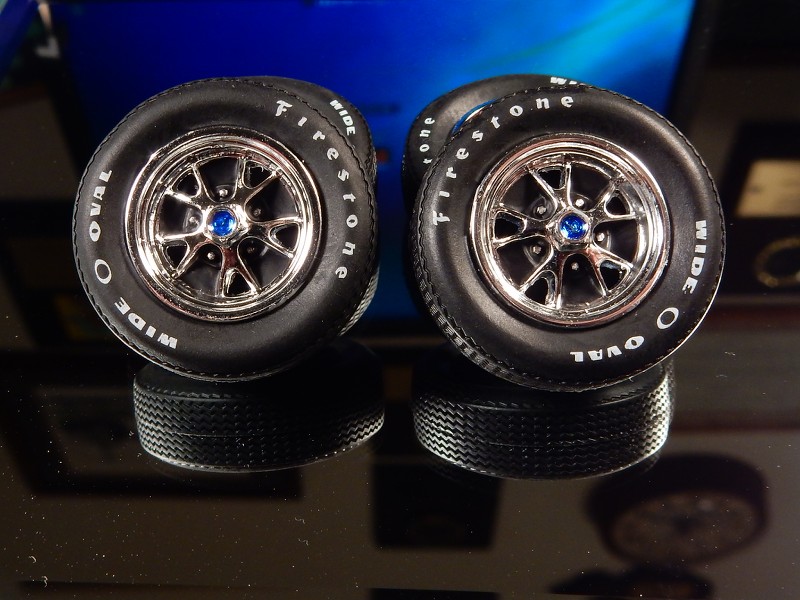 |
|
malcox477
Loyal Member
Registered: May 21, 2019 16:19:37 GMT -7
Posts: 1,039
|
Post by malcox477 on Feb 13, 2022 1:12:46 GMT -7
that's awesome, i have heard a lot of great stuff about round 2 customer services, this is one of them, they look amazing Joe...
Is been super hard for everyone in the last couple years just hope you guys take care each other and hope everything works out great for you and you family, god bless
|
|
|
|
Post by Grandpabeast on Feb 14, 2022 3:23:19 GMT -7
Yep the new tires look great ! Maybe he can send you a set to make up for it !!!!!!
|
|
|
|
Post by mustang1989 on Feb 28, 2022 20:03:21 GMT -7
that's awesome, i have heard a lot of great stuff about round 2 customer services, this is one of them, they look amazing Joe... Is been super hard for everyone in the last couple years just hope you guys take care each other and hope everything works out great for you and you family, god bless Can't thank you enough on all counts Marcos. Same sentiments go back to you my brutha. |
|