|
|
Post by mustang1989 on Jul 13, 2017 6:18:05 GMT -7
Blown away , that's some great detail! Looks awesome Thanks GPB. I real time it took me about a month and a half to build the engine/ xmsn assy.
Moving forward now.............
|
|
|
|
Post by jmccann630 on Jul 14, 2017 16:48:17 GMT -7
Nice work detailing the engine..looks great!
|
|
|
|
Post by mustang1989 on Jul 17, 2017 9:25:03 GMT -7
Nice work detailing the engine..looks great! Thanks John.
I installed the engine / xmsn assy to check out the stance again with the spare body in place. I should be receiving my silver bearing solder in the next day or so and will get started on the exhaust system. I still need to lower the rear another scale inch I'll be happy
in moving forward from here though:
|
|
|
|
Post by Grandpabeast on Jul 17, 2017 22:26:31 GMT -7
Looks awesome 👏
|
|
|
|
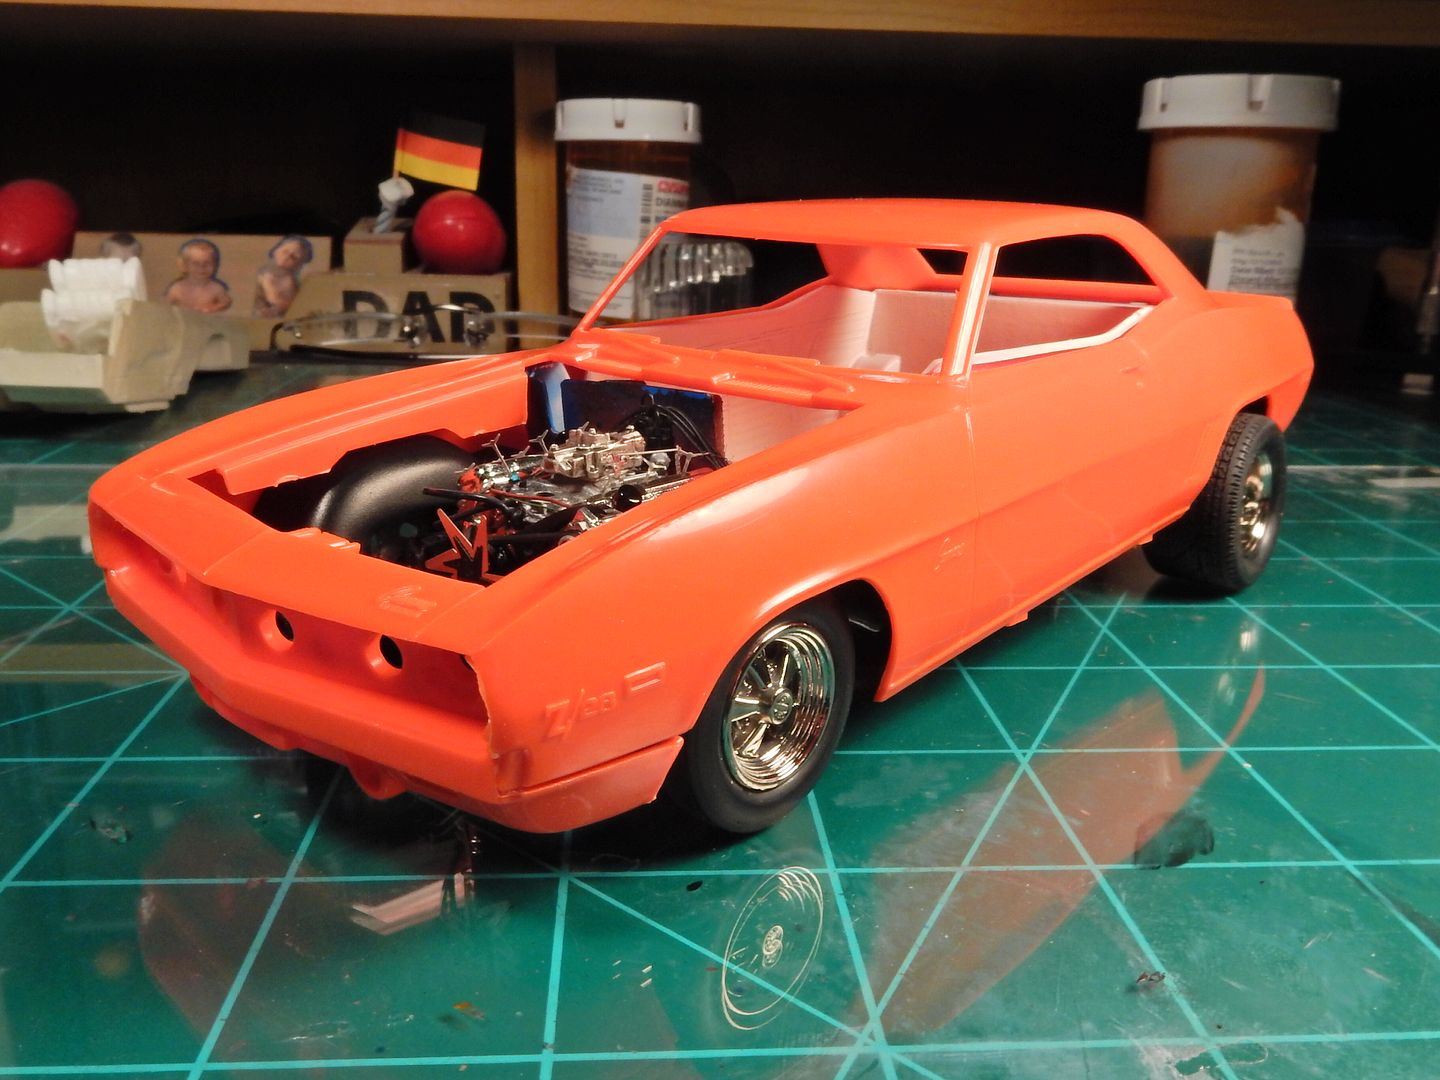
Post by mustang1989 on Jul 25, 2017 18:46:06 GMT -7
Well folks here's a weeks worth of applying bare metal foil and painting details on the body. I should have sanded those door key bezels off and used the PE ones I've got but hey, I'll chalk it up to a learning experience. I'm very happy with the outcome of the paint on this one. My hand can be seen in the reflection on the front fender. 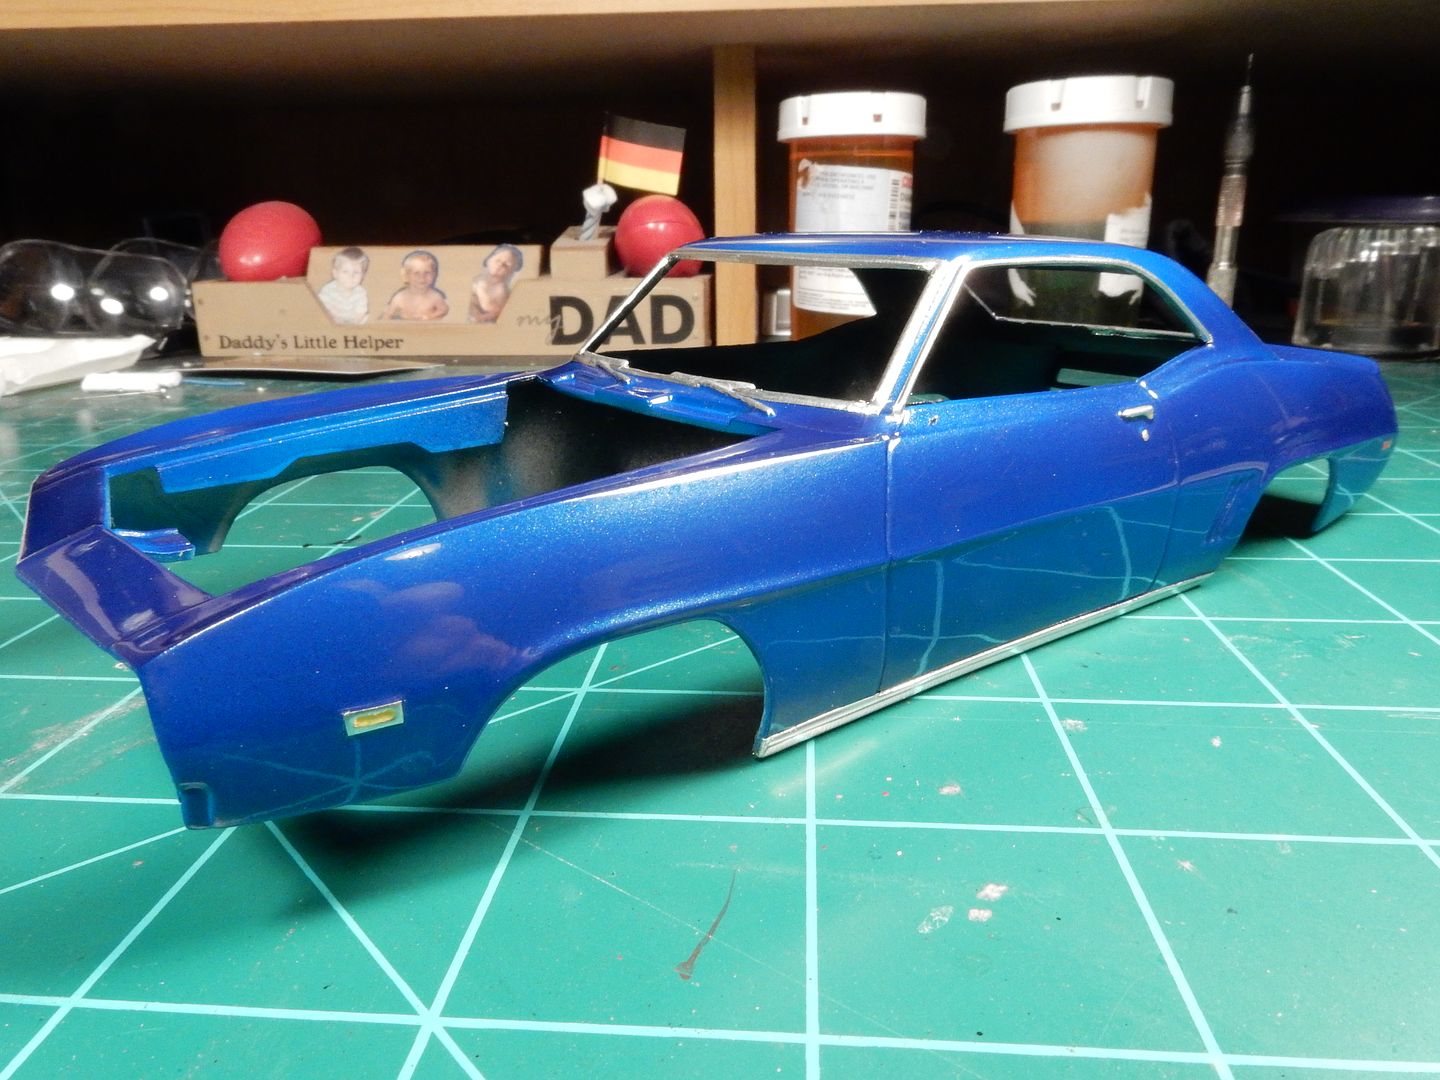 |
|
|
|
Post by mustang1989 on Jul 27, 2017 9:49:44 GMT -7
I've got the firewall well under way and will start working on the brake master cylinder and brake lines in the upcoming days. Here's where I started with the firewall. The "hood hinge" HOLES were a freakin' eyesore!!! OMG it would have ruined the whole engine compartment!!
Here's what I'm talking about and what I started with:
and here's the "after" pic:
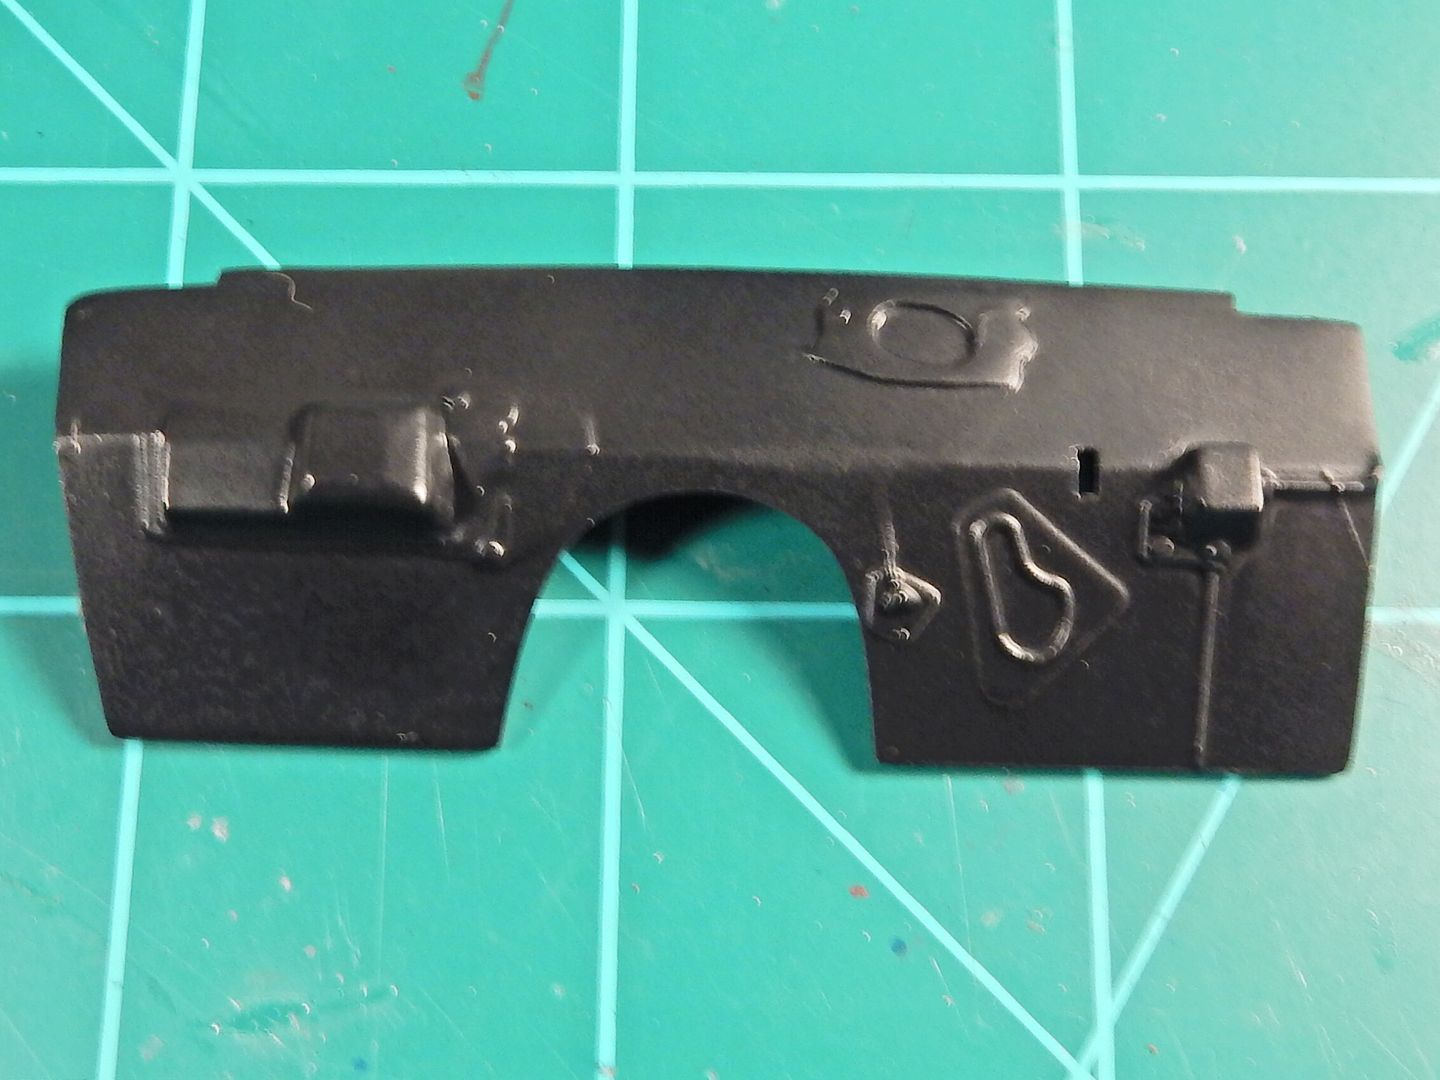
I'd rather have NO hinges than to see two gaping holes in the firewall! 
|
|
|
|
Post by mustang1989 on Aug 1, 2017 9:59:28 GMT -7
I managed to get the master cylinder, brake lines and fittings completed
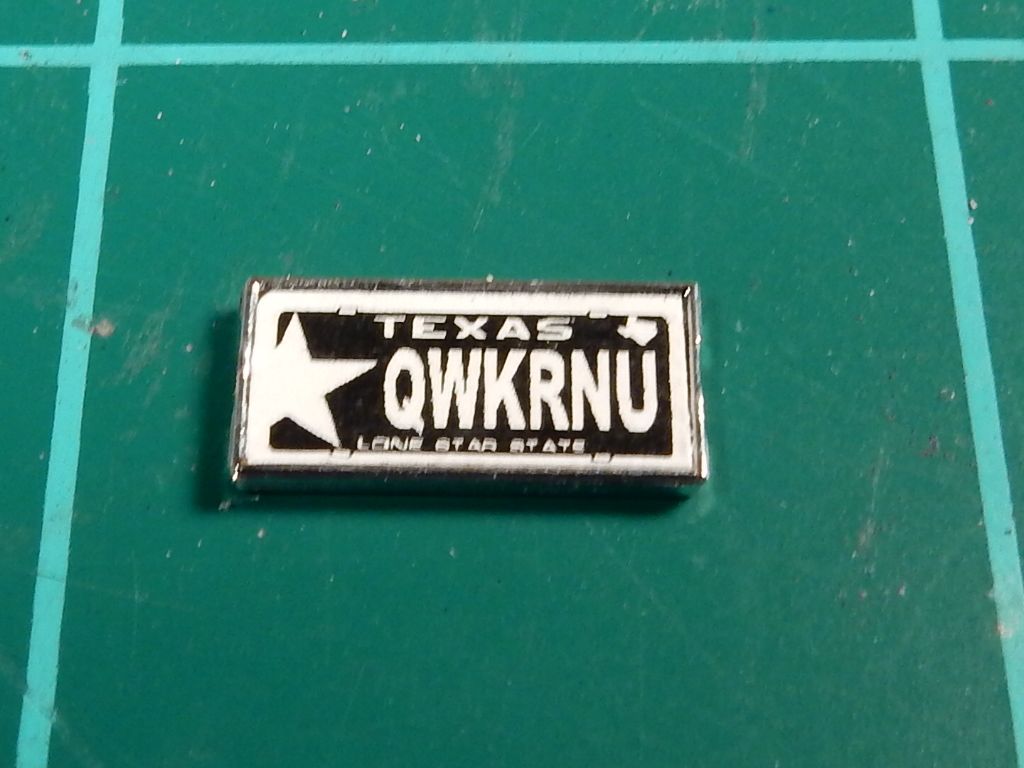
and I got the obnoxious rear license plate under way. I'll install a couple of license plate retaining screws at the top of the license plate to top it all off.
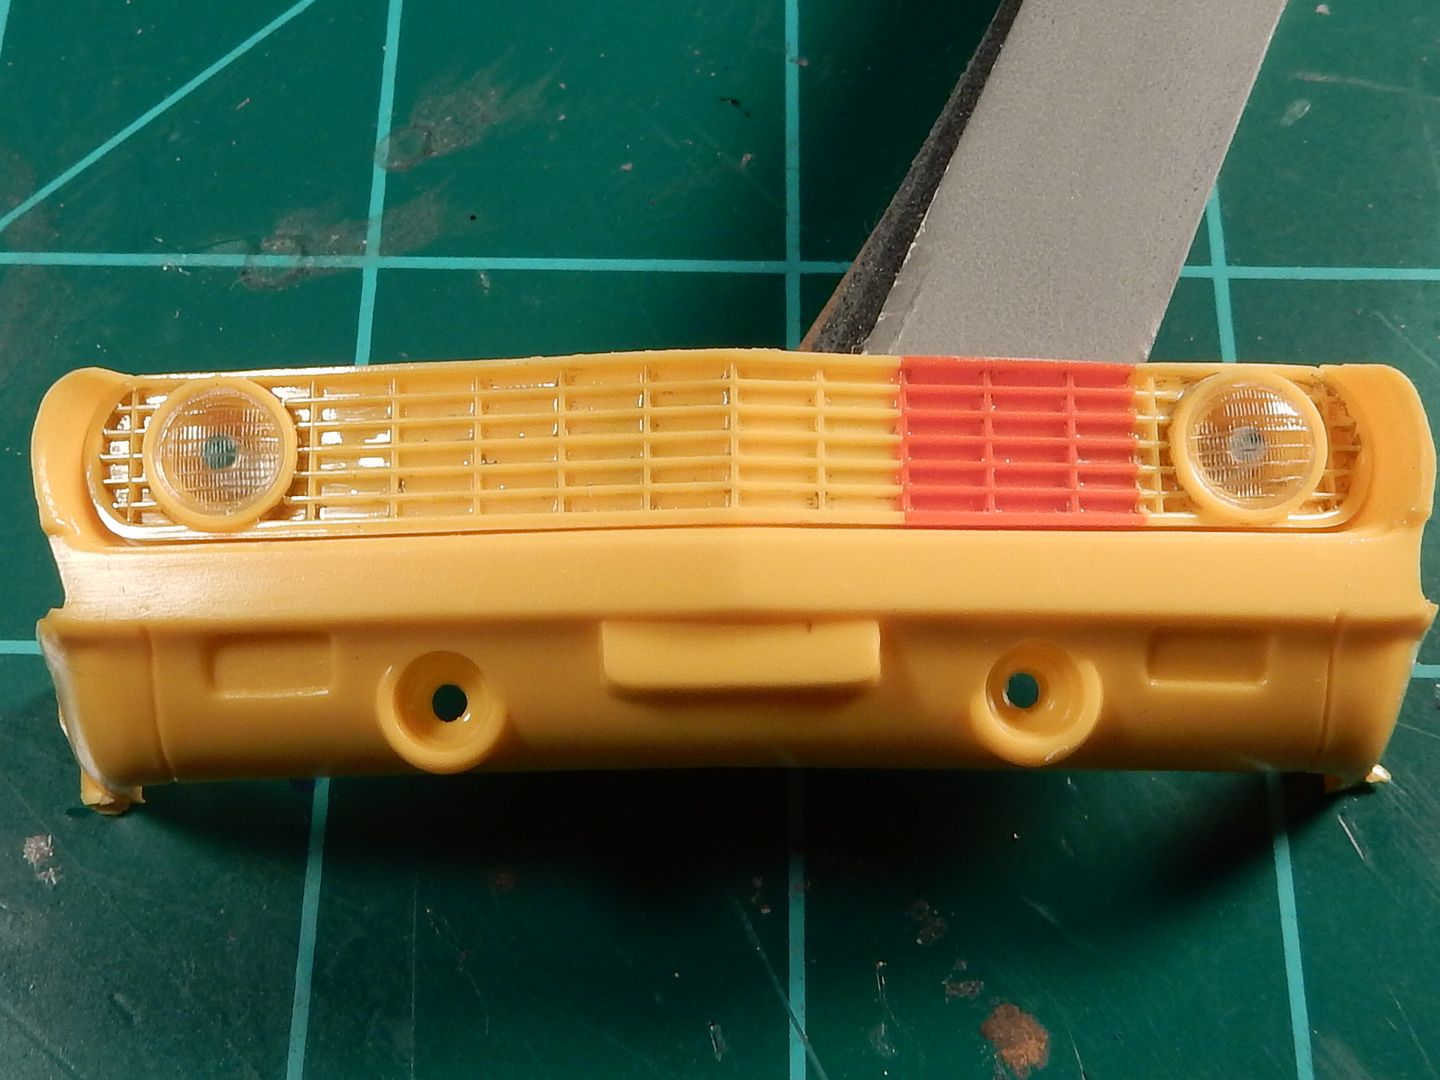
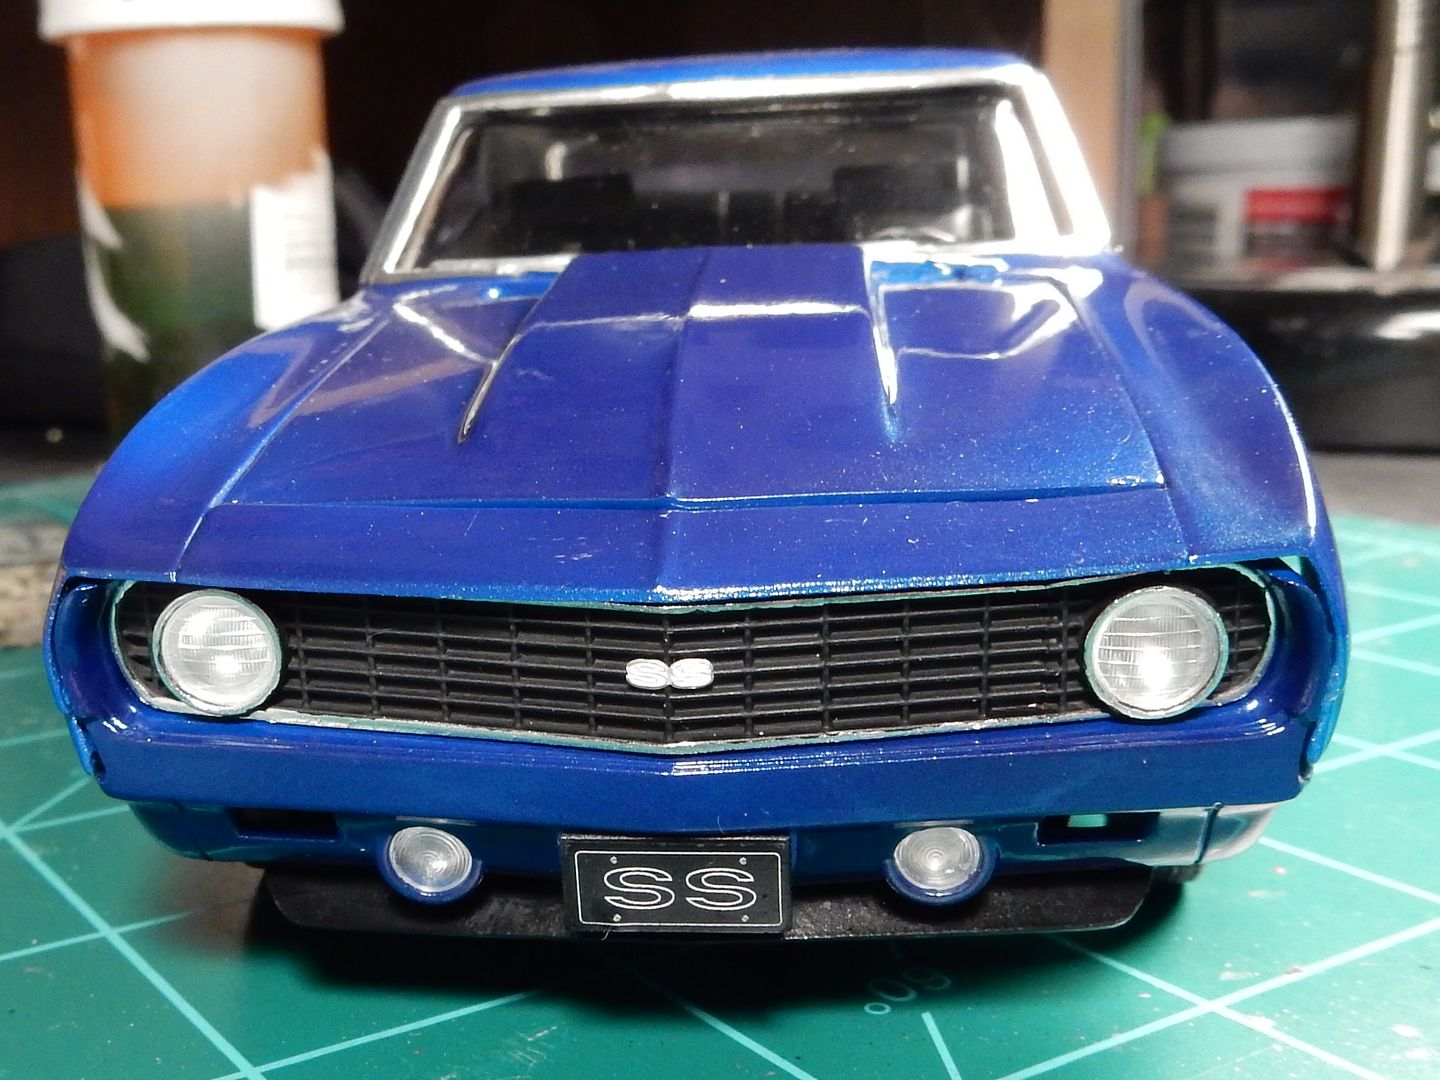
I've got most of the kinks knocked out of the grille after making some cuts and sanding back to the join areas. I've got the section all glued in and ready for paint. The headlight lenses are spare pieces and are being used for masking devices. See those stupid dots in the middle of the headlamp lenses? Yeah.............those! They'll be gone by the time I'm done with the grille.
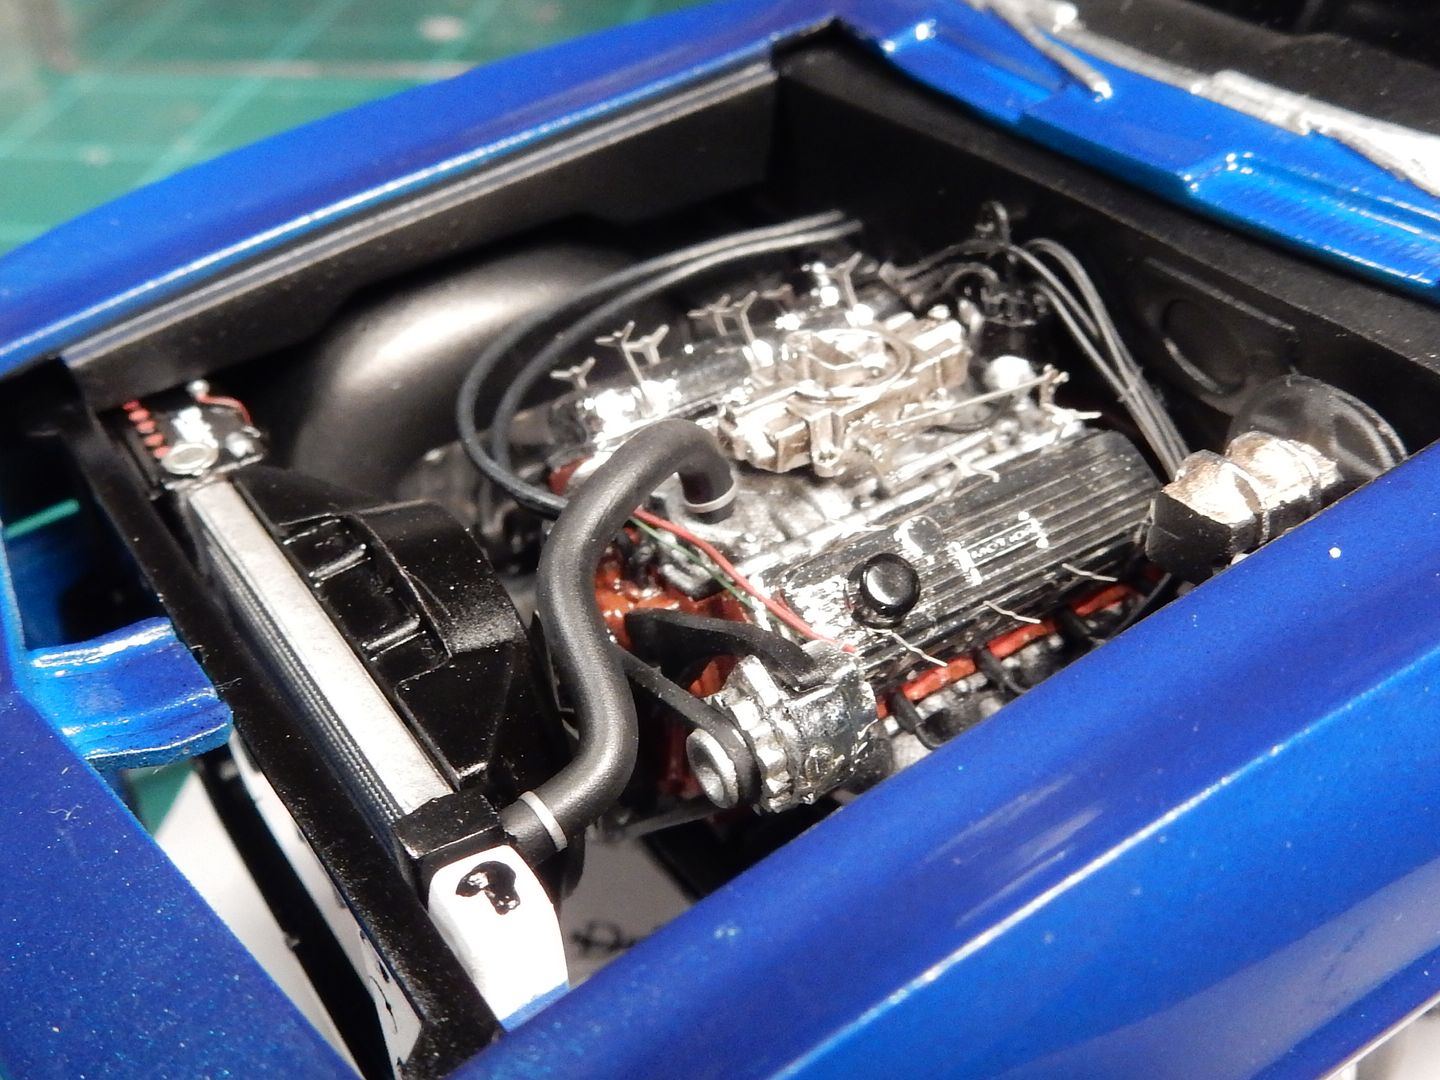
Here's a quick mock up of the engine compartment. Still have to mark the heater hoses for the clamps I'll be installing on them at the firewall connection, radiator hose fabrication and install and I'll be adding a windshield washer bottle on the radiator core support. I'll also be lifting the heater hose that has a little too much sag to it so that both heater hoses are routing closer together.
|
|
tubbs
Loyal Member
 Registered: Jul 24, 2013 5:02:43 GMT -7
Posts: 1,017
|
Post by tubbs on Aug 1, 2017 11:48:26 GMT -7
coming together superbly. really doing that kit justice. thanks for posting.
|
|
|
|
Post by mustang1989 on Aug 1, 2017 12:39:44 GMT -7
Thanks a lot Al. This has been a really fun build with almost no troubles. Had a little bit of paint blues in the beginning but I got 'em all sorted out.
|
|
|
|
Post by Grandpabeast on Aug 2, 2017 15:40:07 GMT -7
Detail, detail, detail........ she is looking awesome!
|
|
|
|
Post by mustang1989 on Aug 2, 2017 19:29:10 GMT -7
Detail, detail, detail........ she is looking awesome! Thanks GPB! The intent is to turn it a complete 180 from when it was first built while staying true the spirit of the original build. |
|
|
|
Post by mustang1989 on Aug 3, 2017 14:19:07 GMT -7
Sneak peek shot. Still got a lot of work left to do. I've gotta figure out what's keeping the "real" car body sitting up in the front some and have to level things out a bit in the rear due to being a little high on the drivers side but we're getting there.........
and with the completed SS grille and lower air deflector( from the more accurate Revell release) glued in place. Keep in mind that the whole front end is NOT glued onto the body yet hence the large gaps between the facia and body in front of the wheel wells and at the sides of the grill to body. Still working on correcting the stance at the front and still gotta bumper to go but that'll be one of the last things that gets installed.

|
|
|
|
Post by kpnuts on Aug 6, 2017 11:26:26 GMT -7
Superb mate.
|
|
|
|
Post by mustang1989 on Aug 7, 2017 6:47:14 GMT -7
Thanks Ken!
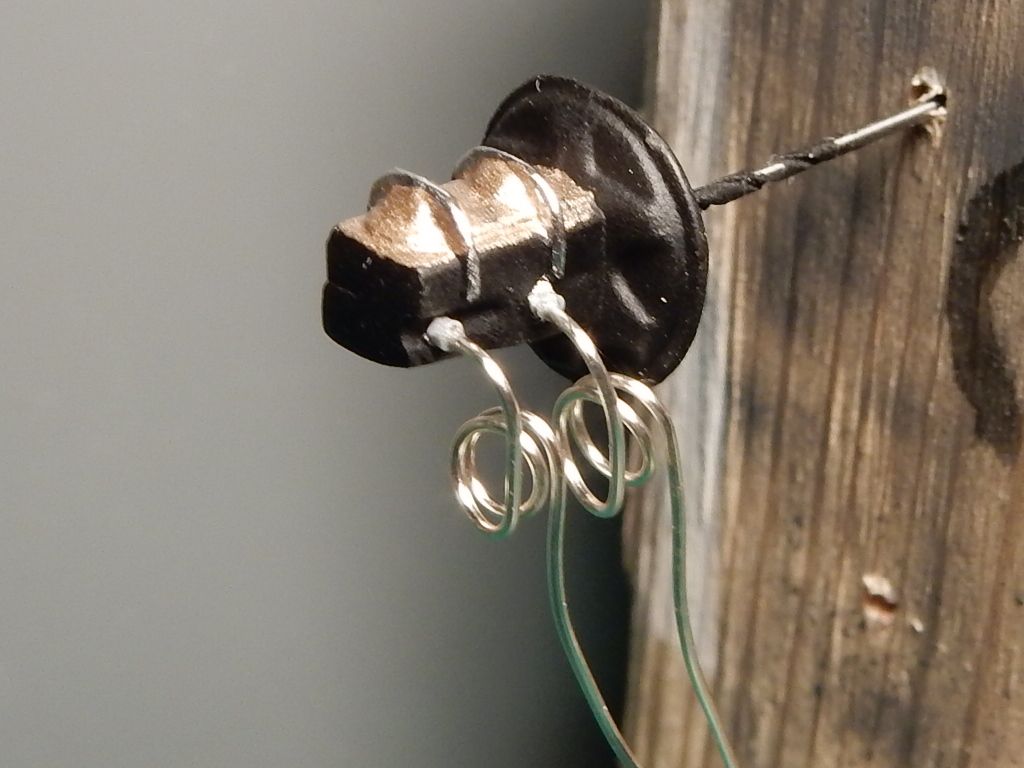
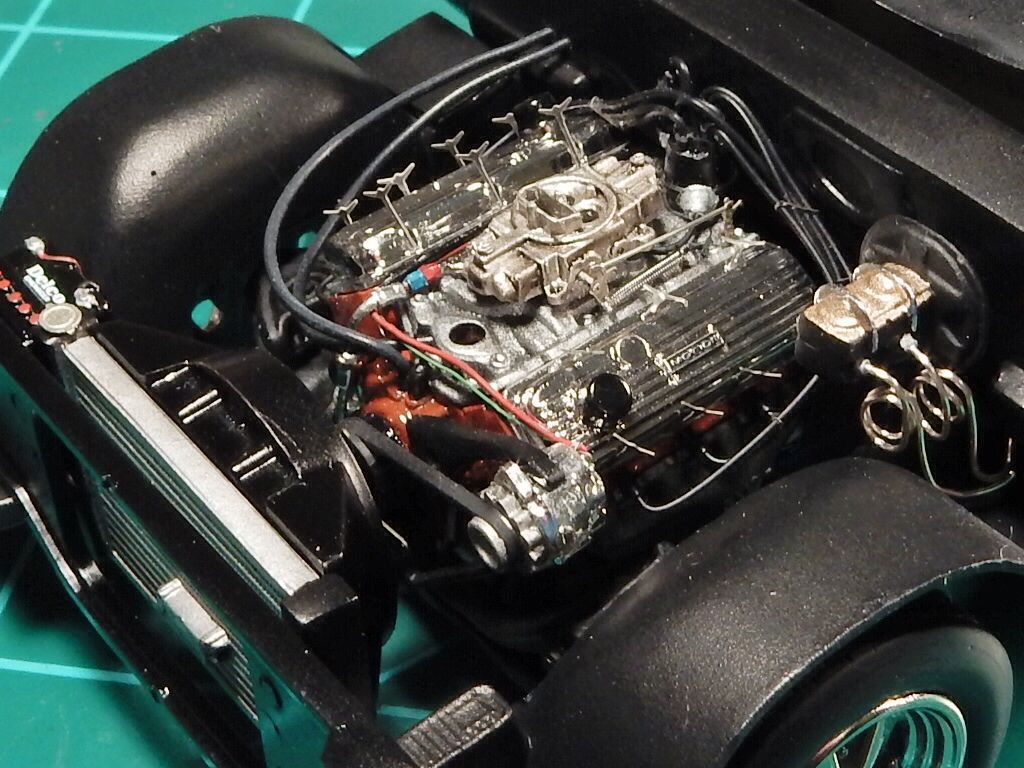
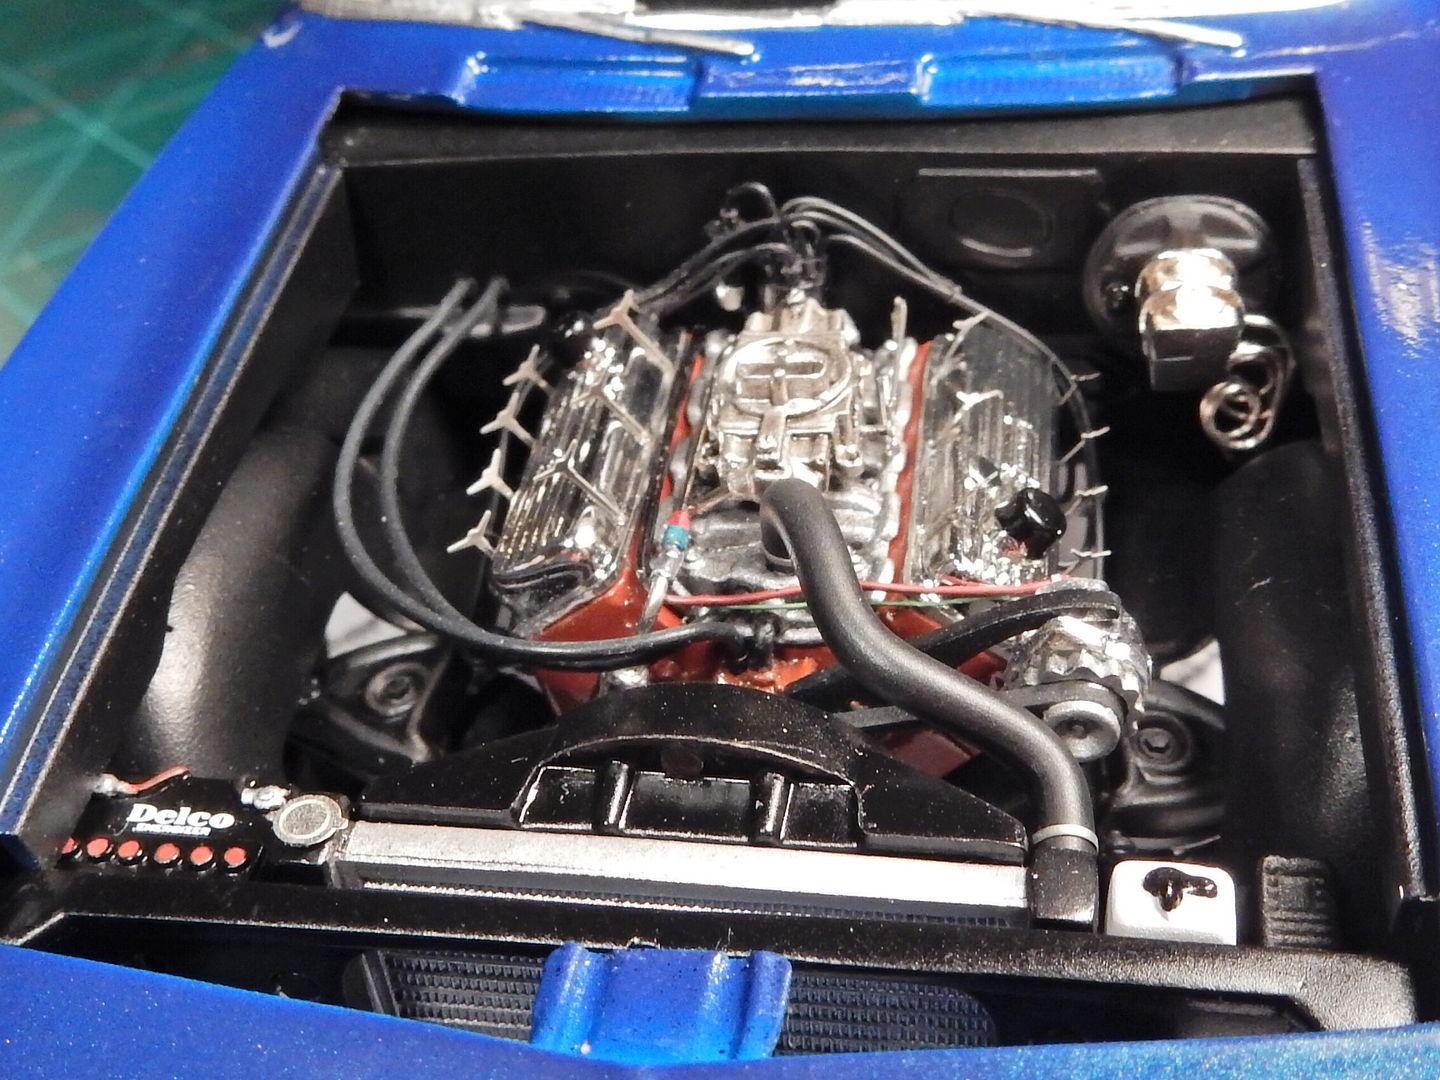
Well folks I've got the engine compartment finished. There are some things that are wrong and more things I could've added to the actual bay itself but hey, ya gotta know when to say "when" at some point. I chose to do a simple "fill in" at the passenger side rear of the engine bay where Monogram placed the battery initially and relocated it in the correct place in the engine bay. You'll see that the two rectangular holes for the hood hinges have been filled in and the molded in crappy wire details were removed from the firewall, the original master cylinder was overhauled and detailed along with the added brake lines and a windshield washer bottle was added (along with the battery) from the newer Revell Camaro release. Radiator hoses were constructed out of 16 gauge electrical wire and a dullcoat applied over both. Hose clamps were made from spare PE frets. All of the molded in detail on both fender wells was removed which instantly improved the engine bay appearance to me.
|
|
|
|
Post by mustang1989 on Aug 10, 2017 9:46:57 GMT -7
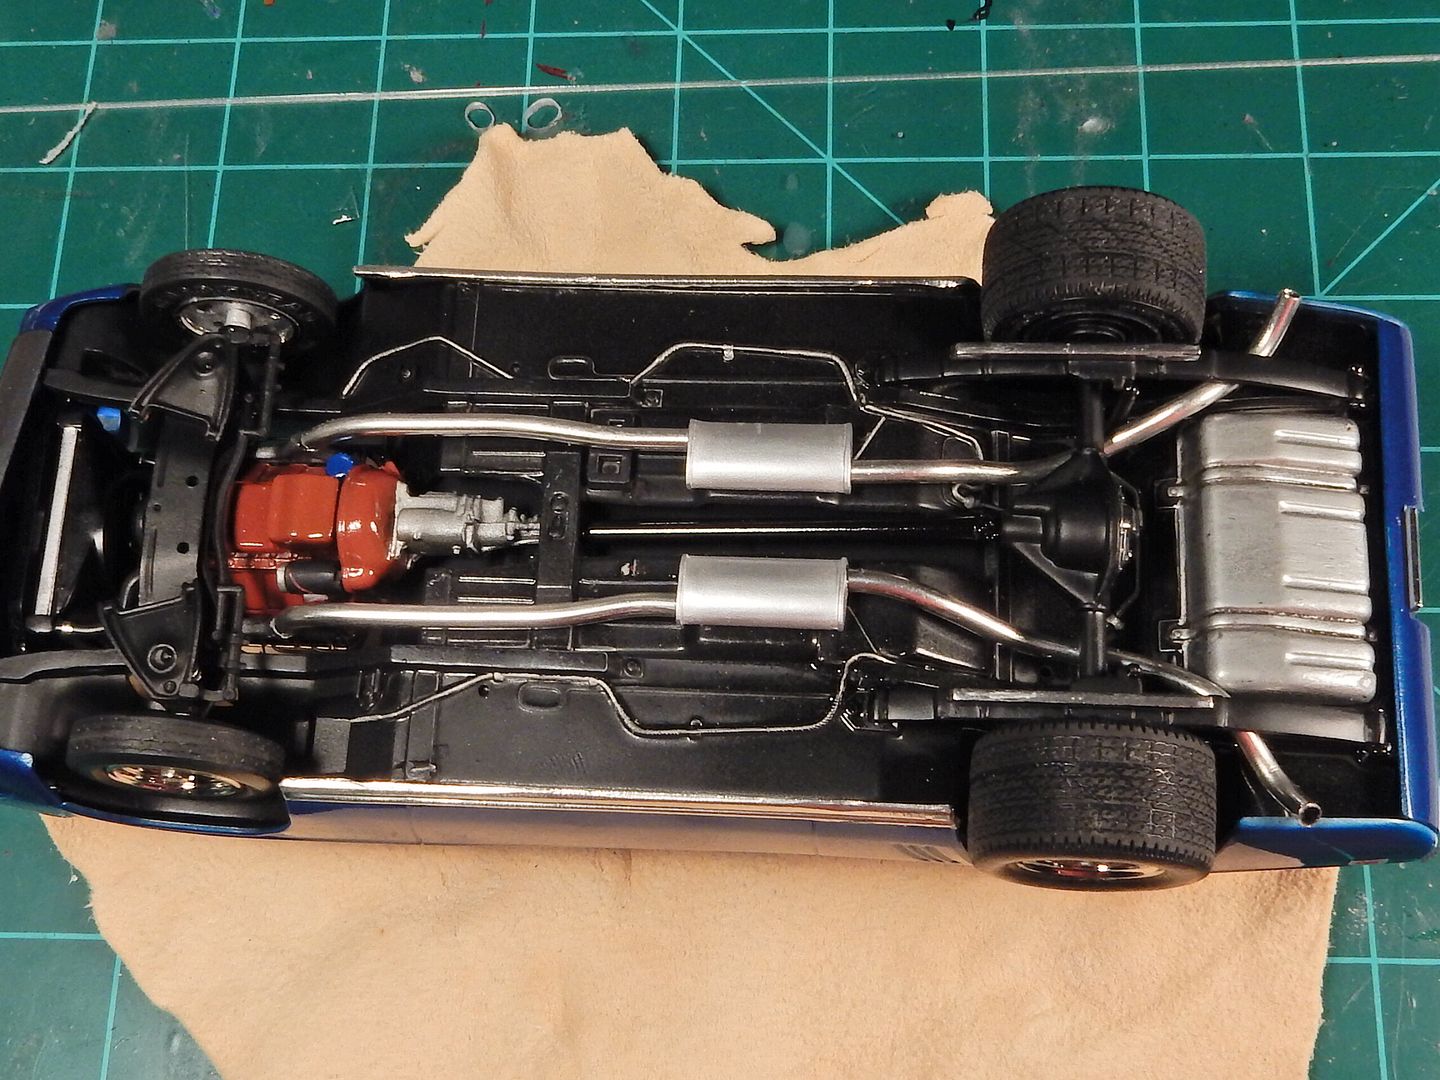
I managed to finish up the chassis. The base chassis is all original down to paint and detailing through much younger eyes. I did do some repair painting here and there and applied a light wash on the fuel tank to bring out some of the detail.I think I touched the chassis up when I was around 16 or so with all the details. The front suspension, rear differential and leaf springs are all replacement parts and I had to make a custom driveshaft using the end pieces and some aluminum tubing. The mufflers are from the newer Revell Camaro release and the lead and tailpipes are silver solder. And with that......we're off to emblems and bumpers and a few touch ups here and there.
|
|
Deleted
Registered: May 7, 2024 19:53:37 GMT -7
Posts: 0
|
Post by Deleted on Aug 11, 2017 5:56:49 GMT -7
i like many of the old timers have had this model many times i have built it in many different ways, stock, pro stock, pro street, even dragster versions glad to see a few of these old kits still are out there good luck with it looks like you got a good start on it looks good
|
|
|
|
Post by mustang1989 on Aug 12, 2017 14:59:10 GMT -7
i like many of the old timers have had this model many times i have built it in many different ways, stock, pro stock, pro street, even dragster versions glad to see a few of these old kits still are out there good luck with it looks like you got a good start on it looks good Thanks wild man. Will be posting glamour shots soon |
|
tubbs
Loyal Member
Registered: Jul 24, 2013 5:02:43 GMT -7
Posts: 1,017
|
Post by tubbs on Aug 15, 2017 11:34:11 GMT -7
the mock up shots look great. really cant wait to see the glam shots!! nice build,really clean.
|
|
|
|
Post by mustang1989 on Aug 16, 2017 3:30:36 GMT -7
the mock up shots look great. really cant wait to see the glam shots!! nice build,really clean. Thanks Al. 'Preciate that buddy.
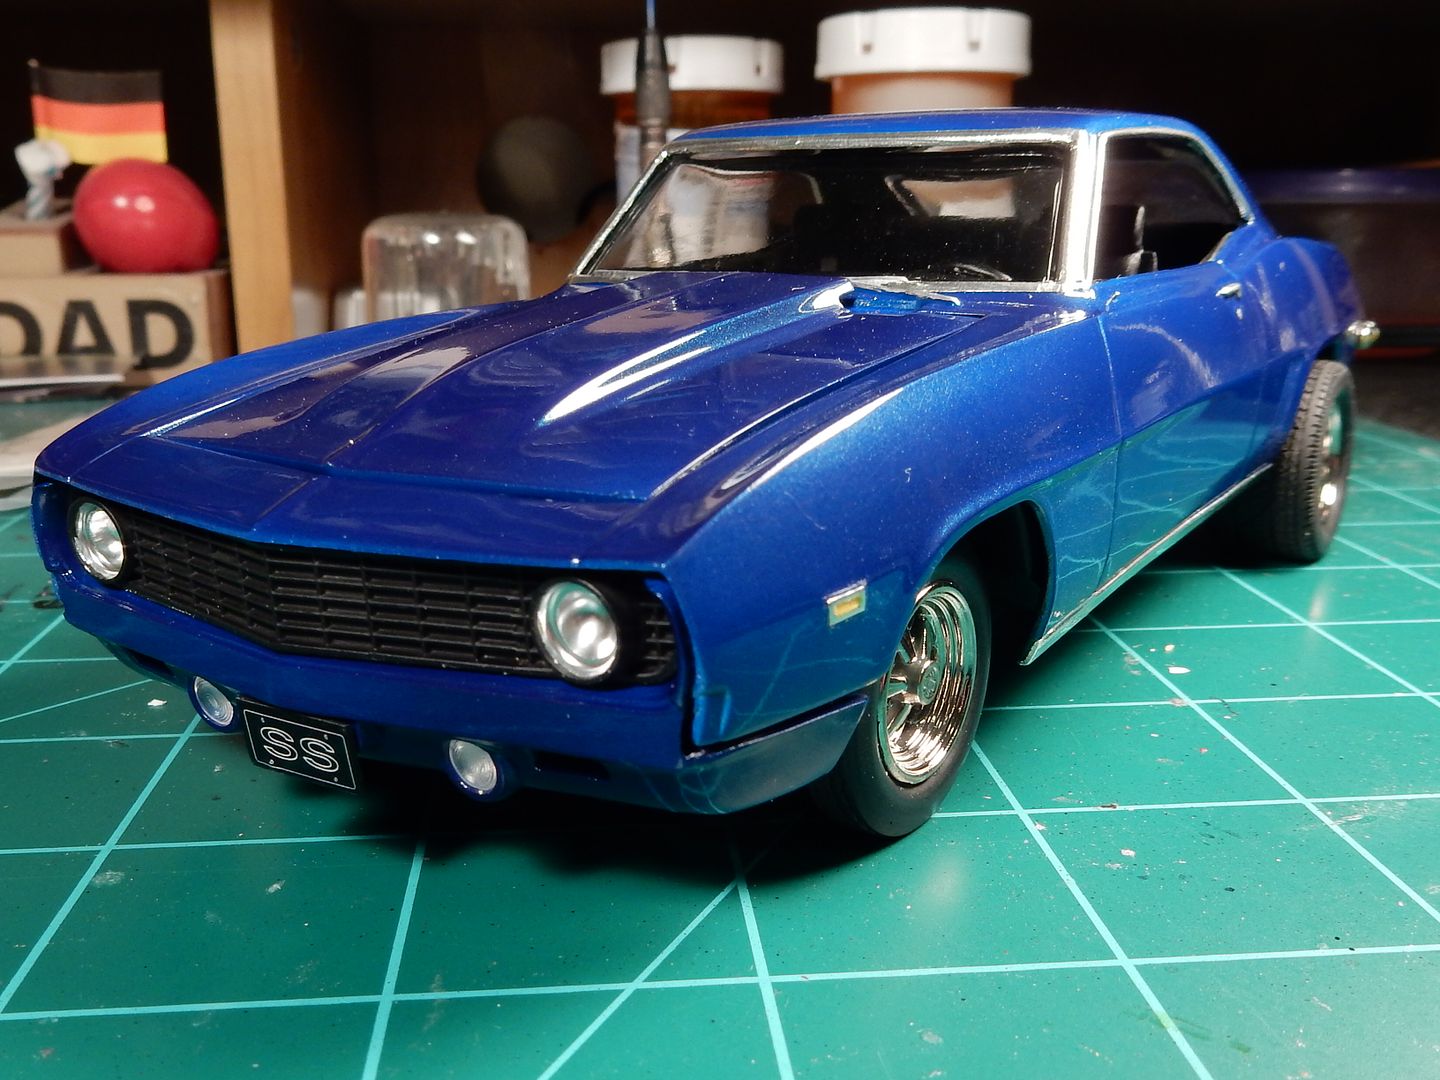
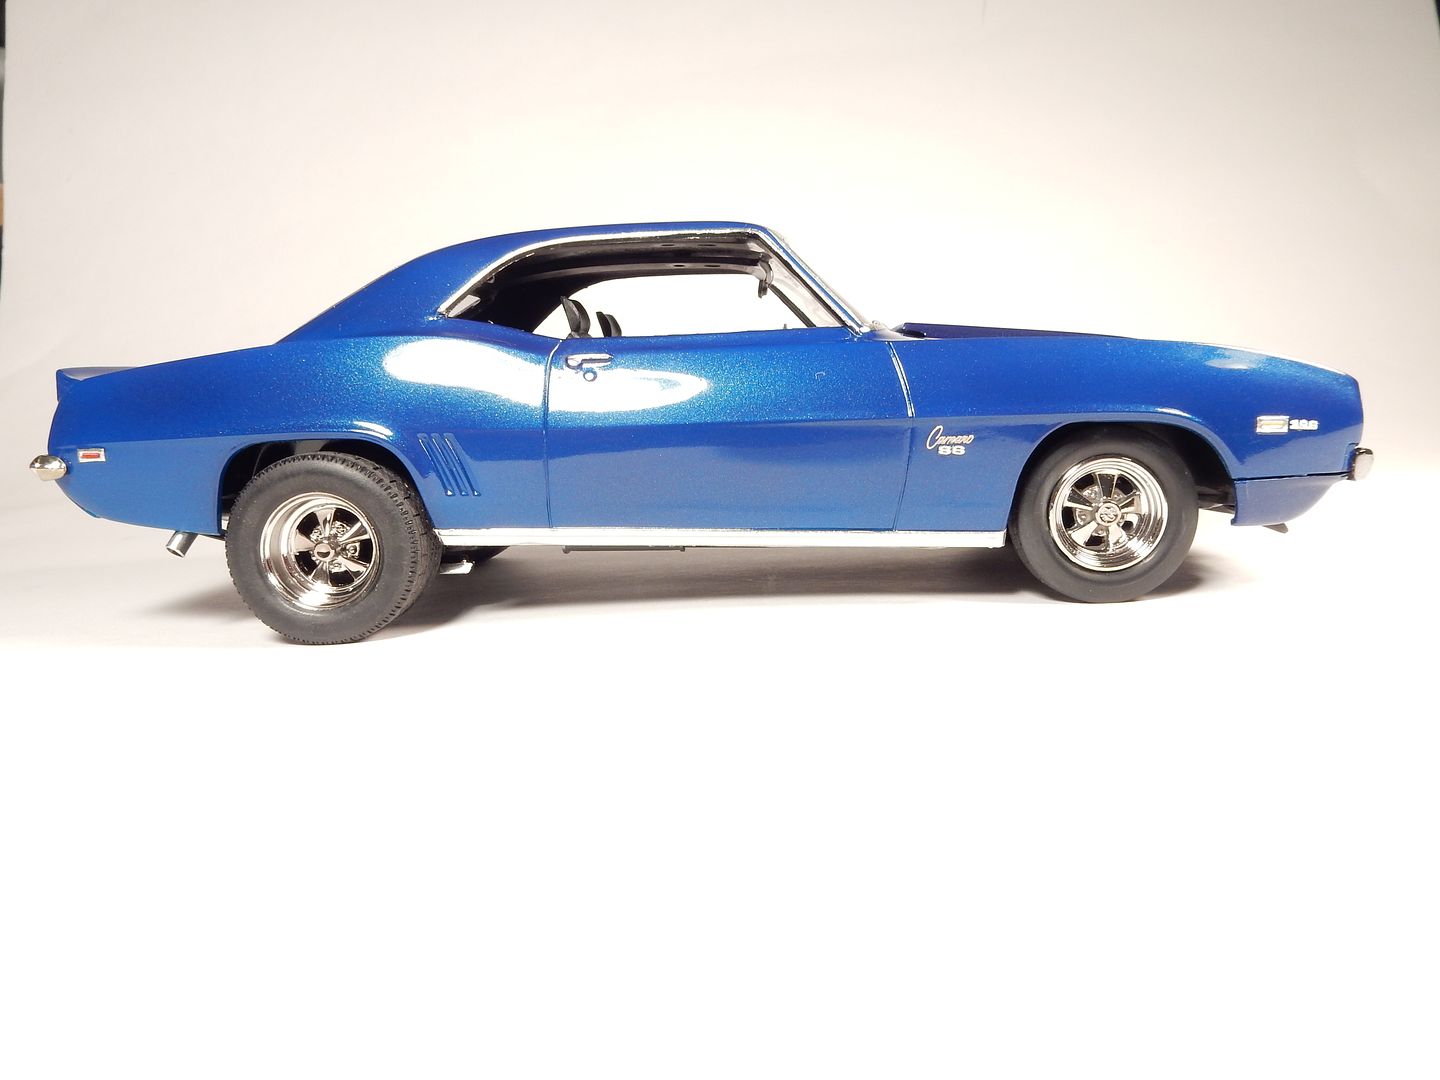
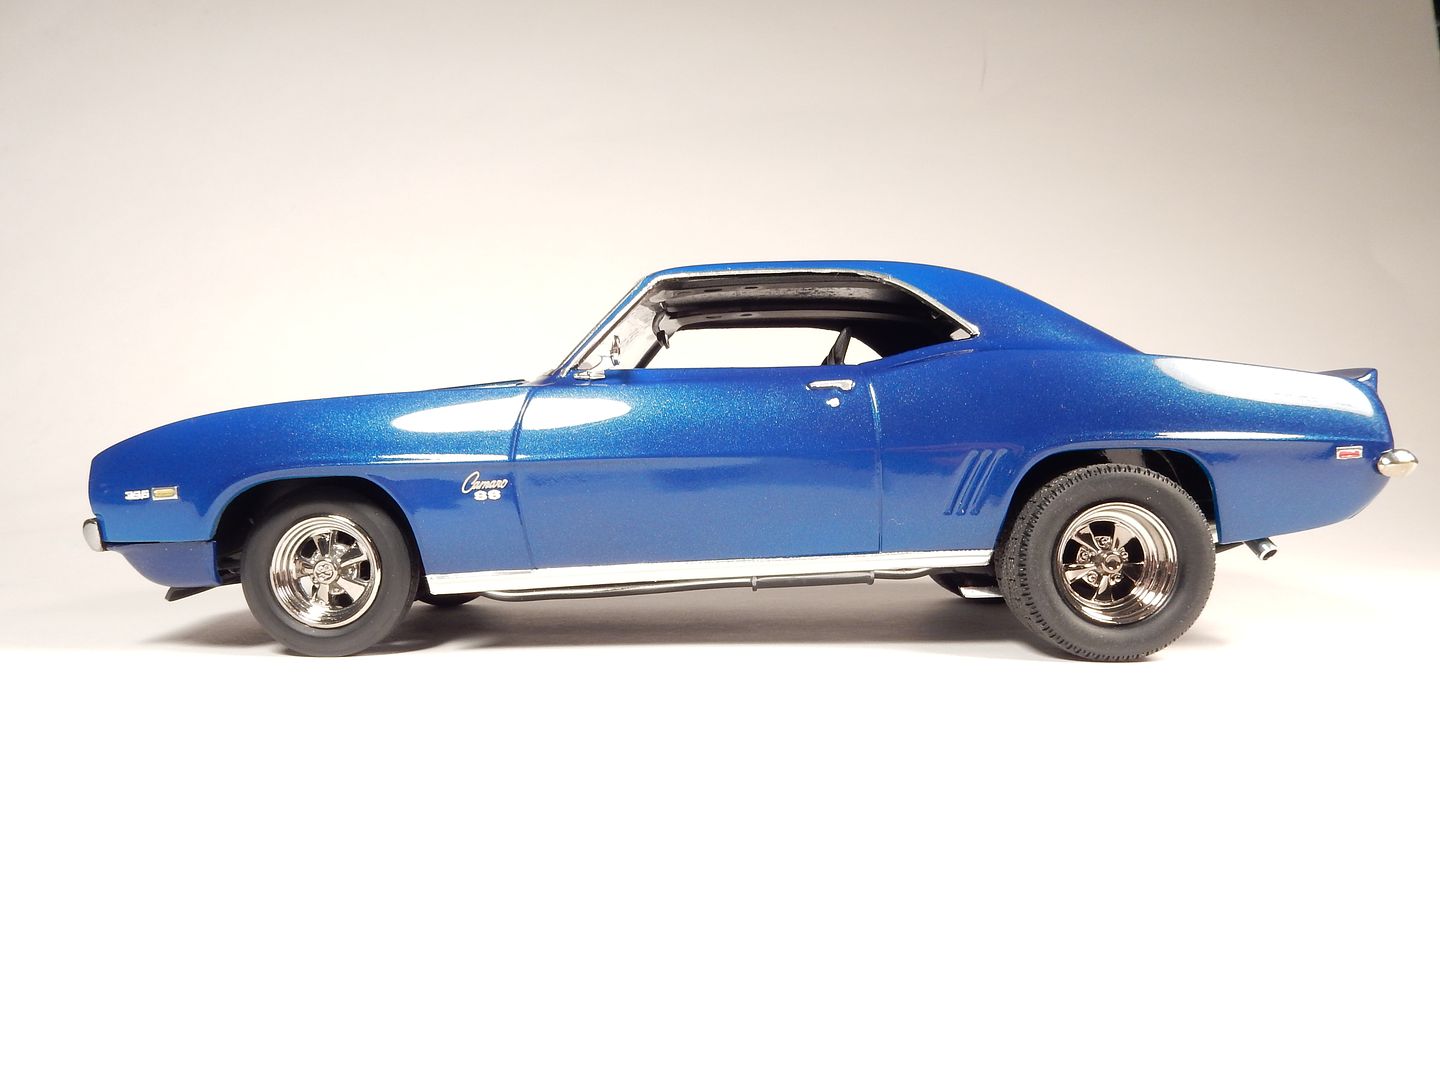
Alrighty folks. This build has finally come to an end. When I started this project in January I thought I was looking at a 3 month project. What followed was a seven month venture to pump some life into my first ever auto build which dates back 35 years. All in all the old build was in decent shape as I'd managed to keep it encased since first building it at age 13. When I left home at age 19 for the Army I left this build and several others behind where it stayed all this time until I finally picked it up from my parents house and put it in my display case here at home where it's spent the last 5 years. When I started on it 7 months ago there was no engine and the interior was.......well ........you know ...........very "Monogram" basic. I had alot of work ahead of me which I found out throughout the course of the re-build. I ended up using a total of five other kits to piece some of the missing pieces together (one of which was a newer Revell Camaro release kit to "update" this old dog of a kit with some of the parts that Monogram had failed to put in their kit) , hood and wheels were donations from good friends here on the forums (thanks be to Dale and Paul). Powertrain/ drive train was from the AMT Chevelle SS396 kit. I ended up spending ALOT of time in the interior as well as the engine compartment. All badging is from PE fret for the Revell Camaro kits and the paint is GM paint code 79U--Mystic Teal Metallic, a paint that was used in the late 90's/ early 2000's on GM vehicles (Camaro's / Firebirds being in that line up). I also opted to transform this into an SS which took a little fancy foot work with the grille but I managed to pull it all off okay. I'm pretty happy with the results although the kit (as well as me) had it's limitations. lol
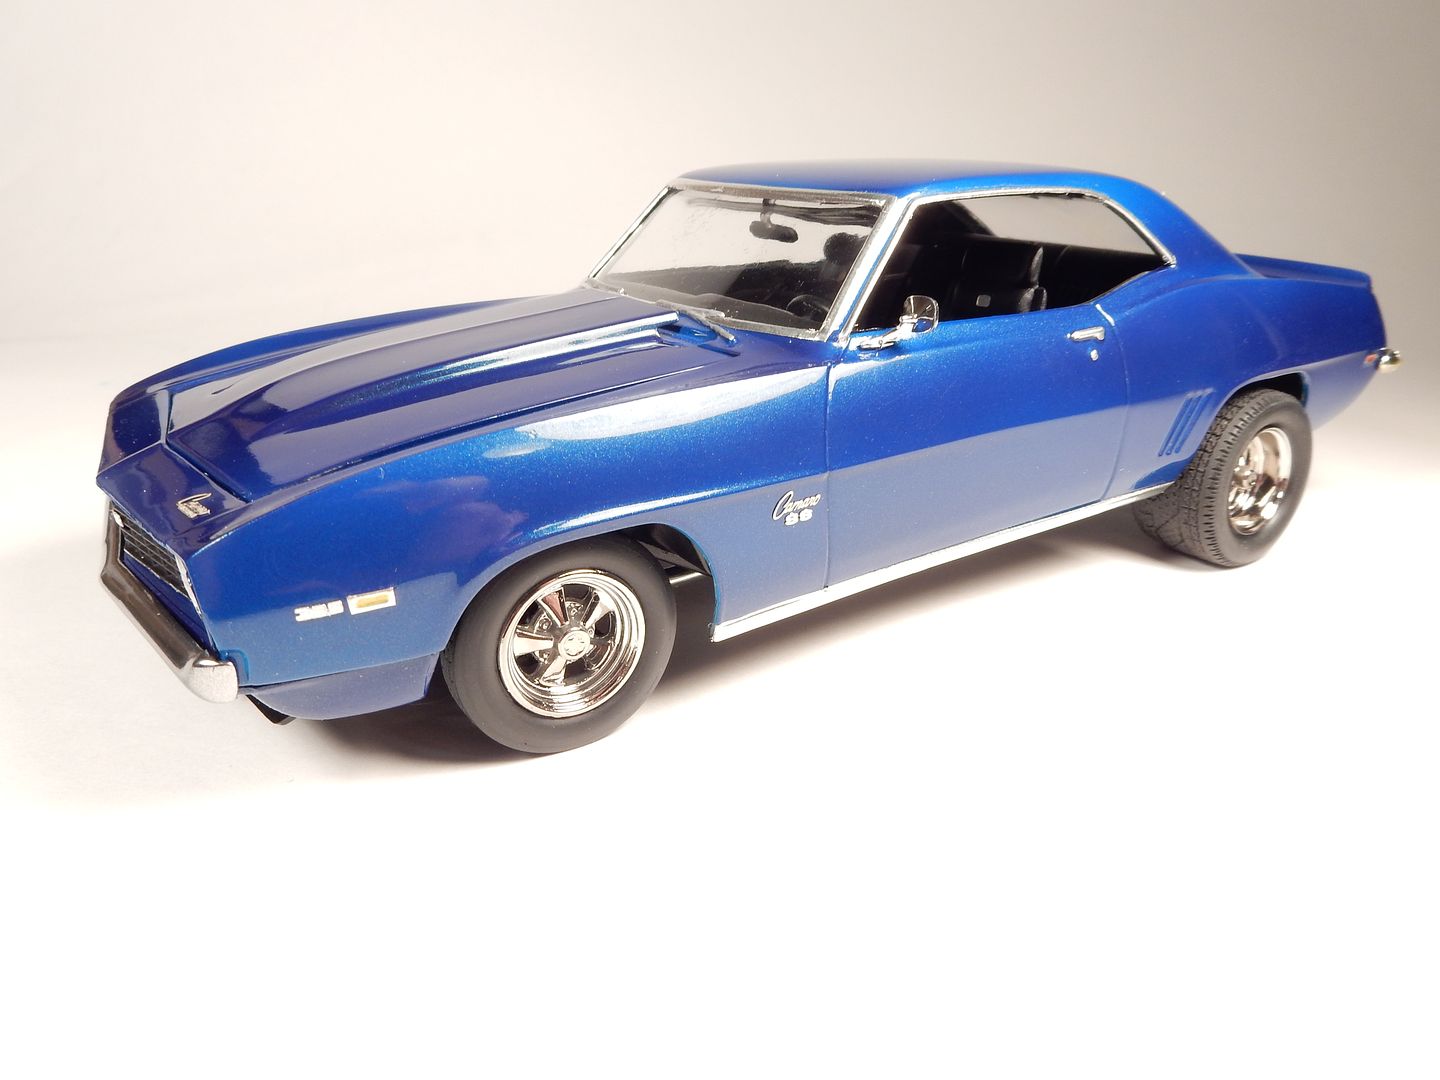
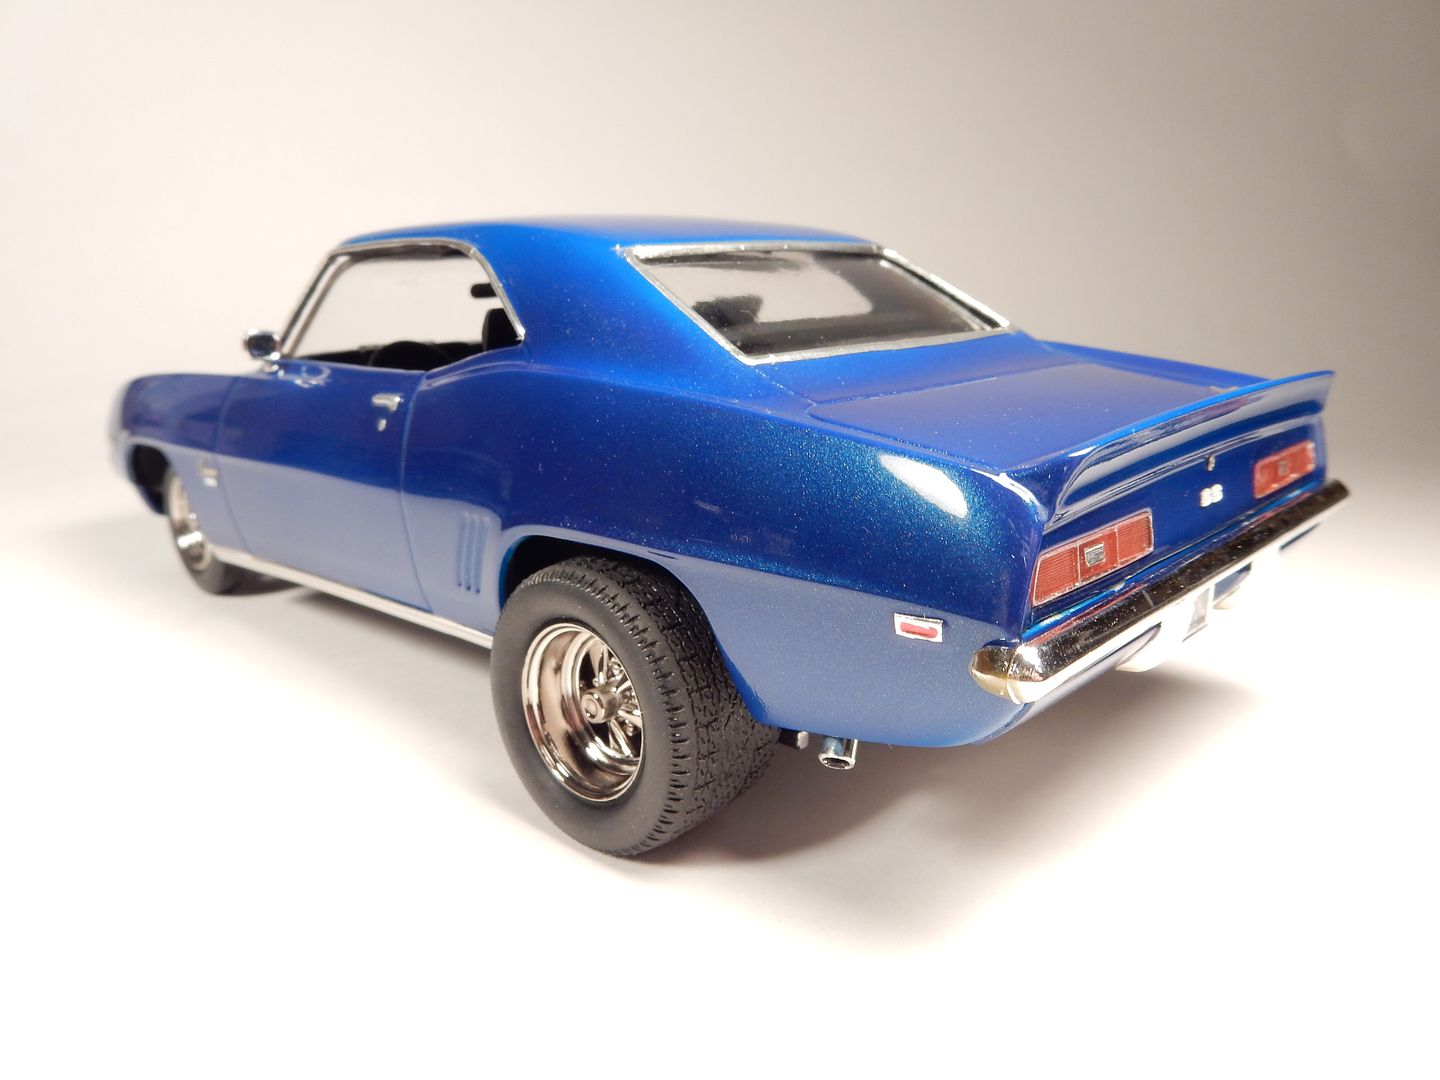
With that..............here are the shots:
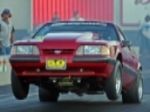
Before:
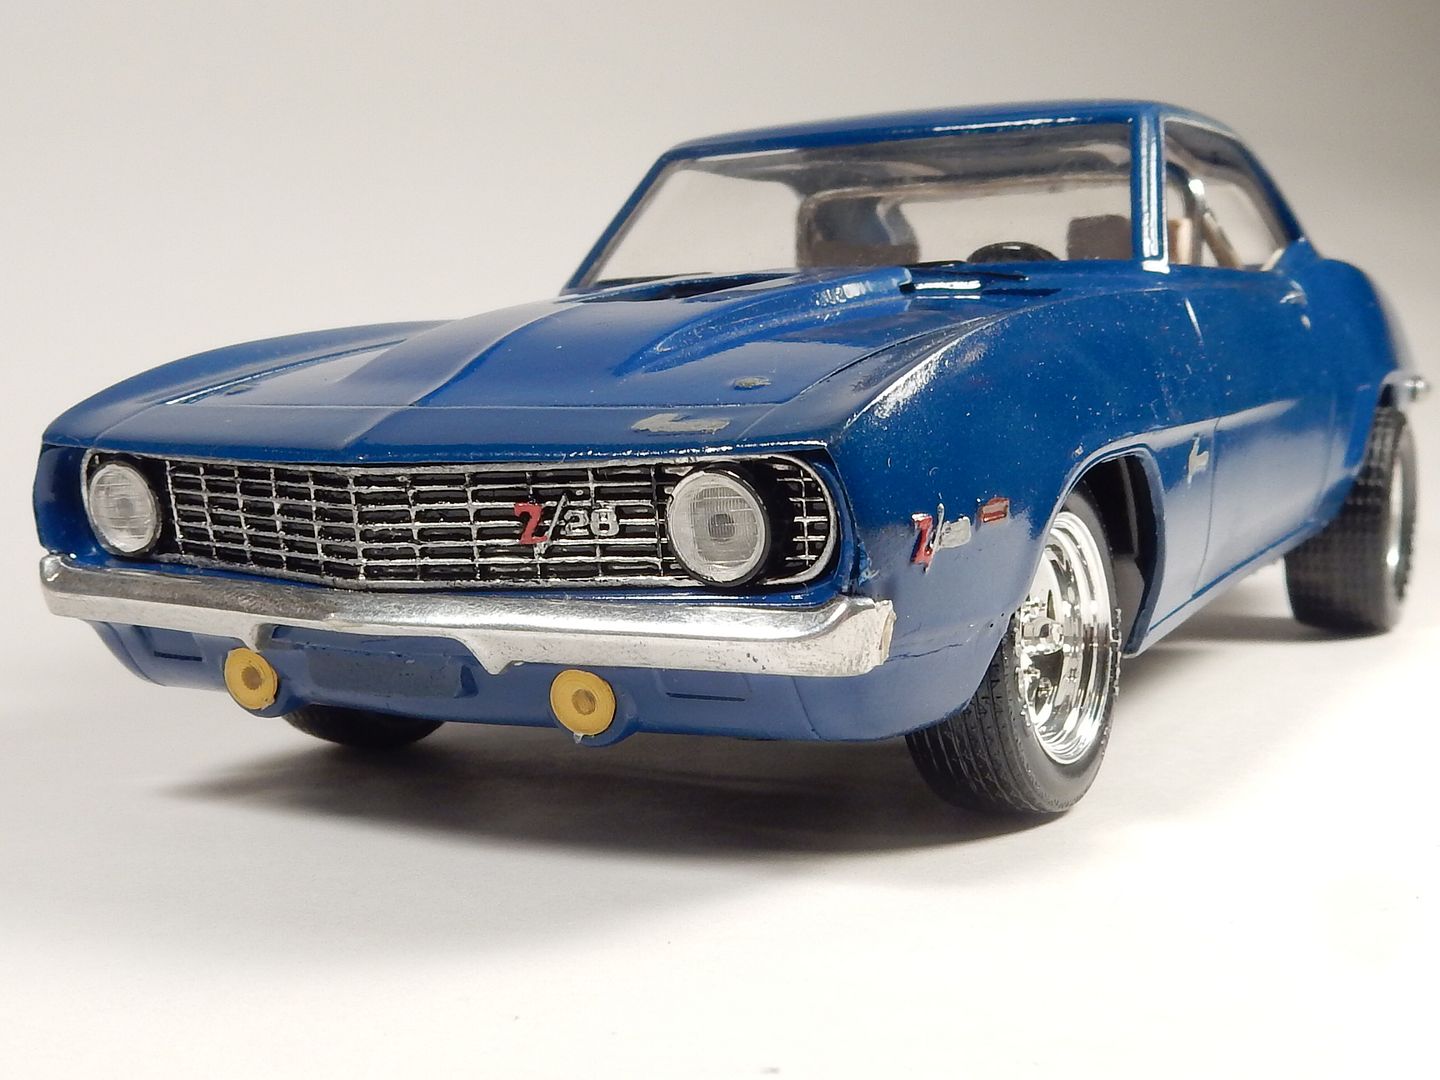
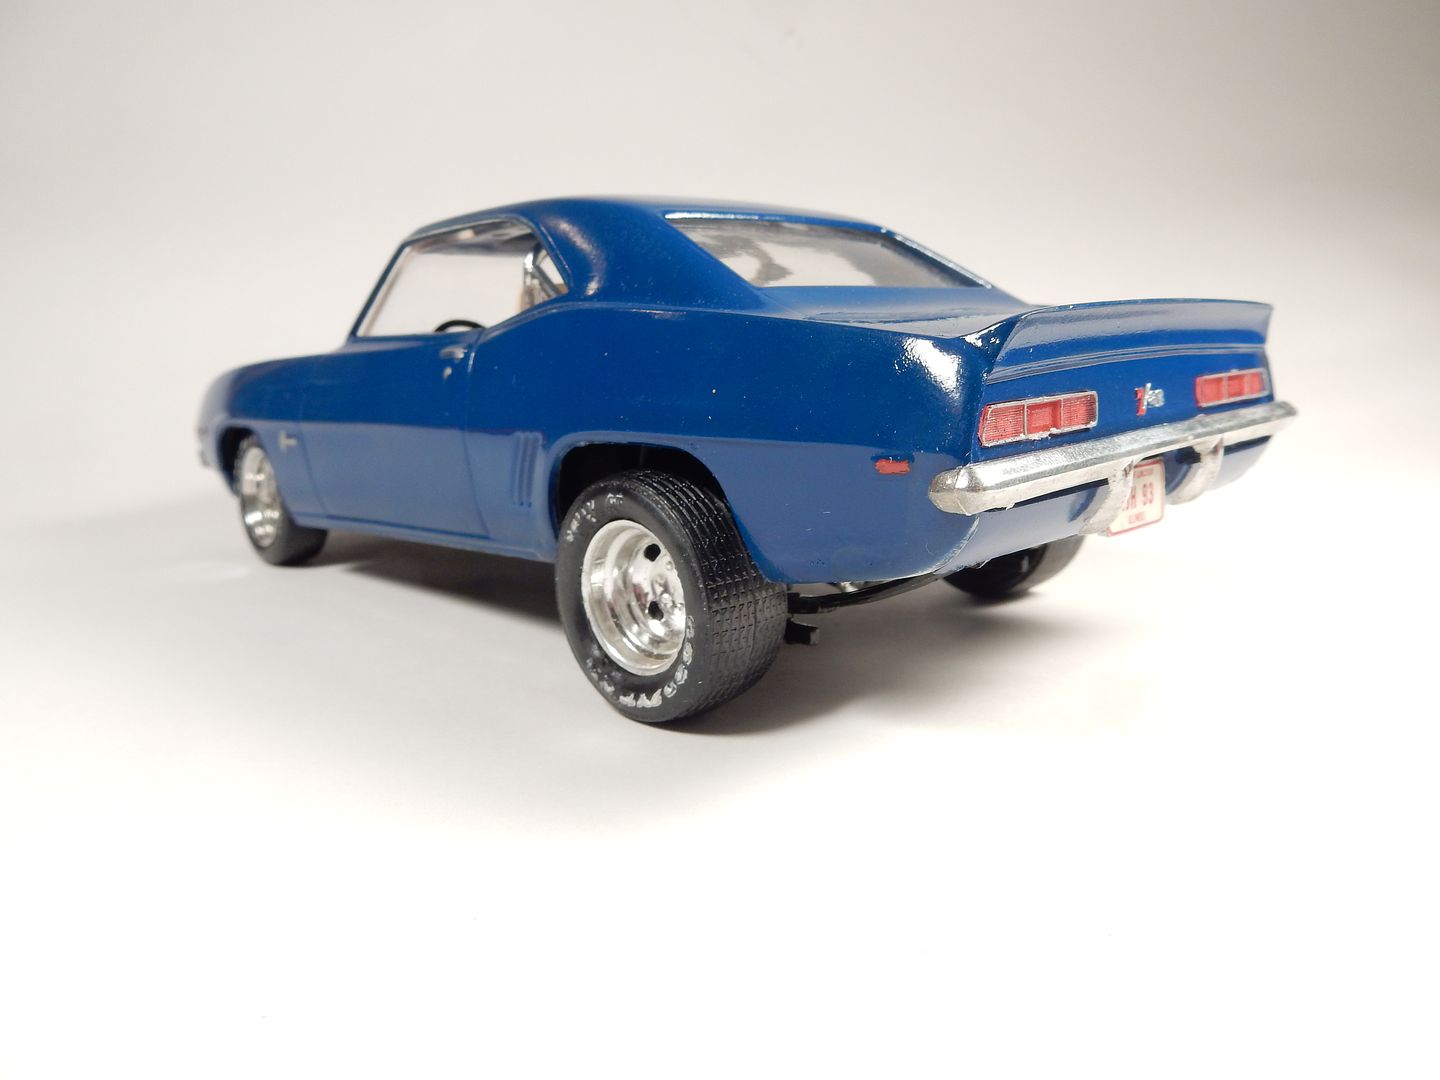
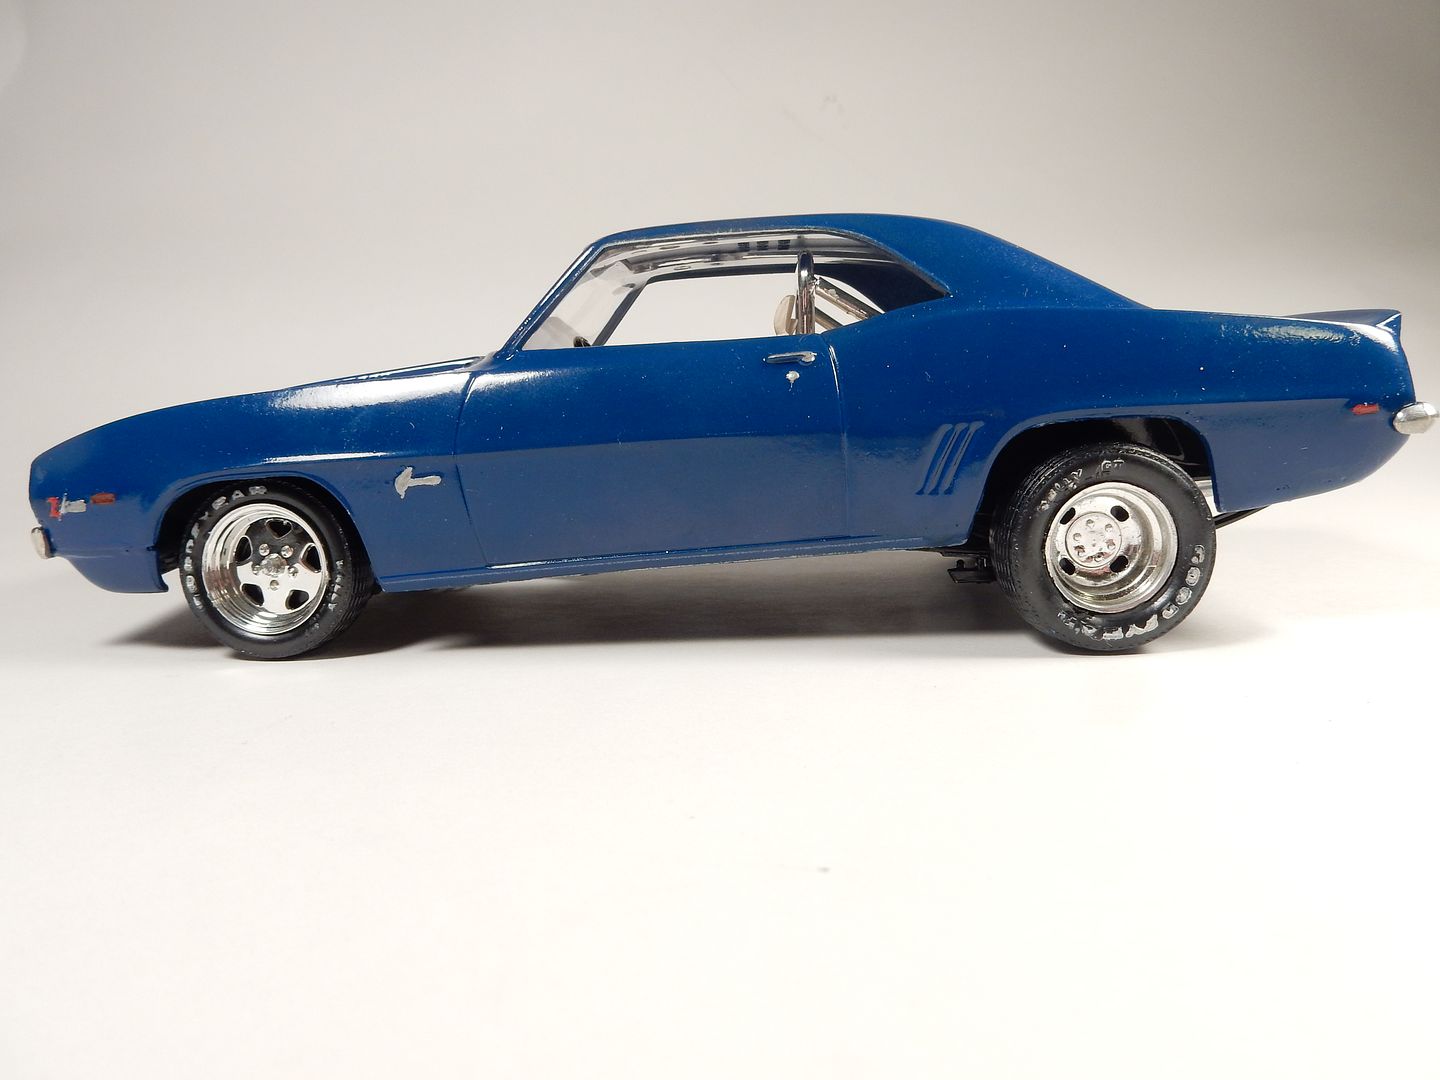
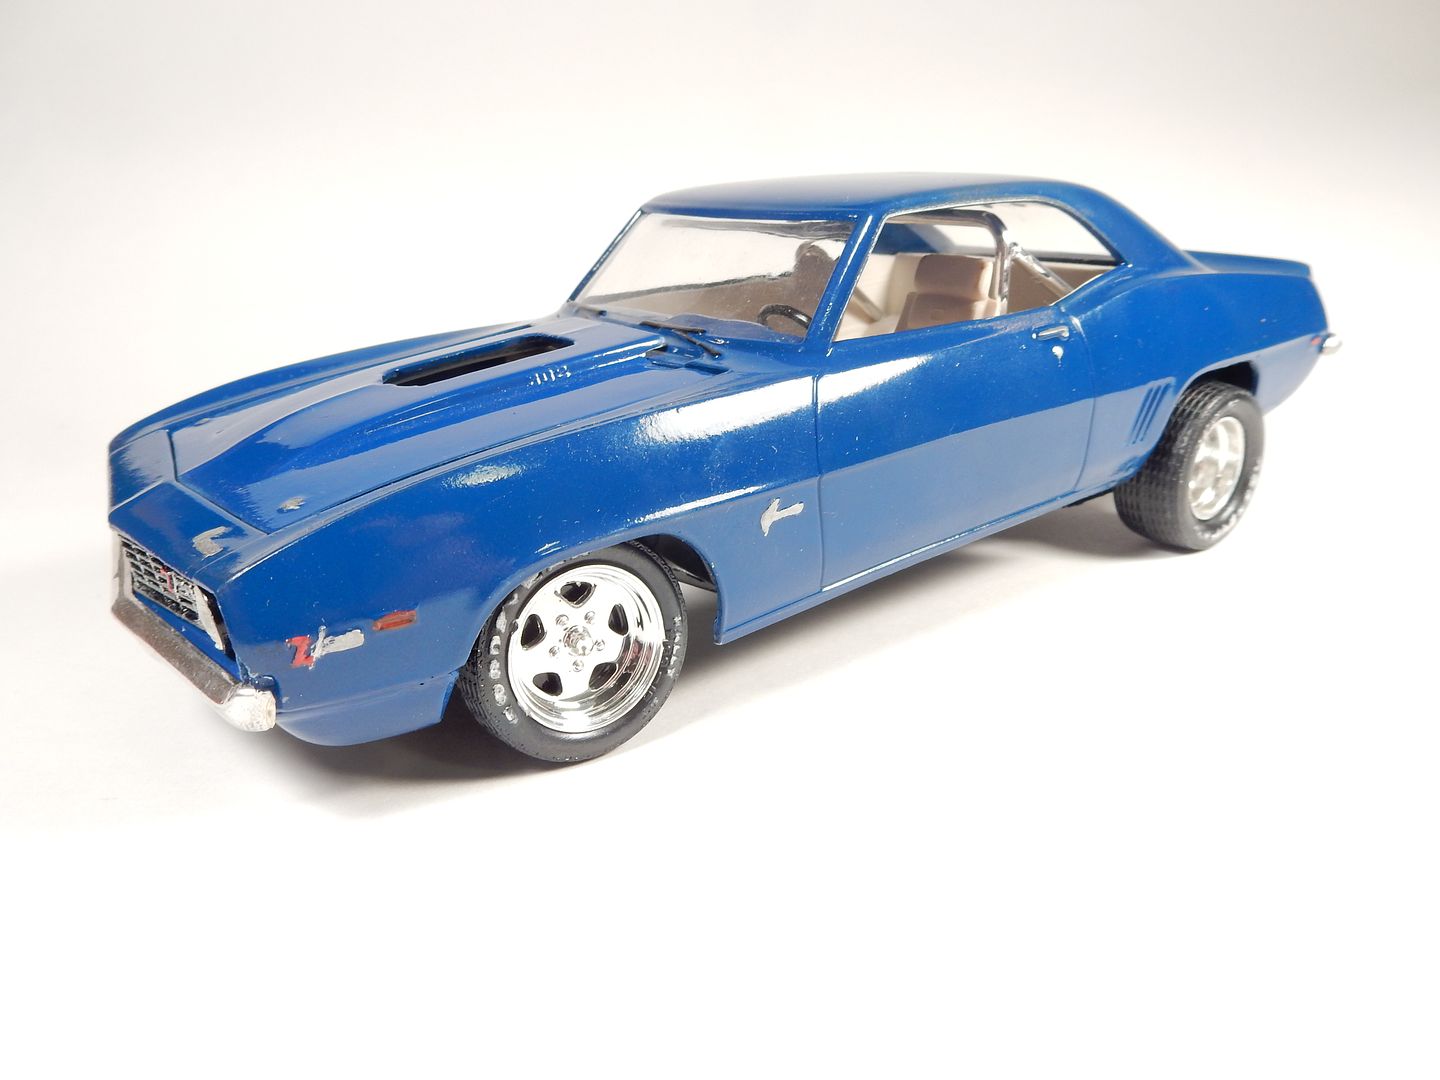
After shots:


|
|
|
|
Post by Grandpabeast on Aug 17, 2017 13:24:09 GMT -7
wow that is amazing ! The side by side ( before and after ) OMG !!! You did a great job and it looks awesome !!
|
|